
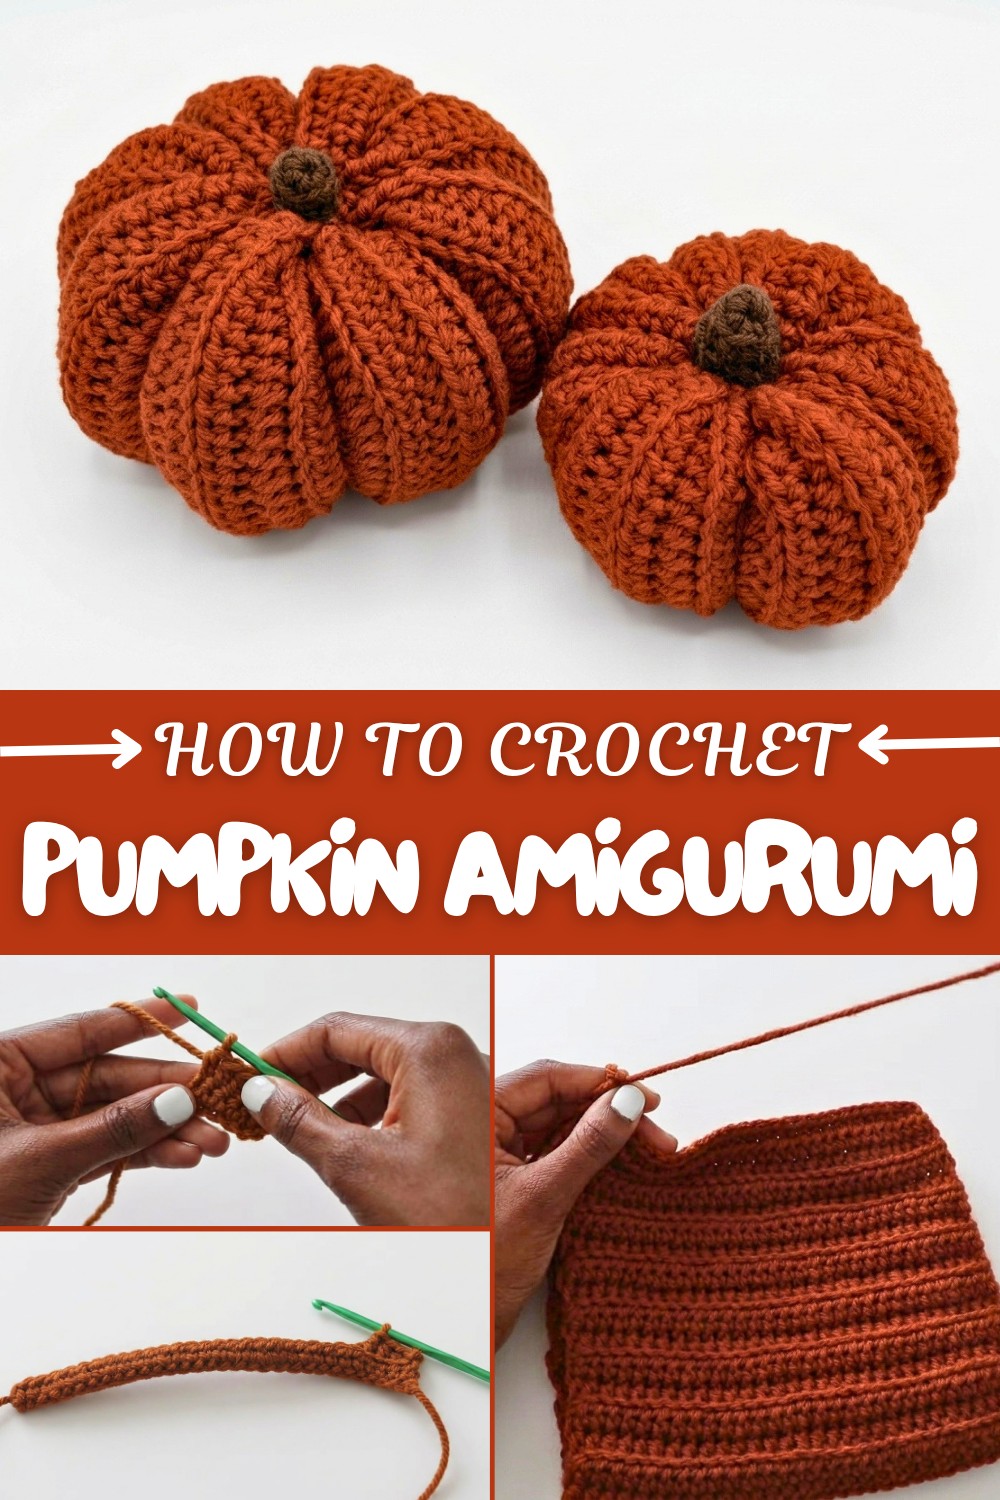
Crochet Pumpkin Amigurumi Pattern for Lovely Autumn Moments
Add fun to home with the Free Crochet Pumpkin Amigurumi Pattern and make cute pumpkins to play with, share, and decorate your table or shelf.
There’s something so cozy about autumn, and what better way to celebrate the season than by making a cute little pumpkin with your own hands? This pattern uses simple crochet techniques like half double crochet, single crochet, and slip stitch, which are easy for beginners to learn but rewarding to see come together. Starting with a chain foundation, you’ll work row by row, building the pumpkin’s soft, textured body by crocheting into the back loops for a unique ribbed effect. This technique not only adds beauty but also gives the pumpkin a classic rounded shape full of charm.
Guidance on Free Crochet Pumpkin Amigurumi Pattern for Festive Home Charm
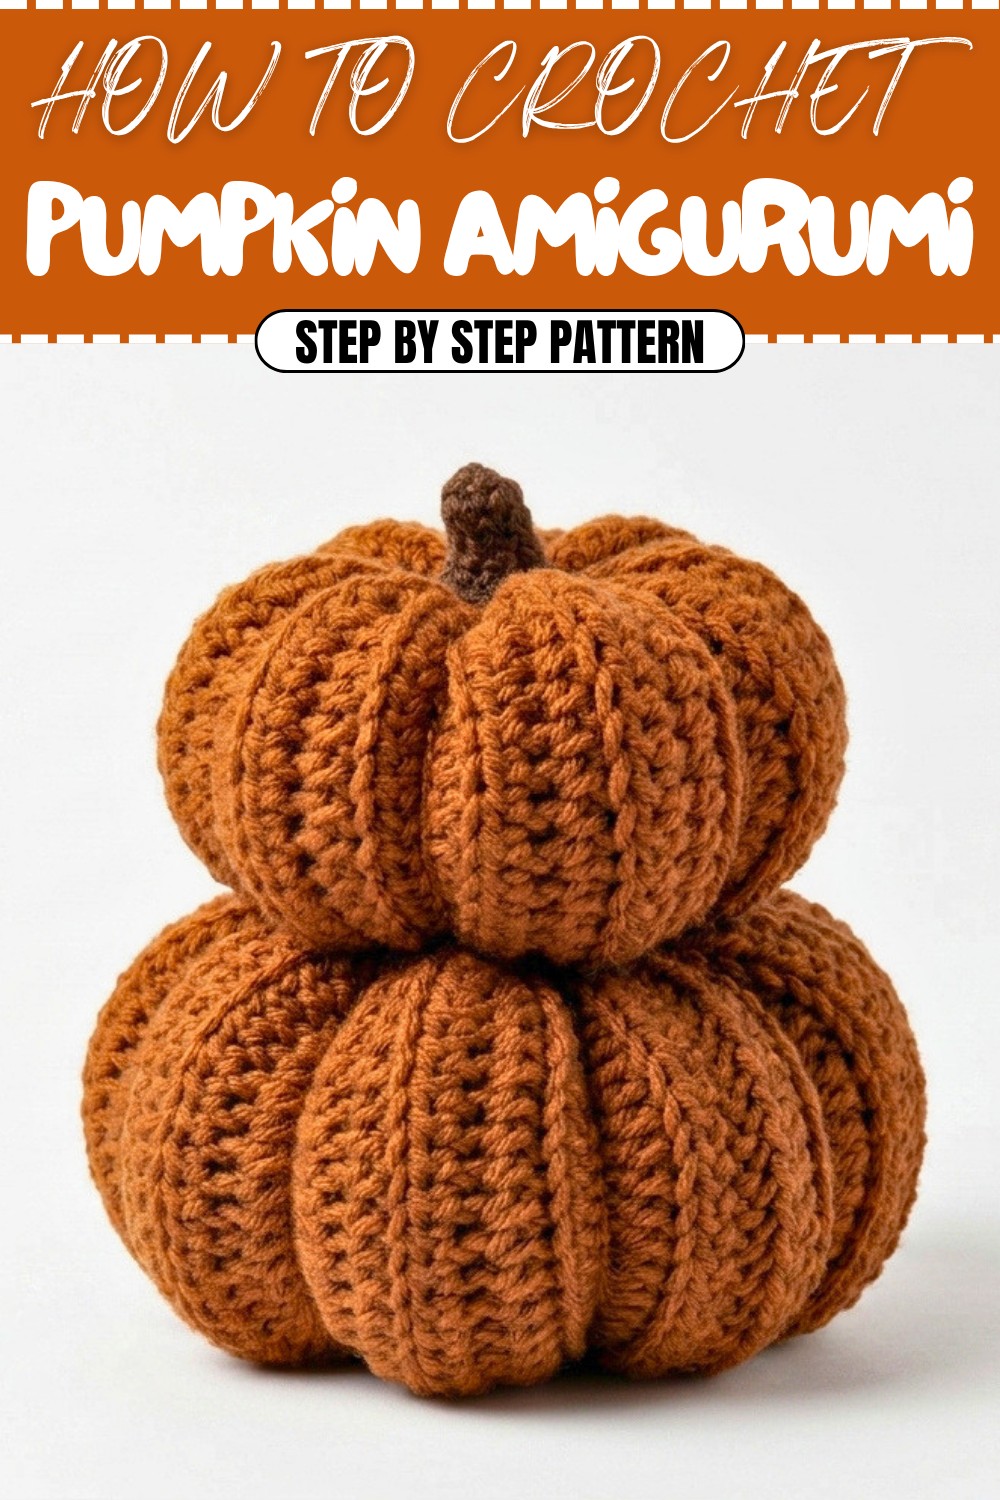
The best part is you can customize the size by changing the number of chains at the start, creating anything from a tiny tabletop decoration to a larger cozy pillow. Once the piece is folded and seamed, you’ll use a tapestry needle and some clever stitching to add those signature pumpkin ridges. Stuff it gently with fiberfill to make it nice and plush. To finish, crochet a little stem using a magic ring and single crochet rounds, then securely sew it on for a polished, adorable final look.
What Else Can You Create?
Mastering these stitches and shaping techniques opens up a world of possibilities beyond this pumpkin. You can adapt the same foundation to make other autumnal amigurumi like gourds, apples, or even cute Halloween characters. The half double crochet worked in back loops is a fantastic texture to try in scarves, hats, or cozy blankets too. This pattern is a wonderful introduction to crocheting small, stuffed crochet projects that bring warmth and personality to your home throughout the year.
Crochet Pattern: Lovely Autumn Pumpkin
Welcome to this detailed step-by-step crochet pattern for making a cozy and decorative pumpkin, perfect for your autumn ensemble or seasonal decor! Whether you use it as a centerpiece, room decoration, or even a cute pillow, this versatile project lets you experiment with sizes and colors to match your creativity.
What You'll Learn
This pattern will teach you:
- How to crochet rows using half double crochet (hdc) stitches and work in the back loops to create a ribbed texture.
- Techniques to seam your pumpkin, add stuffing, create pumpkin "bumps" for structure, and attach a crochet stem.
Why You’ll Love This Pattern
This project is beginner-friendly, quick to complete, and includes easy modifications for different sizes. Even if it’s your first crochet craft or you’re an experienced maker, this pumpkin will bring autumn charm to your space!
Skill Level & Terminology
- Skill Level: Beginner
- Crochet Terminology: US crochet terms
Materials & Tools
- Yarn:
- Main yarn (Chestnut or desired pumpkin color, weight 4 acrylic yarn).
- Stem yarn (brown or green, weight 4 acrylic yarn).
- Crochet Hook: Size 4 mm.
- Stuffing: Fiberfill to fill your pumpkin.
- Needles: Tapestry needle for sewing.
- Stitch Marker: To help track rows or rounds.
- Scissors: For cutting yarn ends.
Gauge
Gauge is not essential for this project. However, for reference:
- 4 half double crochet stitches (hdc) = 1 inch.
Abbreviations List
- ch: Chain
- sc: Single Crochet
- hdc: Half Double Crochet
- sl st: Slip Stitch
- magic ring: A loop for crocheting in the round.
Special Stitch Instructions
- Half Double Crochet (hdc):
- Yarn over, insert hook into stitch, yarn over and pull through (three loops on hook). Yarn over again and pull through all three loops.
- Working in Back Loops:
- Normally, you crochet through both loops of a stitch. For this pattern, you’ll use the loop farther away on the opposite side to create a ribbed texture.
Finished Size
- Pumpkin Dimensions: Approximately 5–6 inches wide (adjustable based on initial chain).
- Stem Dimensions: About 1–2 inches tall.
The Pattern Itself
Step 1: Starting the Pumpkin Base
- Make a Slip Knot:
- Hold the yarn tail, create a loop, insert your fingers into this loop, and grab the working yarn to pull through.
- Create 30 Chains (or desired size):
- Yarn over, pull through to form chains.
- Note: Add 1 extra chain as your turning chain.
For those unfamiliar with patterns: Start from a chain foundation to set the pumpkin’s width. You can modify the number of chains based on how big or small you want your pumpkin to be.
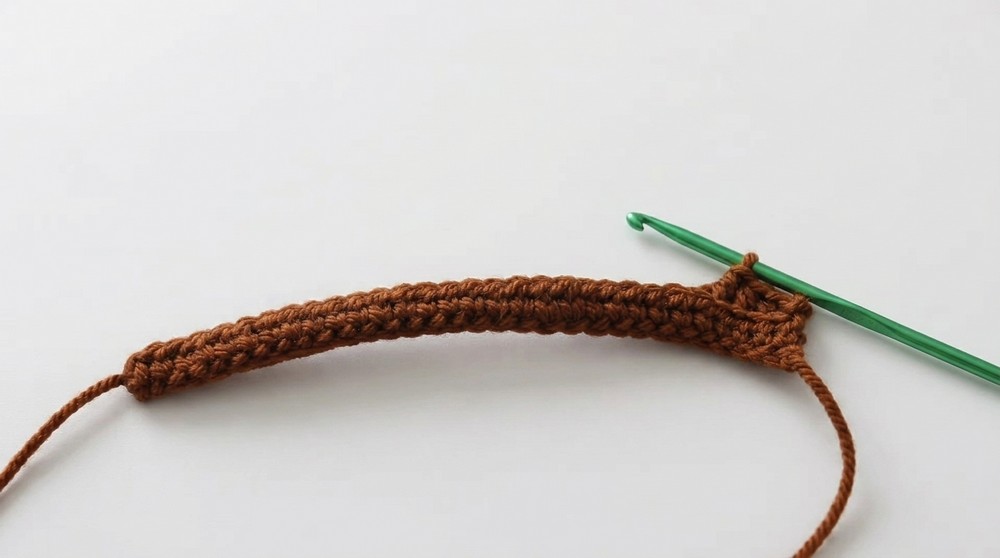
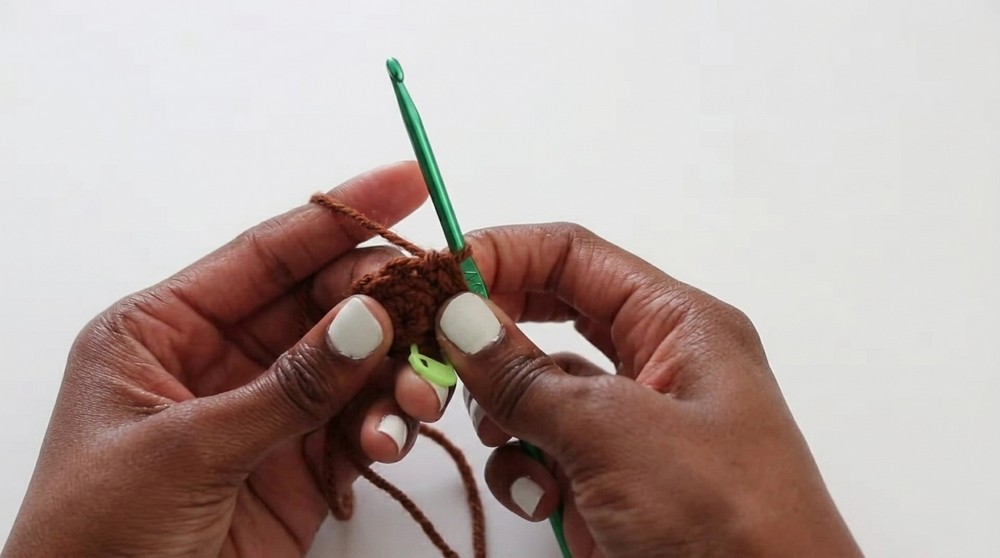
Step 2: Row 1 - Half Double Crochet Across
- Begin in the Second Chain:
- Yarn over and insert your hook into the second chain from the hook.
- Work 1 hdc in every chain across the row.
- Next Steps:
- Chain 1 and turn your work.

➡️ If you’re new to reading patterns: You’re essentially forming the first layer of your pumpkin. Complete one row of half double crochets.
Step 3: Row 2 - Back Loop Half Double Crochet
- Work in the Back Loop:
- After chaining 1 and turning, work a hdc in the back loop only of each stitch across the row.
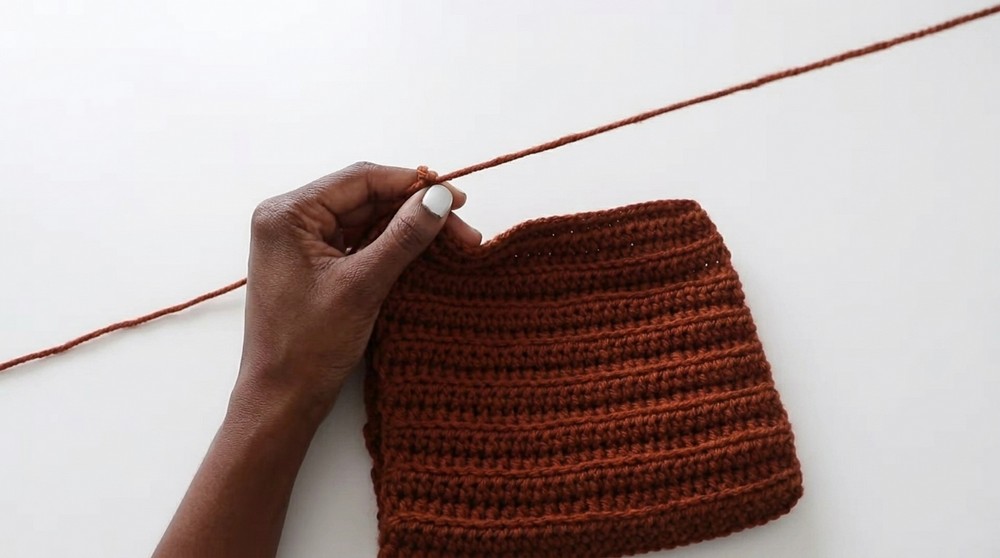
- Repeat for 34 rows:
- Continue working hdc in back loops for each row. Chain 1 and turn at the end of every row.
Summary: This creates the ribbed and textured effect that mimics the ridges and layers of a pumpkin. Keep repeating until you complete 34 rows (or desired height).
Step 4: Sew Pumpkin Together
- Fold Your Work:
- Fold the crochet piece in half, aligning the edges to form a cylindrical shape.
- Single Crochet Seam:
- Begin stitching by working single crochet (sc) into the front loops of both edges. Continue across, securing both edges together.
- Finish the seam but leave a long yarn tail for later use.
Tip: This step converts the flat crochet piece into a tube-like shape, which will serve as the pumpkin base.
Step 5: Closing the Top & Bottom
- Using the Long Tail:
- Thread the yarn tail onto a tapestry needle.
- Weave Around the Edges:
- Work the needle back and forth through the top edge, pulling tightly to close the opening. Repeat for the bottom.
Explanation: You are now creating a rounded shape by closing both openings.
Step 6: Stuffing the Pumpkin
- Add Fiberfill Stuffing:
- Carefully fill the pumpkin until it’s firm and well-shaped.
- Final Closing:
- Continue pulling the yarn tightly to secure the top opening shut.
➡️ Note: This is the stage where your pumpkin takes form. Adjust the stuffing to achieve the desired firmness!
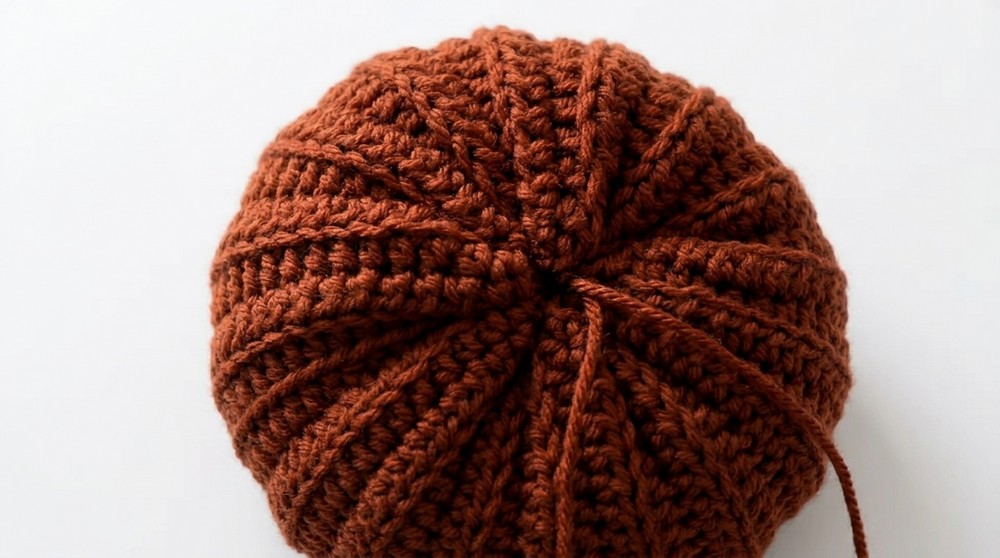
Step 7: Creating the Pumpkin Indents
- Thread Yarn to Create Indents:
- Use a needle and yarn to carefully sew around the pumpkin, pulling tight at intervals to shape the ridges or "bumps."
Tip: This step enhances the pumpkin’s realistic texture and ridges.
Step 8: Making the Stem
- Start a Magic Ring:
- Work 6 sc into the magic ring to form the base.
- Stitch Rounds:
- Continue working in the round, building up the stem with 1 sc in each stitch for 6 rounds.
- Leave a long tail to stitch the stem to the pumpkin.
➡️ Summary: This small cylinder will serve as the pumpkin stem. It’s quick and easy to make!
Step 9: Attaching the Stem
- Position the Stem:
- Place the stem on the center of the pumpkin’s top.
- Sew Securely:
- Use the long yarn tail to sew the stem onto the pumpkin.
Tip: Make sure to stitch securely so the stem stays in place.
Assembly & Finishing
- Weave in Loose Ends:
- Using your tapestry needle, hide any yarn tails to keep the pumpkin neat.
- Optional Decorations:
- Add embellishments like embroidered designs, sequins, or buttons for a personalized touch.
Final Thoughts: The finished pumpkin should now resemble your desired design—complete with ridges, a stuffed body, and a sturdy stem!
Pattern Summary
This project relies on simple crochet techniques like chains, half double crochets, and single crochets with creative shaping methods such as working in back loops and sewing. The pattern is ideal for beginners while still allowing advanced users to experiment with adjustments or decorations.
Celebrate the autumn season by making these adorable pumpkins for your home!