How to Crochet Free Gnome Pattern for Whimsical Decor
Quickly add playful magic to any corner with a Free Crochet Gnome Pattern perfect for all color preferences and occasions.
There’s something truly heartwarming about having a little handmade gnome sitting on your shelf, bringing a touch of luck and cheer to your space. This pattern relies on single crochet stitches worked continuously in rounds, making it straightforward and enjoyable for beginners and experienced crocheters alike. The shaping comes from simple increases and decreases, which form the hat’s charming point and the body’s rounded form without any complicated steps.
Try this Free Crochet Gnome Pattern for Instant Happiness
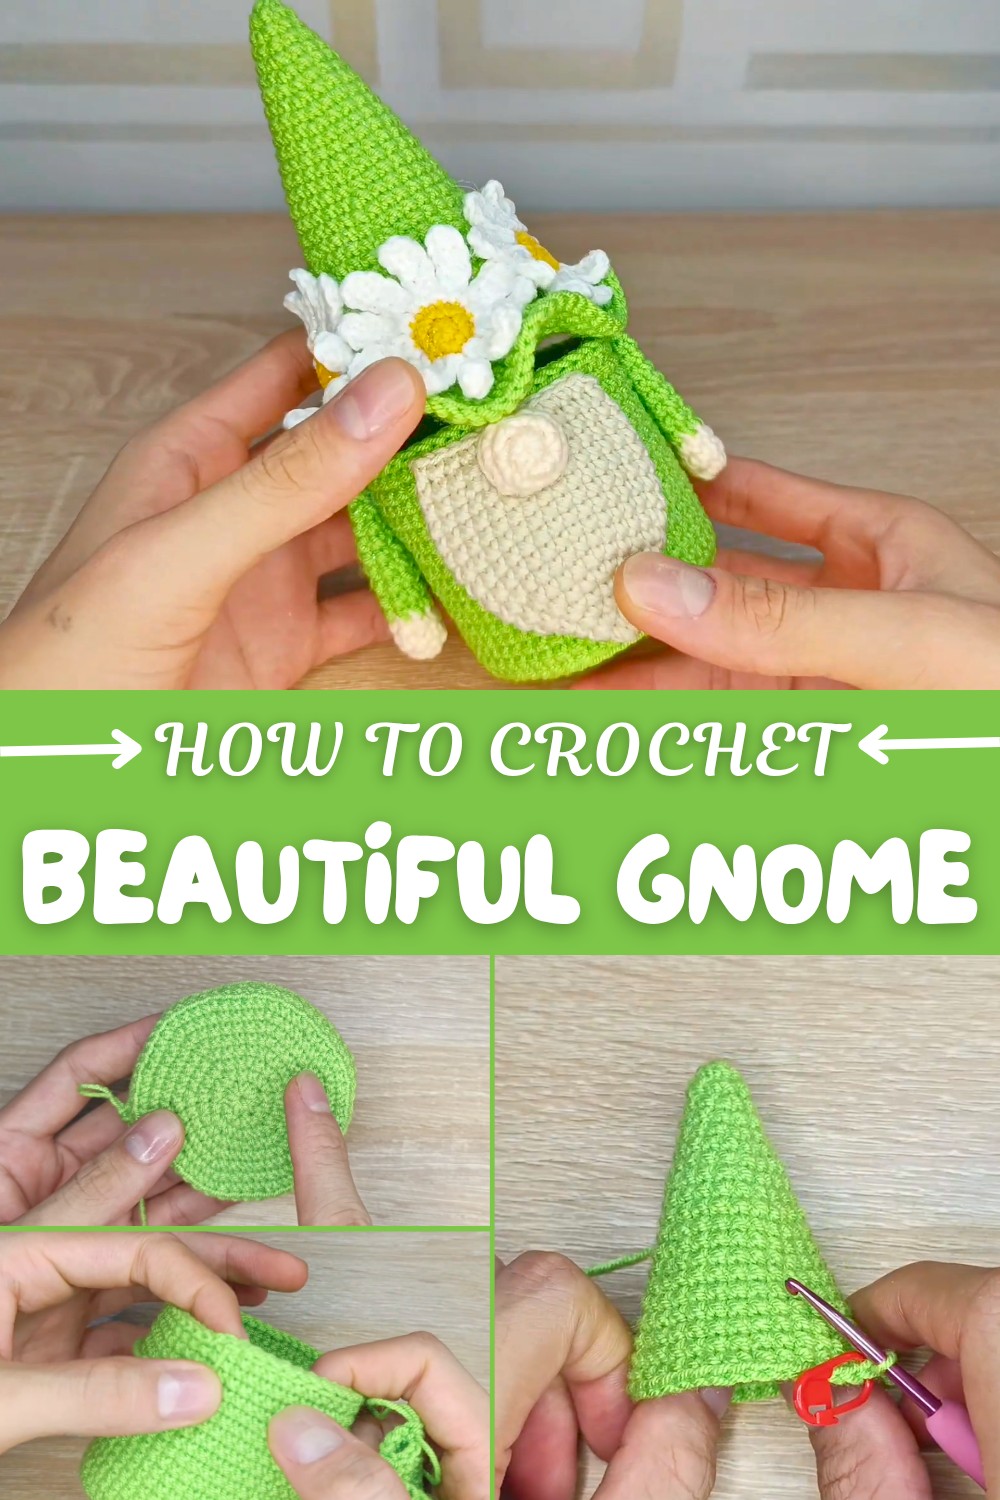
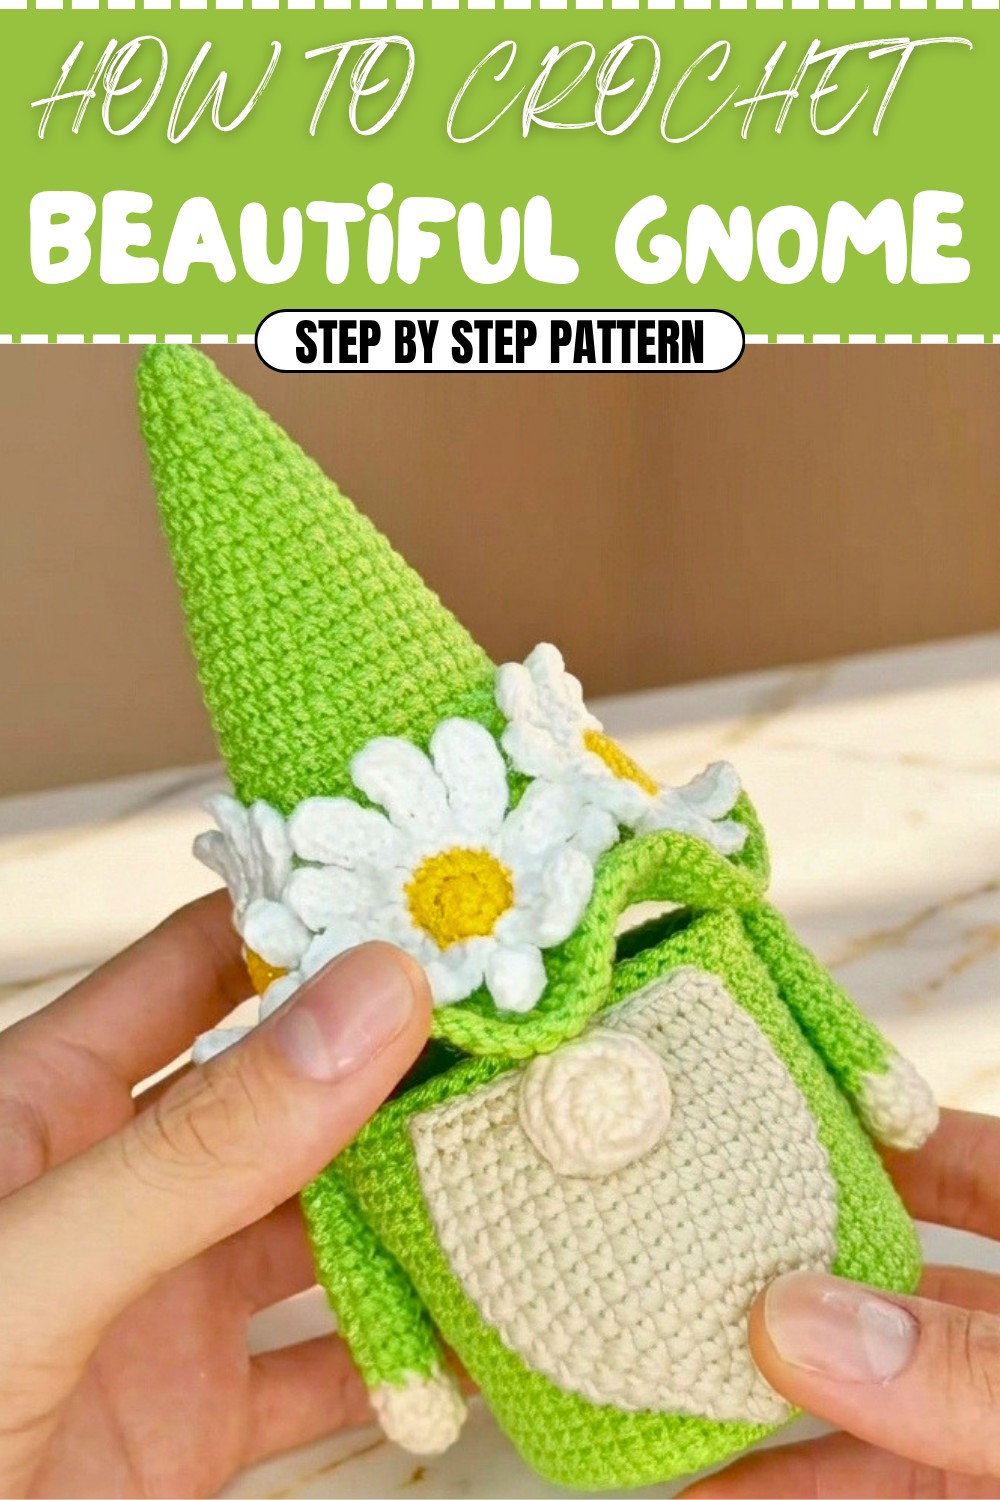
The hat adds a playful character with its mix of colors and is beautifully accented by delicate daisies made using chain stitches and half double crochet, giving a lovely texture and detail. Small arms and a nose add personality, turning what starts as yarn into a delightful, cozy figure that’s perfect for decorating your home, using as a cute organizer, or giving as a thoughtful gift.
Beyond this charming gnome, the techniques used here open the door to many other projects. The single crochet rounds combined with increases and decreases are great for making other figures such as animals or fantasy characters. The delicate daisy petals crocheted with chains and half double crochets can inspire beautiful accents on blankets, scarves, or hats. These stitches provide a wonderful foundation for many creative and fun crochet projects, perfect for adding warmth and personality to your handmade collection.
Skill Level & Terminology
- Skill Level: Confident Beginner to Intermediate
- Terminology: Pattern uses US crochet terms
You should be comfortable working in the round, making increases and decreases, and changing colors.
Materials & Tools
- Yarn weight: Light DK / fine worsted (approx. 2–3 mm thickness) in:
- Main body & hat color (e.g., apple green)
- Skin color (for nose and hands)
- Beard color (white, beige, or light gray)
- Daisy center color (yellow)
- Daisy petal color (white)
- Hook: 3.0 mm recommended (or size appropriate for your yarn)
- Optional alternate: 3.5–4.0 mm hook with slightly thicker yarn gives a larger gnome.
- Notions & supplies:
- Yarn / tapestry needle
- Scissors
- Stitch marker (optional but highly recommended)
- Silicone glue (hot glue or cold liquid) for attaching parts, or sewing if you prefer
- Measuring tape
Gauge
Gauge is not critical, but it affects the final height and diameter.
As a reference with 3.0 mm hook and ~2 mm yarn:
- The body base after Round 9 (54 sc) is about 6.5 cm (2.5–3") in diameter.
If your base is significantly larger or smaller, adjust hook size or number of rounds to keep proportions similar.
Abbreviations
All in US terms:
- MR – Magic ring
- ch – Chain
- sc – Single crochet
- hdc – Half double crochet
- sl st – Slip stitch
- inc – Increase (2 sc in same stitch)
- dec – Decrease (sc2tog – single crochet two stitches together)
- st(s) – Stitch(es)
- BLO – Back loop only
- FLO – Front loop only
Special Stitch Instructions
Magic Ring (MR):
- Wrap yarn around two fingers to form a loop.
- Insert hook under the loop, yarn over, pull up a loop, ch 1 to secure (does not count as a stitch unless specified).
- Work the required number of stitches into the ring and pull tail to close.
BLO / FLO Work:
- BLO: Insert hook into only the back loop (the loop farthest from you) of the stitch.
- FLO: Insert hook into only the front loop (the loop closest to you) of the stitch.
These are used to create sharp edges or ridges for hat brim and base of body.
Finished Size (Approximate)
Using 3 mm hook and light worsted (2–3 mm) yarn:
- Body height: 6.5–7 cm (about 2.5–2.75")
- Body base diameter: 6.5–7.5 cm (about 2.5–3")
- Hat height: Tall, pointed cone approximately 10–12 cm from brim to tip
- Overall gnome height: Around 16–18 cm (6.5–7")
Size will vary slightly with yarn thickness and personal tension.
What You’ll Learn & Why This Pattern Is Fun
From this pattern you will learn:
- Building cylindrical and conical shapes with controlled increases.
- Using BLO/FLO to create edges and separate planes (body base and hat brim).
- Creating small amigurumi details: arms, beard, nose, and layered daisies.
- Using glue (or sewing) to assemble 3D crochet pieces cleanly.
The Pattern Itself
Overview of Construction
- Body – Cylindrical container base in main color.
- Arms – Two small tubes folded and flattened.
- Hat – Tall cone with brim, then ruffled outer edge.
- Daisies – Small round center with white petals.
- Beard – Triangular/leaf-shaped piece.
- Nose – Small sphere.
- Assembly – Glue/sew beard, arms, nose, hat, and daisies to the body.
Below, each part is described. After each part, you’ll find 2–3 plain-language lines summarizing for non-pattern readers.
1. Body (Organizer Base) – Main Color
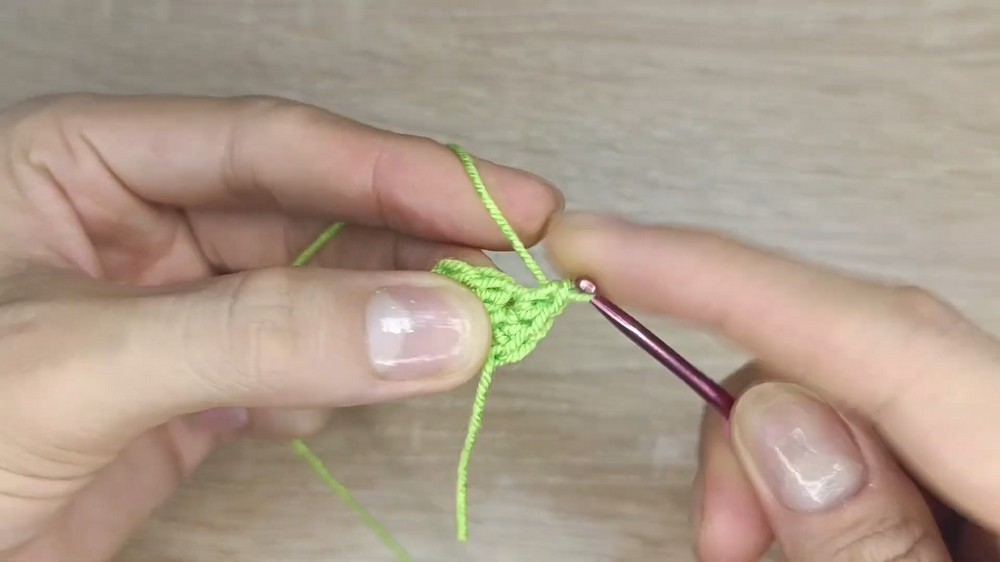
Round 1:
- MR, 8 sc into ring. (8 sts)
R- 2:
- inc in each st around. (16 sts)
R- 3:
- (1 sc, inc) around. (24 sts)
Round 4:
- (3 sc, inc) around. (30 sts)
Round 5:
- (4 sc, inc) around. (36 sts)
Rnd 6:
- (5 sc, inc) around. (42 sts)
Round 7:
- (6 sc, inc) around. (48 sts)
Rnd 8 (balanced increase):
- 3 sc, * (7 sc, inc) * repeat 5 times, 4 sc. (54 sts total)
Round 9 (BLO):
- Working in back loops only, 1 sc in each st around. (54 sts)
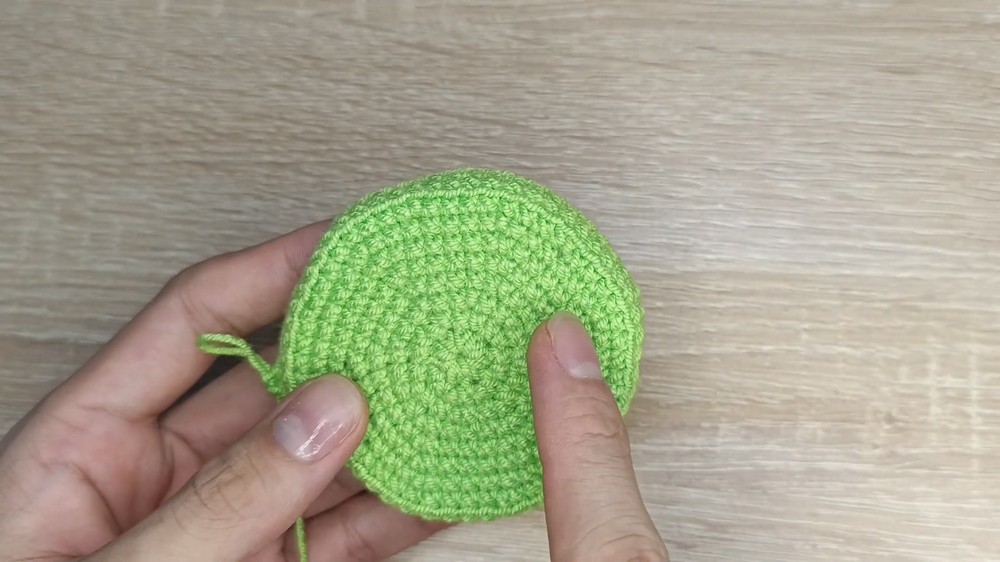
From here the sides grow straight up:
Rounds 10–34:
- Working through both loops, 1 sc in each st around. (54 sts each round)
Fasten off with a sl st, weave or pull end inside body.
summary:
First you crochet a flat circle, increasing each round until you reach 54 stitches. Then you work around only the back loops once to form the wall, and after that you simply go up in single crochet to make a straight cylinder. This becomes the gnome’s body and the “organizer” container.
2. Arms (make 2)
Using skin color for rounds 1–3, then switch to main color.
Rounds 1–3 (skin):
- MR, 6 sc, then 1 sc in each st for 3 rounds total. (6 sts)
Rounds 4–11 (main color):
- Change to main color, 1 sc in each st around. (6 sts per round)
To close the arm:
- Flatten the tube; working through both layers, make 3 sc across to close.
- Ch 1, fasten off.
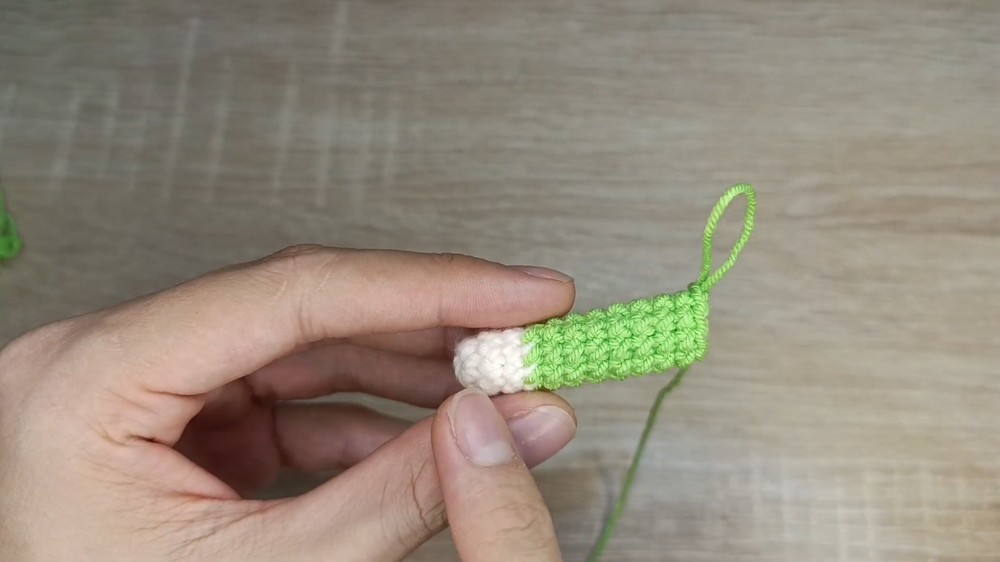
Hide color-change and ends with glue on the “inside” side of the arm.
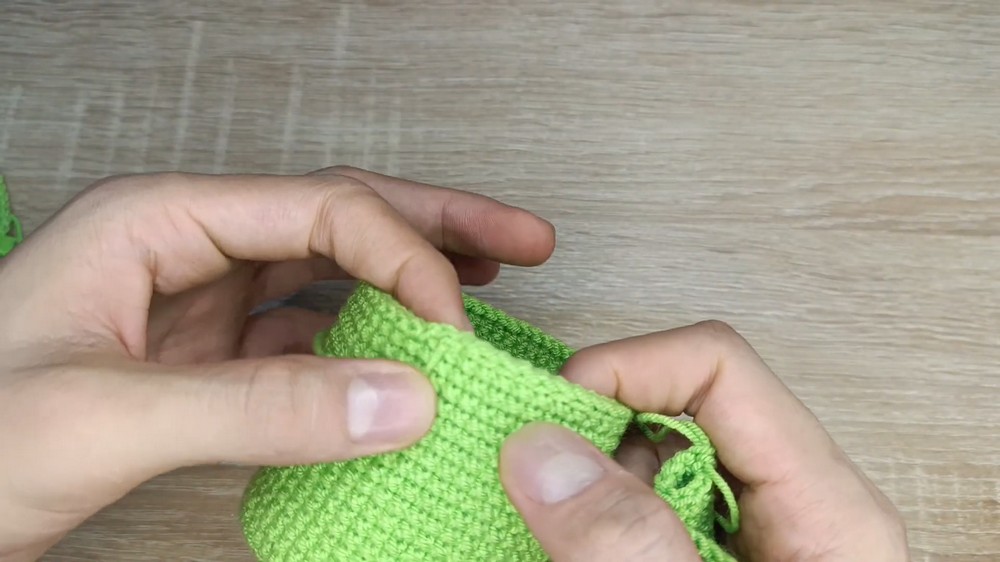
Plain-language summary:
The arms are small tubes starting in skin color, then worked in the gnome’s outfit color. After making a short tube, you flatten and close one end, then glue the color-change side to hide it. You’ll attach these later to the body as the gnome’s arms.
3. Hat – Main Color
Rounds 1–22 (Cone section)
This section builds a gradually widening cone by increasing roughly 2 stitches every round, as described in the video. A compact written summary:
- Round 1: MR, 6 sc. (6)
- Round 2: (2 sc, inc) around. (8)
- Round 3: (3 sc, inc) around. (10)
- Round 4: (4 sc, inc) around. (12)
- Round 5: (5 sc, inc) around. (14)
- Round 6: (6 sc, inc) around. (16)
- Round 7: (7 sc, inc) around. (18)
- Round 8 (offset increases):
- 4 sc, 8 sc, inc twice, then finish with 4 sc. (20 sts)
- Round 9: sc in each st. (20)
- Round 10: (9 sc, inc) around. (22)
- Round 11: (10 sc, inc) around. (24)
- Round 12: sc in each st. (24)
- Round 13: (11 sc, inc) around. (26)
- Round 14: (12 sc, inc) around. (28)
- Round 15: sc in each st. (28)
- Round 16: (13 sc, inc) around. (30)
- Round 17: sc in each st. (30)
- Round 18: (9 sc, inc) around. (33)
- Round 19: (10 sc, inc) around. (36)
- Round 20: sc in each st. (36)
- Round 21: (11 sc, inc) around. (39)
- Round 22: (12 sc, inc) around. (42)
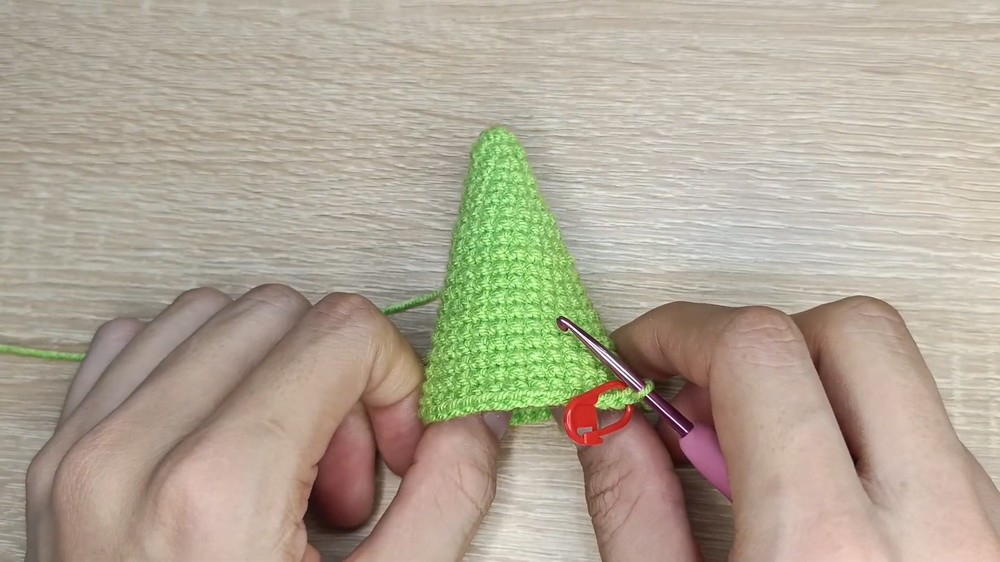
You should now have a tall cone that sits nicely over the body.
Rounds 23–29 (Straight sides before brim):
- 1 sc in each st around. (42 sts each round)
This creates a straight lower section of the hat.
Round 30 (start brim – FLO):
- Working in front loops only, (2 sc, inc) around. (56 sts)
Round 31:
- Back to both loops, (3 sc, inc) around. (70 sts)
At this point the brim lies flat.
Round 32 (ripple/ruffle effect):
- 4 sc, inc, inc (two increases in a row); repeat around. (90 sts)
Round 33:
- sc in each st around. (90 sts)
- Sl st to join, fasten off, weave in end into brim.
The hat starts as a pointy cone built by slowly increasing stitches. Then you work several rounds straight to give it height. The brim is made by first using front loops, then adding more increases and even some double increases to make it flare and ripple slightly. The result is a tall, whimsical gnome hat that sits over the beard and nose.
4. Daisies (make 2–3)
Center (yellow):
- Round 1: MR, 5 sc. (5)
- Round 2: inc in each st around. (10)
- Round 3 (BLO): sc in each st. (10)
- Round 4: 5 dec (sc2tog 5 times). (5)
- Fasten off with long tail, close the small opening as shown (just flatten and stitch across); do not stuff.
You now have a flat small circle with visible back loops on the back for petals.
Petals (white, using smaller hook if desired):
Working into each of the 10 exposed BLO loops around the center:
For each petal:
- Join white to a BLO loop.
- Ch 5.
- Work back along the chain: 4 hdc (one in each ch, starting from 2nd ch from hook).
- Sl st into the same BLO loop.
- Sl st into the next BLO loop to move along and repeat.
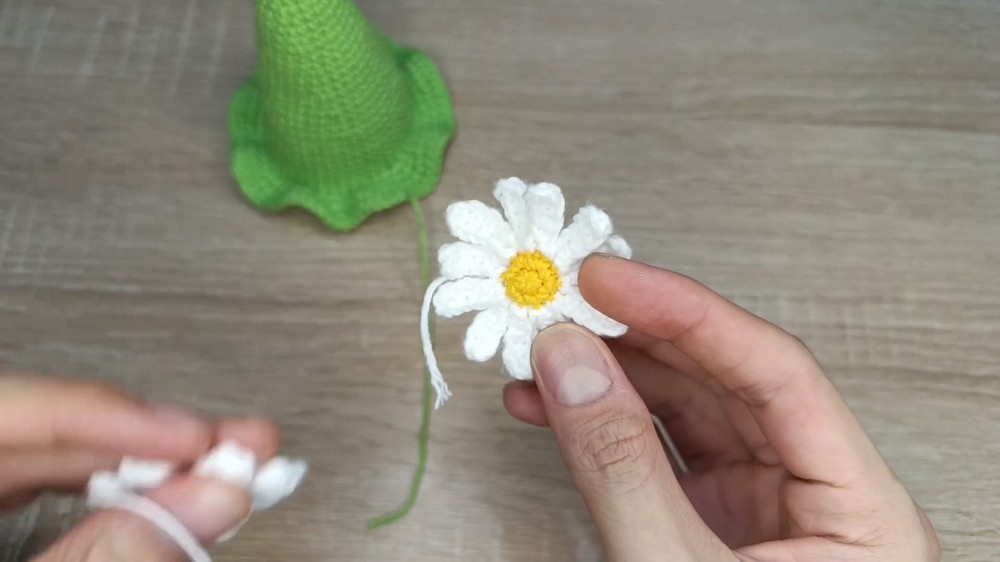
Repeat around for 10 petals in total. Fasten off and weave in or glue ends under the center.
Each daisy starts with a small yellow circle, then you work white chains from the back loops to form long oval petals. You make ten petals around so it looks like a full daisy. These daisies will decorate the hat.
5. Beard
Using beard color (white, beige, or gray):
Round 1:
- MR, 6 sc. (6)
R- 2:
- (1 sc, inc) around. (9)
Round 3:
- (2 sc, inc) around. (12)
Round 4:
- (1 sc, inc) around. (18)
R- 5:
- (2 sc, inc) around. (24)
Rnd 6:
- (3 sc, inc) around. (30)
Rounds 7–13:
- sc in each st around. (30 each round)
Round 14:
- (3 sc, dec) around. (24)
Flatten beard, then work sc all along the open edge, going through both layers to close and shape into a flat, leaf-like triangle. Ch 1, fasten off, leaving enough tail if sewing (or trim if gluing).
The beard is made like a rounded triangle: you increase for several rounds, then work straight, then do a decrease round to narrow the top. After that, you flatten it and single crochet along the edge to seal it. It looks like a broad leaf or pointed beard that sits under the nose.
6. Nose
Using skin color:
Round 1:
- MR, 6 sc. (6)
Rnd 2:
- inc in each st around. (12)
Rnd 3:
- sc in each st around. (12)
Sl st, fasten off leaving a short tail if gluing (longer if sewing). No stuffing or just a tiny bit – it should be round but not too large.
Plain-language summary:
The nose is a small ball: a magic ring with 6 stitches, increased to 12, then one plain round. You cut the yarn and later glue or sew it right above the beard on the front of the body.
Assembly & Finishing
-
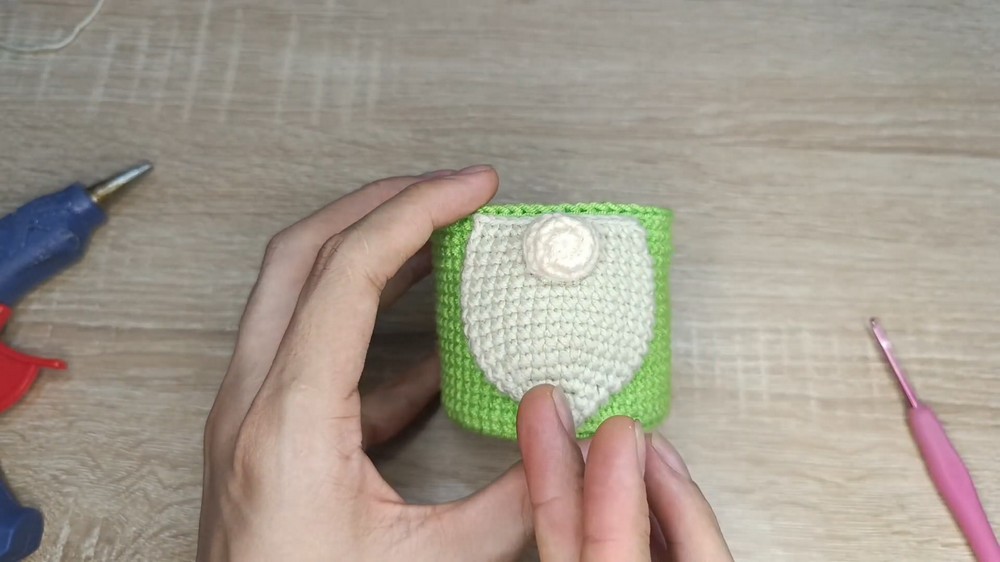
Attach Beard to Body:
- Center the beard on the front of the cylindrical body so the point of the beard sits near the lower edge, but the top leaves room for the nose and hat brim.
- Glue (or sew) the top flat edge of the beard onto the body, hiding its top seam.
- Attach Nose:
- Place the nose centered above the beard, leaving about 1 cm (a finger-width) gap from the top of the beard.
- Glue or sew securely.
-
Attach Arms:
- Position each arm on the sides of the body at roughly the height of the nose/beard join.
- The glued/color-change side faces inward against the body.
- Use equal stitch counting or finger spacing (e.g., 5 sts or about 2 fingers from center) to keep them symmetrical.
- Glue or sew.
-
Hat Placement:
- Place the hat over the top of the body so that the brim sits just above the nose, partly covering the top of the beard.
- You may glue the hat in place or leave it removable if it fits snugly.
-
Add Daisies:
- Glue 2–3 daisies around the hat brim or on the hat itself as decoration.
- Trim and hide any yarn tails under the flowers with glue.
-
Final Touches:
- Check that all parts are securely attached.
- Massage and shape the beard, petals, and hat brim so everything lies neatly.