
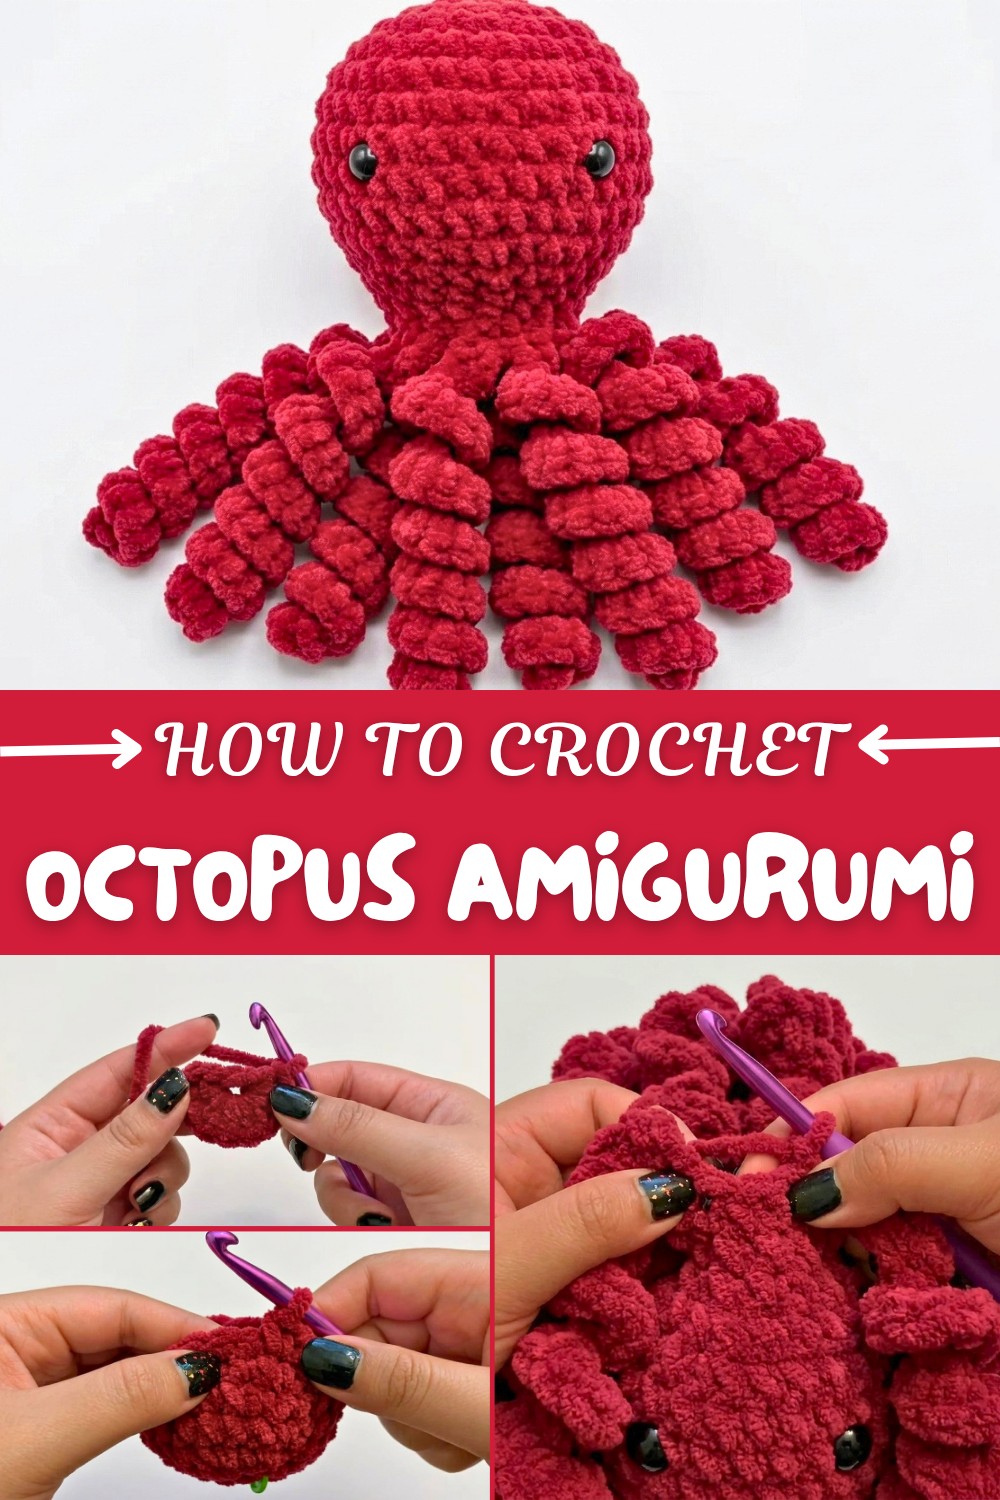
How to Crochet Octopus Amigurumi Pattern for Kids Room Decor
Lift spirits with a Free Crochet Octopus Amigurumi Pattern that’s quick, beginner-friendly, and guaranteed to delight all ages.
There’s something truly magical about bringing a little underwater friend to life with just yarn and a hook! Using soft, chunky yarn, this project lets you create an irresistibly squishy octopus with eight curly tentacles that make it extra cuddly and fun. Although this yarn is thicker than what you might usually use for amigurumi, it adds a cozy texture that gives your octopus a unique charm. In this pattern, you’ll work with basic but essential crochet techniques like the magic circle, single crochet, increases, and invisible decreases, along with chains that help shape those perfect tentacles.
Playful Free Crochet Octopus Amigurumi Pattern for Ocean Gifts
Starting with the magic circle allows you to crochet a tight and neat center, which is key for shaping the octopus’s round head. The project grows as you increase stitches in the early rounds, then keeps the stitch count steady for the body length before smoothly decreasing to close the top. Learning the invisible decrease stitch here is especially helpful since it creates neat, almost invisible joins that keep your toy looking professional. The tentacles are made by chaining a length and then crocheting back with increases, creating a lovely curl that perfectly mimics real octopus limbs.
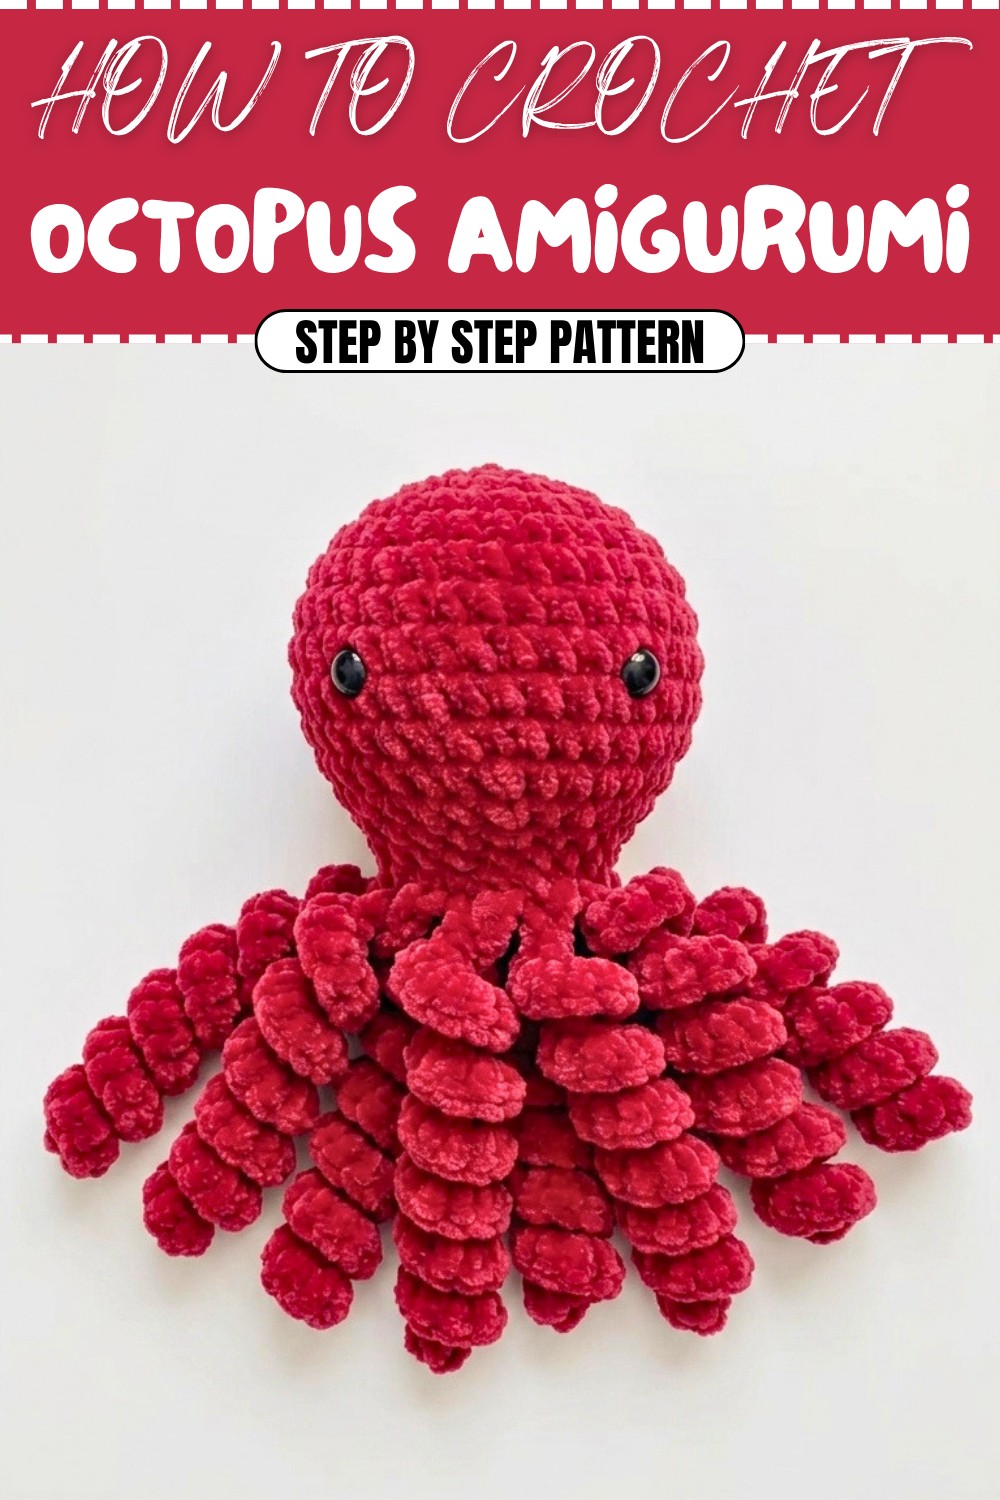
This adorable amigurumi octopus pattern is perfect as a decorative piece, a handmade gift, or a soft cuddly companion for kids. The fun part is you can customize it endlessly by choosing different yarn colors and textures to suit your style or brighten someone’s day!
Unlock More Crochet Possibilities
Mastering the magic circle, increases, decreases, and working with chains in this pattern opens the door to creating other charming sea creatures like starfish, crabs, or playful fish. These core skills are the foundation for making all sorts of amigurumi animals, so after this octopus, your creativity can swim freely toward countless new crochet adventures!
Crochet Pattern: Plush Octopus
This plush octopus crochet pattern is perfect for creating a soft and cuddly amigurumi, thanks to the use of Bernat Baby Blanket Yarn. While this yarn is not traditionally used for amigurumi, it creates a charming, oversized, and fluffy octopus that is perfect for gifts or cuddling. The project incorporates single crochet (sc), magic circle, increases, invisible decreases, and chains, and is suitable for intermediate crocheters or adventurous beginners.
This step-by-step guide will walk you through making the octopus, from its round body to its charming tentacles. To get started, gather your supplies, follow the instructions, and enjoy bringing your octopus to life!
What You'll Learn from This Pattern
- Magic Circle Technique: Start amigurumi projects with a neat and closed foundation.
- Invisible Decrease: Achieve a professional finish when shaping your pieces.
- Tentacle Curling Technique: Use simple chains and stitches to create spiral effects.
- Working with Bulky Yarn: Adapt amigurumi techniques for unconventional yarns.
This pattern is packed with valuable skills you can use for other plush projects as well!
Skill Level & Terminology
- Skill Level: Intermediate
- Crochet Terminology: US terms
Materials & Tools
- Yarn: Bernat Baby Blanket Yarn or similar bulky-weight yarn (Holly Berry color for the body and tentacles).
- Hook Size: 6.5 mm crochet hook (a 7 mm or 8 mm hook can also work).
- Stuffing: Polyester fiberfill or fabric scraps for stuffing.
- Safety Eyes: 14–16 mm safety eyes (optional, or embroider the eyes).
- Stitch Marker: Helps to keep track of rounds.
- Tapestry Needle: For sewing and finishing.
- Scissors: For cutting yarn.
Gauge
Gauge is less important for this design. Just ensure your stitches are tight enough to prevent the stuffing from showing through.
Abbreviations List
- ch: Chain
- sc: Single Crochet
- inc: Increase (2 single crochets in the same stitch)
- dec: Decrease (2 single crochets reduced into 1 stitch)
- sl st: Slip stitch
- flo: Front Loop Only
- blo: Back Loop Only
Special Stitch Instructions
Magic Circle:
- Form a loop with your yarn, insert your hook into the center, pull the working yarn through, and chain to secure.
Invisible Decrease:
- Insert your hook into the front loop only of the first stitch, then into the front loop only of the next stitch. Pull up a loop through both loops, yarn over, and pull through all loops on the hook.
Finished Size
Using Bernat Baby Blanket Yarn, the finished octopus will measure approximately 10–12 inches tall, depending on your tension and hook size.
The Pattern Itself
Head and Body (Main Color Yarn)
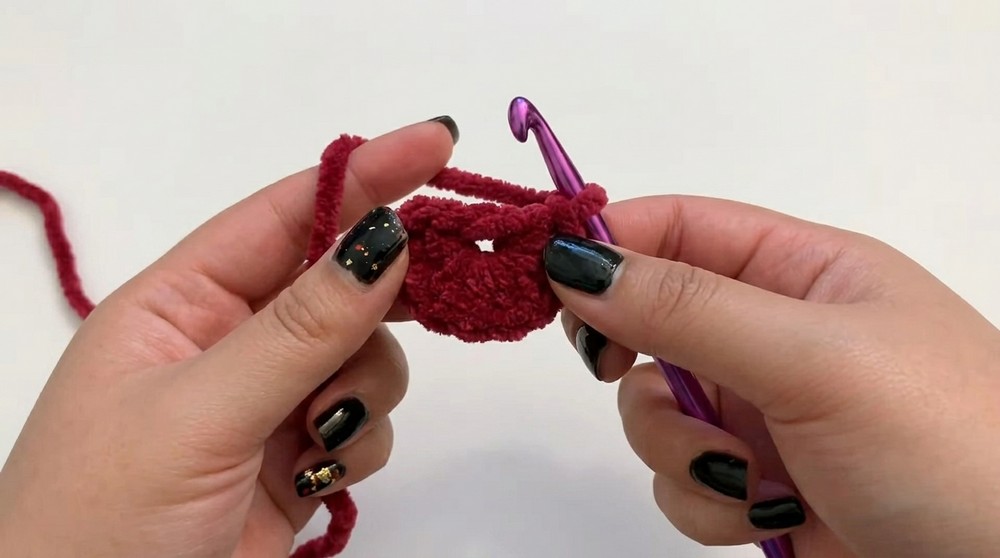
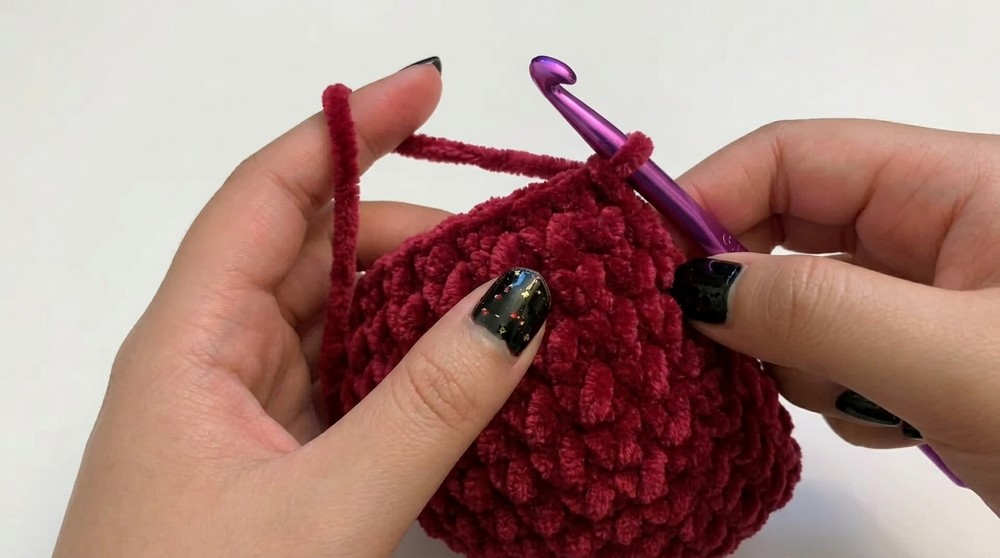
- Round 1:
- Create a magic circle and work 6 sc into the circle. Pull the tail to tighten. [6 stitches]
Explanation: This forms the tiny center of the octopus head.
- Create a magic circle and work 6 sc into the circle. Pull the tail to tighten. [6 stitches]
- Round 2:
- Inc in each stitch (work 2 sc in each stitch). [12 stitches]
- Round 3:
- Repeat: 1 inc, 1 sc around. [18 stitches]
- Round 4:
- Repeat: 1 inc, 2 sc around. [24 stitches]
- Round 5:
- Repeat: 1 inc, 3 sc around. [30 stitches]
- Round 6:
- Repeat: 1 inc, 4 sc around. [36 stitches]
Tip: This is the final increase round for the head; the large stitch count allows the octopus to have a nice, bulbous head.
- Repeat: 1 inc, 4 sc around. [36 stitches]
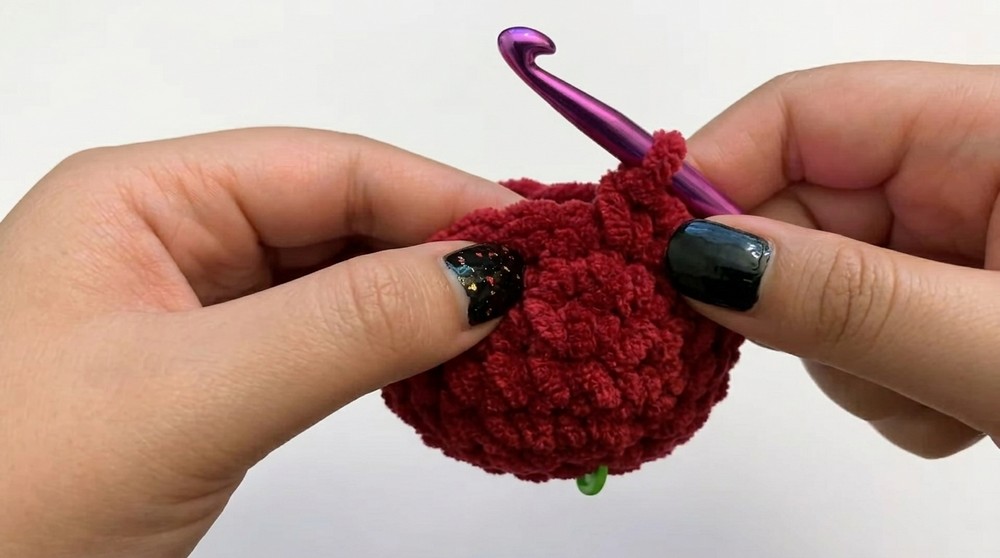
Shaping the Head
- Rounds 7–11:
- Work 1 sc in each stitch for 5 rounds. [36 stitches per round]
Note: These rounds form the length of the head and create the classic round shape.
- Work 1 sc in each stitch for 5 rounds. [36 stitches per round]
- Round 12 (Start Decreasing):
- Repeat: 1 invisible dec, 4 sc around. [30 stitches]
- Round 13:
- Repeat: 1 invisible dec, 3 sc around. [24 stitches]
- Round 14:
- Repeat: 1 dec, 2 sc around. [18 stitches]
- Round 15:
- Repeat: 1 dec, 1 sc around. [12 stitches]
- Stuff the Head:
- Begin stuffing the head firmly but evenly. Mold it to maintain a rounded shape.
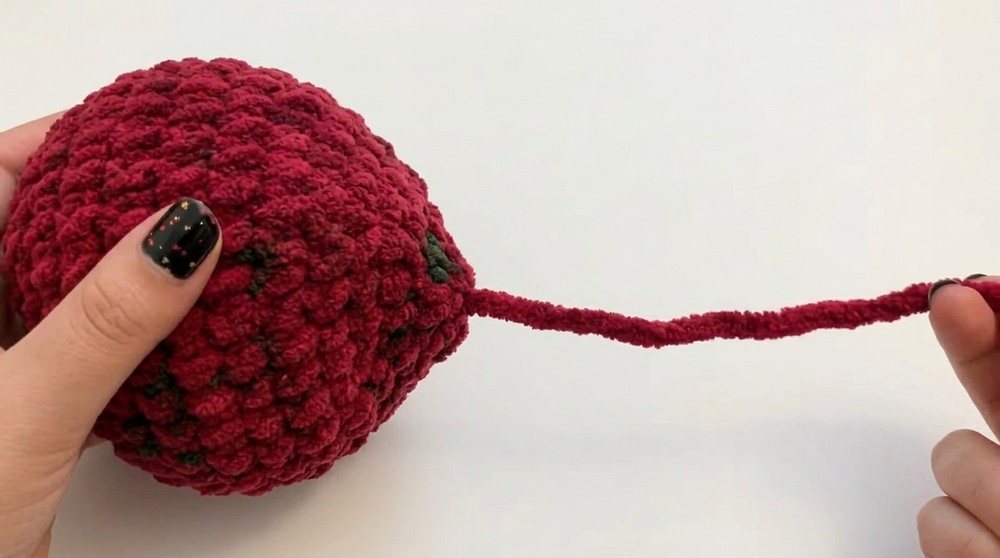
- Round 16 (Close the Head):
- Repeat: 1 dec in every stitch around. [6 stitches]
- Fasten off, leaving a long tail. Use the tail to weave through the final 6 stitches and pull tight to close.
Congratulations! The head and body of your octopus are now complete.
- Repeat: 1 dec in every stitch around. [6 stitches]
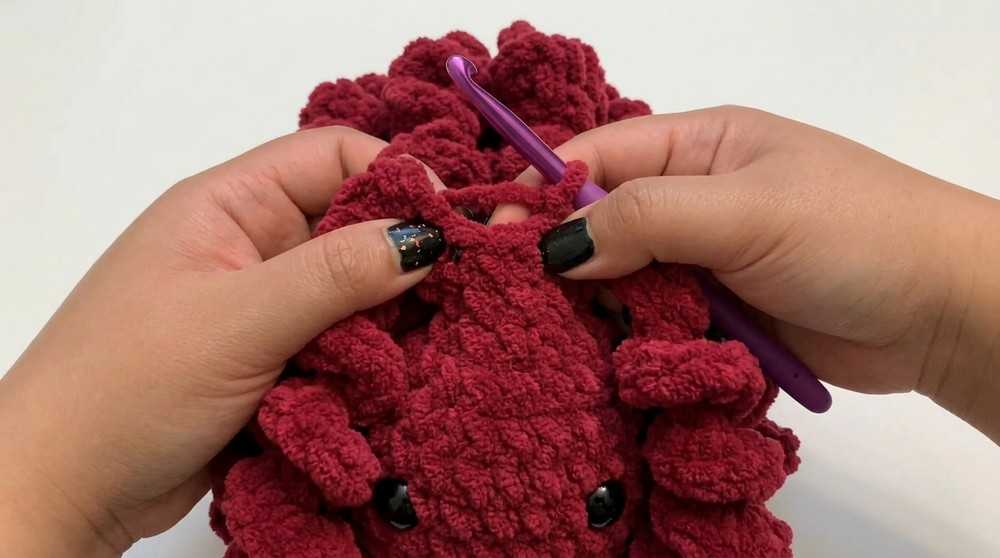
Tentacles (8 Total)
- Foundation:
- Attach your yarn to any stitch at the bottom of the body with a slip stitch.
- Chain 30:
- Single crochet back down the chain with 2 sc in each stitch to create the curl.
- Anchor Tentacle:
- At the base of the chain, single crochet into the next available stitch to secure the tentacle.
- Spacing:
- Repeat: Single crochet into the next 2 stitches before starting the next tentacle.
- Create All Tentacles:
- Repeat Steps 2–4 until you have 8 tentacles in total.
Reminder: The tentacles will naturally spiral as you crochet back along the chains.
- Repeat Steps 2–4 until you have 8 tentacles in total.
Eyes (Optional)
- Safety Eyes:
- Insert the safety eyes between Rounds 7 and 8, approximately 7–9 stitches apart.
- Secure them with the included backings.
- Embroidered Eyes:
- Use embroidery thread to add sleepy or happy expressions.
Tip: Feel free to add blush or other small details with blush powder or yarn.
- Use embroidery thread to add sleepy or happy expressions.
Assembly & Finishing
- Weave in Loose Ends:
- Use the tapestry needle to weave in and secure all visible yarn ends.
- Tentacle Placement:
- Ensure all 8 tentacles are evenly spaced and securely attached to the body.
- Final Shaping:
- Adjust the stuffing inside the body and head to make sure your octopus holds its shape well.
Why I Love This Pattern
This project creates an oversized, cuddly octopus that is soft, playful, and irresistible. I love how the bulky yarn provides an effortless plush feel while still being quick to stitch up. The tentacles add a whimsical touch, and it’s easy to customize in different colors or sizes. Whether as a gift or decor, this octopus will bring joy to anyone who sees it!
Difficulties and Solutions
One of the main challenges with this pattern is working with Bernat Baby Blanket Yarn, as its thickness and fluffiness can make it hard to see individual stitches. Additionally, beginners may find creating the curly tentacles and handling decreases a bit tricky. To overcome this, use a stitch marker to keep track of your stitches and practice techniques like the invisible decrease on scrap yarn before starting. For the tentacles, ensure each chain is evenly worked, and remember they will naturally curl as you increase stitches along the chain. Patience and careful stitch placement will help you successfully complete this pattern!