
Crochet Little Sea Fish Pattern for Playful Ocean Friends
Find joy in making small gifts with a free crochet little sea fish pattern everyone loves for its quick and bright design.
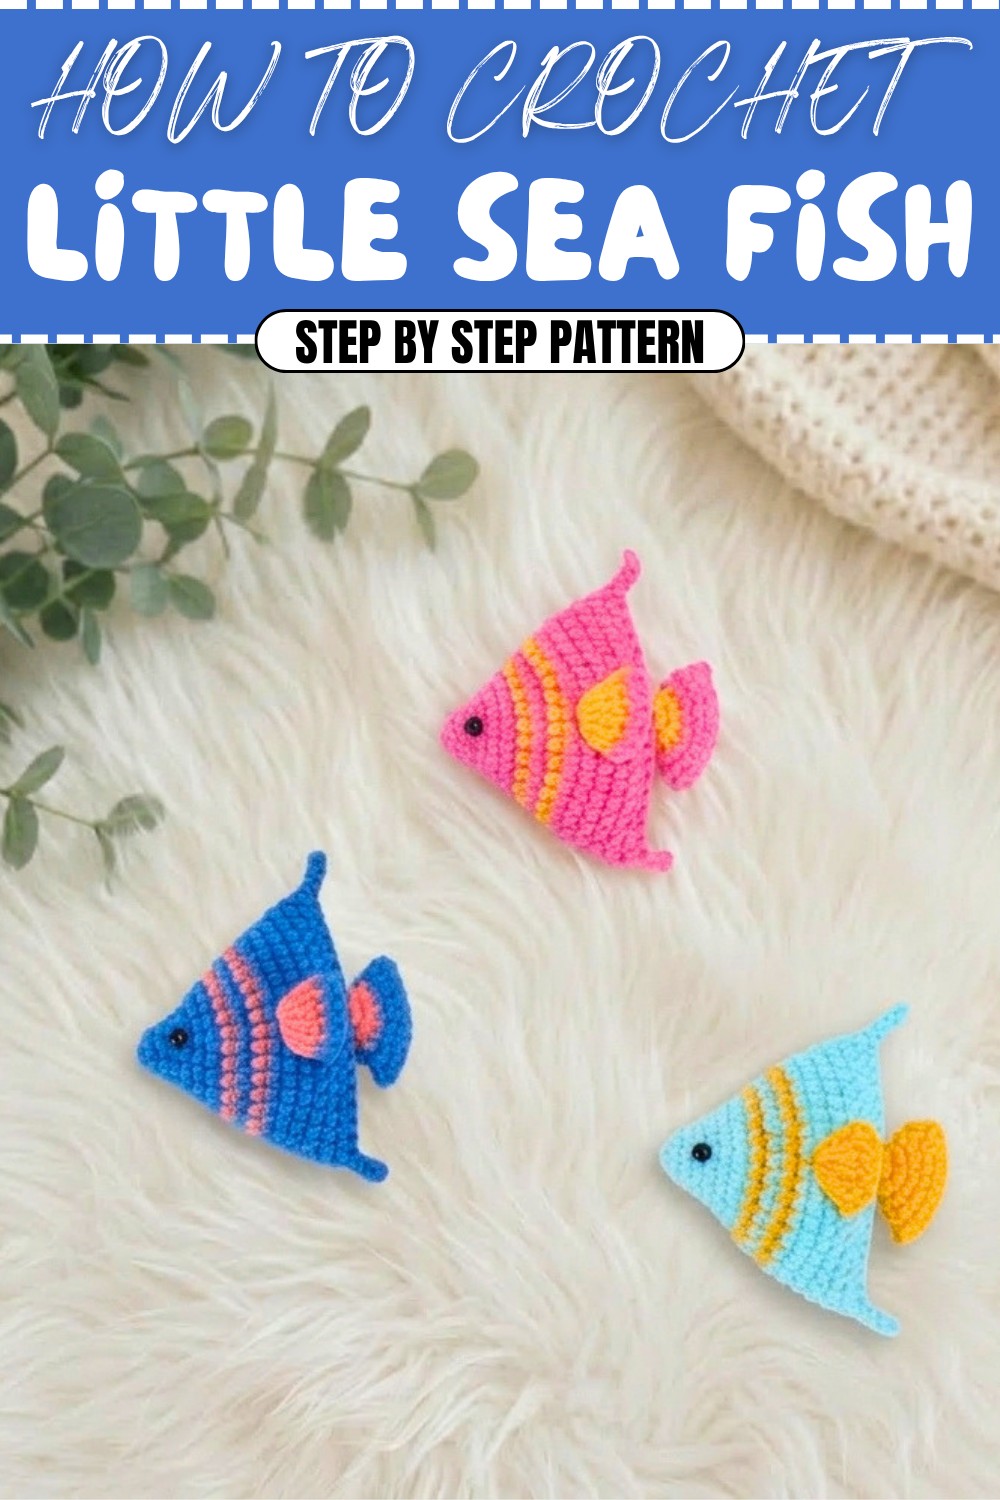
Fall into a fun and creative world of crochet with this charming Little Sea Fish Pattern! Crocheting an adorable little fish in any color combination you can dream of—pink and yellow, blue and light blue, or playful multicolor shades. With endless creative freedom, each fish you make can feel completely unique and personalized. Designed to be double-sided, this pattern creates a seamless fish that looks beautiful from every angle. Whether you want to use them as nursery decor, playful toys, or add them to an underwater-themed garland, these crochet fish are super versatile and satisfying to make.
Free Crochet Little Sea Fish Pattern for Wonders Delight
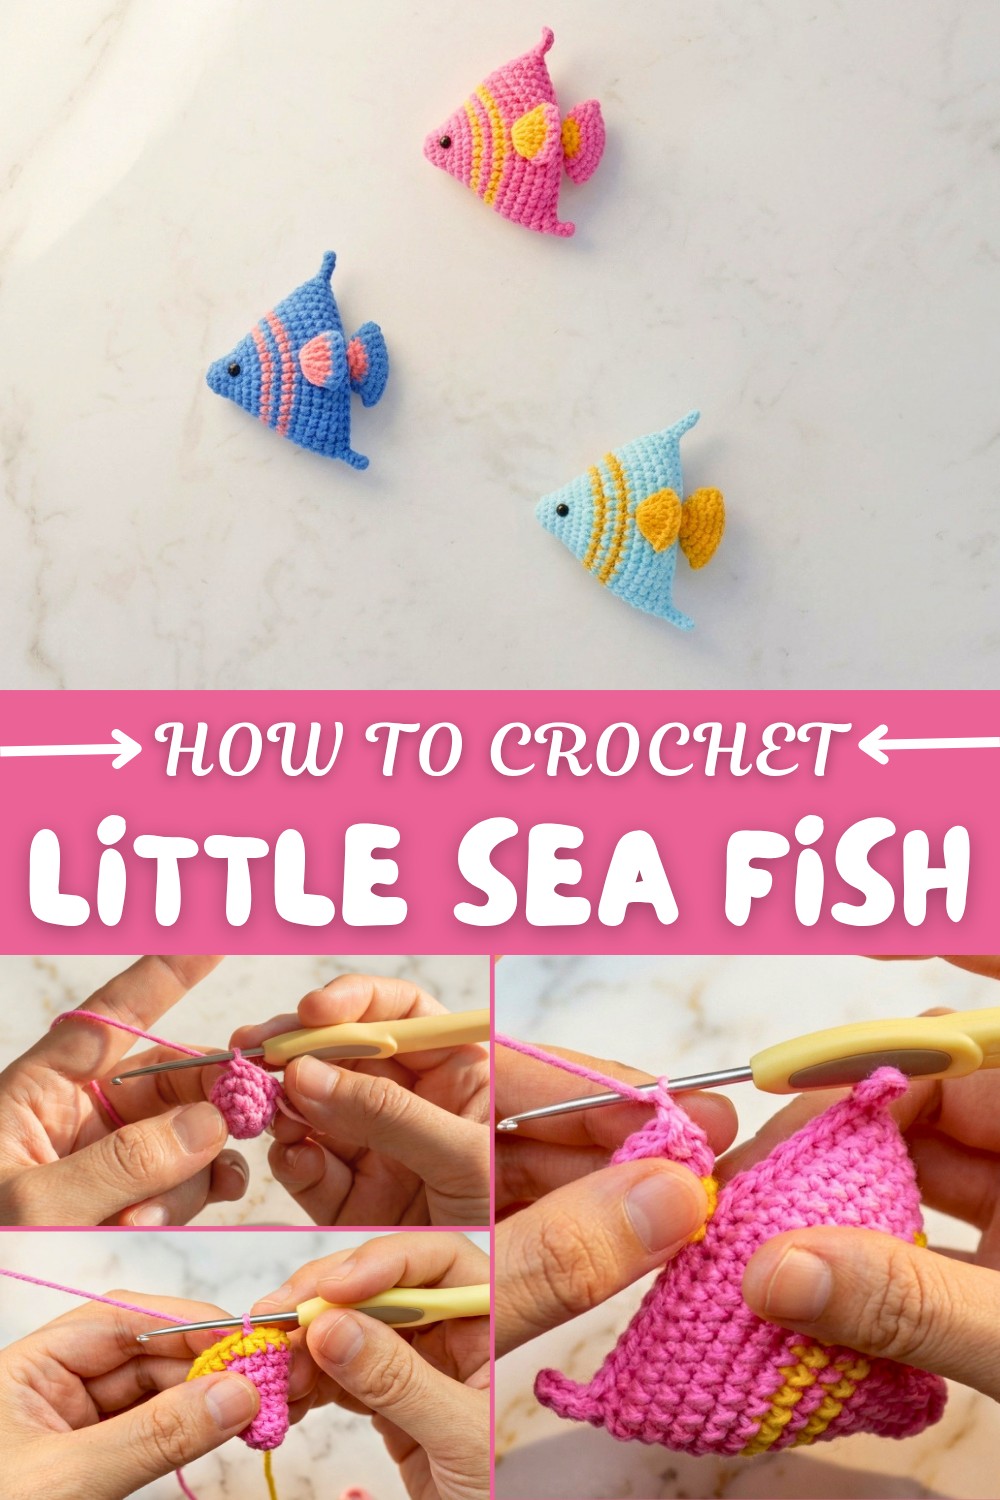
This pattern uses beginner-friendly techniques, such as the magic ring, single crochet (sc), double crochet (dc), and slip stitches (sl st). It also introduces fun methods, like how to change yarn colors and use fiberfill for stuffing, making the fish body come alive with a 3D effect. If you're new to crochet or simply looking for a quick and fun project that allows for customization, this is the perfect pick for you! Grab some colorful yarn, experiment with different combinations, and create a whole school of vibrant sea creatures.
Other Things You Can Crochet From This Pattern
Once you’ve mastered this playful fish, you can create:
- Underwater garlands for parties or nursery decorations.
- Keychains or bag charms by making smaller fish variations.
- Toys and baby mobile hangings for whimsical gifts.
- Plush cushions or pillows by scaling the pattern up with chunky yarn.
Why You'll Love This Pattern
- Beginner-friendly yet creative.
- Endless customization for colors and sizes.
- Quick and rewarding project with versatile uses.
- Perfect way to use leftover yarn from previous creations!
Make your crochet journey joyful and colorful with this adorable pattern!
Crochet Little Sea Fish – Step-by-Step Pattern
Fall into the world of crochet and bring to life a vibrant and playful sea fish! This delightful pattern encourages creative combinations of colors for the body, fins, and tails. It’s perfect for beginners and seasoned crocheters alike, thanks to its simplicity and versatility. This sea fish pattern uses essential stitches like single crochet (sc), slip stitch (sl st), and double crochet (dc) to form its 3D shape. Whether you’re crafting decor, creating a nursery mobile, or making a cute gift, this project is bound to make waves!
Skill Level & Terminology
- Skill Level: Beginner to Advanced Beginner
- Terminology: US Crochet Terms
Materials & Tools
- Yarn: Worsted Weight (Size 4) – Choose any colors for the body and fins. Examples:
- Body: Pink and yellow
- Fins/Tail: Contrasting or matching colors
- Hook Size: 3.5 mm or 4.0 mm crochet hook
- Other Tools: Scissors, stitch marker, fiberfill for stuffing, safety eyes or beads, yarn needle
Gauge
Gauge isn’t critical for this design, but aim to keep stitches tight enough to hold the stuffing.
Abbreviations List
- ch: Chain
- sc: Single Crochet
- sl st: Slip Stitch
- dc: Double Crochet
- inc: Increase (2 single crochets in one stitch)
- st(s): Stitch(es)
- BLO: Back Loop Only
Special Stitch Instructions
- Magic Ring: Create a loop with the yarn end crossed over, insert the hook, pull through a loop, and secure with a chain to start your stitches within the ring.
- Increase: Work 2 single crochets in the same stitch to expand the diameter of a round.
Finished Size
Approximately 5 inches in length. Adjustable based on yarn weight and hook size.
What You Will Learn from This Pattern
This delightful pattern helps expand your crochet skills while creating something charming:
- How to use a magic ring for seamless circular starts.
- Techniques for increasing stitches to shape the fish body.
- How to change colors smoothly for stripes or contrast.
- Working with fiberfill for stuffing and shaping the fish.
- Adding finishing touches, such as attaching fins and tails.
The Pattern Itself
Fish Head & Body
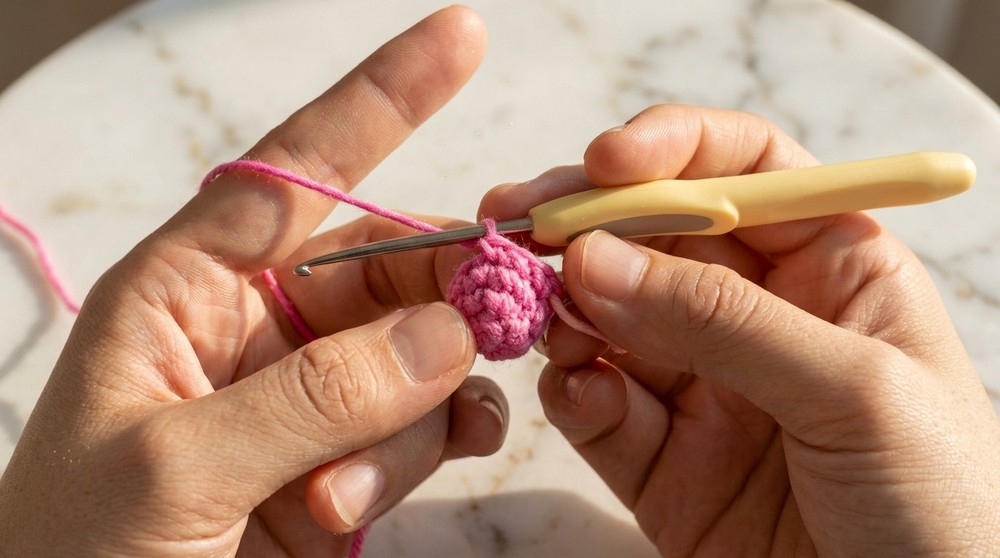
R1: Start with a magic ring. Ch 1, then crochet 6 sc into the ring. Tighten the ring and sl st into the first stitch to close (6 sts).
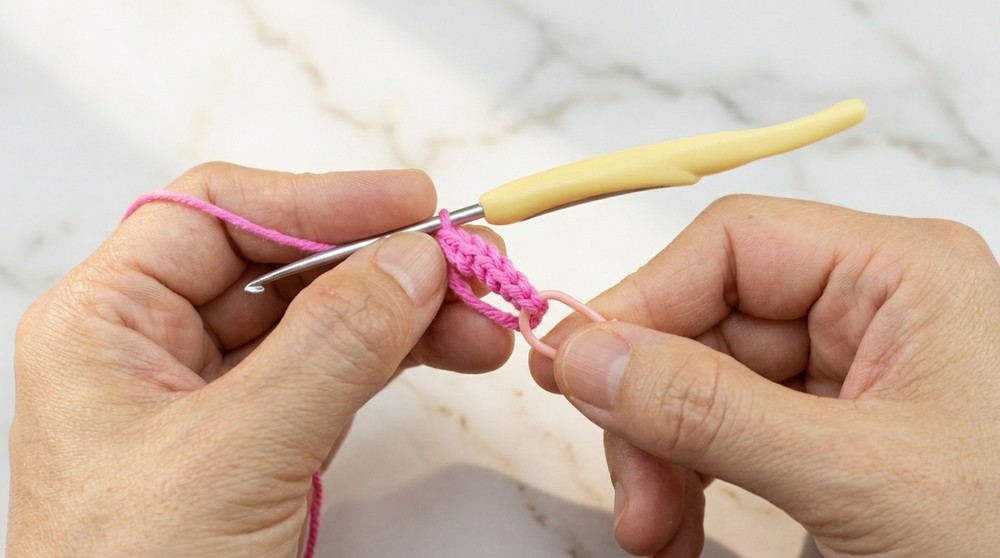
👉 This round forms the fish’s circular head.
R2: Ch 1, work (1 inc, 1 sc) around. Repeat 3 times (9 sts).
This round slightly expands the circumference of the fish head.
R3: Ch 1, work 1 sc in each stitch around (9 sts).
This round maintains the shape without increasing size.
R4: Ch 1, work (1 inc, 2 sc) around. Repeat 3 times (12 sts).
You’ll notice the shape becoming slightly larger here.
R5: Ch 1, work (1 inc, 1 sc) around, repeat 6 times (18 sts).
This round increases the body’s midsection.
R6: Ch 1, work 1 sc in each stitch around (18 sts).
This creates consistency in shape and prepares for the next increase.
R7: Ch 1, work (1 inc, 2 sc) around, repeat 6 times (24 sts).
By this round, the fish body is taking form with an expanding diameter.
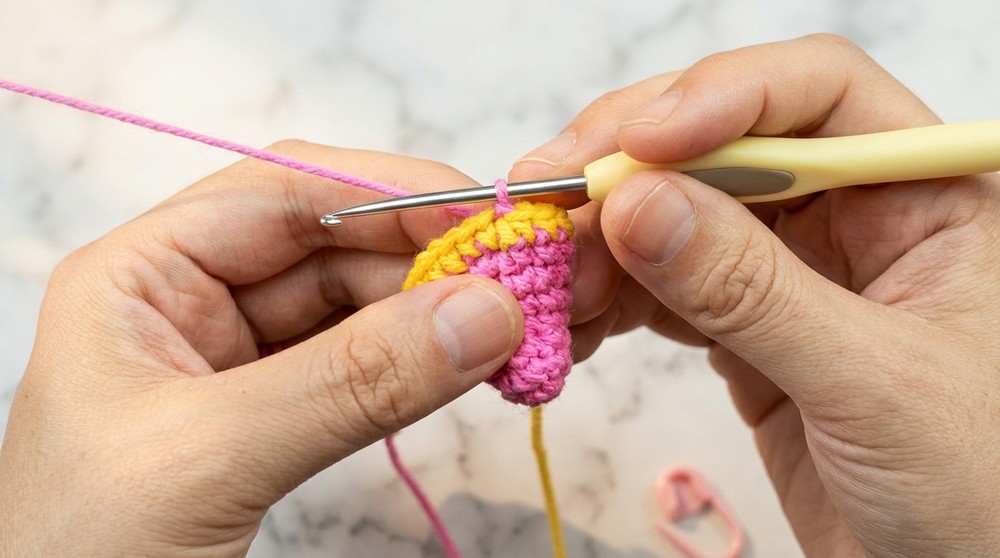
Color Change (Optional)
For more visual interest, change colors at the end of R7 before proceeding.
- On the last stitch of R7, pull through with the new color to complete the last loop.
- Cut the previous yarn, leaving a tail to weave in later.
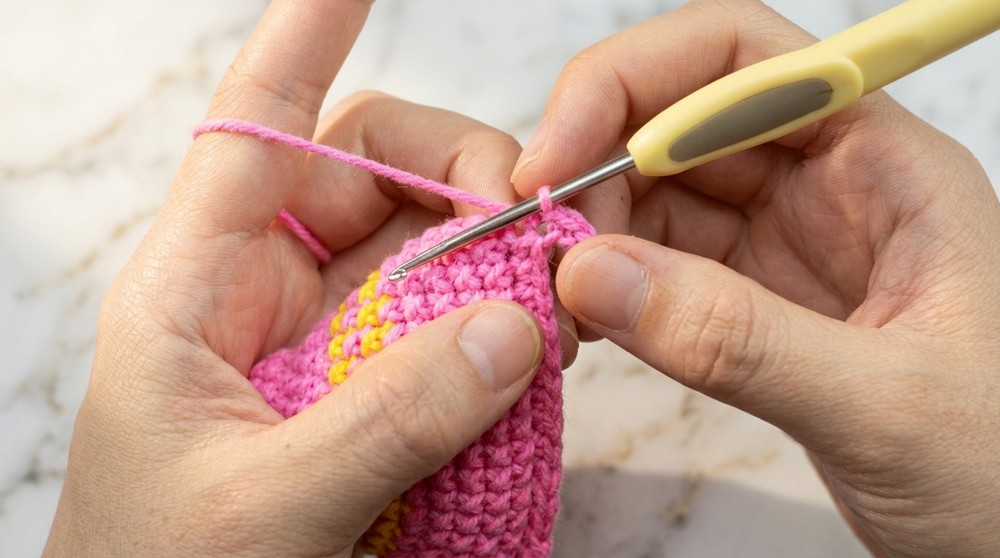
R8: Ch 1, work 1 sc in each stitch around (24 sts).
👉 Maintain the current color throughout this round.
R9: Ch 1, work (3 sc, 1 inc) around, repeat 6 times (30 sts).
This round establishes the widest section of the body.
R10–R15: Ch 1, work 1 sc in each stitch around (30 sts).
Continue stitching evenly to shape the body length.
Stuffing & Eyes
- Insert safety eyes or sew beads symmetrically into the fish body between R6 and R8.
- Begin stuffing with fiberfill as the body progresses. Add more as needed for a plump shape.
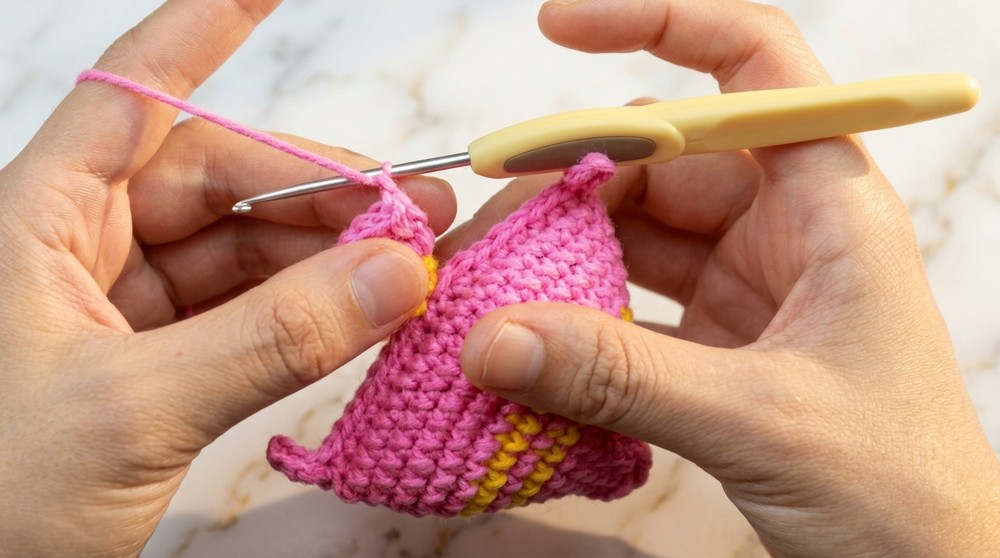
Close the Body
R16: Ch 1, work 5 ch sts, and begin slip-stitching back along the chain. Attach the chain back to the body with a sc to create the fish tail curve.
- Repeat for equivalent tails until the body is sealed. Trim and fasten off.
Fish Tail
Switch back to the original color or choose a new one for the tail.
- Attach the yarn at the base of the fish body.
- R1: Crochet 5 chain stitches and then work sl st back into the chain’s loop to create the tail curve.
Repeat tail creation to build the fish’s end section.
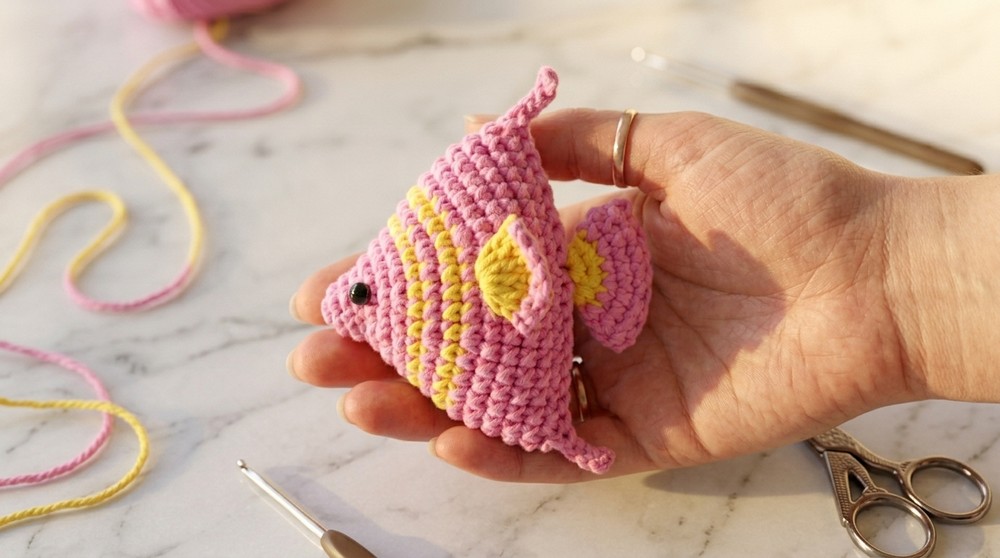
Assembling the Fin
R1: Attach yarn to the fish body’s side (between rows 11 and 12).
- Ch 3 (counts as a dc, base stitch).
- Crochet 5 dc into the same stitch.
This creates the first layer of the fin.
R2: Cut off and reattach a second yarn color for a striped look.
- Back across the dc stitches, crochet 1 sc per dc stitch.
This step finishes the textured fin stripes.
Repeat on the opposite side.
Difficulties You May Encounter & Solutions
While the Little Sea Fish Pattern is beginner-friendly, some steps may pose small challenges, especially if you’re new to crochet. Changing colors without disrupting the flow may feel tricky at first, but a simple tip is to always switch colors on the last loop of the previous stitch for a smooth transition.
Similarly, ensuring the magic ring stays tight requires some patience—make sure to pull the yarn tail firmly after your stitches are done. Lastly, attaching fins and tails symmetrically might require a little extra focus to align them evenly; using stitch markers to indicate placement can simplify this process. With these tips in mind, you'll overcome any hurdles effortlessly while enjoying the creative journey!