
Best Free Crochet Spider Amigurumi Pattern You’ll Love
Bring your crochet skills to life with this Free Spider Amigurumi Pattern that’s easy to follow and makes a charming creepy-crawly friend.
When it comes to creating delightful and whimsical handmade items, few projects are as fun as crocheting character-inspired designs. The Free Crochet Spider Amigurumi Pattern makes for a perfect crochet, combining charm with just the right touch of spooky appeal. Ideal for seasonal decor, playful gifts, or even imaginative toys, this pattern is a thoughtful way to showcase your crochet skills and explore your creativity.
Cute & Creepy Free Crochet Spider Amigurumi Pattern
This adorable spider design features a rounded, plush body paired with eight long legs that give it its iconic arachnid shape. The standout details may include googly eyes or embroidered facial features that add personality to each piece. The texture is typically soft and inviting, thanks to carefully-selected stitching that complements the yarn choice while ensuring the structure is robust enough to hold its shape. A key advantage of this pattern is its adaptability, you can easily customize the spider’s size, color, and decorative elements to suit occasions like Halloween, themed parties, or everyday creative displays.
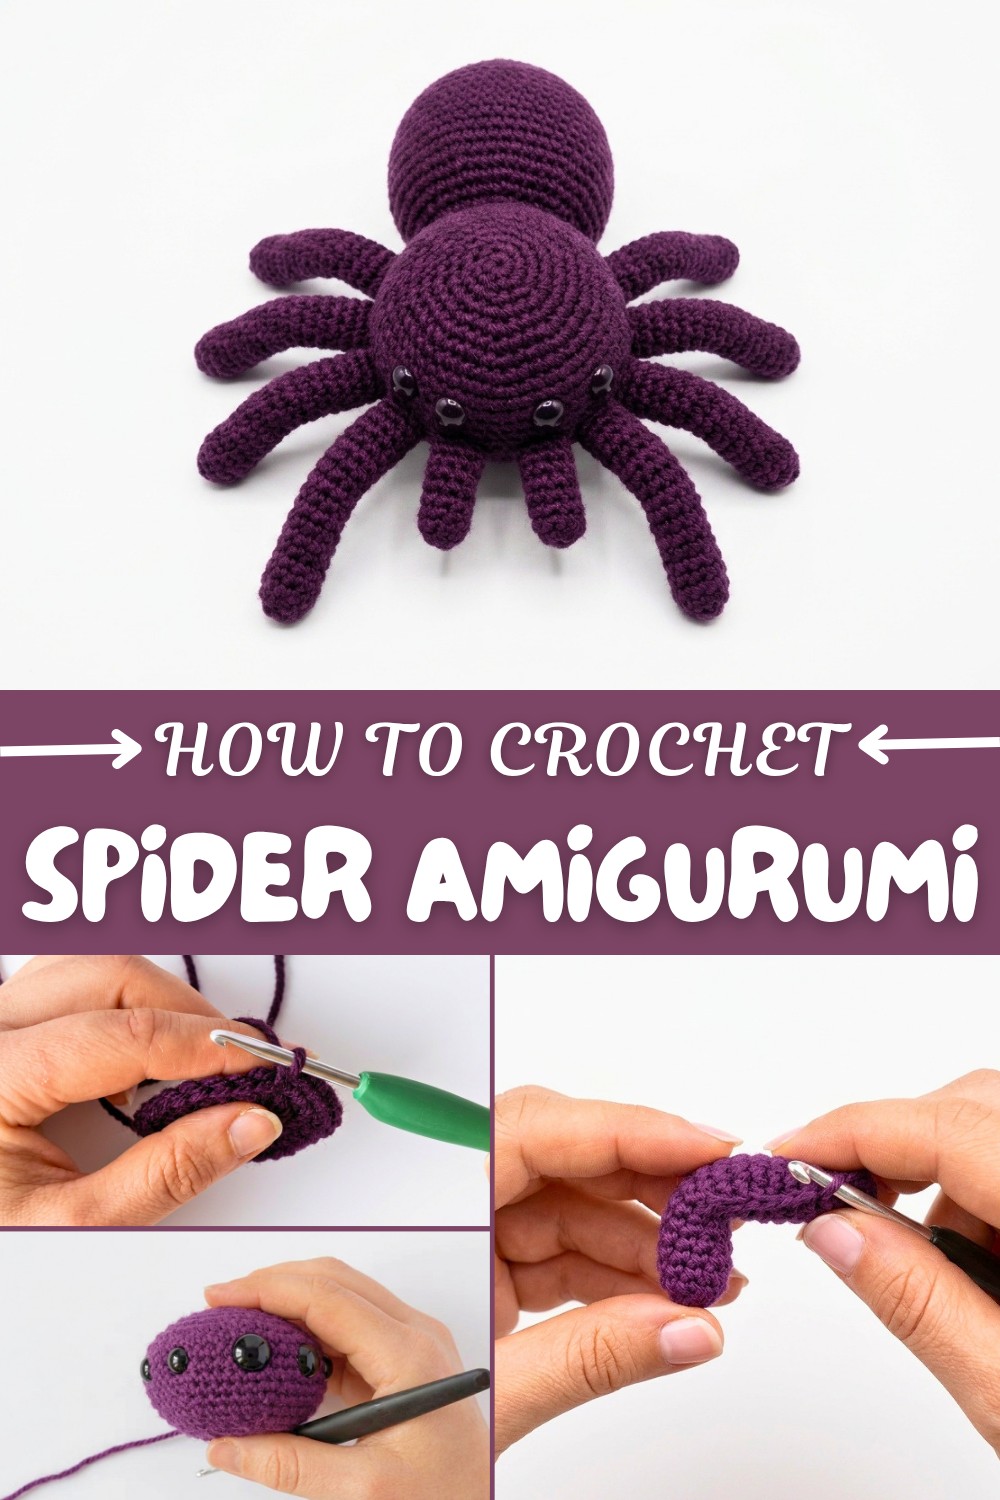
Making the Spider Amigurumi involves working the body as a sphere or oval in continuous rounds, while the legs are often crocheted separately and attached later. Using yarns like acrylic or polyester blends can enhance the plush and soft feel, although cotton yarn delivers cleaner stitch definition for sharper details. Keeping consistent tension during crocheting is essential to ensure the smooth shape and sturdy construction of the finished piece.
The fun and quirky side of arachnids, this spider amigurumi makes a great gift for kids or a playful addition to seasonal decorations. Whether you stick to classic black tones or explore vibrant, colorful designs, the pattern encourages creativity and personal expression. With endless customization possibilities, this cute spider is sure to be a delightful addition to your crochet projects.
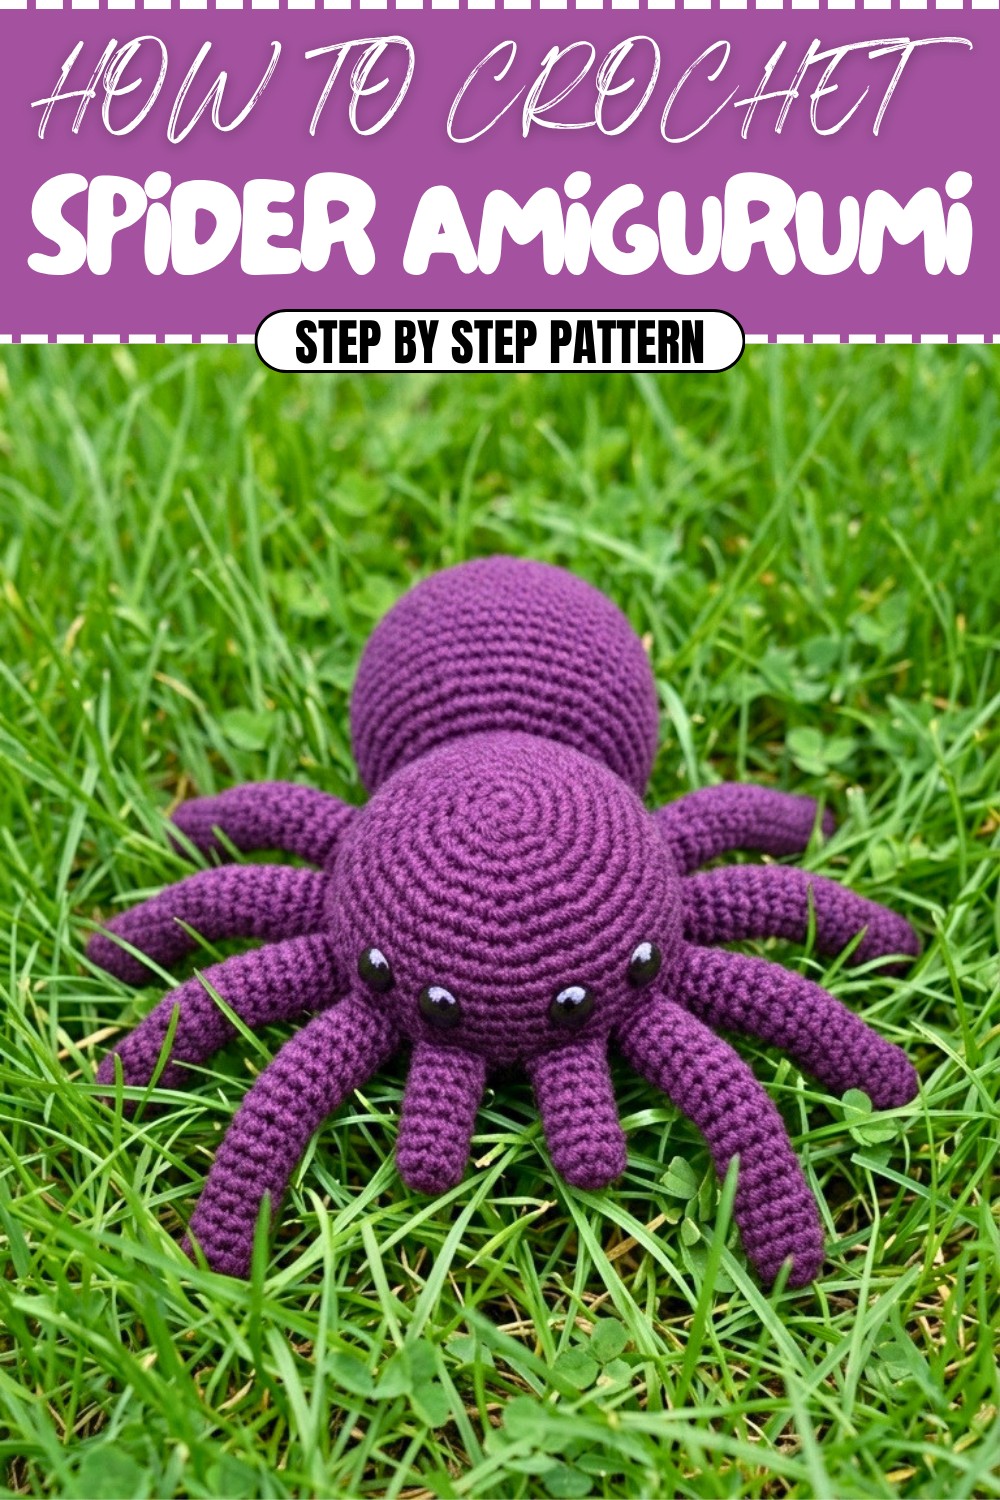
Spider Amigurumi Pattern
This spider amigurumi pattern creates a charming, slightly spooky plush that can be used as a toy, decoration, or seasonal piece. The design features a rounded head and body, eight articulated legs, and chelicerae (mouth parts) for added character. The pattern is worked mostly in continuous rounds and uses simple increases and decreases, making it approachable while still offering some structural interest through front-loop-only (FLO) and back-loop-only (BLO) work.
Skill Level
Intermediate
This pattern assumes familiarity with:
- Working in the round
- Magic ring
- Invisible decreases
- Attaching limbs and facial features
Confident beginners can attempt it with careful attention to stitch counts and the assembly notes.
Materials
- Yarn:
- Dark Grape yarn (or any color of your choice) in a weight that matches your hook.
- Hook:
- Crochet hook to match your yarn (commonly 3.0–4.0 mm for worsted or DK).
- Stuffing:
- Toy stuffing/fiberfill.
- Eyes:
- One pair of 14 mm safety eyes (for the main eyes)
- Two pairs of 10 mm safety eyes (for smaller eyes)
- Notions:
- Tapestry (yarn) needle
- Pins (for positioning legs, eyes, and chelicerae before sewing)
- Scissors
Special Stitches
- Magic Ring (MR):
A loop-based start used to work stitches into an adjustable ring, allowing you to close the starting hole tightly. - Increase (inc):
Work 2 single crochet (sc) in the same stitch. - Decrease (dec):
Work 2 stitches together as 1 (preferably an invisible decrease for neatness). - Front Loops Only (FLO):
Insert hook only into the front loop (the loop closest to you) of the stitch. - Back Loops Only (BLO):
Insert hook only into the back loop (the loop farthest from you) of the stitch.
Stitch Abbreviations
- MR – Magic ring
- sc – Single crochet
- inc – Increase (2 sc in same st)
- dec – Decrease (sc2tog)
- FLO – Front loops only
- BLO – Back loops only
- st – Stitch
- sts – Stitches
- R – Round
Useful Tips
- Work in continuous rounds (spiral) unless otherwise noted. Use a stitch marker to mark the first stitch of each round.
- Count your stitches after each round, especially in the head and body, to maintain shape accuracy.
- Insert and secure safety eyes before final closing and stuffing where indicated.
- When using FLO/BLO, maintain consistent tension to avoid visible gaps.
- Use pins to position legs and chelicerae symmetrically before sewing.
- Stuff firmly but not so tightly that gaps appear between stitches.
Detailed Pattern
Head
Worked in continuous rounds.
- R1:
- 6 sc in MR (6)
- R2:
- inc in each st around (12)
- R3:
- (1 sc, inc) x 6 (18)
- R4:
- (2 sc, inc) x 6 (24)
- R5:
- (3 sc, inc) x 6 (30)
- R6:
- (4 sc, inc) x 6 (36)
- R7:
- (5 sc, inc) x 6 (42)
- R8:
- (6 sc, inc) x 6 (48)
- R9:
- (7 sc, inc) x 6 (54)
- R10 (BLO):
- 1 sc in each st around in BLO (54)
This creates a subtle ridge and a base to attach to the body or for shaping.
- 1 sc in each st around in BLO (54)
- R11–R13:
- 1 sc in each st around (54 per round)
- R14:
- (7 sc, dec) x 6 (48)
- R15:
- (6 sc, dec) x 6 (42)
- R16:
- (5 sc, dec) x 6 (36)
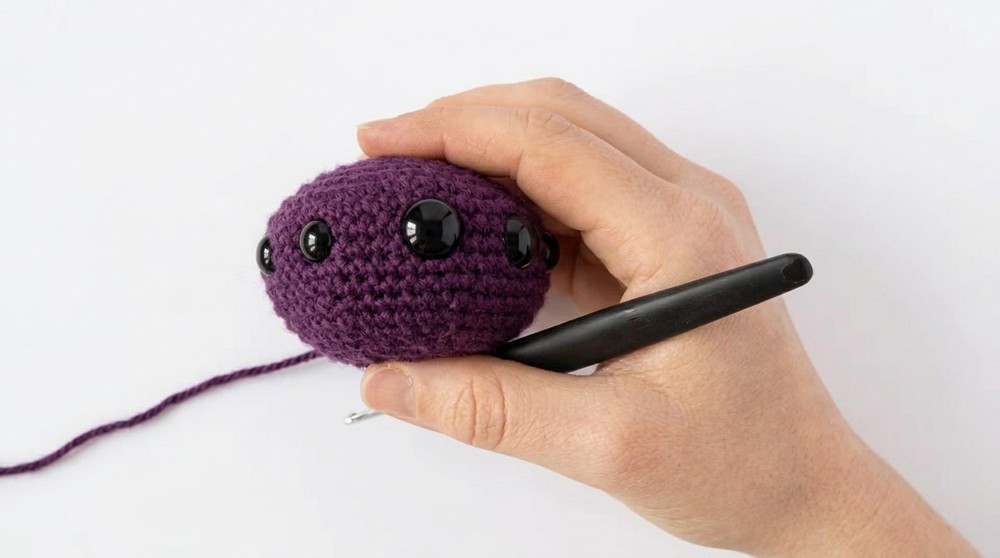
- Place safety eyes:
- Insert the 14 mm pair as main eyes and the 10 mm pairs as secondary eyes between Rounds 11 and 12.
- Space them symmetrically as desired; pin first to check placement, then lock the washers in place.
- R17:
- (4 sc, dec) x 6 (30)
- R18:
- (3 sc, dec) x 6 (24)
- R19:
- (2 sc, dec) x 6 (18)
- Stuff head:
- Firmly stuff the head with toy stuffing at this stage. Add more as needed while closing.
- R20:
- (1 sc, dec) x 6 (12)
- R21:
- 6 dec (6)
- Fasten off.
- Use the tapestry needle to weave through the remaining front loops and pull tight to close. Secure and weave in the end.
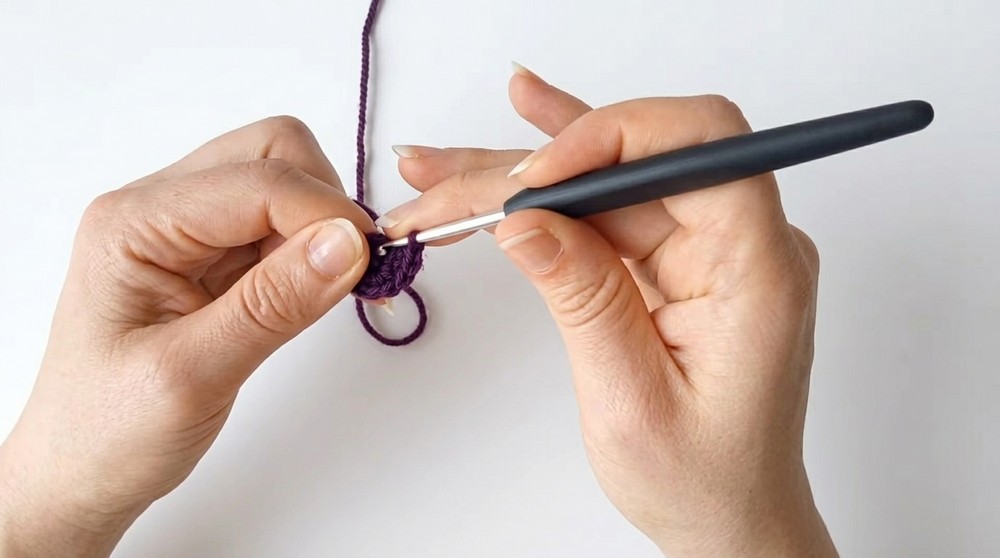
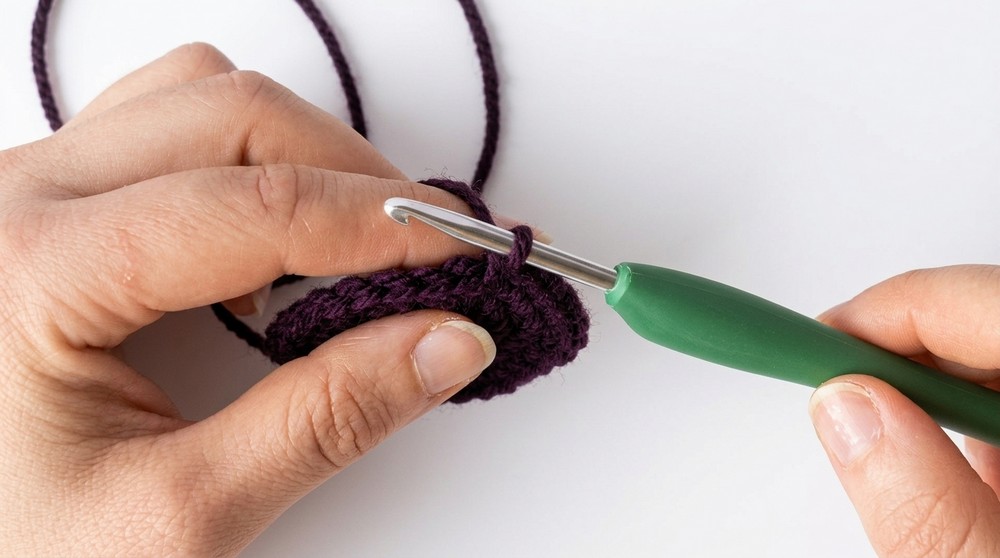
Body
The body follows a similar increase and decrease structure to the head, but with a different length profile to give the spider a compact yet full shape. Use the same yarn and hook.
A typical structure based on the head’s pattern (and the transcription) is:
- R1:
- 6 sc in MR (6)
- R2:
- inc in each st (12)
- R3:
- (1 sc, inc) x 6 (18)
- R4:
- (2 sc, inc) x 6 (24)
- R5:
- (3 sc, inc) x 6 (30)
- R6:
- (4 sc, inc) x 6 (36)
- R7:
- (5 sc, inc) x 6 (42)
- R8:
- (6 sc, inc) x 6 (48)
- R9:
- (7 sc, inc) x 6 (54)
- R10–R13:
- 1 sc in each st around (54 per round)
- R14:
- (7 sc, dec) x 6 (48)
- R15:
- (6 sc, dec) x 6 (42)
- R16:
- (5 sc, dec) x 6 (36)
- R17:
- (4 sc, dec) x 6 (30)
- R18:
- (3 sc, dec) x 6 (24)
- R19–R25:
- Continue decreasing rounds as needed to reach 24 sts (adjusting as per your desired shape):
- Typical sequence could be:
- (2 sc, dec) x 6 (18)
- (1 sc, dec) x 6 (12)
- Additional even or shaping rounds if required.
- Stuff the body firmly before closing completely, similar to the head.
Back Legs (Make 2)
These are slightly longer or differently positioned legs.
- R1:
- 8 sc in MR (8)
- R2:
- (3 sc, inc) x 2 (10)
- R3–R15:
- 1 sc in each st around (10 per round)
- Fasten off, leaving a tail for sewing.
- Lightly stuff if you prefer a fuller leg, or leave unstuffed for more flexibility.
Legs (Front/Middle Legs – Make 6)
- R1:
- 8 sc in MR (8)
- R2:
- (3 sc, inc) x 2 (10)
- R3–R7:
- 1 sc in each st around (10 per round)
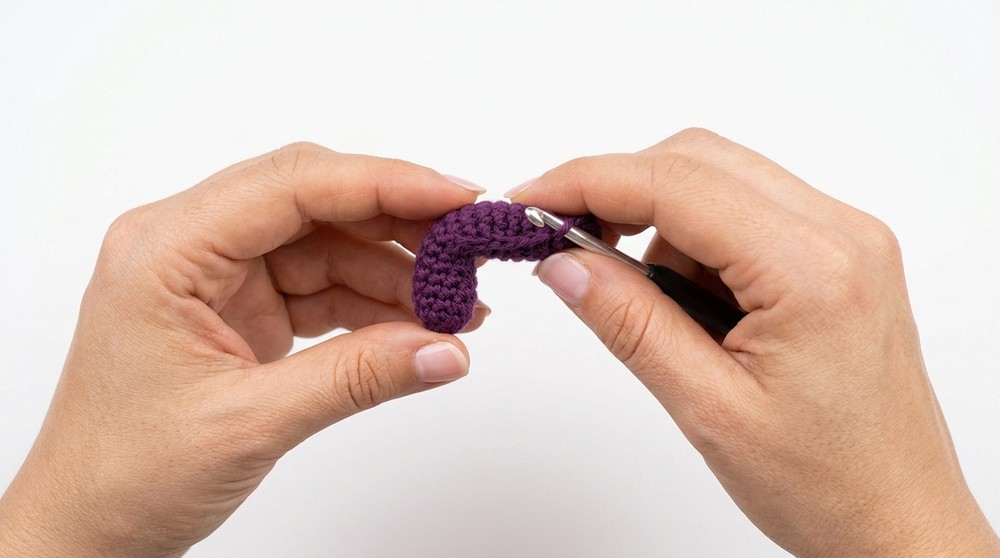
- R8:
- 5 sc in BLO, then 5 sc in FLO (10 total)
This creates a natural bend in the leg for a jointed look.
- 5 sc in BLO, then 5 sc in FLO (10 total)
- R9–R16:
- 1 sc in each st around (10 per round)
- Fasten off and leave a long tail for sewing. Stuff lightly if desired.
Chelicerae (Mouth Parts – Make 2)
- R1:
- 8 sc in MR (8)
- R2–R4:
- 1 sc in each st around (8 per round)
- R5:
- 4 sc in BLO, 4 sc in FLO (8)
This subtle FLO/BLO division helps give shape or a slight bend.
- 4 sc in BLO, 4 sc in FLO (8)
- R6–R8:
- 1 sc in each st around (8 per round)
- Fasten off, leaving a tail for sewing. Stuff lightly if you want a rounded look.
Assembly and Sizing
- Relative Size:
- With standard amigurumi yarn and a 3–4 mm hook, the finished spider typically measures around 10–15 cm across (depending on leg positioning and yarn thickness).
- Attach Head to Body:
- Align the head and body at their R10 (BLO ridge on the head and the top of the body).
- Sew the head to the body using the BLO line as a guide so the seam is neat.
- Ensure stuffing is evenly distributed; add more stuffing through the gap if needed before fully closing.
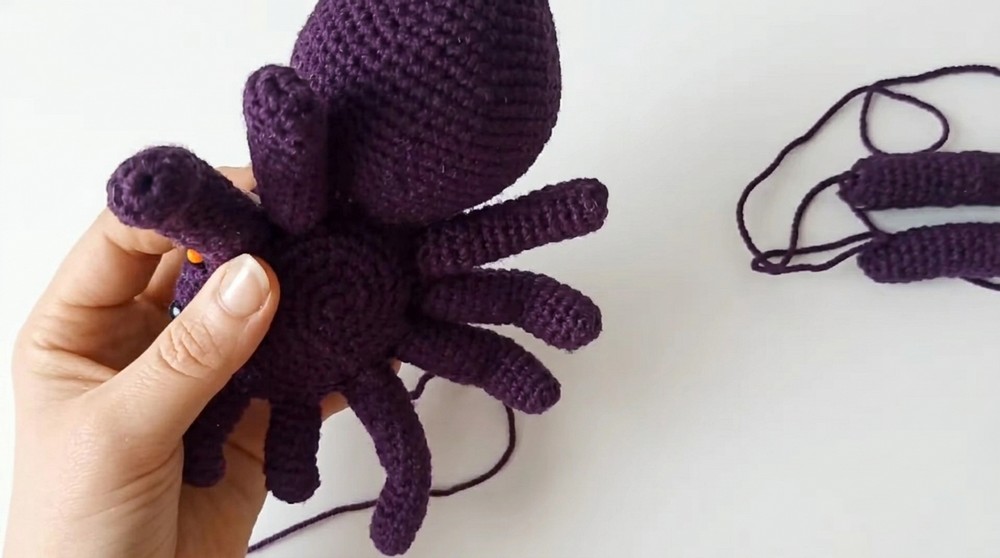
- Position the Legs:
- You have 8 legs total: 2 back legs + 6 other legs.
- Divide them symmetrically: 4 on each side of the body.
- Use pins to arrange them:
- Back legs toward the rear of the body.
- Remaining 6 legs spaced evenly along the sides.
- Sew each leg securely to the body using the long tail, taking several passes through both leg base and body.
- Attach Chelicerae:
- Position the two chelicerae under the eyes, centered at the front of the head.
- Pin in place, then stitch around the base of each piece, anchoring them firmly.
- Final Adjustments:
- Shape the legs by lightly bending them at the BLO/FLO “joint” row so they curve naturally.
- Check for gaps at seams and add a few extra securing stitches where necessary.
- Weave in all remaining yarn ends carefully.
Conclusion
This spider amigurumi offers a balanced blend of structural shaping and simple stitches, resulting in a compact, characterful plush. By combining a spherical head and body with articulated legs and defined chelicerae, the pattern lends itself to playful customization in color and expression. Adjust hook size or yarn weight to change the overall size and experiment with different safety eye combinations or embroidered details to give each spider its own personality.