
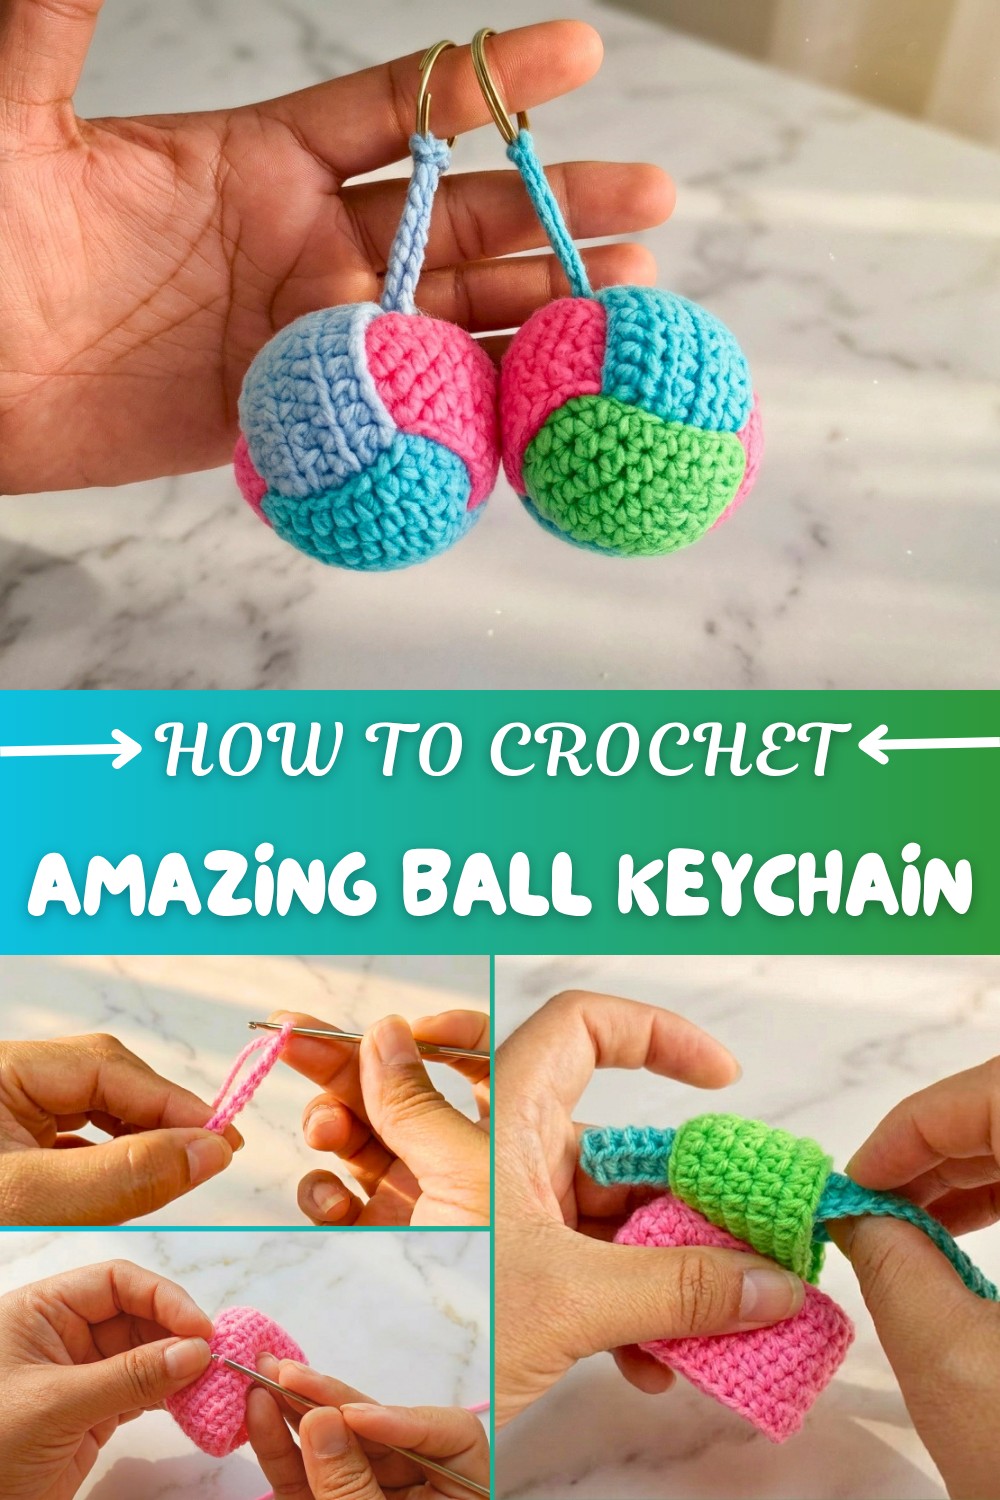
Quick Crochet Ball Keychain Pattern Free for Thoughtful Surprises
Follow a free crochet Ball Keychain pattern that's quick, cool, and makes the perfect little gift for friends or family.
Looking for a creative and colorful way to make a handmade accessory? This project is a wonderful opportunity to crochet a delightful ball keychain that’s both fun and functional. It’s a vibrant and unique piece that can brighten up your keys, bag, or backpack while reflecting your personality through your choice of colors. The pattern features three interconnected rings in contrasting shades, creating a mesmerizing and playful look. The foundation of the pattern is built on beginner-friendly half-double crochet stitches, perfect for those learning or wanting to practice their skills.
Learn this Creative Crochet Ball Keychain Pattern for Fun Projects
By following this pattern, you will master creating seamless chains, working in continuous rounds, and stitching slip stitches to join your work. You will also practice precision by assembling the three colorful rings into the classic interlocked ball shape. Adding stuffing and creating invisible stitches to close openings are essential steps that ensure a polished and professional finish.
The beauty of this pattern lies in its versatility. Once you’re comfortable with the techniques, you can use them to make other crochet items like juggling balls, stress balls, or larger stuffed spheres for toys and decorations. You can also experiment with different colors and textures to suit your preferences or match the occasion.
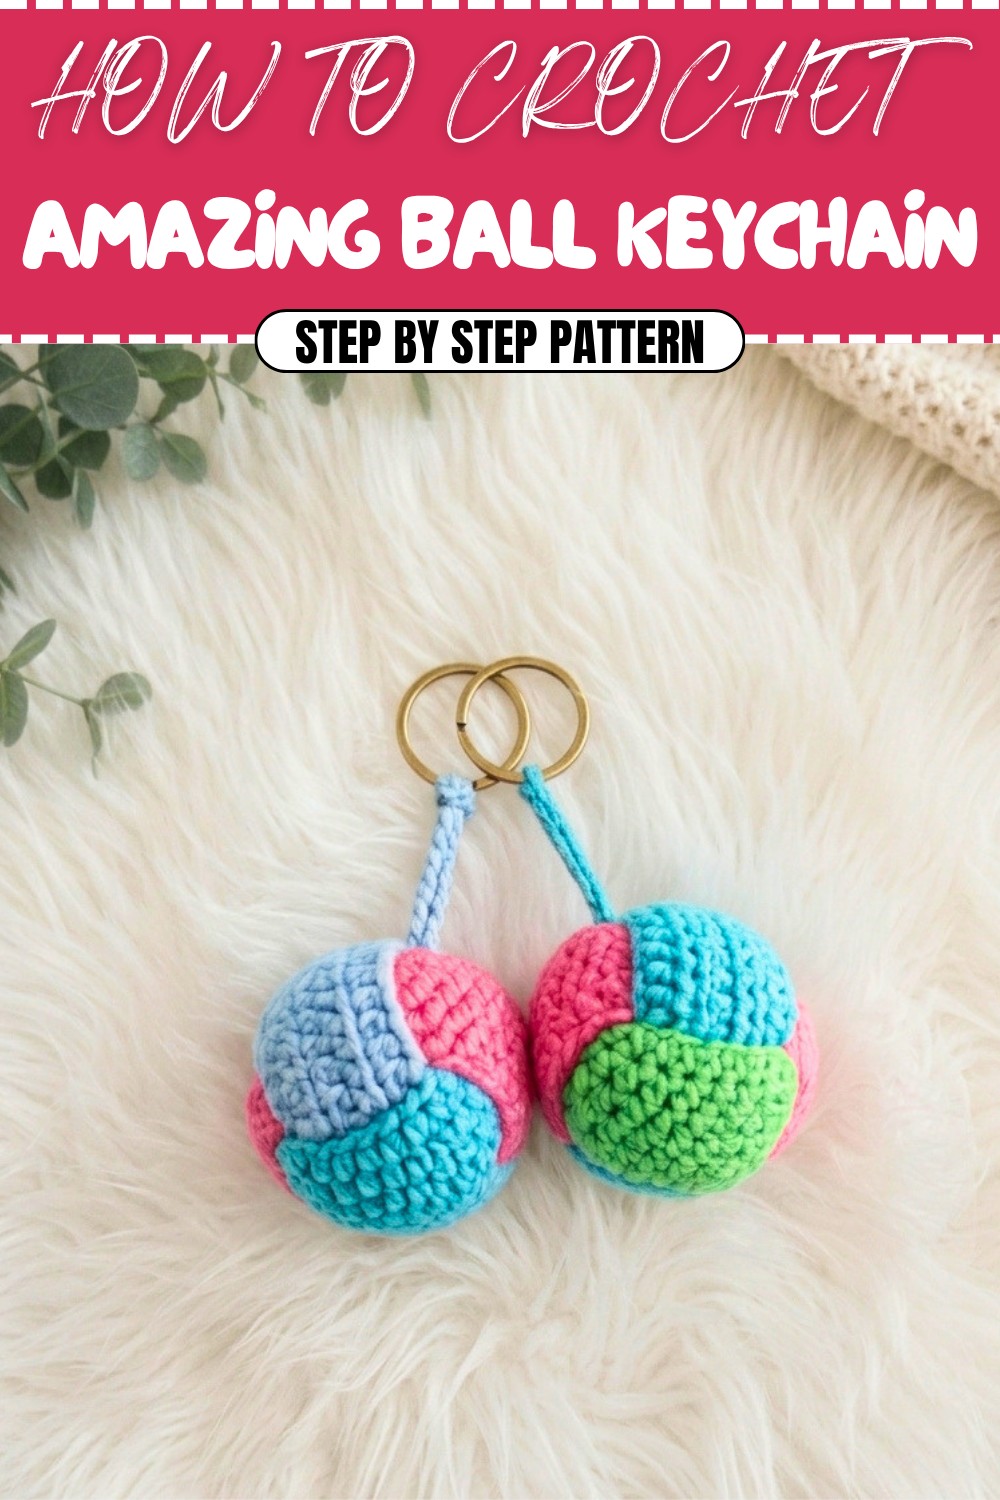
Three-Color Ball Keychain Crochet Pattern
Create a vibrant and playful three-color ball keychain with this beginner-friendly crochet pattern. This versatile project is a wonderful way to practice basic crochet techniques while crafting a functional and decorative accessory. Select your favorite color combinations to make each piece uniquely yours!
This step-by-step pattern will help you crochet a fun and colorful ball keychain using three different colors. It’s a simple, customizable design that allows you to mix and match colors for a unique result. Whether you're making it for yourself or as a thoughtful gift for loved ones, this project is guaranteed to brighten someone’s day!
Skill Level & Terminology
- Skill Level: Beginner to Intermediate
- Terminology: US crochet terms
Materials & Tools
- Yarn: 4 different colors of your choice (thin 3-ply yarn is recommended for a neat finish)
- Hook Size: 3mm crochet hook
- Stuffing Material: Polyester fiberfill for creating the ball shape
- Other Tools:
- Scissors
- Yarn needle
- Stitch marker (optional)
Gauge
Gauge is not critical for this project. However, for reference:
- 7 half double crochets x 5 rows = 1 inch.
Abbreviations List
- ch – Chain.
- hdc – Half Double Crochet.
- sl st – Slip Stitch.
- st(s) – Stitch(es).
- sc – Single Crochet.
Special Stitch Instructions
- Slip Knot:
- Create a loop, pass the yarn through, and pull tight to form the knot on your hook.
- Half Double Crochet (hdc):
- Yarn over, insert the hook into the stitch, yarn over again, pull up a loop (3 loops on the hook), yarn over, and pull through all 3 loops.
- Slip Stitch (sl st):
- Insert your hook into a stitch, yarn over, and pull through both the stitch and the loop on the hook.
Finished Size
The completed ball keychain will be approximately 2-3 inches in diameter, depending on your yarn and tension.
The Pattern Itself
First Ring
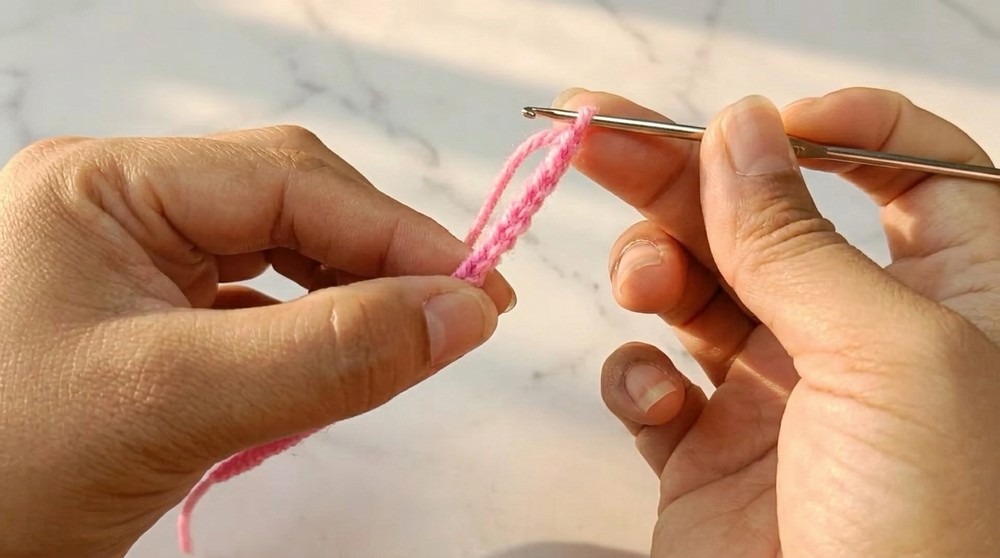
- Foundation Chain:
- Start with a slip knot, then ch 32 (adjust to resize your ring).
- Join the Chain:
- Bring the first chain to meet the last chain, ensuring the chain does not twist. Insert the hook into the first chain and create a sl st to form a ring.
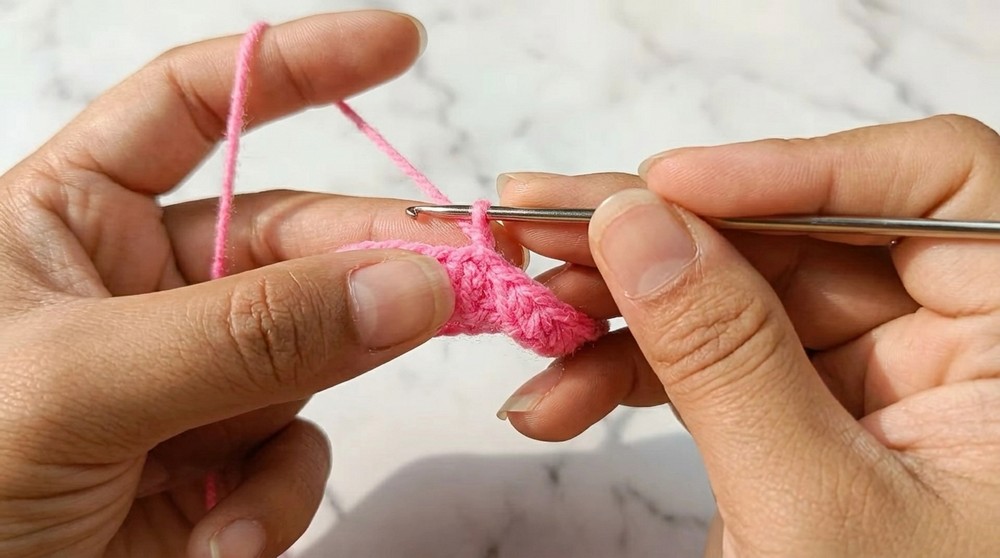
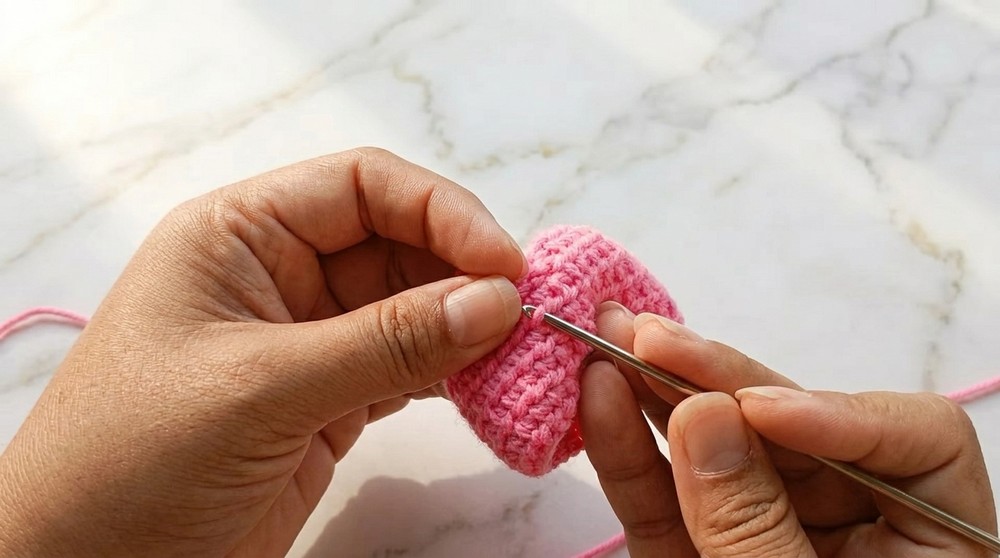
- Round 1:
- Ch 2 (counts as the first hdc). hdc in each stitch around to complete the round (31 hdc + the beginning ch 2 = 32 stitches).
- At the end of the round, join with a sl st to the top of the starting ch 2.
- Round 2-5:
- Repeat the instructions from Round 1. Ch 2, hdc in each stitch, and join with sl st at the end of each round.
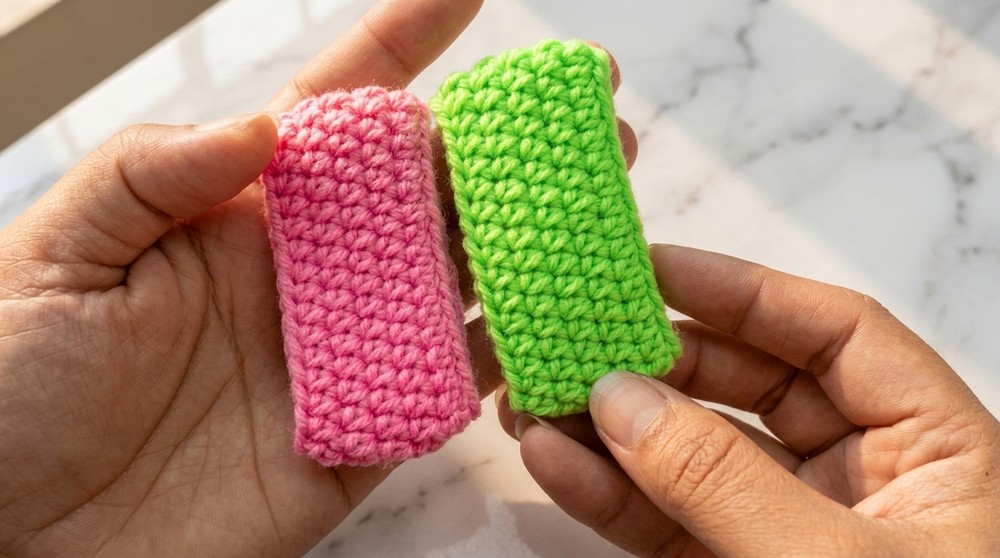
- Finish the Ring:
- After completing the fifth round, cut the yarn, leaving a tail for sewing. Use a yarn needle to weave in the remaining thread.
Note: You’ve made the first ring! Repeat this same pattern to make another identical ring in a different color of your choice.
Second Ring
Follow the exact steps for the First Ring, ensuring that your second ring uses a different color to provide contrast.
Third Ring
- Foundation Chain:
- Start with a slip knot, then ch 33 (1 chain longer than the first two rings).
- Repeat Rounds 1-5 from the First Ring:
- Follow the exact steps for the first and second rings, but work 32 hdc instead of 31.
- Leave a Long Tail:
- After completing the last round, leave a long tail (approximately 100 cm) for sewing.
Note: You now have three rings of different colors ready for assembly. Great work so far!
Assembly & Stuffing
Assembling the Rings
- Insert the Rings Together:
- Begin by passing the first ring through the second ring.
- Next, insert the third ring into the inner opening of the first ring, ensuring the loops of all three rings interlock like a chain.
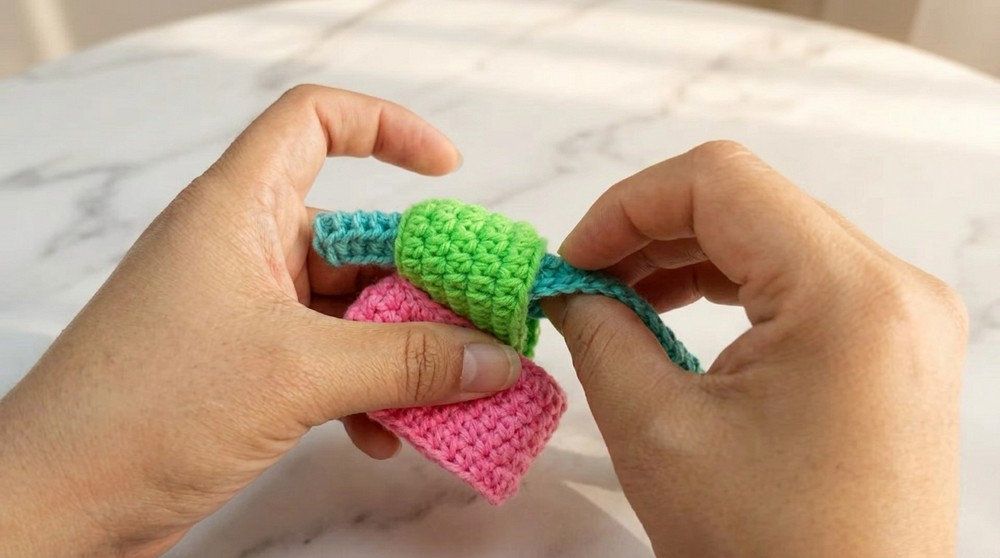
Tip: Experiment with color order during insertion, as the placement will create a unique layered effect.
- Stuffing the Rings:
- Before fully closing the last ring, gently fill it with polyester stuffing to give the ball its shape. Be careful not to overstuff, as this may make the rings lose their layered appearance.
Sewing the Rings Together
- Close the Third Ring:
- Using the long tail left from the third ring, sew the edges of the ring together using a yarn needle. Ensure the stitches are small and tight to make the seam invisible.
- Once closed, push the seam into the side of the ring to hide it within the layers of the ball.
- Secure and Close Openings:
- Check for any visible gaps between the rings and join them together with a few invisible stitches at the crossing points.
- Weave in Ends:
- Ensure all loose ends and seams are secure to give your ball a neat finish.
Hanging Loop
To turn the ball into a keychain, create a hanging loop:
- Make Chains:
- Take a matching thread color and make 25-30 chains (or your desired length).
- Attachment:
- Secure the chain by sewing it to the top of the ball with a yarn needle or another crochet hook. Ensure the loop is tightly secured to support the weight of the ball.
Assembly Notes
You’ve now completed the vibrant interlocked ball keychain! Take a moment to adjust the rings and make any final stitches to ensure each layer is secure and evenly stuffed.
Final Thoughts
This cute three-color ball is an eye-catching addition to your bag or a unique handmade gift idea. Play around with different color combinations to create unique pieces. If you enjoyed this project, don’t forget to share your results and have fun crocheting more accessories!
Challenges You Might Face & Easy Fixes
The most common difficulty comes during the assembly of the rings. It can feel tricky to align them properly without any twists. To solve this, lay the rings flat and position them carefully before joining. Additionally, when closing the openings, working with small stitches may require patience, but using a smaller needle or taking it step by step makes it easier. Don’t rush, and ensure tight stitches to avoid gaps.
This pattern isn’t just about making a keychain—it’s about learning a variety of crochet techniques that can be used to create numerous other projects. Whether for gifting or personal use, the results will be rewarding, colorful, and endlessly charming!