
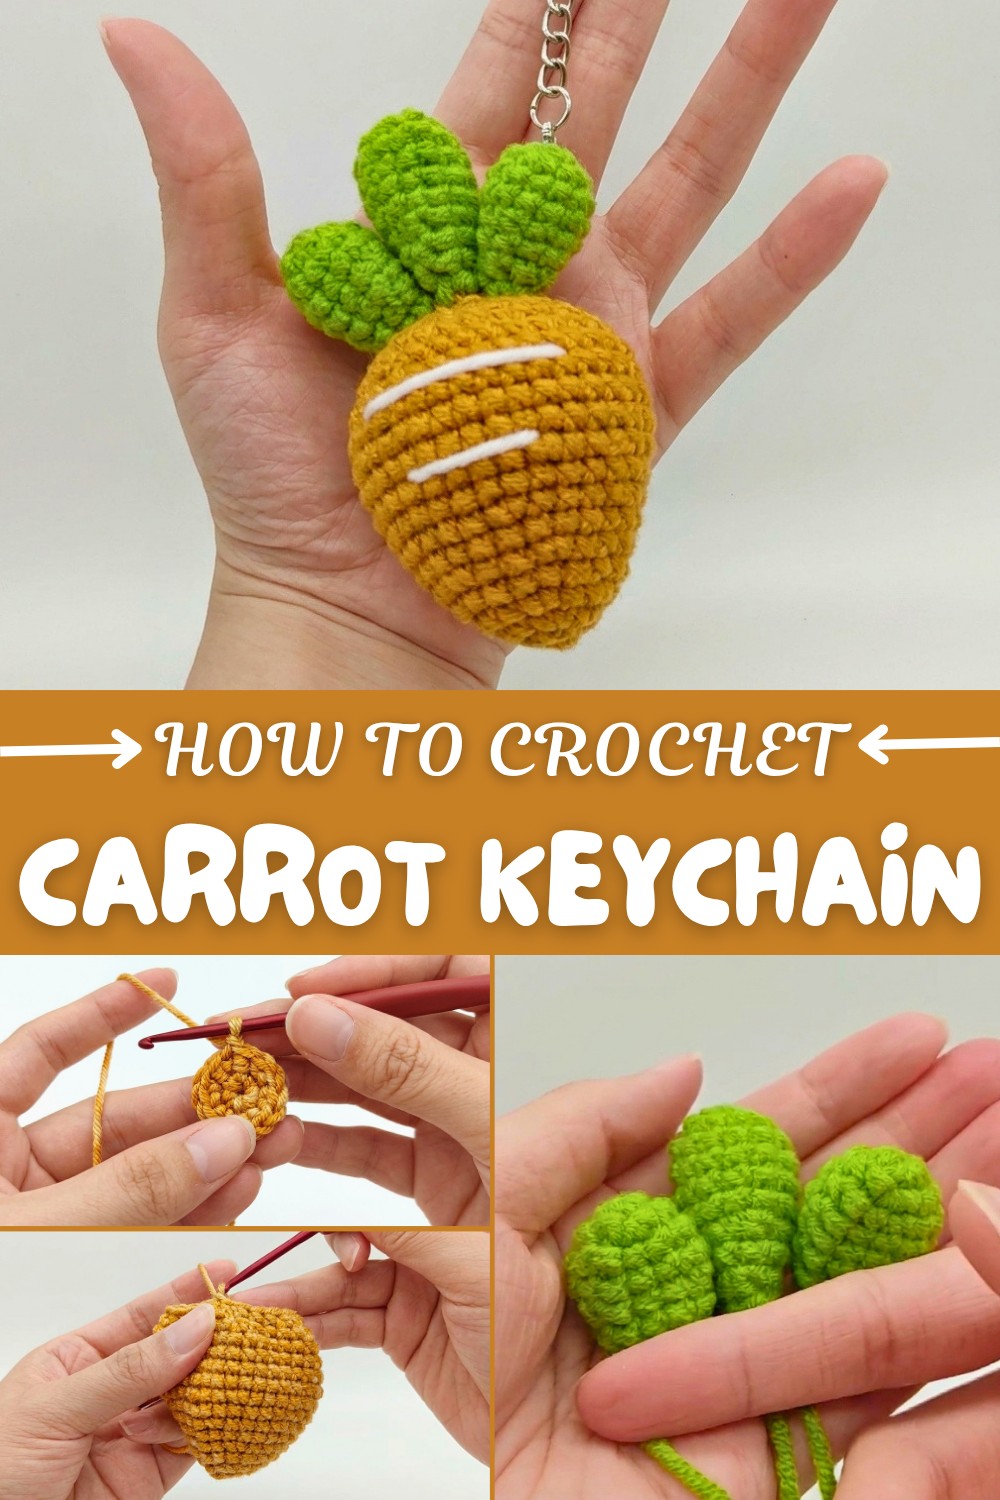
Handmade Carrot Keychain Free Crochet Pattern
Celebrate playful details with Free Crochet Carrot Keychain Pattern featuring cute charm and fun character for keys bags and accessories.
There’s something truly satisfying about turning a simple skein of yarn into a tiny, adorable treasure, and this free crochet carrot keychain pattern captures that magic perfectly. Inspired by fresh garden finds and the charm of handmade accessories, this little carrot brings a playful burst of color and texture to your everyday essentials. Crocheted with soft yet sturdy worsted weight yarn, the keychain showcases neat rows of single crochet stitches that build a smooth, tapered shape — just like a real carrot — complete with cute, leafy tops that you crochet separately and attach for extra dimension.
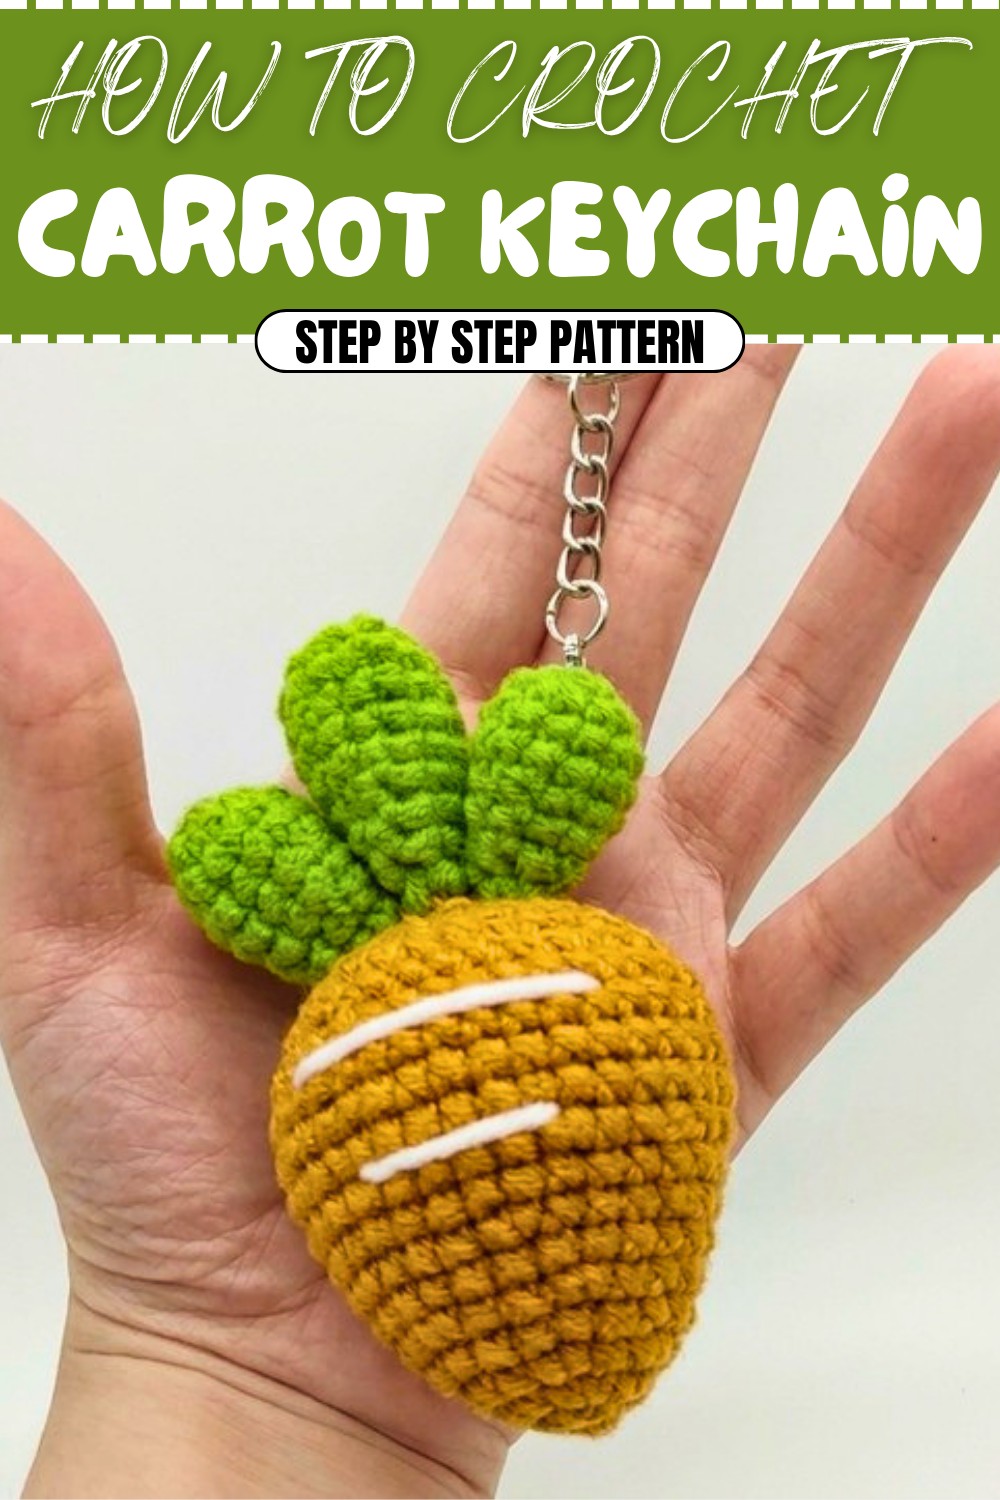
Free Crochet Carrot Keychain for Beginners
Perfect for beginners dipping their toes into amigurumi or more experienced crocheters seeking a fun, quick project, this carrot measures about 7.5 cm tall, making it just right to clip onto your keys, backpack, or purse. The construction starts from a magic ring at the base, with careful increases to form the rounded bottom, then tapers gracefully with decreases to create that signature carrot point. The leaves add a lovely finishing touch, and you can customize their size or even experiment with different yarn hues to make yours truly unique.
Using worsted weight yarn helps highlight the stitch texture, giving the carrot a cozy yet defined appearance. It’s a charming gift idea for friends who love small handmade accents, a sweet addition to themed party favors, or a thoughtful, creative stocking stuffer. Most importantly, this pattern encourages you to play with colors and personal touches — making every stitch a little expression of your creativity.
Crochet Carrot Keychain Pattern
Welcome to this delightful crochet carrot keychain tutorial. This project is perfect for beginners wanting a fun and quick pattern that combines basic stitches to create a vibrant and adorable carrot charm. Ideal for bag accessories or keychains, this carrot project brings a splash of color and personality to your crochet repertoire. The tutorial walks you through creating both the carrot body and leafy top with simple increases, decreases, and rounds. Let’s begin stitching!
Materials & Tools
- Medium weight (worsted) yarn in Brown (carrot body) and green (leaves).
- Crochet hook size 4.0 mm (G/6) suggested.
- Fiberfill stuffing for shaping the carrot.
- Yarn needle for sewing and weaving in ends.
- Scissors.
- Keychain ring.
Skill Level & Terminology
This pattern is suitable for beginners and uses US crochet terms. It assumes familiarity with basic stitches such as single crochet, slip stitch, chain, increase, and decrease.
Gauge
- The gauge is flexible for this project but generally:
- 14 single crochet (sc) stitches = 10 cm with a 4.0 mm hook.
- Tension affects the size; a tighter stitch gives a firmer keychain.
Abbreviations
- ch: chain
- sc: single crochet
- sl st: slip stitch
- inc: increase (2 sc in same stitch)
- dec: single crochet decrease (sc 2 sts together)
- st(s): stitch(es)
- MR: magic ring
Special Stitch Instructions
Magic Ring (MR): Form a secure adjustable ring to start circular crochet without a hole in the center.
Single Crochet Increase (inc): Work 2 sc in one stitch.
Single Crochet Decrease (dec): Insert hook into two stitches sequentially, pull loops up, yarn over, pull through all loops on hook.
Finished Size
- The completed carrot measures approximately 7.5 cm tall and 3 cm wide at its broadest point, perfect for keychains or bag charms.
The Pattern
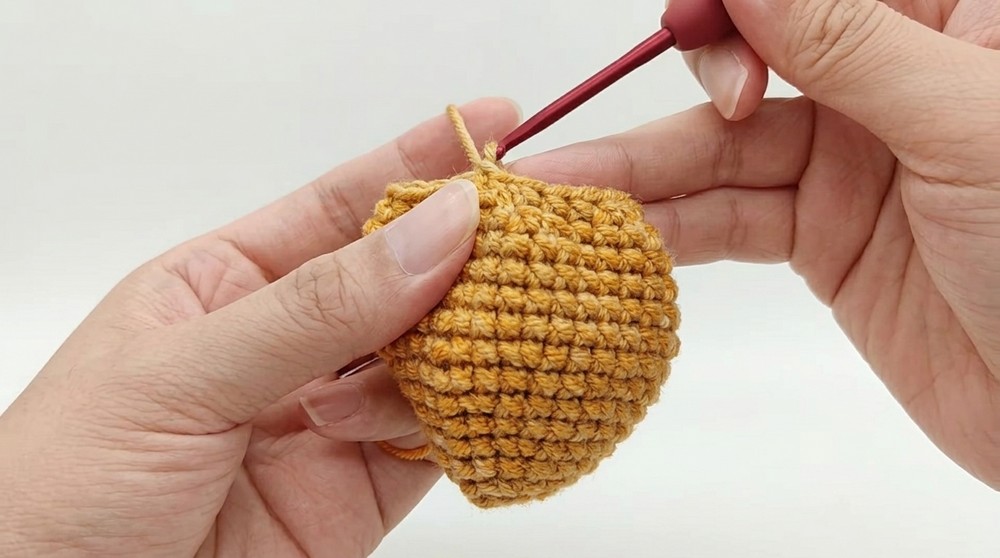
Body of the Carrot
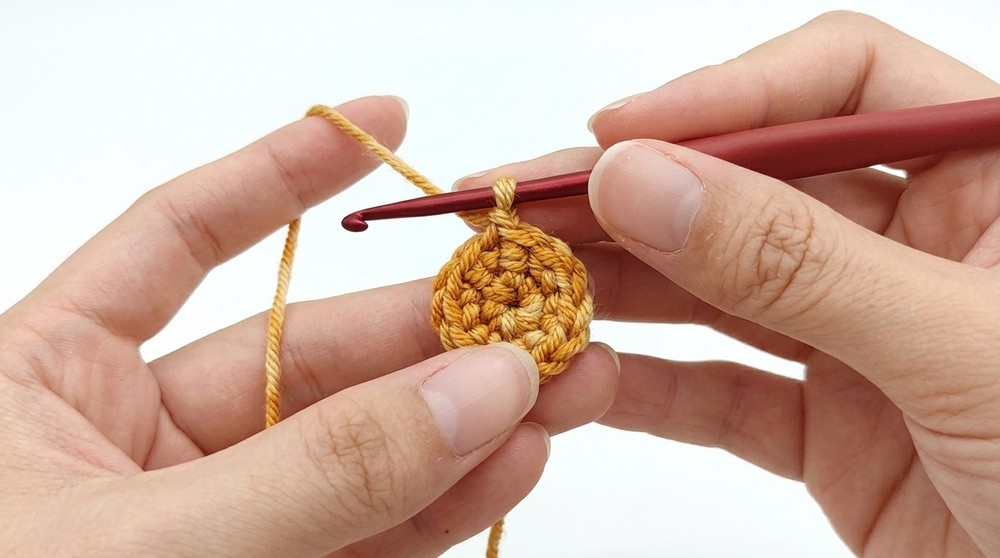
- Row 1: With Brown yarn, create a magic ring (MR). Chain 1 (does not count as a stitch). Work 6 single crochet (sc) into the MR. Pull ring tight.
- Finish with a slip stitch (sl st) into the first sc to close the round. Chain 1.
This round forms the tight circular base of the carrot belly.
- Row 2: Work 6 increases (inc) evenly spaced around (2 sc in each stitch). You should have 12 sts.
- End with sl st, chain 1.
This round widens the base creating the beginning shape.
- Row 3: Alternate 1 sc, 1 inc around: (sc, inc) repeat 6 times. Total 18 sts.
- End with sl st, chain 1.
This round further broadens the carrot body.
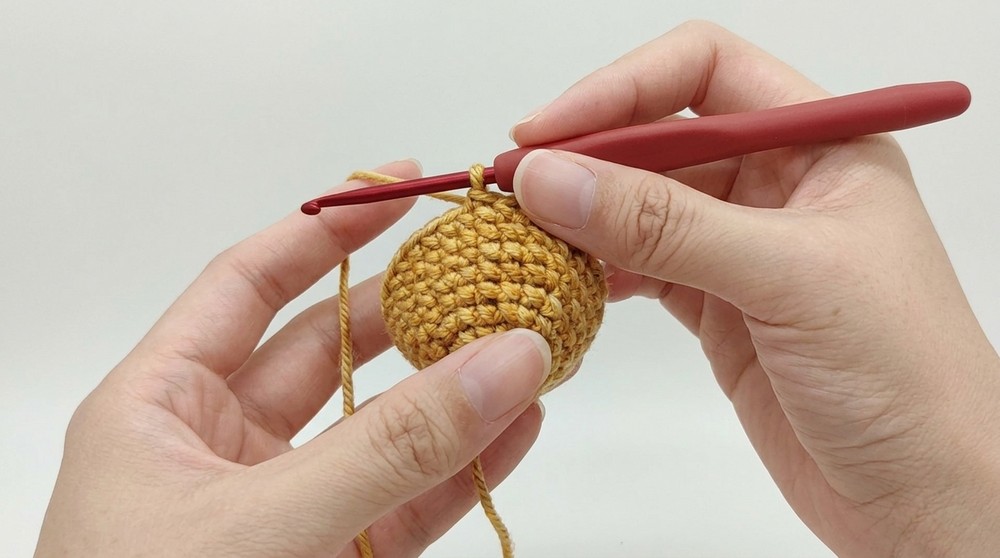
- Row 4: Work 1 sc in each stitch (18 sts total).
- End with sl st, chain 1.
This round builds the carrot’s sidewalls uniformly.
- Row 5: Work (1 sc, 1 inc) around, repeat 6 times to increase. Total 24 sts.
- End with sl st, chain 1.
You get a wider carrot with this increase row.
- Row 6: Work 1 sc in each stitch (24 sts).
- End with sl st, chain 1.
- Row 7: Work (3 sc, 1 inc) repeated 6 times. Total 30 sts.
- End with sl st, chain 1.
- Row 8: Work 1 sc in each stitch (30 sts).
- End with sl st, chain 1.
This round continues lengthening the carrot.
- Row 9: Work (2 sc, 1 inc, 2 sc) repeated 6 times. Total 36 sts.
- End with sl st, chain 1.
- Rows 10 to 13: Work 1 sc in each stitch (36 sts per row).
- End each row with sl st, chain 1.
These rounds make the carrot’s middle section.
Decreasing to Form the Tip
- Row 14: Work (2 sc, 1 dec) repeated 6 times. Total 30 sts.
- End with sl st, chain 1.
- Row 15: Work (3 sc, 1 dec) repeated 6 times. Total 24 sts.
- End with sl st, chain 1.
- Insert fiberfill stuffing to shape your carrot now.
- Row 16: Work (1 sc, 1 dec) repeated 6 times. Total 18 sts.
- End with sl st, chain 1.
- Row 17: Work (1 sc, 1 dec) repeated 6 times. Total 12 sts.
- End with sl st, chain 1.
- Row 18 (Final Row): Work 6 decreases (dec) evenly spaced to close the carrot tip smoothly. Pull yarn tightly to close hole.
- Chain 1, cut yarn leaving a long tail. Use yarn needle to weave through last stitches and secure the closure. Hide ends.
The carrot body shape is complete and well-formed after closing off the tip.
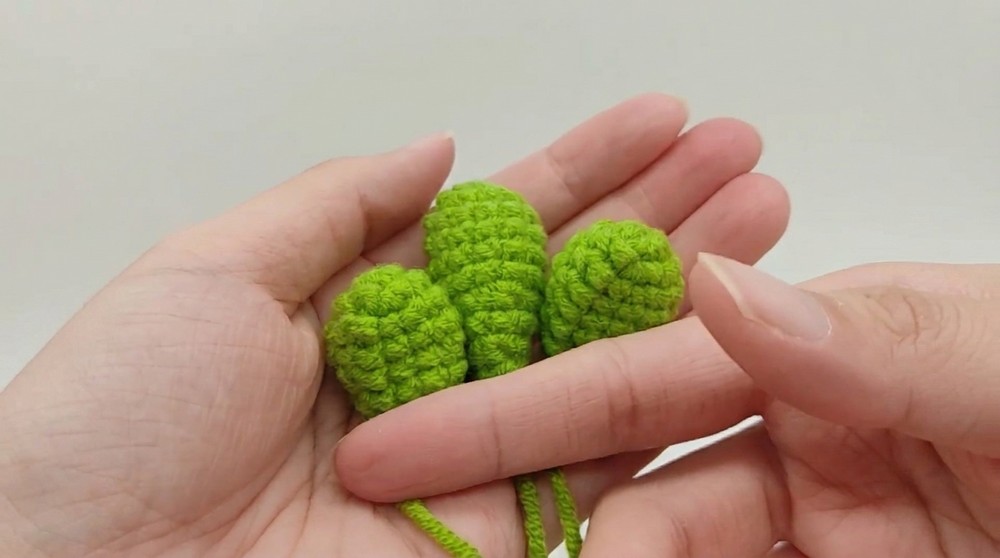
Leaves of the Carrot
- Using green yarn, create a magic ring (MR). Chain 1. Work 6 single crochet (sc) into MR. Pull ring tight.
- Join with sl st, chain 1 to round off first row.
- Row 2: Work 6 increases (inc) (2 sc in each stitch). Total 12 sts.
- Join with sl st, chain 1.
- Rows 3 and 4: Work 1 single crochet (sc) in each stitch (12 sts).
- Join and chain 1 each round.
- Row 5: Work (2 sc, 1 dec) repeated 3 times. Total 9 sts.
- Join and chain 1.
- Row 6: Work 1 single crochet (sc) in each stitch (9 sts).
- Join and chain 1.
- Row 7: Work (1 sc, 1 dec) repeated 3 times. Total 6 sts.
- Cut yarn and leave a tail for sewing.
Make two pieces for small leaves.
- Big Leaf: Repeat the above pattern for the big leaf but add two more single crochet rounds after Row 4 to create a bigger size before continuing decreases.
Assembly & Finishing
- Sew the leaves: First, sew the big leaf to the top middle of the carrot body firmly using yarn needle and leftover yarn tail.
- Attach small leaves on either side of the big leaf to complete the leafy top.
- Weave all yarn ends inside and trim.
- Optionally insert a little fiberfill into leaves for volume before sewing.
- Attach the keychain ring securely to the top for carrying.
Pattern Summary for Users Who Skim
- Start with a magic ring and single crochet base for the carrot bottom.
- Use increases to widen, single crochet rows to build height, and decreases to taper the tip of the carrot.
- The leafy top is constructed in a smaller magic ring, increasing and decreasing in rounds to shape leaves.
- Stuff the carrot lightly at tapering stage before closing. Sew leaves on top and add keychain ring to finish.
Final Tips
- Keep your tension consistent for smooth shaping.
- Count stitches at the end of each row to avoid mistakes and maintain shape integrity.
- Be patient during decrease rows—it’s important for smooth tapering of the carrot tip.
- Fiberfill stuffing should be added gradually to maintain the shape without lumps.