
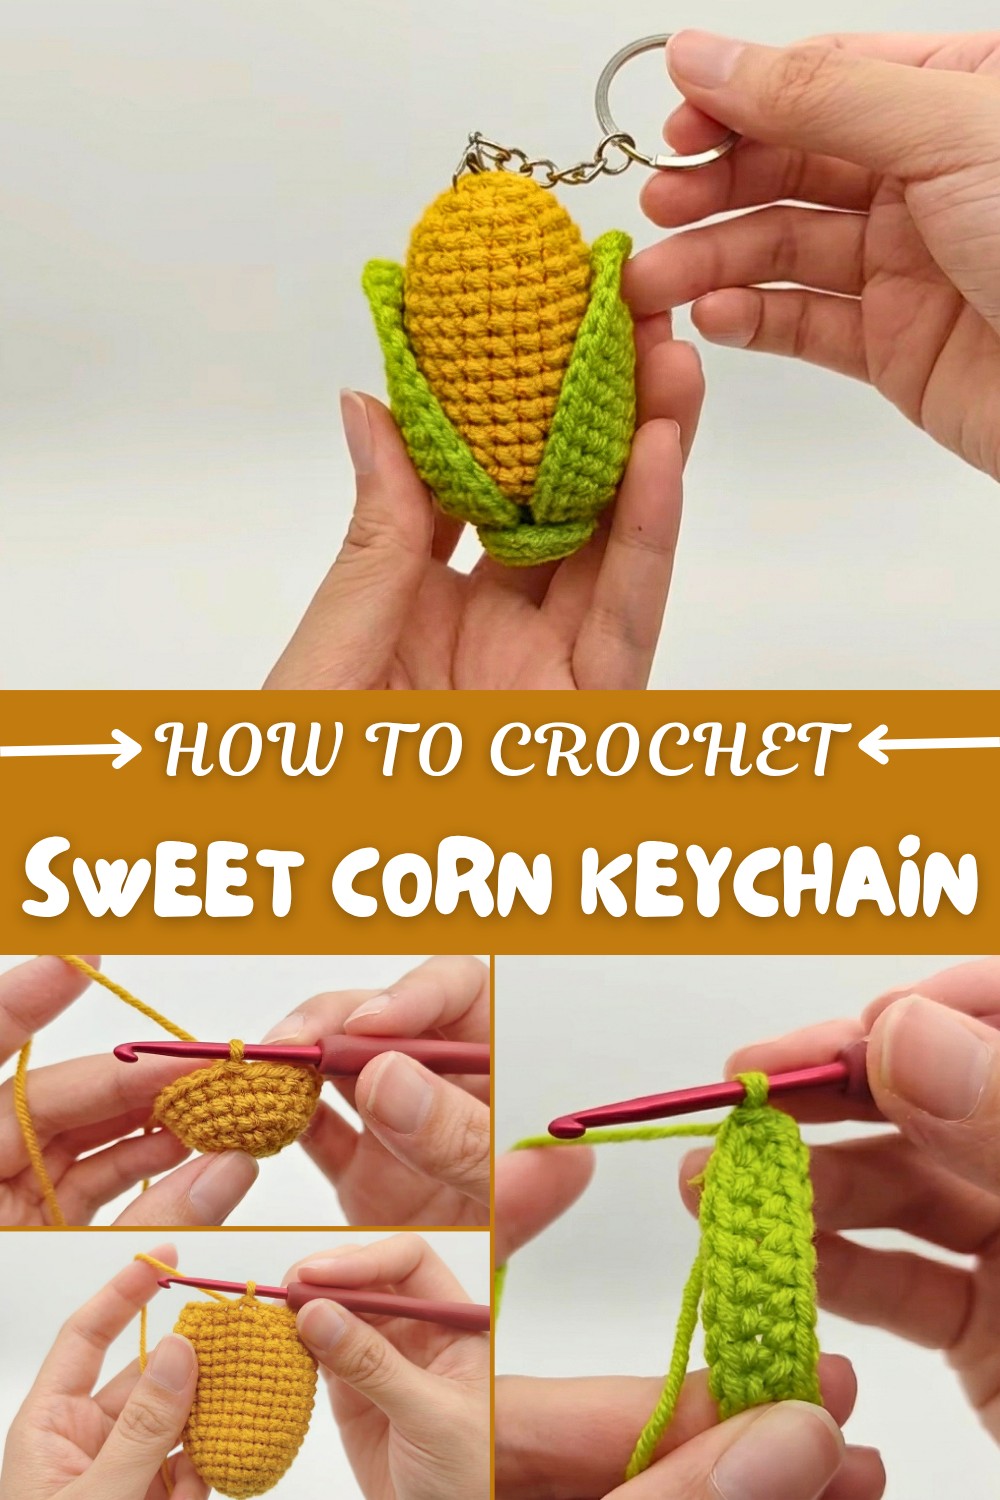
Free Corn Keychain pattern for Bags, Keys, and Backpacks
Pocket sized fun awaits with Free Crochet Corn Keychain Pattern bringing cheerful character and lighthearted charm to everyday accessories.
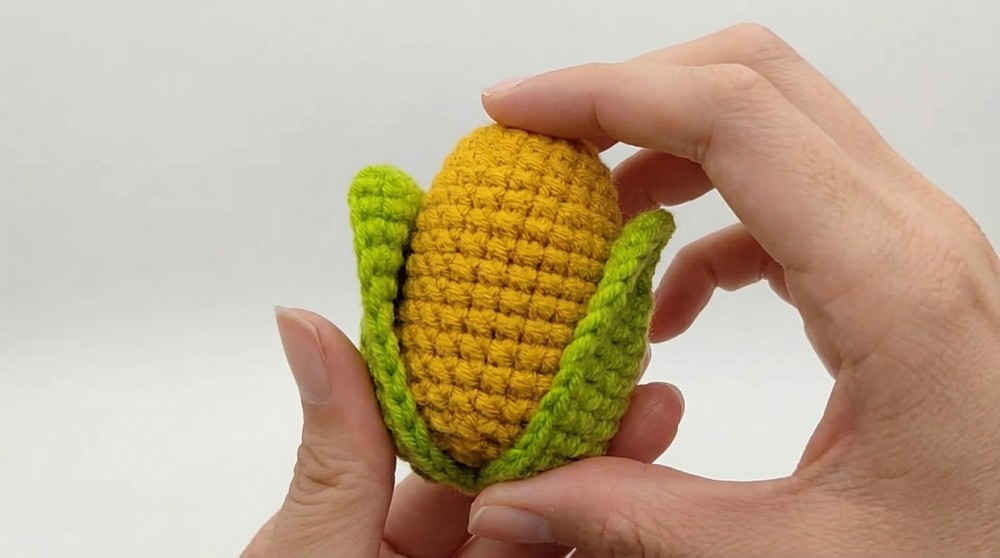
Sometimes small crochet projects can feel a bit dull or repetitive, but the free crochet corn keychain pattern turns that notion on its head with its bright colors and playful texture. This adorable little corn cob keychain boasts a charming, rounded shape with textured stitches that mimic kernels and a leafy green husk, making it a standout accessory to brighten up your keys or bag. The contrast between the vibrant yellow and soft green adds a delightful visual pop while the tactile surface invites touch.
Tiny Harvest-Inspired Free Corn Keychain pattern
This project suits crocheters who are comfortable with basics like single crochet, increases, decreases, and working in the round. Starting with a magic ring, you gradually build the cob’s shape through strategic stitch increases and decreases—a process that feels rewarding as your tiny corn cob takes form. Choosing a cotton or cotton-blend yarn works well here, as its slight stiffness highlights the stitch texture and helps the piece maintain its sturdy shape, which is perfect for a frequently handled item like a keychain.
The design captures the humble charm of fresh corn, making a perfect gift for autumn gatherings, kitchen décor lovers, or anyone who appreciates handmade touches. You can easily customize the size by adjusting your hook or yarn weight and add your own flair with embroidery or small beads to represent kernels. This pattern invites you to explore your creativity while crafting a cozy, cheerful keepsake.
Crochet Corn Keychain Pattern
Welcome to this charming and fun crochet pattern for a Corn Keychain! This project results in an adorable miniature corn cob keychain with textured kernels, a stem, and leaves. It is suitable for crocheters with some basic crochet knowledge, and will help you practice key skills such as working in the round, increases and decreases, and simple shaping.
Skill Level & Terminology
- Skill Level: Beginner with some familiarity with basic crochet stitches and techniques.
- Terminology: US crochet terms used throughout.
Materials & Tools
- Medium weight (4-ply) yarn in:
- Mustard Yellow or golden color (for the corn kernels)
- Green (for the stem and leaves)
- Crochet hook: 3.0 mm (or size suitable for your yarn and tension)
- Stitch marker
- Yarn needle
- Fiberfill stuffing
- Keychain ring and jump ring (optional, for attaching final project)
- Glue (optional, for attaching leaves and stem)
Gauge
Gauge is not critical for this small keychain; however, approximately:
- 20 sts and 22 rows = 10 cm square in single crochet
Adjust hook size to suit your tension to get a firm fabric suitable for keychain.
Abbreviations
- ch — chain
- sc — single crochet
- inc — increase (2 sc in same stitch)
- dec — decrease (single crochet two stitches together)
- sl st — slip stitch
- st(s) — stitch(es)
- HDC — half double crochet
- DC — double crochet
Special Stitch Instructions
Magic Ring
Work 8 sc (or as instructed) into a loop of yarn to create a tight foundation with no hole in the center.
Increase (inc)
Make 2 single crochets into the same stitch.
Decrease (dec)
Insert hook into next stitch and following stitch, yarn over, pull through both loops, yarn over and pull through all loops on hook.
Finished Size
The corn keychain will measure approximately 8 cm tall, making a perfect small charm for bags or keys.
Pattern Instructions
Main Body of Corn
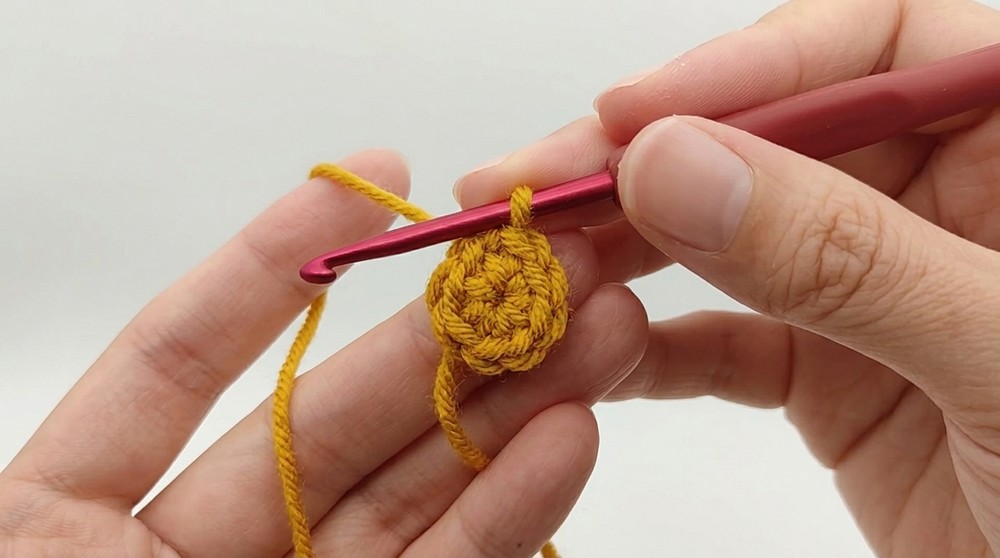
- Row 1:
- Work 8 single crochet (sc) into a magic ring.
- Slip stitch (sl st) to first sc to close round.
- Chain 2 (ch 2) to begin the next round.
You’ve formed the base of the corn kernel cob with a tight circle.
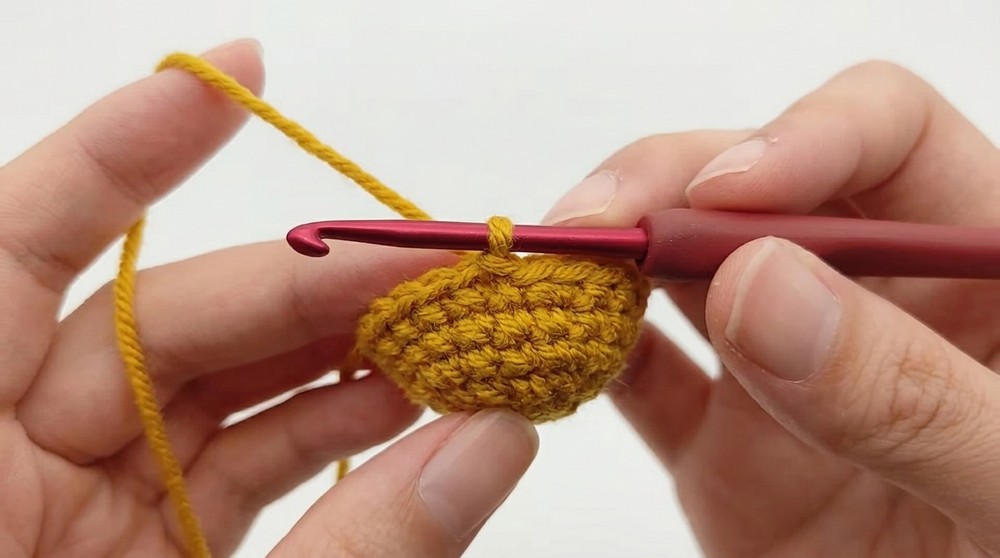
- Row 2:
- 1 sc in first stitch,
- 1 increase (2 sc) in next stitch,
- Repeat 1 sc, 1 inc 4 times total around.
- Slip stitch to first sc to close round.
- Chain 2 to start next row.
This round doubles your stitches to 16, shaping the corn body.
- Row 3:
- 1 sc,
- 1 inc,
- 1 sc,
- Repeat this group 4 times total.
- Slip stitch and chain 2.
The stitch count increases again, growing the corn’s roundness.
- Row 4:
- Work 1 sc in each stitch around (16 sts).
- Slip stitch and chain 2.
The shape starts to even out as you work evenly.
- Row 5:
- 3 sc,
- 1 inc,
- Repeat 4 times around (20 sts total).
- Slip stitch and chain 2.
Giving the corn a fuller body with gradual increasing.
- Row 6:
- Work 1 sc in each stitch (20 sts).
- Slip stitch and chain 2.
Growing the length of the corn while keeping shape constant.
- Row 7:
- 2 sc,
- 1 inc,
- 2 sc,
- Repeat 4 times (24 sts).
- Slip stitch and chain 2.
Adding subtle shaping with increases spaced evenly.
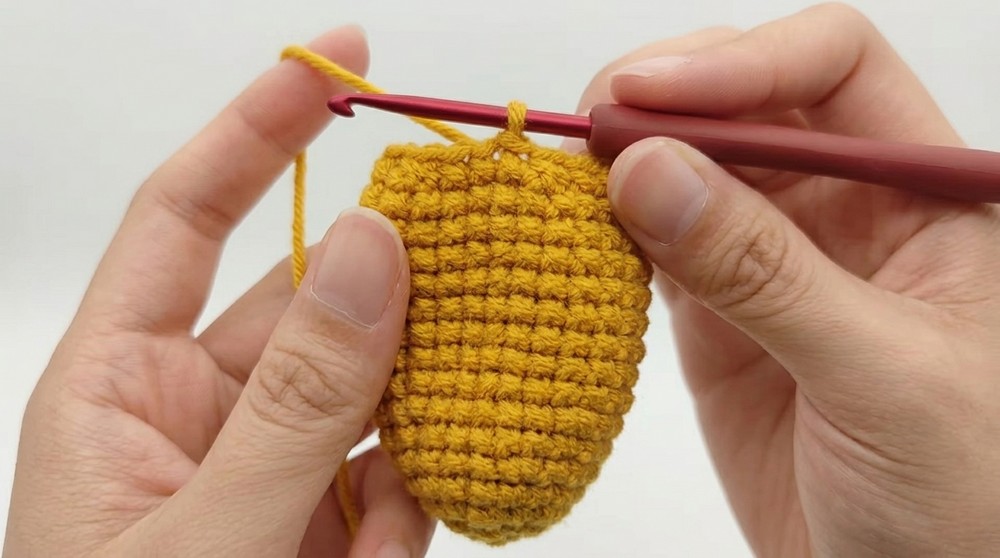
- Rows 8 to 15:
- Work 1 sc in each stitch around (24 sts).
- Slip stitch and chain 2 at the end of each round.
These rows create the height and texture of the cob’s kernel surface.
- Row 16:
- 2 sc,
- 1 dec (single crochet two together),
- Repeat 6 times.
- Slip stitch and chain 2.
Start to taper the corn shape by reducing stitches.
- Row 17:
- 1 sc,
- 1 dec,
- Repeat 6 times (18 sts).
- Slip stitch and chain 2.
Continuing the tapering effect as the corn narrows.
- Row 18:
- Make 6 decreases (dec) evenly spaced around (12 sts).
- Slip stitch and chain 2.
- Cut yarn leaving a long tail to close.
Final shaping for the corn body before finishing.
Stuff the body firmly with fiberfill before closing.
Stem
- Row 1:
- Work 6 sc into a magic ring.
- Tighten ring and slip stitch to close.
- Row 2:
- Work 6 increases (inc) (12 sts total).
- Slip stitch and chain 1.
- Row 3:
- Work 1 sc in each stitch around (12 sts), only working through back loops or inner yarn braid for a neat edge.
- Slip stitch and fasten off yarn leaving tail.
The stem is small and neat, attaching to the top of the corn cob.
Leaves (Make 2 pieces)
- Row 1:
- Chain 10.
- Starting from 2nd chain from hook, crochet 8 single crochets (sc) along the chain.
- Turn.
- Row 2:
- Ch 2 (counts as first half double crochet).
- Work half double crochet (HDC) increase (2 HDC in one stitch) twice at the start.
- HDC in next 5 stitches.
- Work 3 single crochets in the last chain (corner).
- HDC in 7 stitches along the other side of the chain.
- Increase 1 HDC in last stitch.
- Slip stitch to close the row.
- Fasten off leaving a tail.
- Row 3:
- Repeat some shaping rows as needed or mimic Row 2 to create leaf texture.
Make two identical leaves.
Assembly and Finishing
- Glue or sew the stem securely at the top of the corn body.
- Attach the two leaves beneath the stem, around the top of the corn.
- Use glue for keychain hardware at stem’s base or sew on securely.
- Weave in any loose ends with a yarn needle.
- Add your keyring or other hardware to complete your keychain!
Proper assembly adds polish and the finishing touches make your corn keychain durable and adorable.
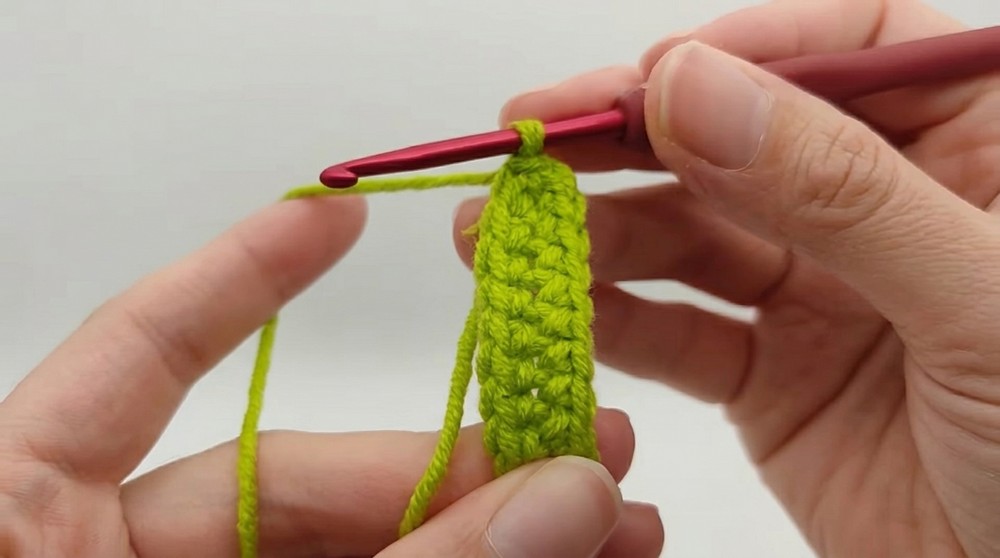
Starting the Pattern & Techniques Used
Begin your corn keychain by creating a magic ring, crocheting the body in continuous rounds using single crochet (sc) stitches. Increases (inc) add width and shaping, and decreases (dec) taper the shape towards the end. The stem and leaves feature half double crochet (HDC) and double crochet (DC) stitches to add texture and form. Slip stitches (sl st) finish each round neatly. You will use chaining (ch) for turning and starting rows on leaves and the stem.
This project combines shaping techniques fundamental for amigurumi, building skill in working in the round, maintaining stitch counts, and executing smooth decreases for shaping.
Summary of Key Stitches
- Magic Ring: creates a tight closed loop foundation.
- Single Crochet (sc): main stitch for creating dense fabric.
- Increase (inc): two sc in the same stitch to widen work.
- Decrease (dec): combines two sc stitches into one to taper.
- Half Double Crochet (HDC): used in leaf shaping for texture and height.
- Slip Stitch (sl st): used to join rounds and finish work neatly.
Care Tips:
Maintain consistent tension for best shape and size, and stuff the corn firmly to hold structure when using fiberfill.