
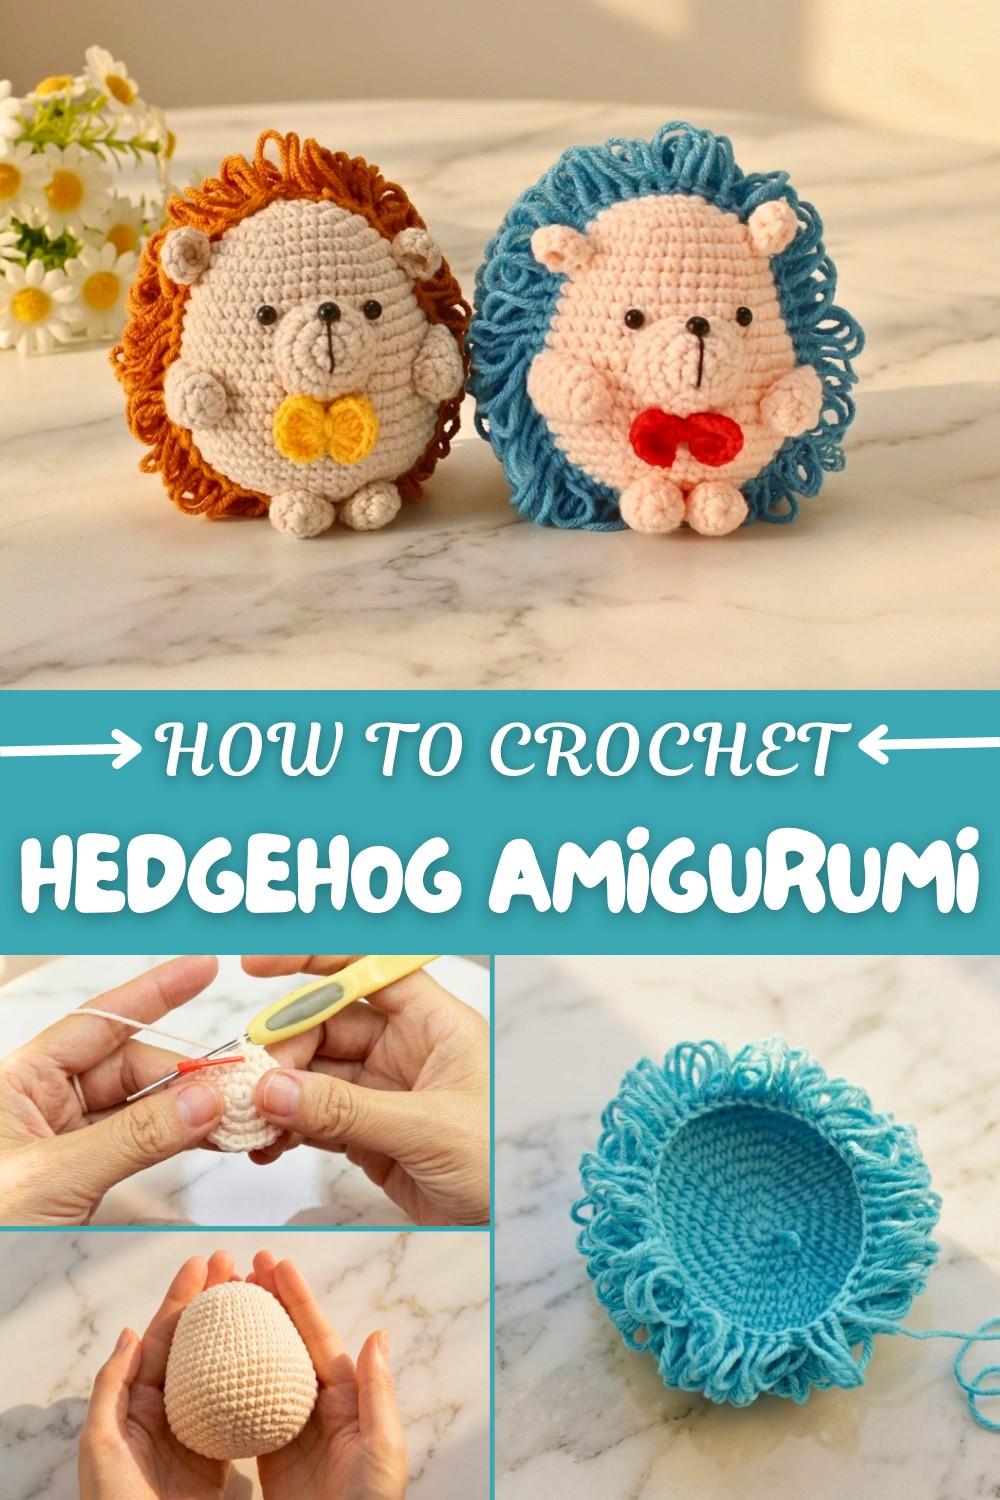
Free Crochet Hedgehog Amigurumi Pattern with Cute Details
Cozy woodland charm shines through Free Crochet Hedgehog Amigurumi Pattern perfect for cute décor animal lovers and playful collections.
I really like making little stuffed animals by crocheting. It is such a thing to do and it helps me relax. I just made a toy that was really easy to make and it was a lot of fun. If you want to make a little hedgehog you can use the Free crochet Hedgehog Amigurumi Pattern. This pattern is great because you can change the colors or details and make little animals like woodland creatures.
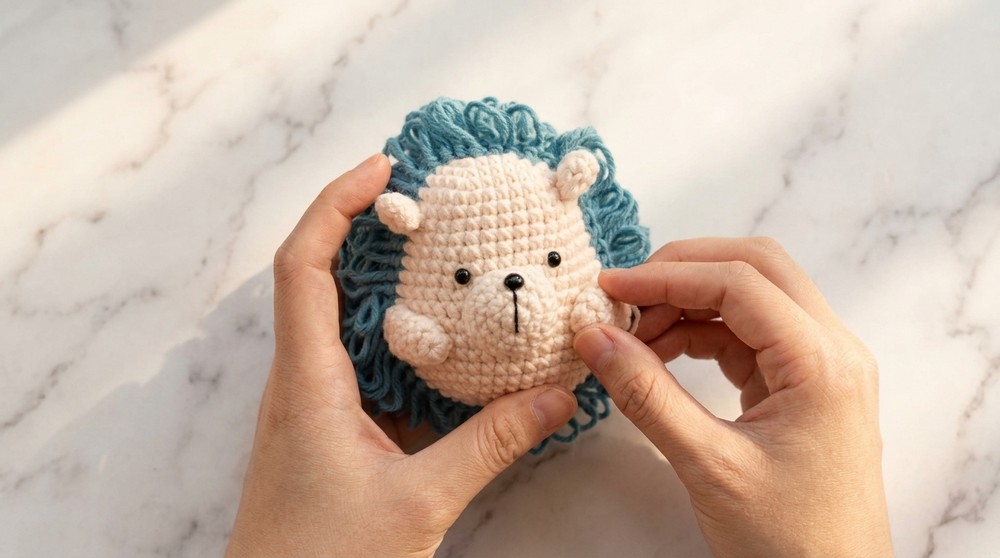
The crocheted hedgehog I made is really cute. It has a body that is soft and a sweet little face. The body is smooth. The back has special stitches that look like the hedgehogs quills. I think this is a touch. The hedgehog is plump and cuddly so it is perfect for holding or putting on a shelf. The style is simple. It is really nice. The eyes and nose are made well and they make the hedgehog look friendly. This little toy is great for decorating or as a gift for kids or as a little collectible.
Crochet Hedgehog Amigurumi – Free Pattern
The Free crochet Hedgehog Amigurumi Pattern is easy to use even if you are just starting out. It mainly uses stitches that are easy to learn. The special stitches for the quills are a little different. They are easy to learn too. The pattern is straightforward so it does not take a time to finish. This makes it perfect for people who are just starting to crochet or, for people who want a fun project. If you want to make a gift or a soft toy or a little collectible the hedgehog amigurumi is a choice. It will make you happy. It will make other people happy too. You should try it you might really like crocheting Free crochet Hedgehog Amigurumi Pattern.
Free Crochet Hedgehog Amigurumi Pattern
Stitch Abbreviations
- ch = chain
- sc = single crochet
- inc / V = increase (2 sc in same stitch)
- dec / A = decrease (crochet 2 stitches together)
- st(s) = stitch(es)
- MR = magic ring
- dc = double crochet
- hdc = half double crochet
- tr = triple crochet
Pattern Notes
- Worked in continuous spirals to avoid visible seams.
- Uses basic stitches: single crochet (sc), increases (V), and decreases (A).
- Spikes are crocheted using a unique “shredded radish” technique using a folded paper template for uniform length.
- The ears and bow are worked separately and sewn on afterward.
- Feet and nose are crocheted using the magic ring technique.
- Filling with fiberfill (PP cotton) provides shape without overstuffing.
Skill Level
Beginner to Intermediate. Requires knowledge of magic ring, working in rounds, increases and decreases, and basic sewing.
Materials
- Worsted weight yarn in three colors:
- Main body color (e.g., brown)
- Secondary color (e.g., blue) for accents like bow
- Yellow or other colors for nose details
- Crochet hook size 3.5 mm (E) or size suitable for your yarn
- Fiberfill stuffing
- Needle for sewing and weaving ends
- Paper or cardstock for thorn template
- Scissors
Measurements / Finished Size
- Approximate height: 9 cm (3.5 in)
- Width: 5–6 cm (2–2.4 in) depending on yarn tension and size variation
- Size may vary with yarn type and hook size.
Gauge (and Stitch Pattern)
- Not strictly critical but tight single crochet creates firm fabric to hold stuffing.
- Approximate gauge: 18-20 stitches and 20 rows = 10 cm in single crochet.
Gauge Swatch Tips
- Make a 10x10 cm swatch in single crochet to adjust your tension.
- Use a smaller crochet hook if stitches seem loose to prevent stuffing from showing.
Summary
This endearing Free Crochet Hedgehog Amigurumi Pattern is a perfect project for beginners and intermediate crocheters. With a soft body, adorable ears, a delicate nose, and characteristic spiky “thorns” on its back, this project is both fun and customizable with your choice of colors. The pattern involves continuous rounds with increases and decreases, simple stitch techniques, and a clever use of a paper template to create consistent spines. This small hedgehog makes a wonderful gift, decorative doll, or keychain accessory.
Special Stitches
- W stitch (V increase): 2 single crochets worked into one stitch to increase the stitch count.
- Decrease (A): Crochet two stitches together by inserting hook through the front loops of two stitches, yarn over, pull through both loops, yarn over and pull through remaining loops.
- Shredded radish stitch: Created by wrapping yarn around a folded piece of paper, then crocheting over the loops to form uniform “spines.”
The Crochet Pattern
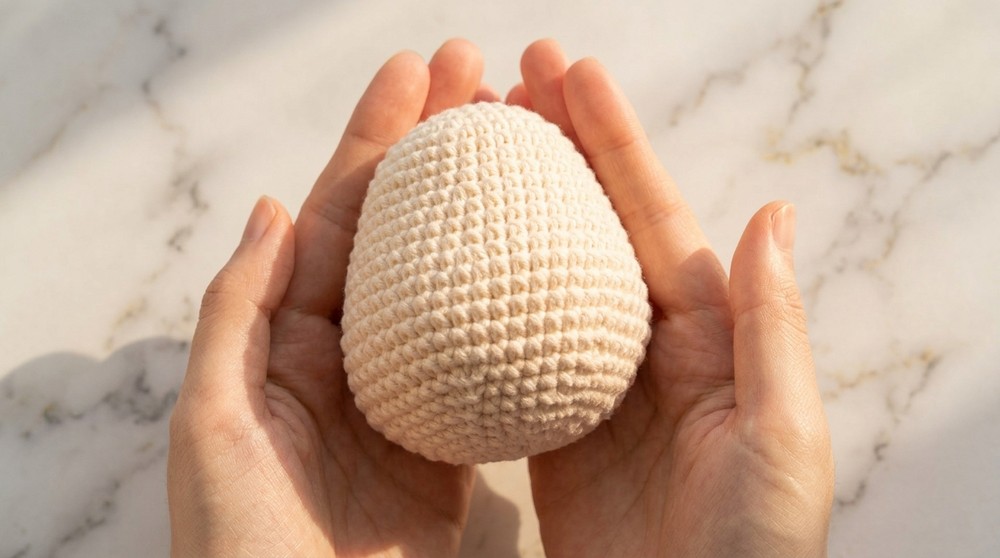
Body
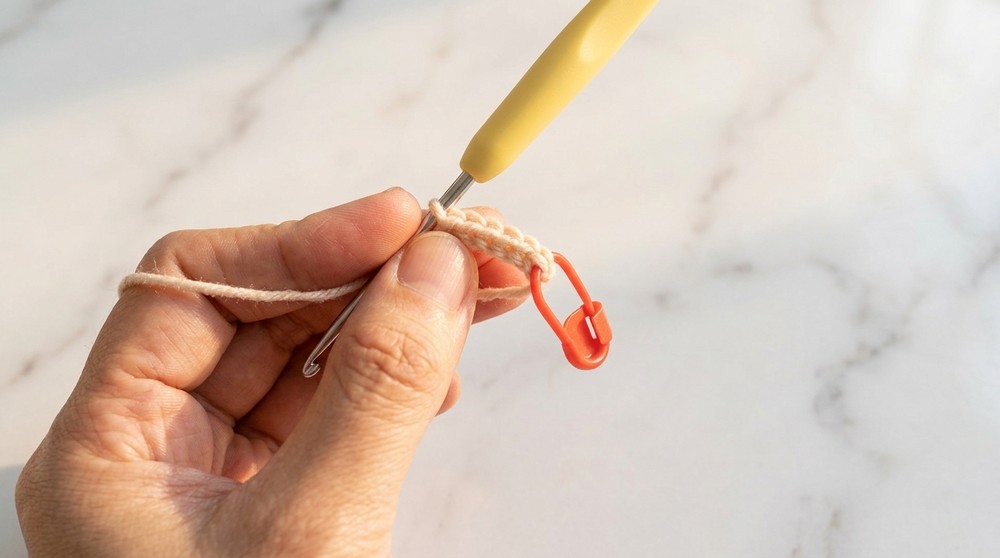
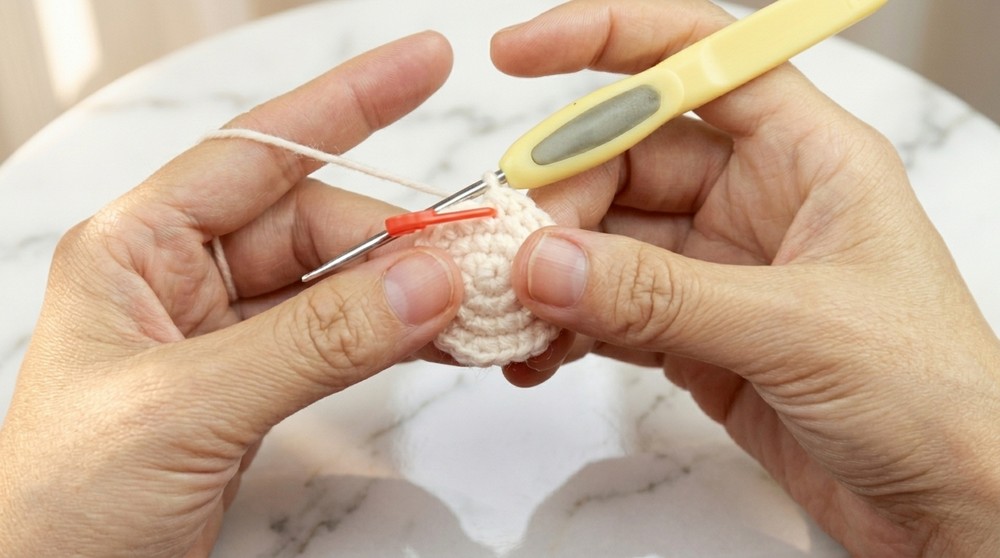
- Start with a magic ring (MR); crochet 6 sc into the ring.
- Round 2: Increase (V) in each stitch (12 sc total).
- Round 3: 1 sc, 1 inc (V) — repeat 6 times (18 sc).
- Round 4: 2 sc, 1 inc (V) — repeat 6 times (24 sc).
- Round 5: 3 sc, 1 inc (V) — repeat 6 times (30 sc).
- Round 6: 4 sc, 1 inc (V) — repeat 6 times (36 sc).
- Round 7: 5 sc, 1 inc (V) — repeat 6 times (42 sc).
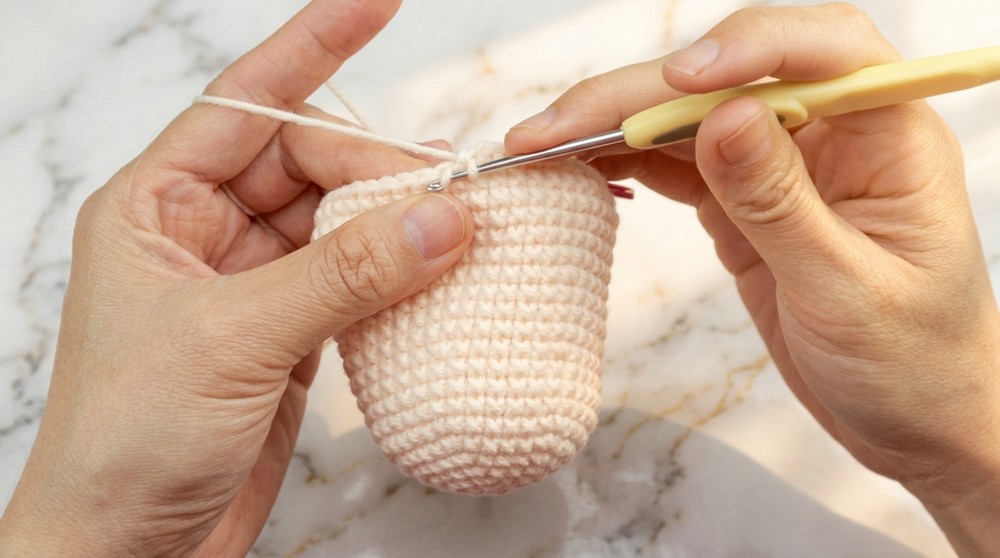
- Crochet rounds by following the established pattern and increments through rounds 6 to 20 as per diagram, eventually increasing stitch count to 48.
- Rounds 21 (Decrease round): 6 sc, 1 dec (A) repeat 6 times (42 sc).
- Continue to decrease following diagram rounds 22 to 26.
- After round 26, stuff the body firmly with fiberfill.
- Round 27: Crochet 6 decreases (A) in a row to close the top of the body.
- Pull tail and tighten to close hole, weave in ends.
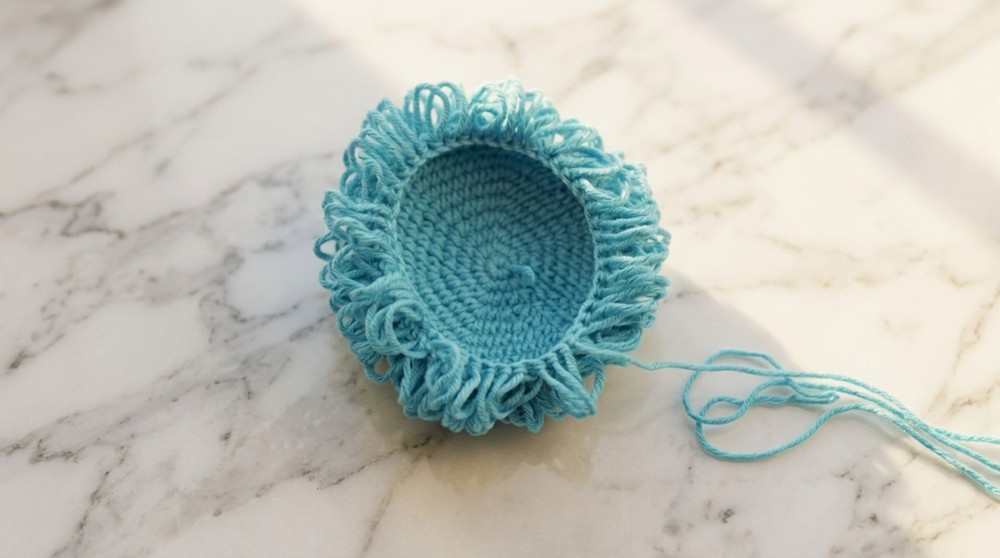
Shredded Radish Stitch (Spines)
- Using a small folded piece of paper approx. the desired thorn length, wrap yarn around it uniformly for each stitch in Round 2.
- Crochet over the wrapped loops, pulling yarn through to secure each fiber strand as a thorn.
- Continue for all stitches to create uniform textural spikes on the hedgehog’s back.
- Remove paper after securing stitches.
Ears (Make 2)
- Start with a magic ring.
- Chain 4 stitches.
- Crochet 6 double crochets (dc) into the ring.
- Chain 3 stitches, slip stitch to close work.
- Cut yarn, leaving a long tail for sewing.
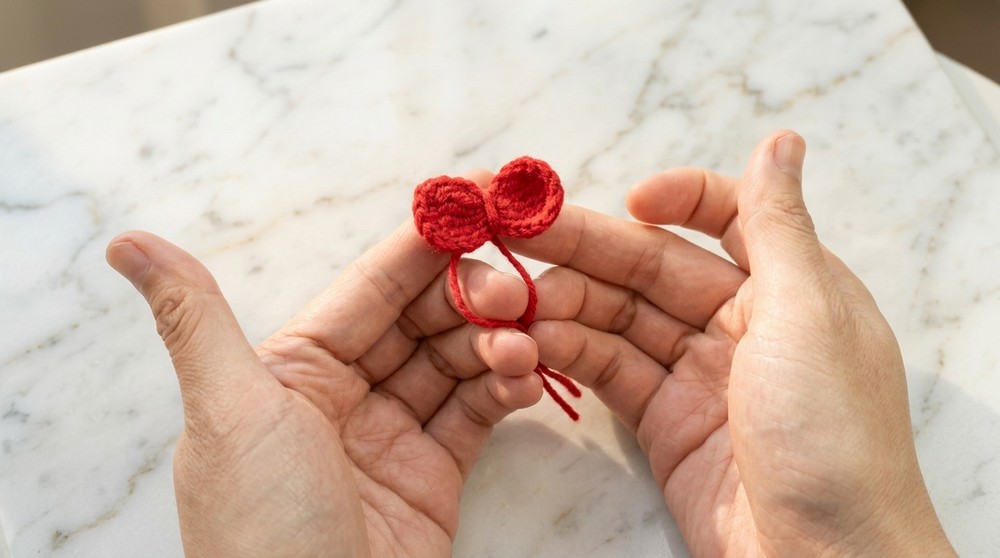
Bow
- Make a slip knot, chain 6 to 7 stitches.
- Work four triple crochets (tr) into a small ring-like motif between portions of chains.
- Chain 5 stitches, then repeat the four triple crochets on the opposite side.
- Slip stitch to finish; sew center tightly to form bow shape.
- Leave yarn tail for attaching.
Legs (Make 4)
- Begin with magic ring, chain 8 stitches.
- Crochet in continuous rounds to form small stout legs (details per diagram).
- Leave long tail for sewing.
Nose
- Start with magic ring.
- Crochet as per diagram (small shape), then sew onto face aligning below ears.
- Embroider black buckle or decorative nose tip.
Eyes
- Sew or crochet small beads onto the head symmetrically above the mouth area.
Assembly
- Sew ears onto the top of the head around the fourth row of body stitches.
- Attach nose just below ears, stuffing lightly if needed underneath for shape.
- Sew on bow either under nose or as preferred; optional.
- Attach four legs symmetrically on lower sides of body. No additional stuffing needed for legs.
- Sew the shredded radish stitch piece onto the back of the body carefully using yarn needle for secure attachment.
Finished Size and Final Notes
- Approximately 9 cm (3.5 inches) tall.
- Soft body with textural back “thorns” for realism.
- Compact size perfect as a collectible or gift.
- Yarn choice and hook tension affect final size and shape.
Conclusion and Tips
- The shredded radish technique using paper ensures even, consistent thorn length for a professional finish.
- Use good quality yarn and tight stitches to prevent stuffing from showing.
- Assembly is key to the cute look — sew parts firmly and symmetrically.
- Optional bow offers personalized styling to your hedgehog.
- This pattern balances beginner-friendly stitches with interesting techniques for enjoyable project.