
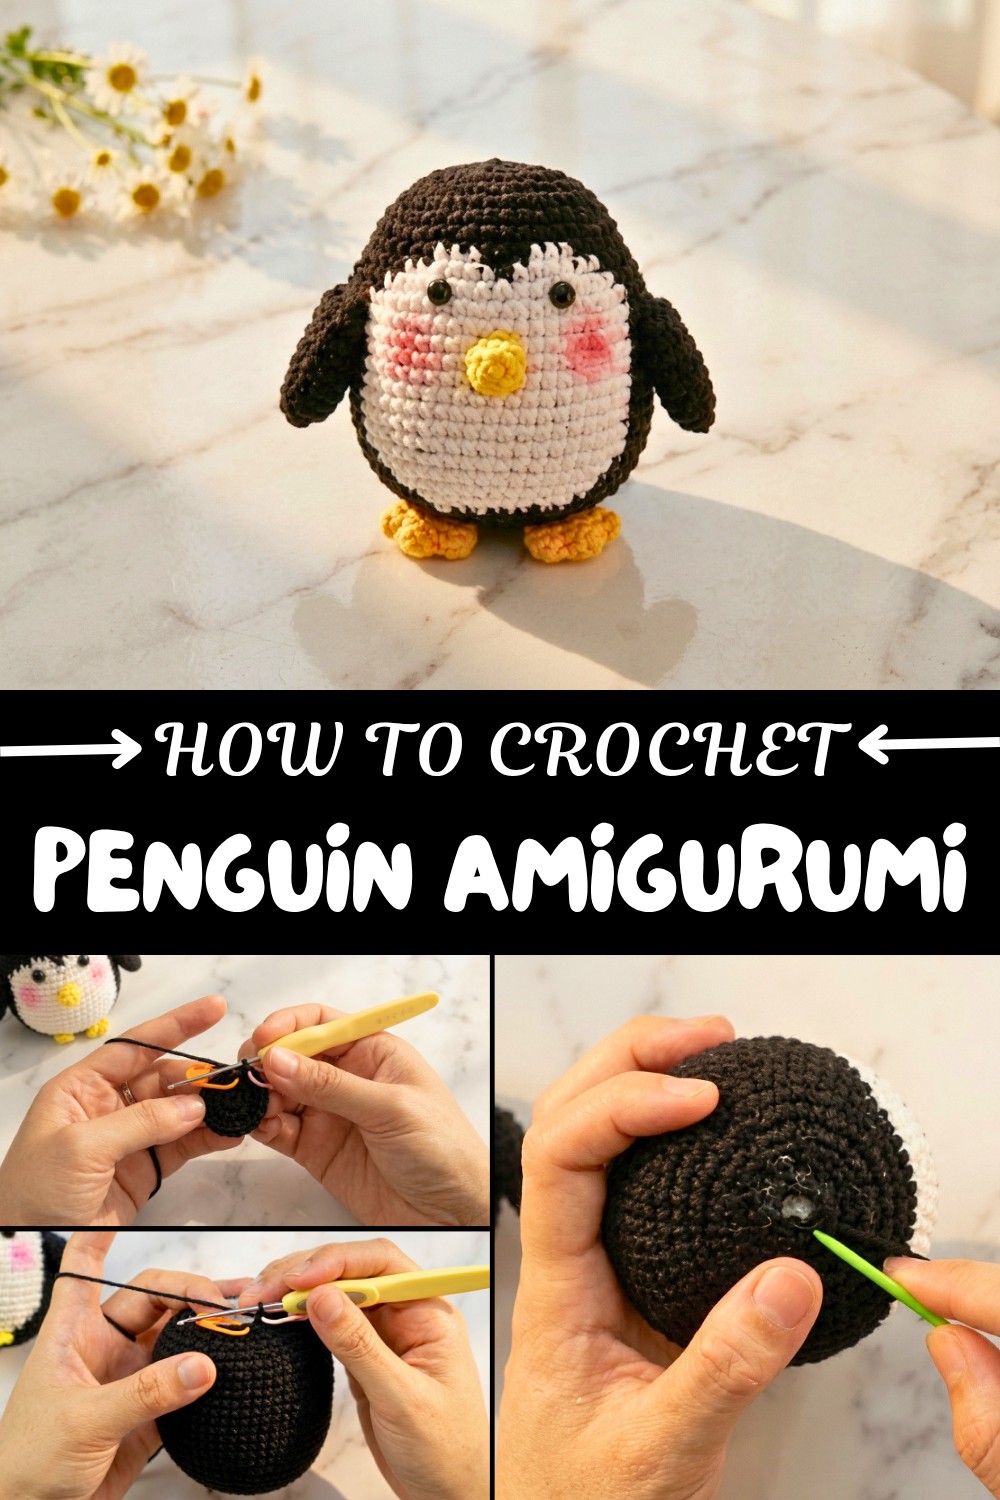
Free Crochet Penguin Amigurumi Pattern for Frosty Holiday Bliss
Level up your handmade gifts by using this free crochet penguin amigurumi pattern for the most adorable and trendy plushies ever.
If you’ve always wanted to bring a burst of cuteness to your crochet projects, this little penguin amigurumi is just the thing! With its chubby round body, tiny wings, adorable feet, and rosy blushing cheeks, this pattern is perfect for anyone who loves animals or enjoys making handmade gifts. The contrasting black and white colors mimic a real penguin, while the pops of orange for the beak and feet make it irresistibly charming. Whether you're making a playful keychain, a cute desk companion, or a gift for penguin lovers, this crochet penguin is guaranteed to melt some hearts.
Crochet Penguin Amigurumi Pattern for Unique Winter Decor
This pattern uses beginner-friendly stitches, such as single crochet, increases, and decreases, and begins with a neat magic ring technique. It's great for those who want to learn or improve shaping techniques, like creating rounded bodies and small details like feet and wings. Plus, the color changes are simple and well-explained, so you can master them even if you're new to working with multiple yarn shades. With just a little bit of patience, you’ll have a delightful penguin in no time!
What Else Can You Crochet?
With the techniques used in this penguin, you can also create:
- Other animals like owls, bears, or chicks by tweaking the colors and shapes.
- Mini winter-themed decorations for holidays, such as snowmen or reindeer.
- Themed keychains, where you can crochet tiny companions like turtles, whales, or dolphins.
- Gift sets for kids combining penguins with other arctic animals or sea creatures.

Why You’ll Love Making This:
- Fun color combinations to personalize your penguin.
- Easily customizable size for various uses (keychains, toys, etc.).
- Quick to finish, perfect for both beginners and seasoned crocheters.
Crochet Pattern: Cute Little Penguin Amigurumi
This adorable little penguin is a fun and creative crochet project! Using basic stitches and techniques, it's perfect for beginners ready to try their hand at creating amigurumi or experienced crocheters looking for a quick and rewarding project. The pattern is worked in continuous rounds, and you will build the body, feet, wings, and beak separately, assembling them at the end. Let's get started!
Skill Level & Terminology
- Skill Level: Beginner
- Terms Used: US Terminology
Materials & Tools
- Yarn:
- Black yarn for the body.
- White yarn for the belly and details.
- Yellow or orange yarn for the beak and feet.
- Hook: Size 2.5mm–3.0mm crochet hook or any size suitable for your yarn.
- Additional Tools:
- Stitch markers.
- Sewing needle.
- Scissors.
- Blush (optional) for cheeks.
- Stuffing (polyfill).
Gauge
The gauge is not critical for this pattern. Adjust the hook size to ensure your stitches are tight enough to avoid stuffing showing through.
Abbreviations List
| Abbreviation | Meaning |
|---|---|
| MR | Magic Ring |
| ch | Chain |
| sc | Single Crochet |
| inc | Increase (2 sc in one st) |
| dec | Decrease |
| sl st | Slip Stitch |
Special Stitch Instructions
- Magic Ring (MR): Wrap the yarn around your fingers to form a loop, draw up a loop through the ring, ch 1, and begin your stitches inside the loop.
- Increase (inc): Crochet 2 sc in the same stitch.
- Decrease (dec): Insert hook into the front loop of the next two stitches, yarn over, pull through both loops, and finish as a single crochet.
Finished Size
Approximately 4-5 inches tall, depending on your yarn and hook size.
What Will You Learn
This pattern is a fantastic opportunity to learn:
- How to start your project properly with the magic ring technique.
- How to shape amigurumi with increases, decreases, and spiral rounds.
- Methods for switching yarn colors seamlessly for a clean look.
- How to assemble and sew small details like wings, feet, and beaks to an amigurumi base.
The Pattern
Body
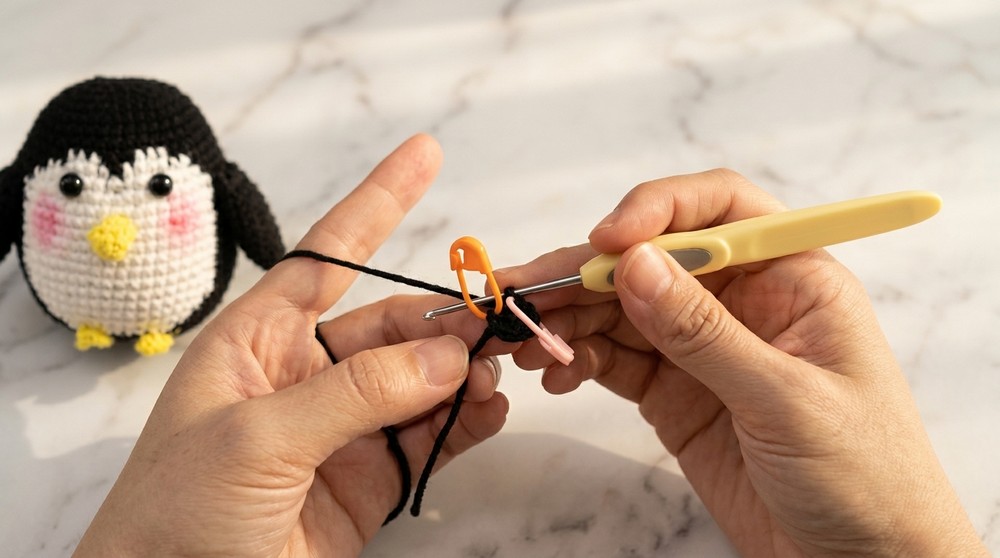
Round 1:
- Start with a MR.
- 8 sc into the ring. (8 sts)
- Pull the loop tight to close the ring. Use a stitch marker to mark the first stitch.
Round 2:
- 8 inc. Work 2 sc into each stitch from the previous round. (16 sts)
Round 3:
- (1 sc, 1 inc) repeat 8 times. (24 sts)
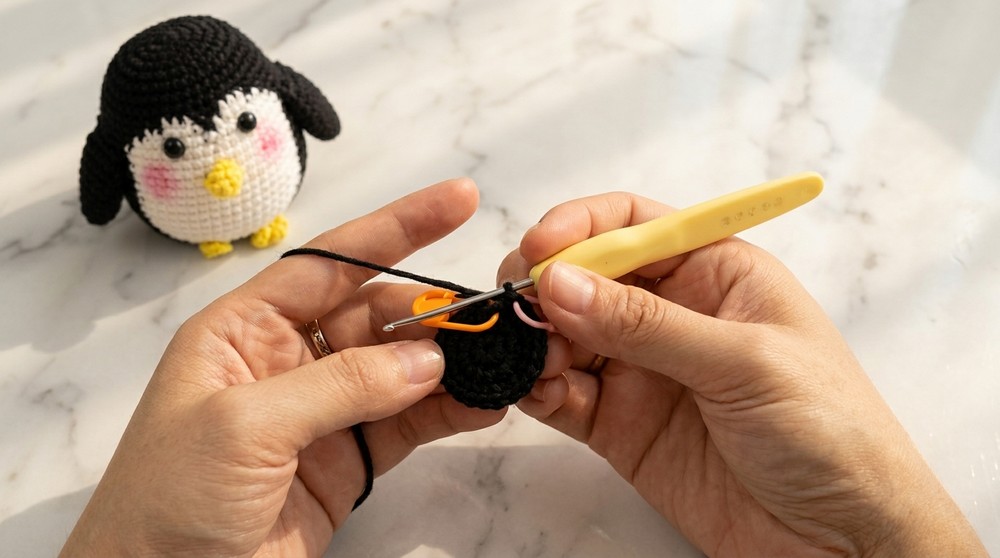
Round 4:
- (2 sc, 1 inc) repeat 8 times. (32 sts)
Rounds 5-8:
- sc in each stitch around. (32 sts per round)
Round 9:
- Switch to white yarn after creating 19 sc with black yarn.
- sc 3 in white, followed by switching colors back to black. Continue 3 sc in black. Repeat this sequence according to the diagram.
Rounds 10-23:
- Alternate colors as indicated in the diagram while continuing in sc.
Round 24:
- (5 sc, 1 dec) repeat 3 times, then 2 sc.
Rounds 25-28:
- Continue to decrease following the diagram.
Round 29:
- Stuff, (1 sc, 1 dec) repeat 8 times while working in the back loops only.
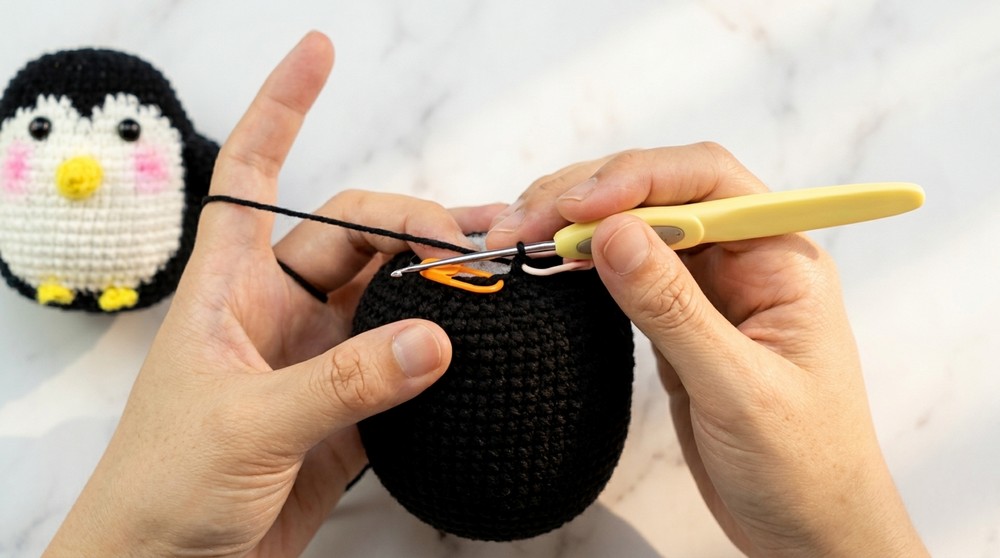
Round 30:
- dec around until there are 8 stitches left. Fasten off, leaving a long tail. Use a sewing needle to close the gap at the top of the penguin's body.
Congratulations! You’ve completed the penguin’s body. Now it’s time to work on its additional features.
Feet
- Using yellow or orange yarn, create a slip knot and ch 2.
- Insert into the first chain and 3 sc into the same stitch. (3 sts)
- Ch 1, then work a sl st into the next stitch. Secure and fasten off.
Repeat to make the second foot. Set both feet aside for assembly.
Wings
- Follow the same method for feet, but increase the size with a few additional rows:
- Round 1: Work 6 sc in a MR. (6 sts)
- Round 2: (1 sc, 1 inc) repeat three times. (9 sts)
- Round 3: Work sl st around, fasten off, and leave a long tail for sewing.
Repeat to create the second wing.
Beak
- With yellow or orange yarn, ch 2.
- Work 3 sc into the first chain.
- Continue with sc dec in the second row to shape the beak into a triangle. Fasten off and leave a long tail for sewing.
Now we have all the parts ready to assemble!
Assembly & Finishing
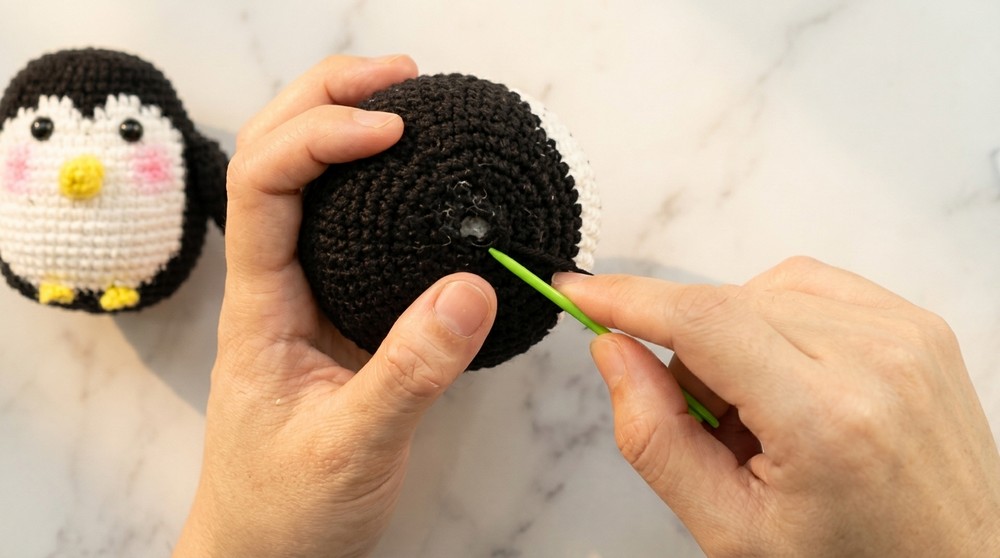
- Sew the Beak:
- Attach the beak between rounds 13 and 16 of the penguin’s body. Stitch firmly using the long tail left on the beak.
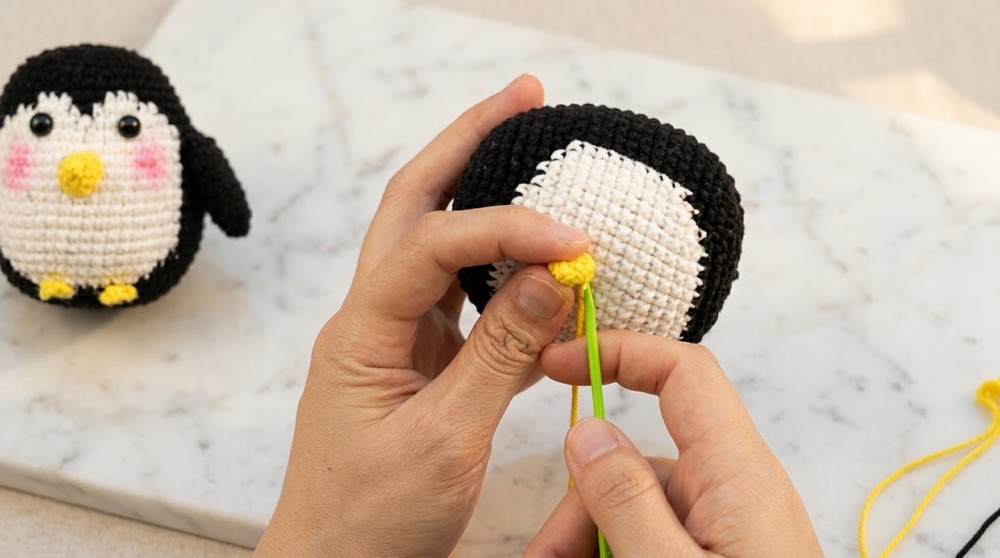
- Attach the Feet:
- Position the feet at the base of the penguin. Attach securely with the tails from each foot.
- Attach the Wings:
- Sew each wing to the side of the penguin near the midsection.
- Add Faces/Blush:
- Optionally, apply blush to the penguin using a makeup brush to give it a cute, rosy-cheek look.
- Final Touch:
- Check all parts for proper placement and secure any loose threads.
Tips For Beginners:
- Don’t hesitate to use stitch markers to track the beginning of your rounds.
- If you find the penguin’s parts too tricky, practice them separately before assembling.
Summary
This penguin amigurumi pattern uses basic stitches (magic ring, single crochet, increase, and decrease) to piece together the cute penguin. Its small and manageable size makes it ideal for learning how to assemble amigurumi. Enhance the project with your creativity—add small details like a scarf or bow for a personalized touch!
Common Challenges and How to Fix Them
While this penguin pattern is beginner-friendly, there are a few areas where crocheters might run into challenges. Mastering the magic ring at the start can feel tricky, as it requires getting the loop tight and secure. Practicing with scrap yarn can help you get the hang of it quickly. Maintaining stitch counts during rounds, especially for increases and decreases, can also be a hurdle. Using a stitch marker to mark the beginning of each round is a simple way to stay on track.
Furthermore, color changes may initially feel confusing, but using the method of switching yarns on the last pull-through of a stitch ensures clean transitions. Lastly, sewing the small parts—like the beak and feet—can be fiddly, but working slowly and using pins to position the pieces beforehand ensures a neat finish. With practice and patience, you'll find these steps become much easier!