
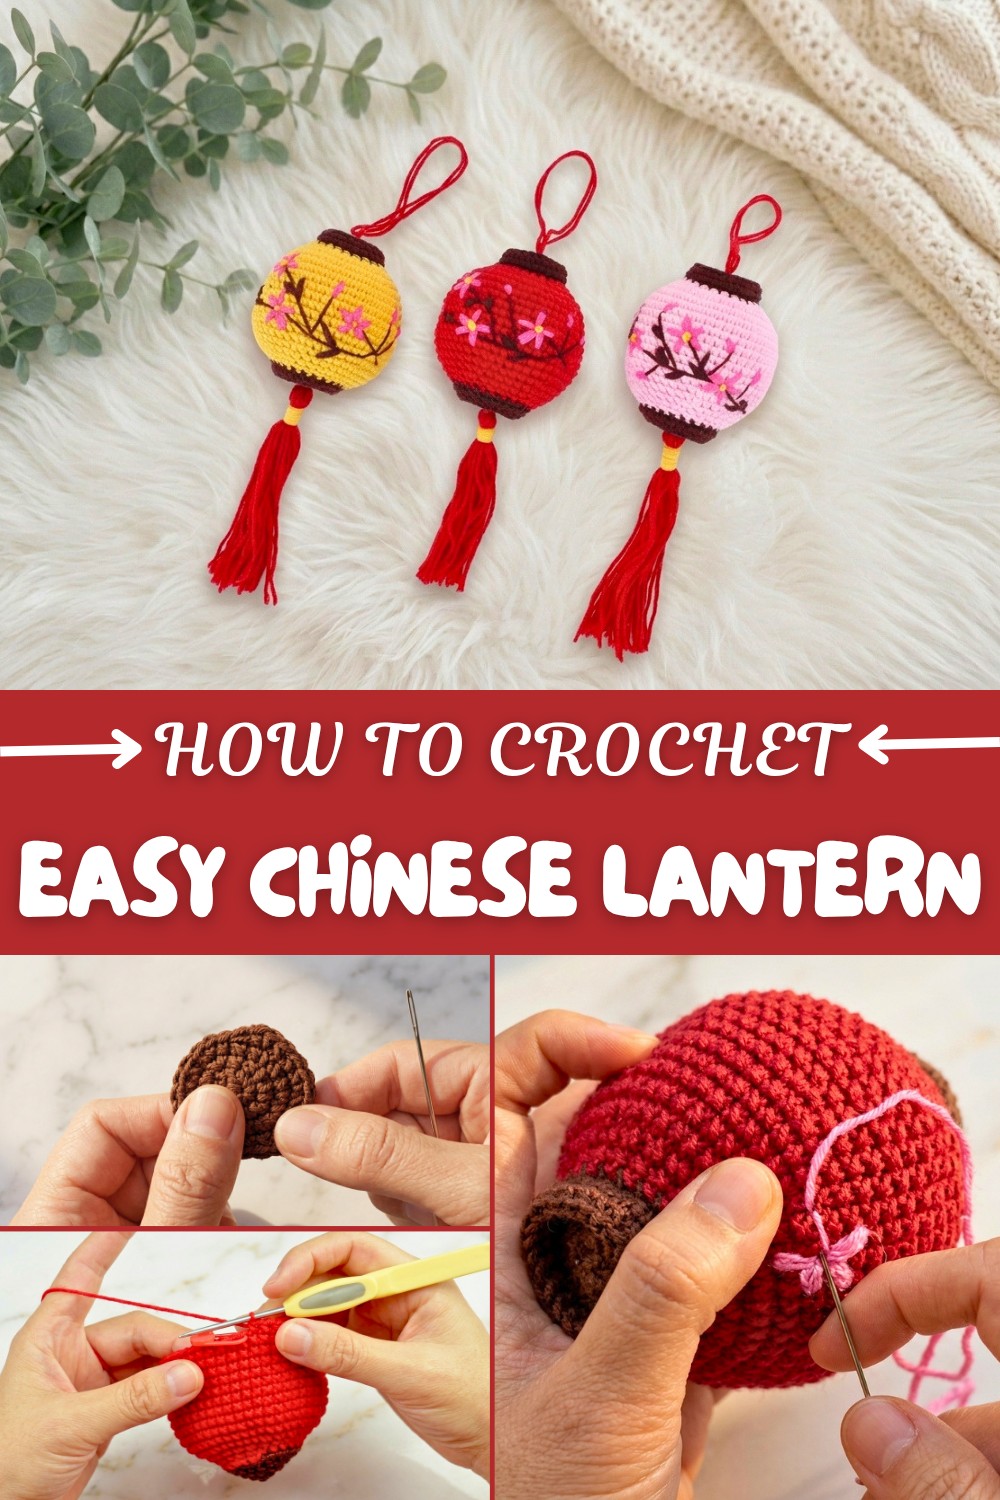
Crochet Chinese Lantern Pattern for Handmade Happiness
Illuminate spaces using a free crochet Chinese lantern pattern that offers a modern twist on traditional beauty for every occasion.
Brighten your space with a touch of cultural elegance by crocheting a stunning crochet Chinese lantern. This charming project celebrates tradition with its vivid colors, flowing tassels, and intricate plum blossom embroidery. Whether displayed as a festive decor item, gifted to someone special, or used to accent your favorite spot, this pattern is sure to captivate with its beauty and thoughtful details. The timeless pattern allows ample room for personalization, so you can experiment with bold shades or delicate pastels, and even choose the patterns and motifs that match your style perfectly.
Free Crochet Chinese Lantern Pattern for Charming Festive Details
The pattern is beginner-friendly yet exciting, incorporating essential crochet techniques like the magic ring, spiral rounds, and back-loop stitches to shape the lantern’s structured body. You’ll also learn how to embroider delicate plum blossoms and crochet tassels that add movement and flair to your finished work. The combination of stitches and techniques makes this not only a decorative piece but also a fun opportunity to expand your crochet skills.
Other Creative Ideas With This Pattern:
Once you’ve mastered this lantern, you can make:
- Festival decorations: Lanterns for Lunar New Year, Mid-Autumn Festival, or other celebrations.
- Customized gifts: Add names, special dates, or personalized embroidery motifs.
- Colorful garlands: String together lanterns with matching tassels for larger displays.
- Mini lantern versions: Perfect for car ornaments or delicate home accents.
Why This Lantern Belongs in Your Collection
- A unique combination of cultural artistry and crochet.
- Accessible for beginners, with plenty of room for creative exploration.
- Stunning as a handmade gift or decoration that stands out.
- Easily customizable with colors, patterns, and additional features.
Let your creativity shine and enjoy crocheting this delightful Chinese lantern that celebrates tradition and beauty!
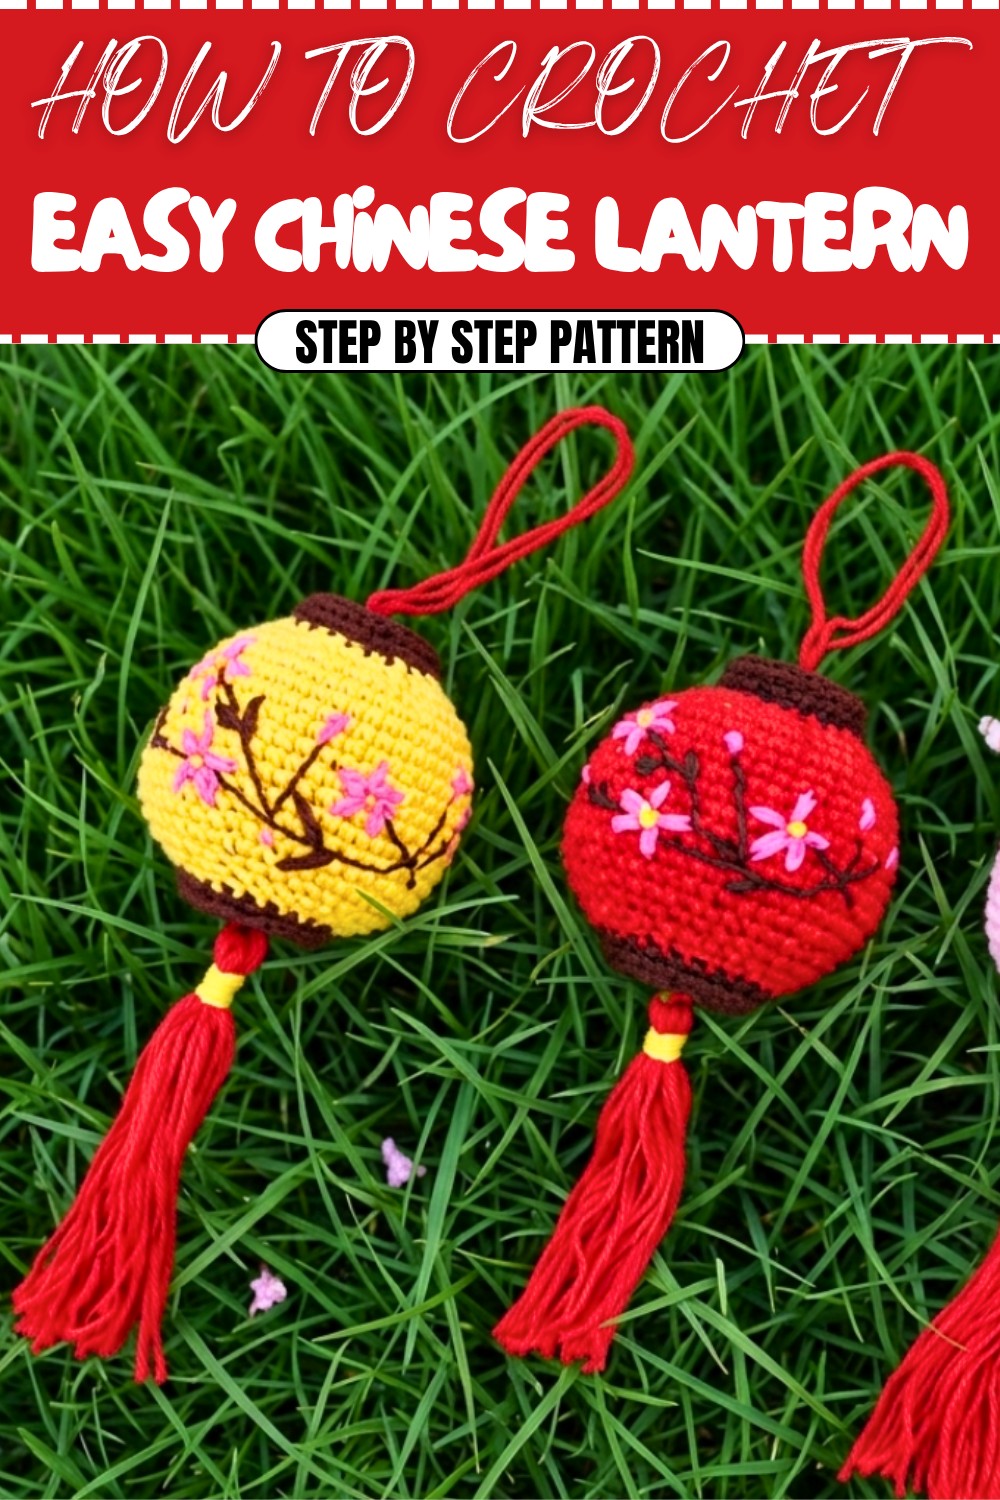
Crochet Lantern with Tassel Pattern
This step-by-step pattern will guide you through creating a beautiful and decorative crochet lantern, complete with embroidered plum blossoms and a tassel. Use it as a home accessory, car decoration, or festive ornament. Its elegant design allows for customization in colors and details to suit your preferences.
This lantern pattern features a round, crocheted body with a tassel and plum blossom embroidery. The stitch techniques are relatively simple, but attention to detail is required for sewing and decorating. You’ll start crocheting the lantern from the top using a spiral crochet method and create the embellishments after assembling the main body.
Skill Level & Terminology
- Skill Level: Confident Beginner / Intermediate
- Terminology: US Crochet Terms
This pattern is ideal for someone comfortable with working in the round and basic embroidery techniques. The stitches used are beginner-friendly.
Materials & Tools
Required Supplies:
- Yarn:
- Main Color (e.g., Red, Yellow, or your preferred color for the lantern body)
- Accent Color for Tassel (e.g., Yellow or contrasting color)
- Embroidery Thread for Plum Blossoms (e.g., Pink or White)
- Brown Thread for Branch Embroidery
- Crochet Hook: 2.0 mm
- Tapestry Needle: For sewing and embroidery.
- Scissors
- Stuffing: Fiberfill for shaping the lantern.
Optional Supplies:
- Keychain Hardware: Attach it to make the lantern a mobile accessory.
Gauge
- Gauge is not critical for this project. However, aim for tight, even stitches to prevent stuffing from showing through.
Abbreviations
Here’s a handy reference for the crochet terms used in this pattern:
- ch: Chain
- sc: Single Crochet
- sl st: Slip Stitch
- inc: Increase (2 sc in one stitch)
- dec: Decrease (combine 2 stitches into 1 stitch)
- mr: Magic Ring
What You’ll Learn
- Spiral crocheting to create smooth rounds that form a seamless cylindrical lantern.
- The back-loop method for adding depth and texture to your crochet projects.
- How to embellish your lantern with plum blossom embroidery for a vibrant and elegant finish.
- Tips for making beautiful tassels to give your lantern a traditional aesthetic.
Special Stitch Instructions
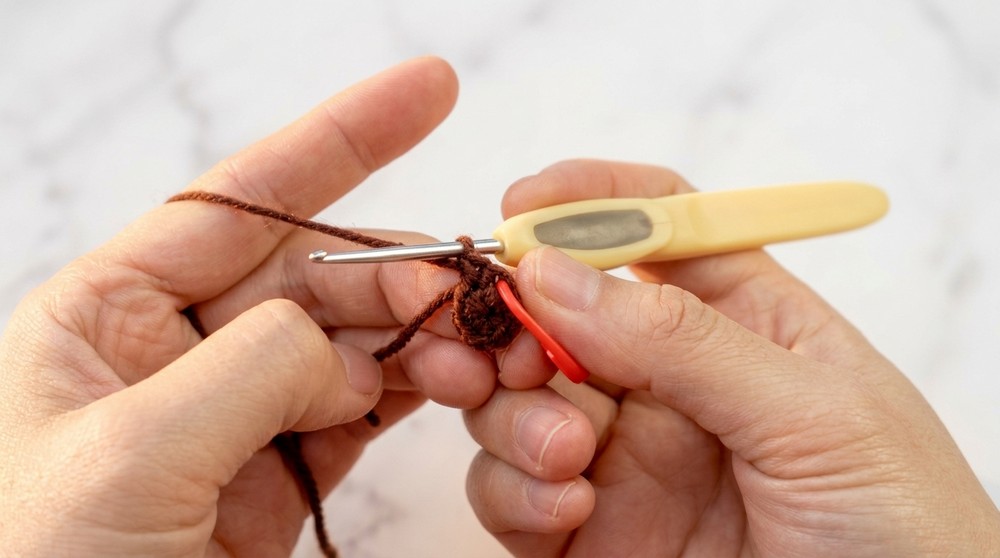
Magic Ring (mr)
- Wrap the yarn around your fingers to form a loop.
- Insert the hook into the loop, yarn over, and pull up a loop.
- Chain 1 to secure the ring. Work the required stitches into the ring, and pull the tail to tighten.
Finished Size
With the materials and hook size provided, the finished lantern measures approximately:
- Height: 7–8 cm (not including the tassel).
- Diameter: 5–6 cm across the widest part.
The Crochet Pattern
Main Lantern Body
- Round 1:
- Begin with a magic ring (mr).
- Work 6 sc into the ring. (6 sts)
- Pull the yarn tail tight to close the ring.
You’ve now created the base of your lantern body with 6 stitches in a flat circle.
- Round 2:
- Work 1 inc in each stitch around. (6 increases = 12 sts)
This round doubles your initial stitch count by working two single crochets into every stitch.
- Round 3:
- (1 sc, 1 inc) repeat 6 times around. (18 sts)
- Round 4:
- (2 sc, 1 inc) repeat 6 times around. (24 sts)
- Round 5:
- Switch to your main color yarn (e.g., red).
- Work 1 sc in the back loops only (blo) of each stitch around. (24 sts)
This round creates a ridge or "step" that gives the lantern structure and helps establish the walls.
- Rounds 6–18 (13 rounds):
- 1 sc in each stitch around. (24 sts per round)
This section builds up the height of the lantern. Keep your stitch count consistent as you go around in a spiral.
- Round 19: (Decrease Round)
- (6 sc, 1 dec) repeat 6 times. (21 sts)
- Rounds 20–23: (Tapering the Lantern)
- Decrease in subsequent rows following the pattern:
- Round 20: (5 sc, 1 dec) repeat. (18 sts)
- Round 21: (4 sc, 1 dec) repeat. (15 sts)
- Round 22: (3 sc, 1 dec) repeat. (12 sts)
- Round 23: (1 sc, 1 dec) repeat. (8 sts)
- Decrease in subsequent rows following the pattern:
- Fasten Off:
- Leave a long tail for sewing.
Stuff the lantern with fiberfill, ensuring it is firm and evenly shaped. The decrease stitches will pull the top into a recessed cap for the decorative tassel.
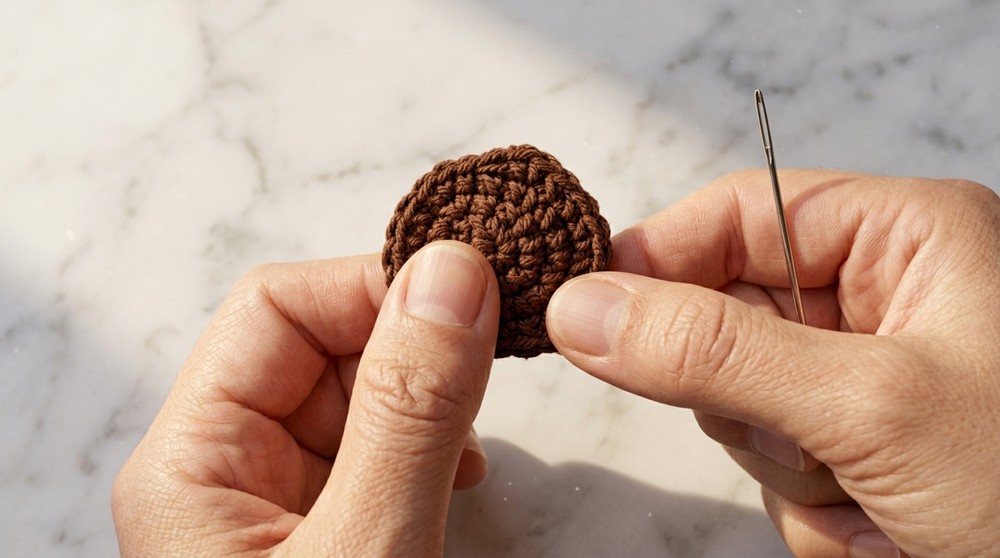
Top Cap & Tassel Base
- Top Cap:
- Using a complementary color (e.g., brown), repeat Rounds 1–4 as in the main body (stop at 24 sts).
This smaller circle will form the decorative top of the lantern.
- Attach the Cap:
- Align the top circle's stitches with those of the lantern body.
- Use a whip stitch or single crochet to join them together evenly.
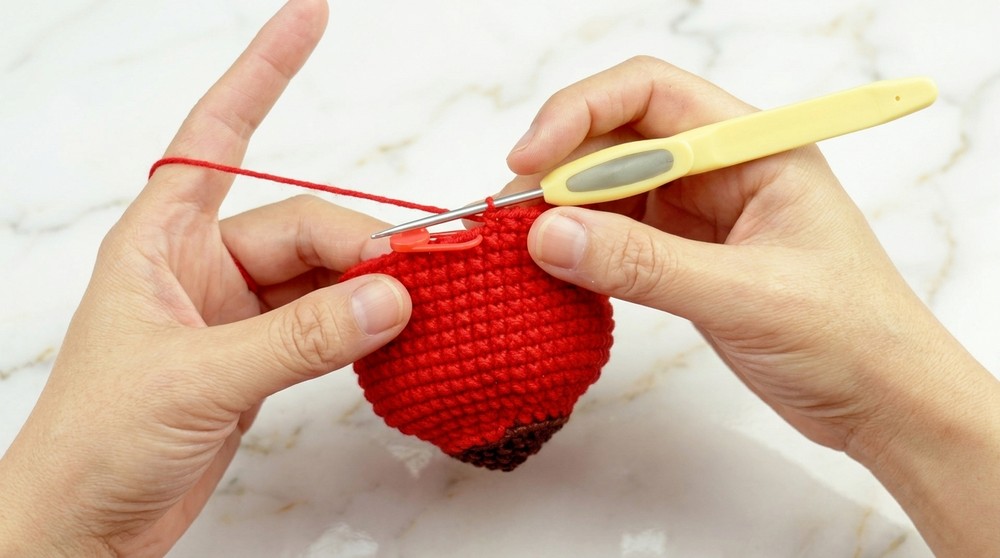
Tassel
- Prepare the Tassel:
- Wrap yellow yarn several times around a flat surface (like a small notebook).
- Cut one end to create a bundle of strands.
- Tie a piece of yarn around the middle of the bundle to secure it.
- Fold the bundle in half and wrap a separate strand tightly around the top, forming a tassel head.
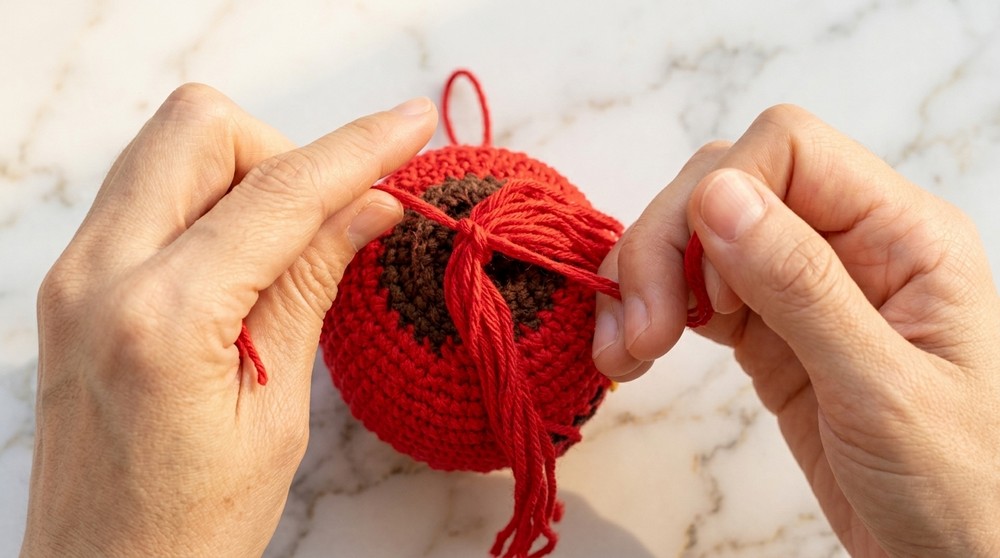
- Trim the Tassel:
- Use scissors to make the ends even.
- Attach the tassel to the bottom of the lantern with a sturdy knot.
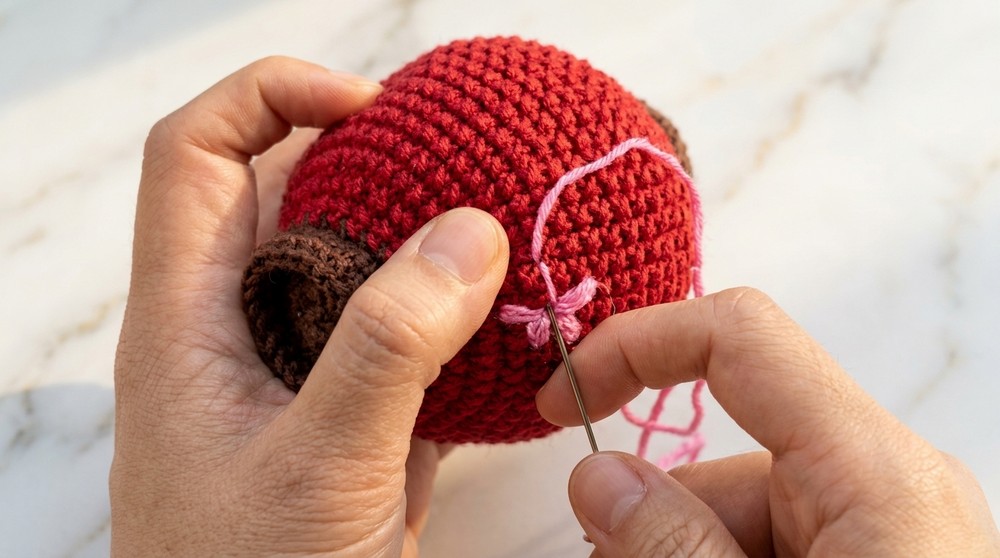
Plum Blossom Embroidery
- Prepare Embroidery Materials:
- Use pink embroidery thread for the petals.
- Use brown thread for branches.
- Embroidery Process:
- Each plum blossom consists of 5 single-petal shapes extending outward from a central point.
- Create each petal by stitching the thread out-and-back into the fabric, forming a teardrop shape.
- Stitch 3–4 plum blossoms of varying sizes across the lantern for decoration.
- Add brown stems connecting the blossoms for a natural look.
The placement and number of blossoms are up to your creativity. Ensure they’re evenly distributed for symmetry.
Assembly & Finishing
- Final Touches:
- Attach a keychain ring or hanging string to the top cap for easy use as a pendant or decoration.
- Ensure all ends are trimmed and hidden inside the lantern before securing with a dab of glue or a tiny knot.
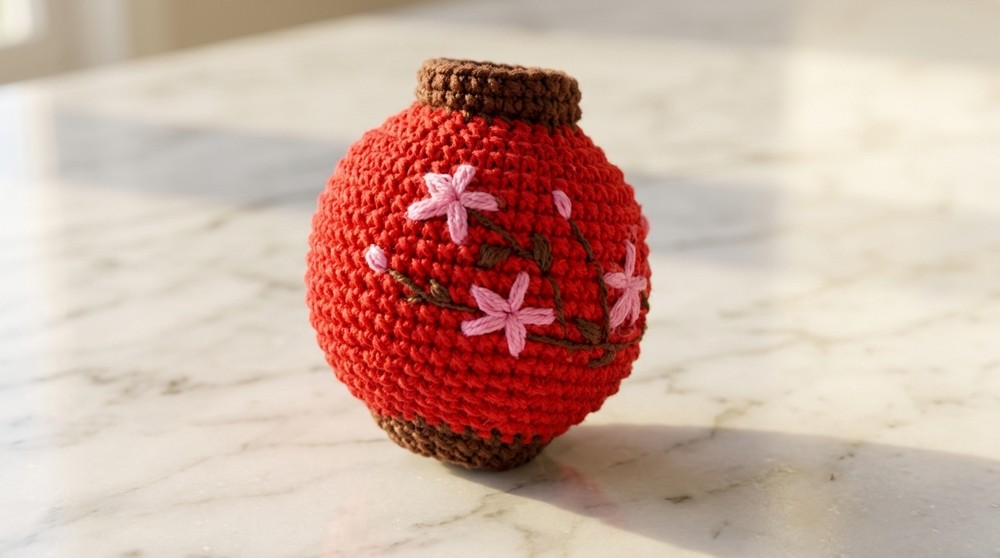
- Admire Your Work:
- You now have a stunning crochet lantern ornament, complete with elegant embroidery and a tassel!
Conclusion
Congratulations on completing your crochet lantern! With its charming tassel and embroidered plum blossoms, this is a versatile and elegant project fit for any season or decorative purpose. Customize your lantern by experimenting with different colors, embroidery patterns, and tassel lengths.