
Easy Crochet Little Grumpy Ghost Pattern for Cute Room Decor
Add spooky fun to your day with a free crochet Little Grumpy Ghost pattern that's easy, cool, and perfect for Halloween or anytime.
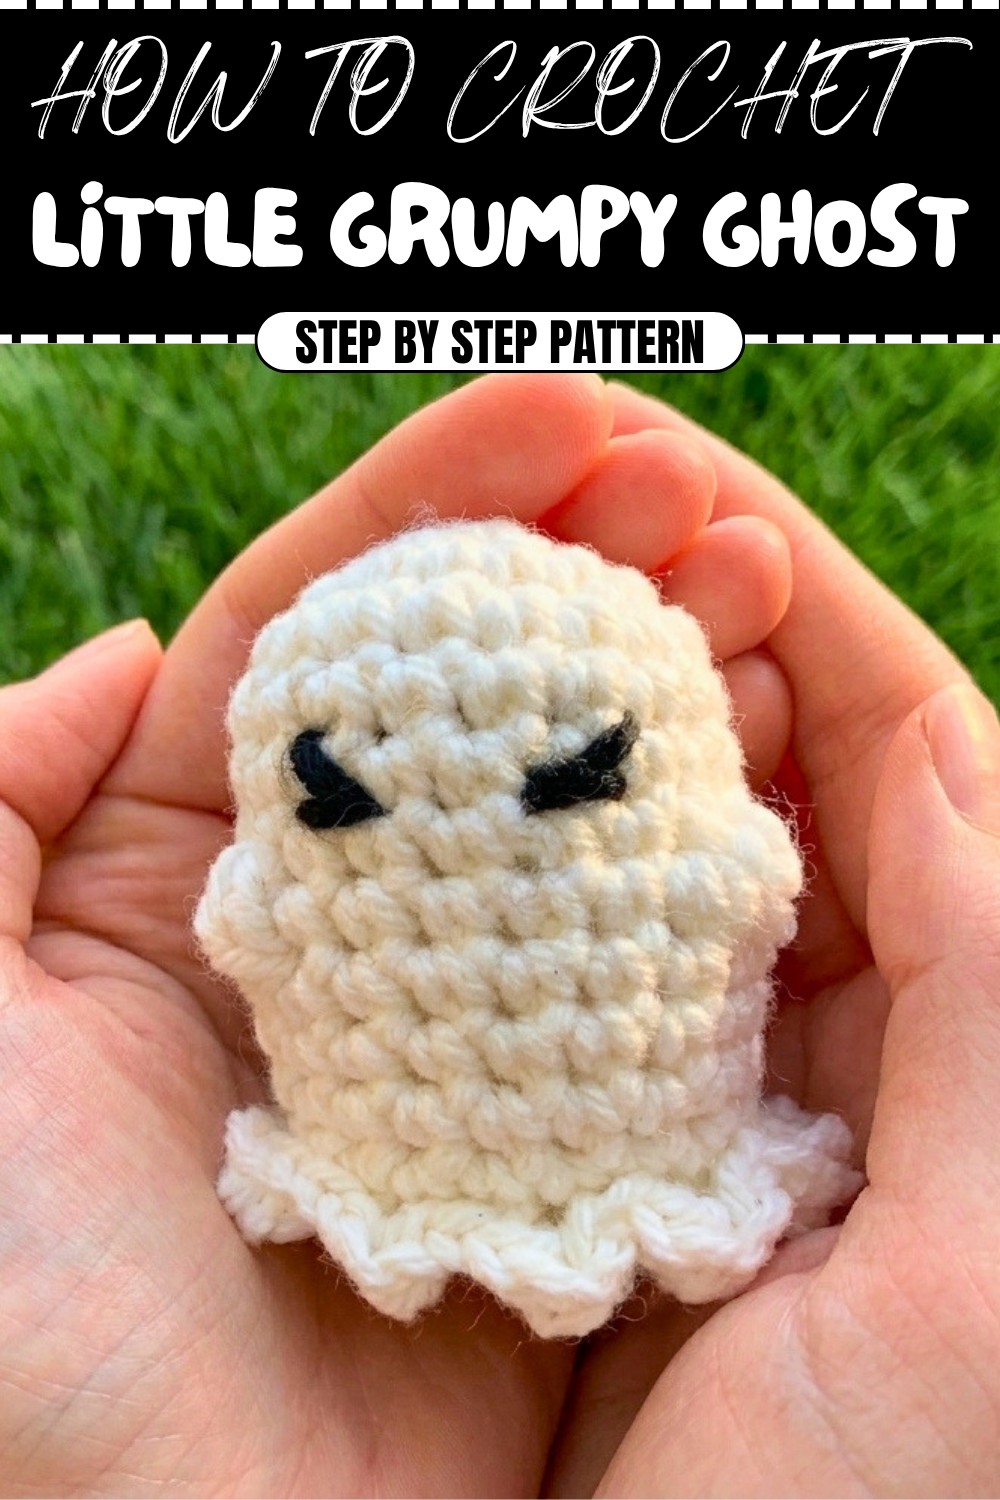
Have you ever wanted to bring a little spooky magic to life with just a crochet hook and some yarn? This Grumpy Little Ghost Crochet Pattern is the perfect way to make something equal parts adorable and spooky! With its ruffled bottom, raised bobble-stitch arms, and hilariously grumpy embroidered eyes, this little ghost is full of personality and charm. Designed in classic white and black yarn, its simplicity captures the essence of Halloween fun, making it an ideal project for beginners and seasoned crocheters alike. Whether you hang it up like it’s floating or keep it as a desk buddy, it’s bound to bring a smile to your face!
Friendly Free Crochet Little Grumpy Ghost Pattern for Handmade Joy

This pattern is designed to teach you a mix of beginner and slightly advanced techniques in a straightforward way. You’ll start with a magic ring to form a perfect foundation, then work through single crochets, increases, and decreases to shape the body. The bobble stitch is used to add cute little arms, while the front loop-only technique creates the ghost’s ruffled base. The finishing touch is adding its grumpy expression with simple embroidery, giving your ghost a one-of-a-kind personality.
What Else Can You Make With These Skills
This pattern isn’t just for ghosts—it’s a gateway to endless crochet possibilities! Use these skills to:
- Customize Characters: Modify the design to make other plush creatures, from pumpkins to animals.
- Seasonal Decorations: Create holiday-themed amigurumi with similar techniques.
- Charming Gifts: Craft mini plushies for friends, keychains, or party favors.
- Ruffle Edges: Apply the front-loop stitch to add decorative borders to blankets or garments.
Why You’ll Love It
- Fun, fast, and beginner-friendly—perfect for first-time amigurumi makers.
- Easily customizable for different festive themes or sizes.
- Uses minimal yarn, making it great for leftover scraps.
- A wonderful addition to Halloween décor or a unique handmade gift!
Ghost Amigurumi Crochet Pattern
Get into the spooky spirit with this adorable crochet ghost! This beginner-friendly pattern lets you create your own floating Halloween ghost that can be hung with fishing line or used as a table decoration. The design features a simple body, cute arms, and a ruffled edge for that classic ghostly flair.
This step-by-step pattern uses basic crochet techniques and is perfect for beginners or experienced crocheters looking for a quick project.
Skill Level & Terminology
- Skill Level: Beginner
- Terminology: US Crochet Terms
Materials & Tools
- Yarn:
- White worsted weight yarn (for the ghost body and ruffle).
- Black worsted weight yarn or embroidery thread (for eyes).
- Crochet Hook: 5 mm.
- Stuffing: Polyester fiberfill or similar.
- Scissors: For cutting yarn and thread.
- Yarn Needle: For sewing and weaving ends.
- Stitch Marker: To mark the first stitch of each round.
Gauge
Gauge is not critical for this project. Use tight stitches to prevent the stuffing from being visible through your work.
Abbreviations List
- MR: Magic Ring
- Sc: Single Crochet
- Inc: Increase (2 Sc in the same stitch)
- Dec: Decrease (work 2 stitches into 1)
- Slst: Slip Stitch
- Hdc: Half Double Crochet
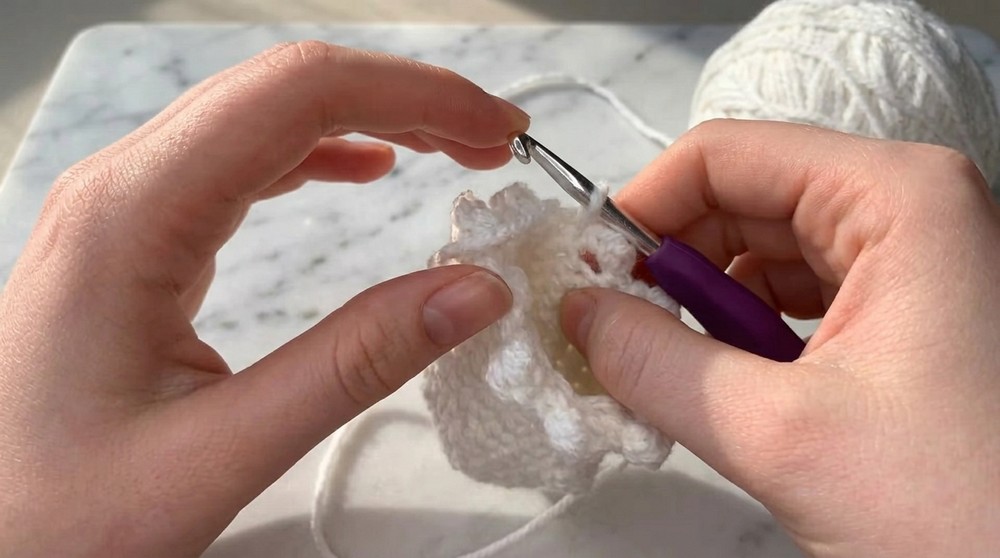
Special Stitch Instructions
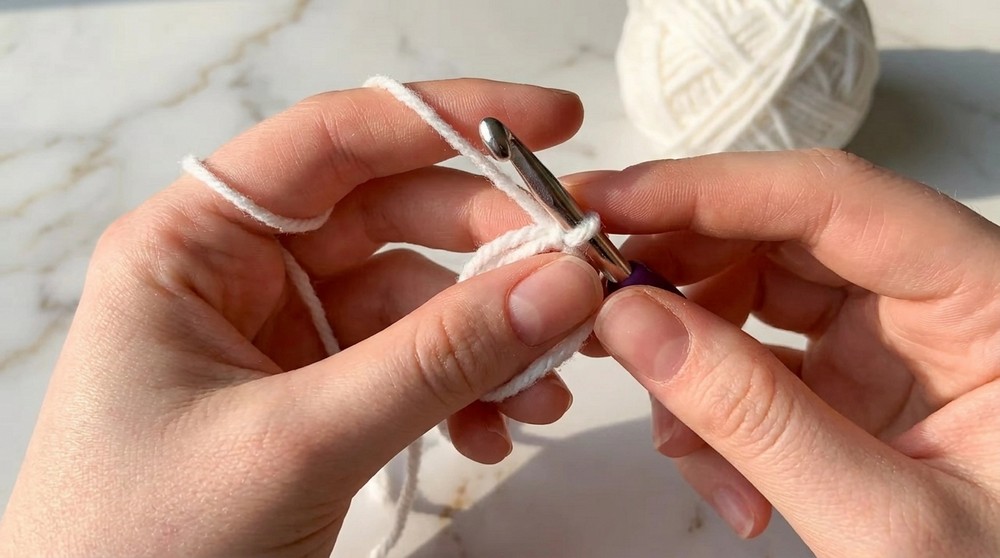
Magic Ring (MR)
- Create a loop by wrapping the yarn around two fingers to form an "X".
- Insert the hook under the first strand, grab the second strand of yarn, and pull it through.
- Chain 1 to secure the ring and start crocheting into the ring.
Bobble Stitch (Used for Arms)
- Yarn over, insert hook into the stitch, yarn over again, and pull through two loops.
- Repeat this process 2 more times in the same stitch until there are 4 loops on the hook.
- Yarn over one last time and pull through all 4 loops. This creates a puffy, nubby "bobble".
Front Loop Only (FLO)
Work only through the front loop of the stitch instead of through both loops. This creates a defined ridge for texture effects.
Finished Size
The completed ghost measures approximately 4 inches tall, with some variation depending on your tension and yarn thickness.
The Pattern Itself
Main Body
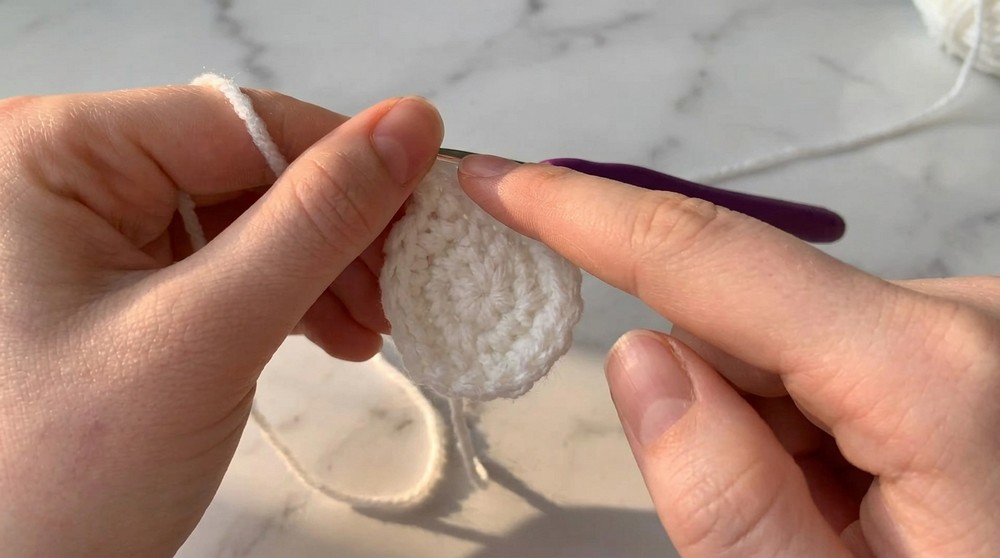
- Round 1 (MR):
- Create a Magic Ring and work 6 Sc into the MR. Close the MR tightly to form the ghost's base. (6 stitches)
- Round 2:
- Work 1 Inc in each stitch. (12 stitches)
- Round 3:
- Sc 1, Inc. Repeat around. (18 stitches)
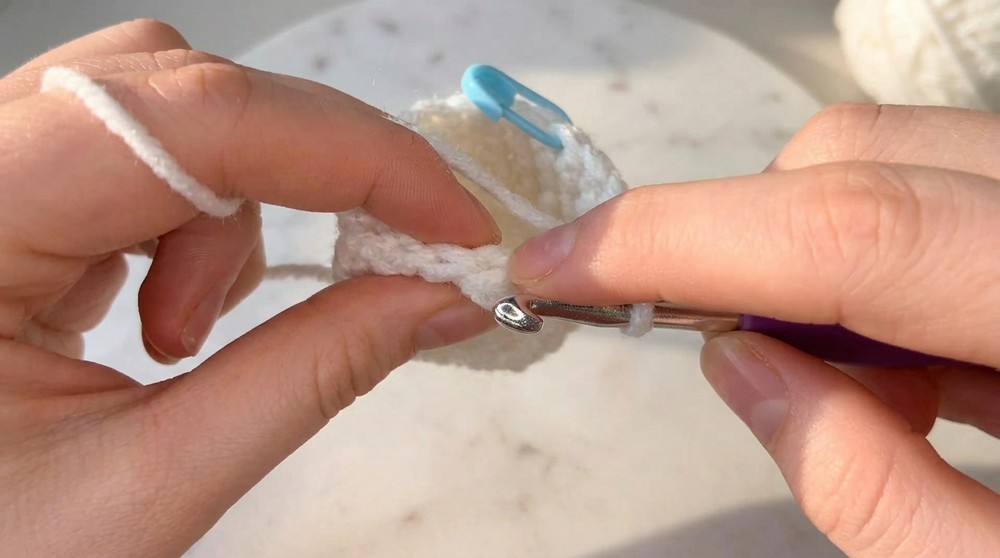
- Rounds 4–7:
- Work 1 Sc in each stitch for each round to maintain 18 stitches.
For Beginners: The body starts as a flat circular base and gradually transitions into a tube shape. Use a stitch marker to keep track of your rounds.
Adding Arms (Bobble Stitches)
- Round 8:
- Sc 5, Bobble Stitch in the next stitch.
- Sc 6.
- Work another Bobble Stitch, followed by 5 Sc to complete the round.
For Beginners: The Bobble Stitches create the ghost’s arms. Ensure you work all the yarn overs into the same stitch for a clean bobble effect.
Rounds 9–12:
- Work 1 Sc in each stitch for 4 rounds.
For Beginners: These rows help to lengthen the ghost’s body, and the arms will stick out naturally.
Ruffled Base (Front Loop Only)
- Round 13:
- Work into Front Loop Only (FLO) for this round to create the ruffled edge:
- Sc 1, Hdc 1, Slst 1 in the same stitch, Slst into the next stitch.
- Repeat this sequence all the way around.
For Beginners: The FLO technique leaves the back loops free, creating defined ridges that add texture to the ghost’s base.
- Work into Front Loop Only (FLO) for this round to create the ruffled edge:
- Once complete, move to the underside by pulling your working loop through a stitch from the back.
Bottom Closure
- Round 14:
- Work into the back loops (left over from Round 13).
- Sc 1, Dec all the way around. (12 stitches)
- Stuff the body firmly but not enough to stretch the stitches.
- Round 15:
- Work Dec in all 6 pairs of stitches to close the opening. (6 stitches)
- Fasten off and use a yarn needle to sew through the final stitches. Pull tight and weave in the end to secure.For Beginners: Stuffing adds firmness to the ghost’s shape. The decreases help close the underside neatly.
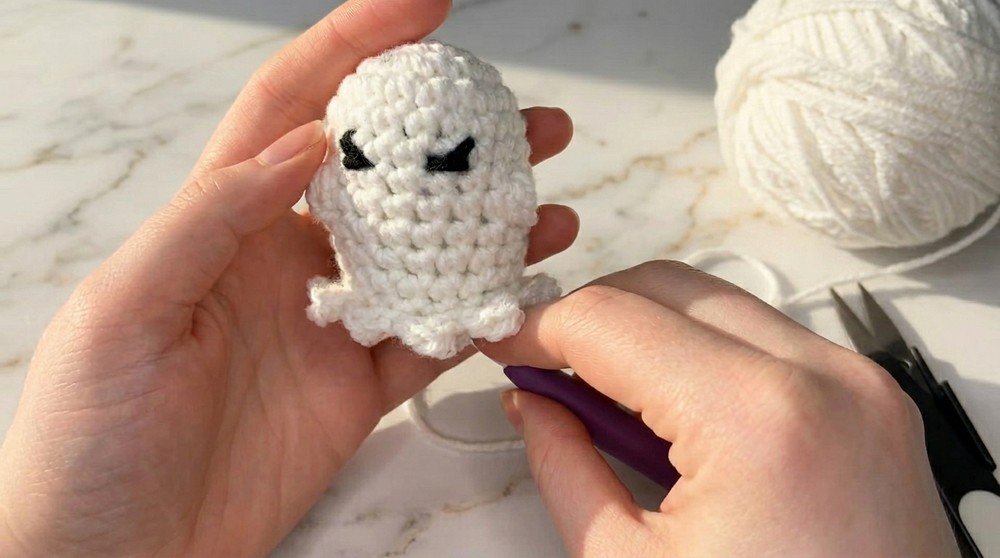
Adding the Face
- Use black yarn (or embroidery thread) and a needle to embroider two small eyes.
- To create a playful, squinting effect:
- Start in the center and embroider a curved line diagonally to the right for one eye.
- Repeat on the left side, leaving a small gap between the eyes.
- Tie the yarn on the inside of the ghost and trim excess. The loose ends will remain secure within the stuffing.For Beginners: Adjust the eyes' expression according to your preference to make the ghost grumpy, cute, or scared!
Assembly & Finishing
- After adding the face, ensure any loose ends are tucked neatly into the body.
- Optional: Thread fishing wire or white yarn through the top of the ghost's head to create a loop for hanging.
How to Start and Stitches Used
The project begins with a Magic Ring to form the base of the ghost. The primary stitches used are single crochet (Sc), bobble stitches for the arms, front loop only (FLO) for the ruffle, and decreases (Dec) for shaping and closing the base. The eyes are embroidered with simple backstitching, but you can also use safety eyes or glue felt for the details.
What You’ll Learn From This Pattern
- Shape Construction: Master increases and decreases to build rounded 3D projects.
- Textural Techniques: Add fun details like ruffled edges and textured bobble stitches.
- Using Embroidery: Learn how to create expressive facial features to bring your creation to life.
- Finishing Tips: Get comfortable stuffing, closing gaps securely, and weaving loose ends for a professional finish.
Conclusion
This cute crochet ghost is the perfect project to get into the Halloween spirit! With simple stitches and features, it’s both quick and satisfying to make. Personalize it with different expressions or add a loop to hang it, and you'll have a charming handmade decoration that’s sure to make people smile.