
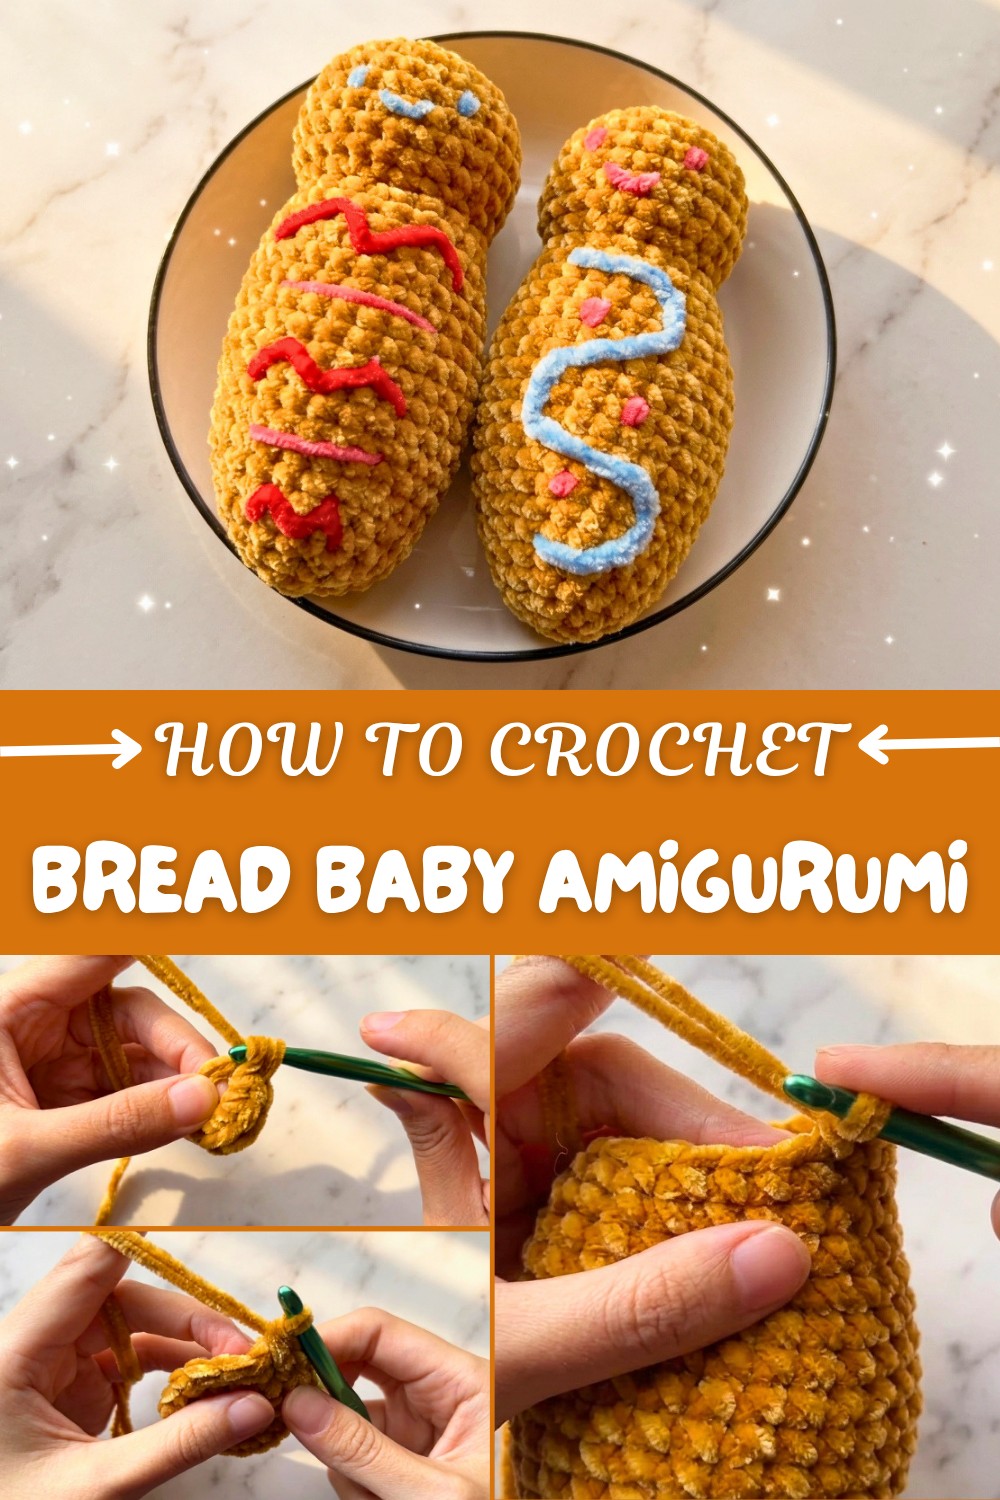
Free Bread Baby Amigurumi pattern for Cute Desk Decor
Cherish sweet character with Free Crochet Bread Baby Amigurumi Pattern featuring adorable loaf inspired features & playful charm for display.
There’s a certain warmth in the shape of a freshly baked Ecuadorian bread roll that brings a sense of comfort and nostalgia. This Free Crochet Bread Baby Amigurumi Pattern captures that feeling with its rounded, plump form and the gentle curves that give it a lifelike presence. Made using double strands of chenille yarn, the texture balances fluffiness with enough firmness to keep its shape, making it both visually appealing and pleasant to touch.
Free Bread Baby Amigurumi pattern for Plushie Lovers
The pattern is straightforward enough for anyone who enjoys making small, satisfying projects and offers plenty of room to adjust size or style by changing yarn or hook size. The construction involves working in continuous rounds, with carefully placed increases and decreases to shape the body, and occasional stitches worked into just the front loops to produce added dimension. Using stitch markers helps keep track of the rounds, and stuffing it firmly ensures a nicely rounded outcome that doesn’t lose form.
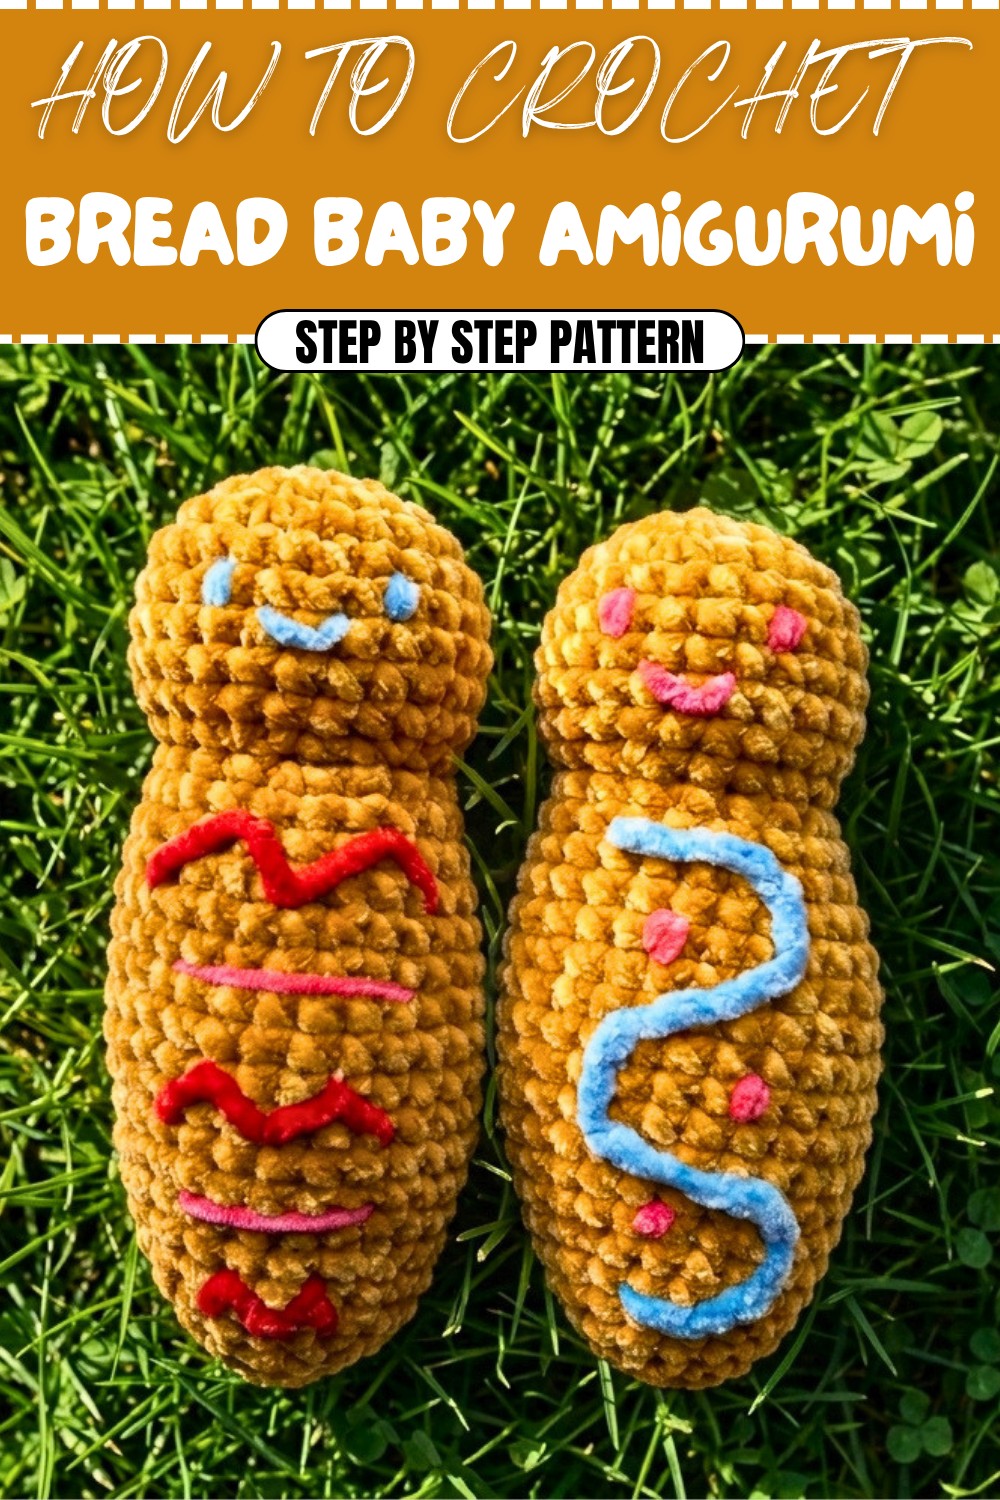
This design is based on a special Ecuadorian tradition for the Day of the Faithful Departed, using the idea of traditional bread eggs. Chenille yarn makes the piece feel soft and smooth, showing off the clean stitches. Adding simple embroidery or colors can make this little bread baby a nice gift or a unique decoration that honors this cultural tradition.
Crochet Bread Egg – Ecuadorian Tradition Pattern
This charming crochet bread egg pattern celebrates the Ecuadorian tradition of enjoying bread eggs alongside colada morada on the Day of the Faithful Departed. Using soft chenille yarn doubled for thickness, this pattern results in a plump, adorable crochet egg perfect for decoration or gifting. The pattern emphasizes texture and shaping, inviting crocheters to explore essential amigurumi skills such as magic rings, single crochet stitches, increases, decreases, working in front loops, and strategic stuffing.
Skill Level & Terminology
- Skill Level: Beginner to Intermediate
- Terminology: US crochet terms used throughout.
This pattern is suitable for beginners familiar with basic crochet skills and those wishing to practice shaping techniques through increases and decreases. The special front loop working step adds a nice dimensional detail.
Materials & Tools
- Thin chenille yarn (used doubled for thickness)
- 7 mm crochet hook (adjustable according to chosen yarn thickness)
- Stitch marker
- Scissors
- Synthetic stuffing for filling
- Yarn needle for finishing and sewing
Gauge
Gauge is not highly critical for this amigurumi style project but aim for a tight, firm fabric to hold shape well. For reference:
- 10 single crochet (sc) stitches = approximately 4 cm across with double-stranded chenille.
Abbreviations List
| Abbreviation | Stitch | Explanation |
|---|---|---|
| ch | Chain | Create foundation chains |
| sc | Single crochet | Basic crochet stitch |
| inc | Increase | 2 sc stitches in the same stitch |
| dec | Decrease | Single crochet 2 stitches together |
| st / sts | Stitch / Stitches | Units of crochet work |
| sl st | Slip stitch | Join rounds or move yarn without height |
Special Stitch Instructions
Working in Front Loops Only:
When instructed to work in front loops only, insert your crochet hook into the front-most loop of the stitch instead of both loops. This creates a raised texture and dimension, perfect for the decorative round of this pattern.
Finished Size
The finished bread egg measures approximately 10-12 cm tall (4–4.7 inches) when using double-stranded chenille yarn and a 7 mm hook. Size will vary slightly depending on yarn choice and tension.
The Pattern
Starting & Base Rounds
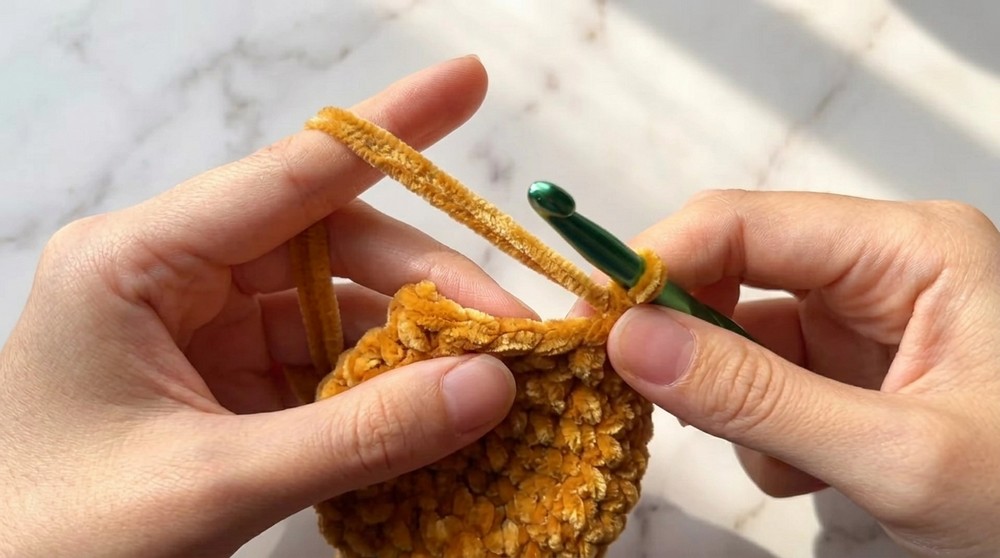
- Begin with a magic ring.
- Round 1: Work 6 sc into the magic ring. (6 sts)
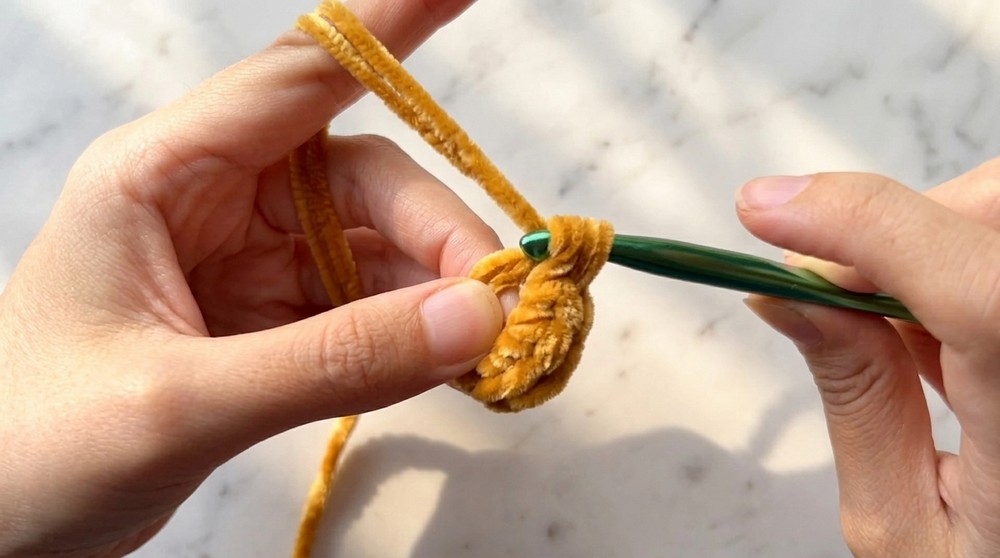
This forms the tight base of the bread egg.
- Round 2: Inc in every stitch (2 sc in each st). (12 sts)
- Round 3: Repeat [1 sc, inc] around 6 times. (18 sts)
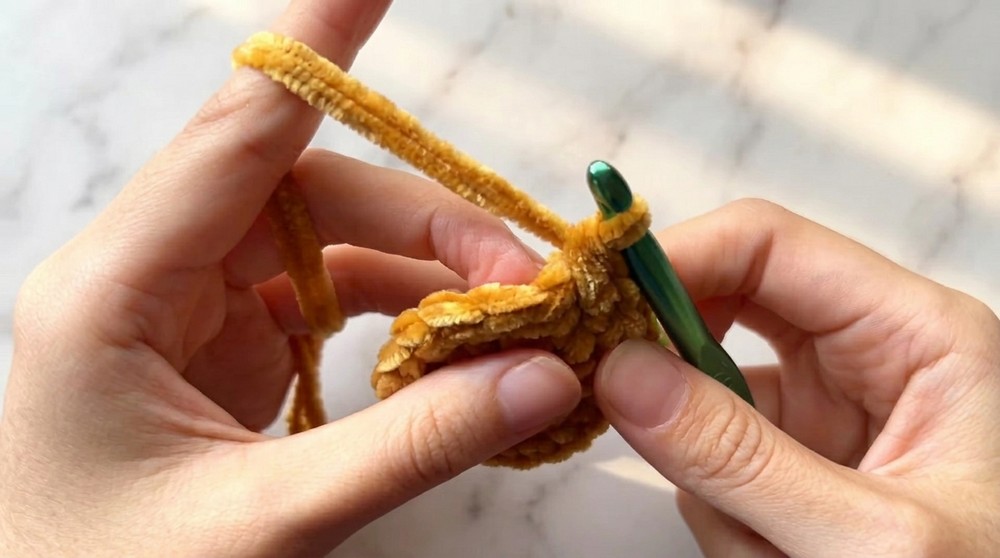
The base grows smoothly to start shaping the egg.
Shaping the Bread Egg
- Round 4: Repeat [1 sc, inc] around 6 times. (24 sts)
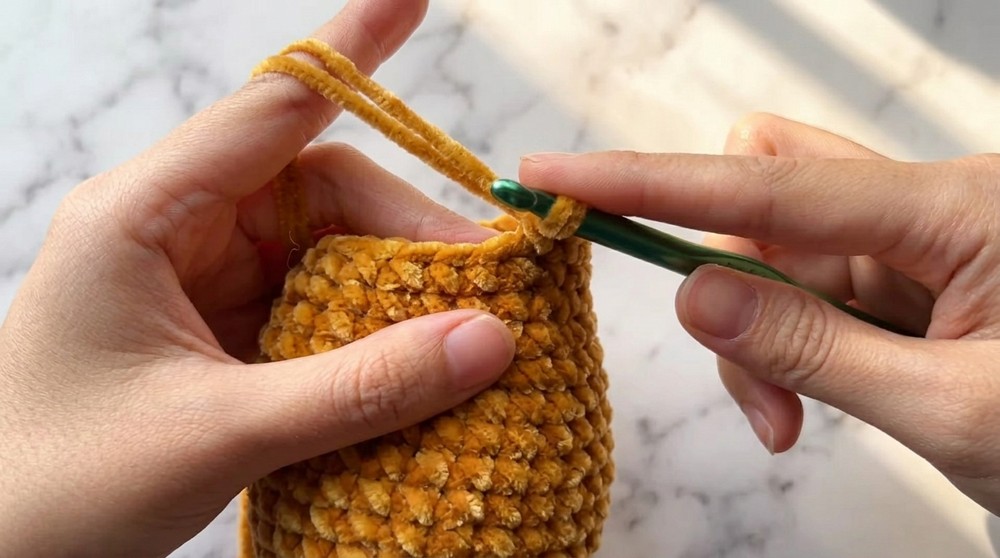
- Rounds 5 to 9: Work 1 sc in each stitch around without increases. (24 sts each round)
These rounds build height evenly with a consistent stitch count.
Beginning the Decrease
- Round 10: Repeat [1 sc, dec, 1 sc] around 6 times. (18 sts)
Start narrowing the bread egg’s shape by evenly decreasing stitches.
Front Loop Dimension Round
- Round 11: Mark first stitch and work 5 sc in front loops only, then inc; repeat 5 times. (30 sts)
Adds surface texture and volume with the front loop technique.
Increasing Again
- Round 12: Mark the first stitch, then repeat [3 sc, inc, 3 sc] around 3 times. (36 sts)
- Round 13: One round of sc in each stitch (straight round without increases). (36 sts)
- Round 14: Repeat [7 sc, inc] 3 times around. (27 sts)
These rounds continue shaping the egg to a more rounded form.
Continuing Height
- Rounds 15 to 22: Work straight rounds, 1 sc per stitch (27 sts each round)
You can adjust height by adding or subtracting straight rounds here.
Closing the Bread Egg
- Round 23: Repeat [7 sc, dec] 3 times. (21 sts)
- Round 24: Repeat [3 sc, dec, 3 sc] 3 times. (18 sts)
- Round 25: Work 1 sc per stitch (18 sts)
Starts closing the top gently to maintain roundness.
Stuffing and Final Shaping Rounds
- Stuff the bread egg firmly with synthetic filling for a nice, plump shape.
- Round 26: Repeat [5 sc, dec] 3 times (15 sts)
- Round 27: Repeat [2 sc, dec, 2 sc] 3 times (12 sts)
- Round 28: Repeat [3 sc, dec] 3 times (9 sts)
- Round 29: Repeat [1 sc, dec, 1 sc] 3 times (6 sts)
- End with a slip stitch, chain 1, and fasten off leaving a long tail.
Tip: Properly filling and shaping before closing ensures a neat, slightly pointed finish rather than a flat or misshapen top.
Decoration (Embroidering Face and Details)
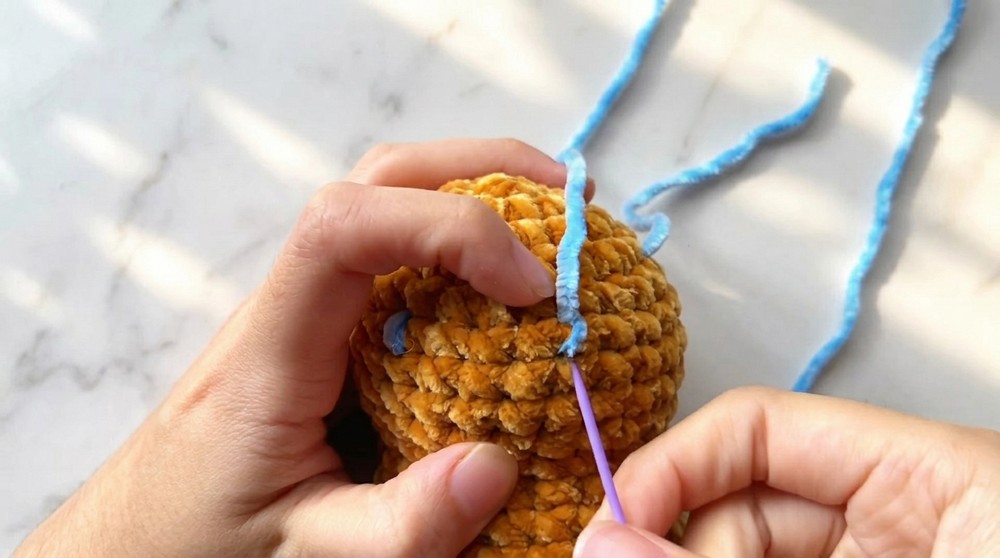
- Use your favorite color yarn for embroidery.
- The traditional bakeries use lively colors; here, light blue was chosen for the eyes.
- Embroider simple eyes and optional smile or decorative lines as desired. Horizontal undulating stitches give a cute sleepy look.
Let your creativity flow — there are no strict rules for decoration.
Assembly & Finishing
- After finishing the crochet and stuffing, weave in all loose ends securely inside the bread egg.
- Adjust shaping by gently pressing and repositioning synthetic stuffing.
- Embroider face features and other decorations with a yarn needle.
- Optionally, add small embellishments or chains for leatherette-style details as personal touches.
- Keep finished bread egg clean and dry; chenille yarn adds a soft, plush texture.
Pattern Summary
This pattern begins with fundamental crochet stitches—single crochets in a magic ring base—gradually shaping a rounded bread egg through planned increases and decreases. Texture is introduced by working selectively in front loops, providing a gentle relief effect on one round. The finishing rounds carefully taper the top into a delicate point, requiring firm stuffing to maintain shape.
Skillful color choices in embroidery bring this traditional Ecuadorian symbol to life. Using double-stranded chenille yarn adds softness and a comfortable hand feel, while remaining sturdy and shape-retentive through tight stitches. This project serves as a great beginner-to-intermediate amigurumi practice emphasizing shaping and decoration.
Final Notes
- Maintain stitch count carefully to ensure smooth shaping.
- Use a stitch marker to track round starts.
- Stuff firmly but carefully to avoid gaps or lumps.
- Feel free to personalize decorations to your taste and color preference.
- Share your beautiful bread egg creations with the crochet community!