
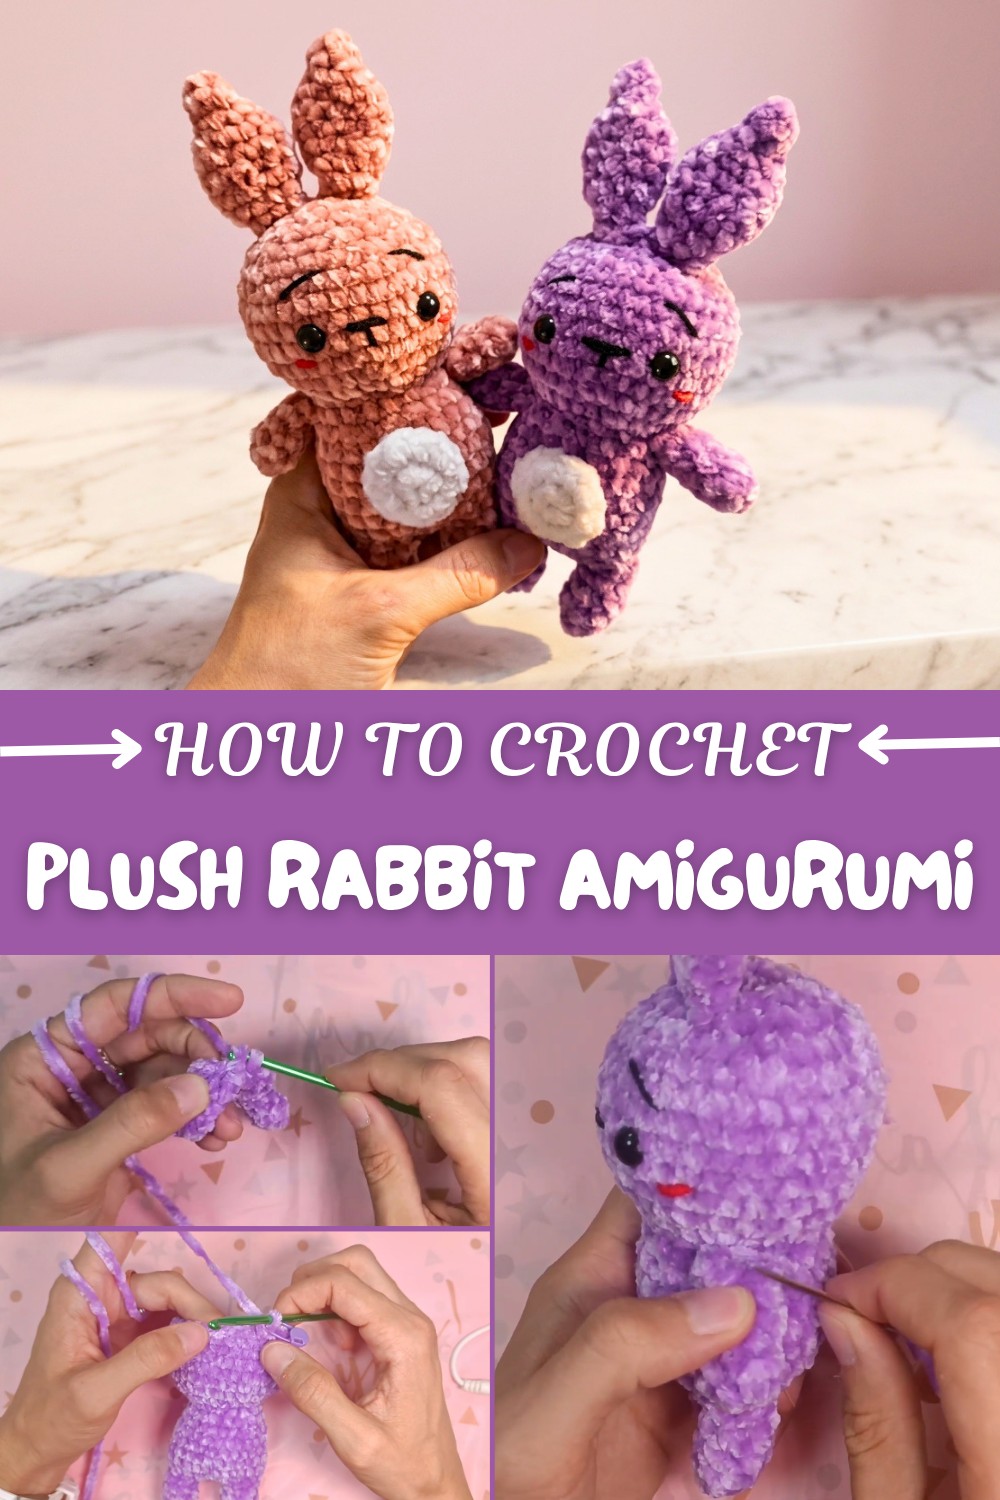
Free Crochet Plush Rabbit Amigurumi Pattern - Adorable Bunny
Bring your crochet skills to life with this free plush rabbit amigurumi pattern using soft chenille yarn for adorable handmade toys perfect for any occasion.
Capture the charm of a handmade plush toy with this inviting project for crocheters of all skill levels. The Free Plush Rabbit Amigurumi Pattern guides you through making a soft, huggable bunny. With easy-to-find supplies like a 4 mm crochet hook, stitch marker, safety eyes, and stuffing, this amigurumi suits beginners and experienced makers seeking a soothing, straightforward project.
How to Crochet Plush Rabbit – Free Amigurumi Pattern
The finished rabbit stands out with its round, cuddly shape and velvety-soft texture. Features include stitched arms and legs, tall upright ears, and a fluffy tail. Expressive details embroidered with blush, nose, and eyebrows add personality, while a contrasting belly patch draws the eye and brings even more warmth to its design. Secure safety eyes provide a lifelike sparkle, resulting in a bunny that fits beautifully in nursery displays, holiday décor, or as a cherished present.
Construction is organized with essential stitches: magic ring, single crochet, increase, decrease, and slip stitch. Legs, body, and head are stitched as a single piece from bottom to top, while arms, ears, belly, and tail are completed separately and sewn into place. Basic shaping and sewing techniques combine for a neatly finished toy that’s accessible for those new to amigurumi and satisfying for those with more practice.
This plush rabbit brings a sweet addition to children’s playtime, a lovable accent to any room, and thoughtful gifting opportunities. Anyone comfortable with basic stitches will find this bunny an uplifting project, offering a touch of softness and joy for any handmade collection.
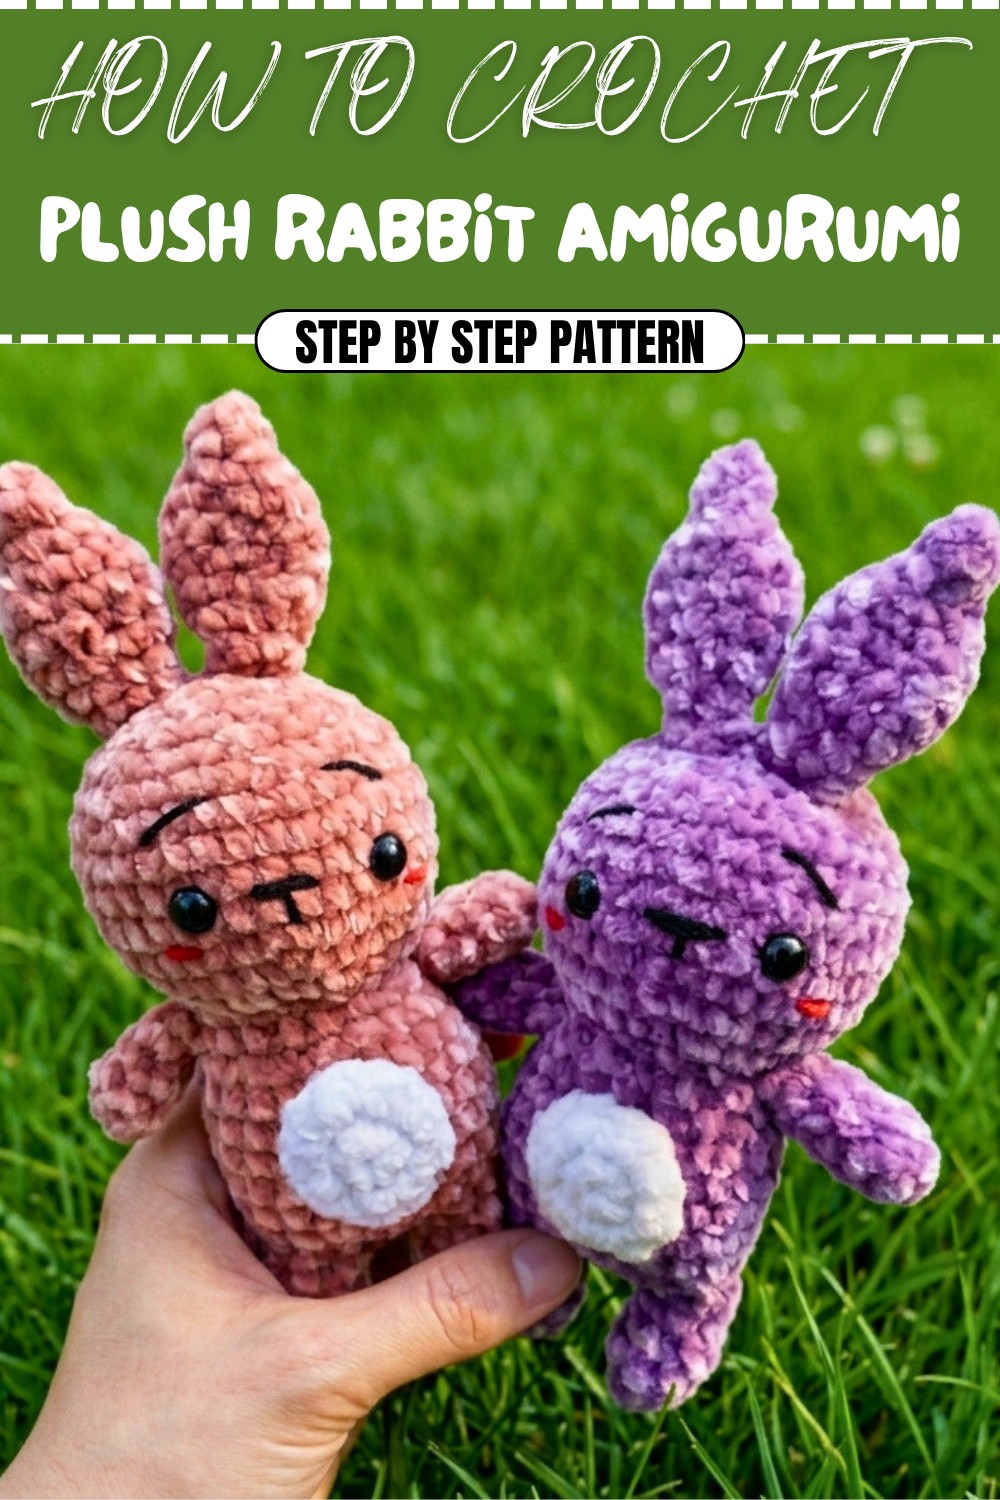
Easy Plush Bunny Amigurumi Crochet Pattern
A sweet and squishy bunny, perfect for spring, gifts, or a soft friend for any age! This pattern is beginner-friendly, clear, and includes all the shaping and sewing steps you need for a completed plush bunny.
Before You Start
- Read through all instructions to understand the sequence.
- Use soft, plush, or chenille yarn for an adorable and cuddly effect.
- Lay out all your materials before starting.
- Practice basic amigurumi stitches if you're a beginner.
- Place a stitch marker at the end of each round for accuracy.
Pattern Notes
- Pattern is worked in continuous (spiral) rounds unless otherwise noted.
- Main body is worked from legs up as a single piece for stability.
- Place stitch markers at the end of each round and move them up as you progress.
- Use invisible decrease for smooth shaping.
- Add stuffing as you work, especially before closing parts.
- Seam pieces securely for child-safety and durability.
- All parts are worked separately except the body/legs which are one continuous piece.
How I Made the Crochet Pattern?
- Started with two legs, joined to work the body and head in one piece.
- Added safety eyes and stuffed as I built the form.
- Created separate arms, ears, tail, and belly patch, sewing them on after.
- Used invisible decrease for smooth body shaping.
- Embroidered face details to add personality.
Skill Level
Beginner to Advanced Beginner
Finished Size
Approximately 7–8" (18–20 cm) tall using plush or chenille yarn and a 4 mm hook
(Size may vary with yarn thickness)
Materials
- Plush chenille yarn (e.g., Himalaya Dolphin, Bernat Blanket Tiny) in two shades: main (body) and contrast (belly)
- Small amount of black and red thin yarn for embroidering face
- 8 mm safety eyes (or size preferred)
- 4 mm crochet hook
- Stitch marker
- Yarn needle
- Scissors
- Fiberfill/stuffing
Measurements / Sizing
- Body (legs, torso, head): 7–8" (18–20 cm) tall
- Adjust yarn and hook for larger/smaller bunnies
Gauge
- Gauge not critical—ensure stitches are tight to prevent stuffing leaks.
Stitch Abbreviations
- mr – magic ring
- sc – single crochet
- inc – increase (2 sc in the same stitch)
- dec – decrease (sc 2 together) or invdec – invisible decrease
- sl st – slip stitch
- ch – chain
- st – stitch
Special Stitches
Invisible Decrease (inv dec):
Insert hook in front loop of next 2 stitches (leave back loops unworked), yarn over and pull through first 2 loops, yarn over and pull through both remaining loops on hook.
The Pattern!
Legs (Make 2)
Rnd 1:
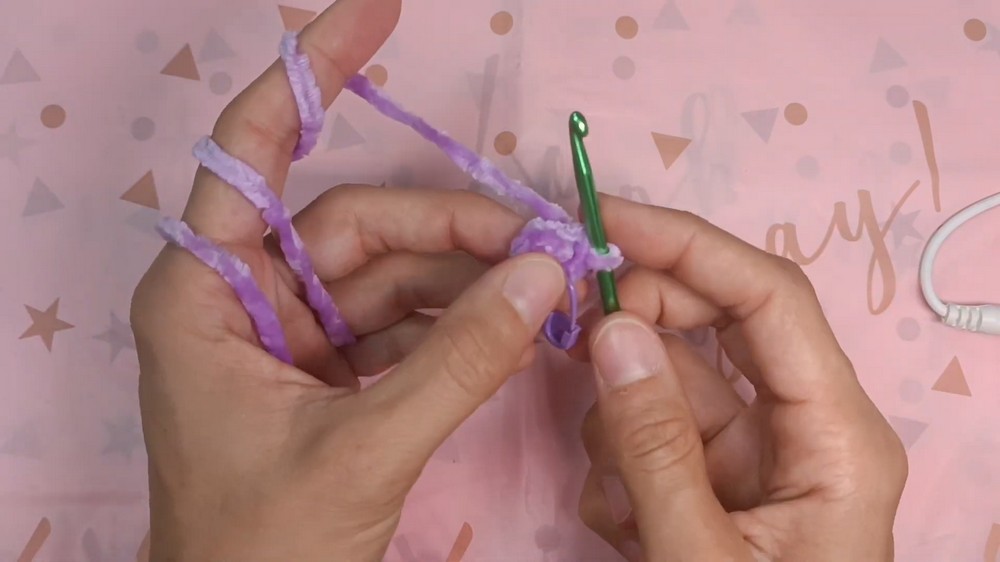
- With main color, make a magic ring, 4 sc in mr (4 sts).
Rnd 2:
- [sc in next st, inc in next] twice (6 sts).
Rnd 3–5:
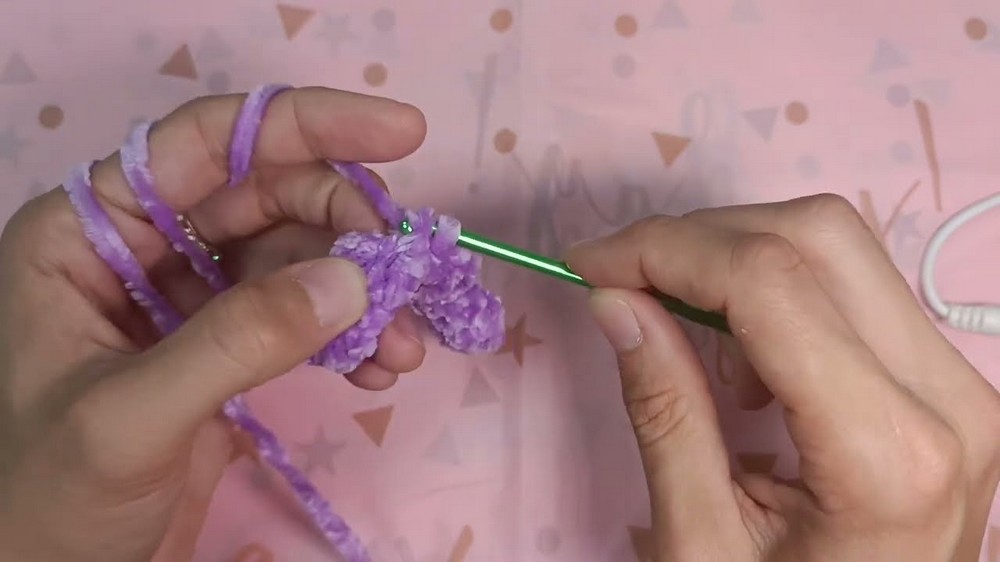
- sc in each st around (6 sts, for 3 rounds).
Fasten off first leg. On second leg, do not fasten off.
You now have two stubby legs. Join them together as you begin the body, creating a seamless base for the bunny.
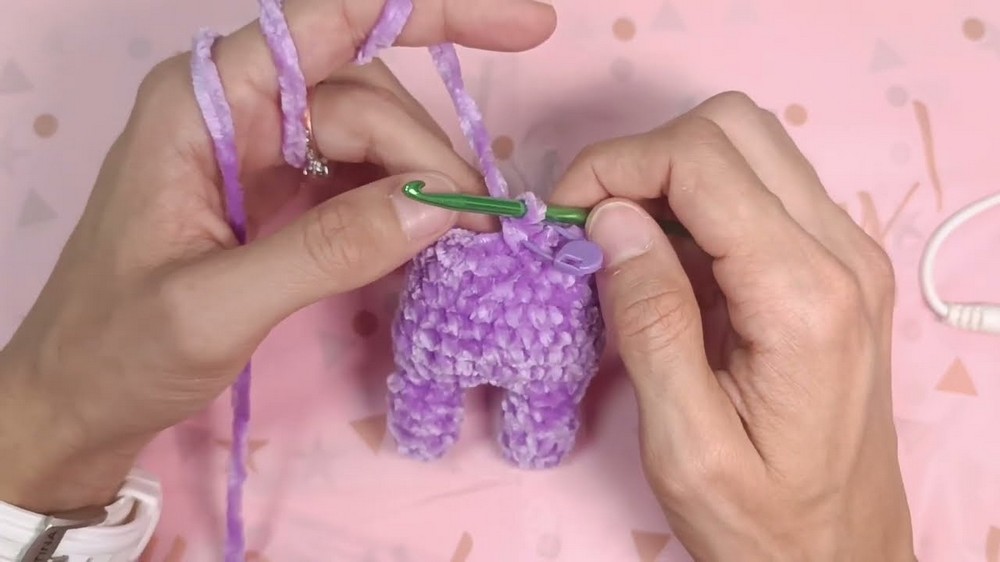
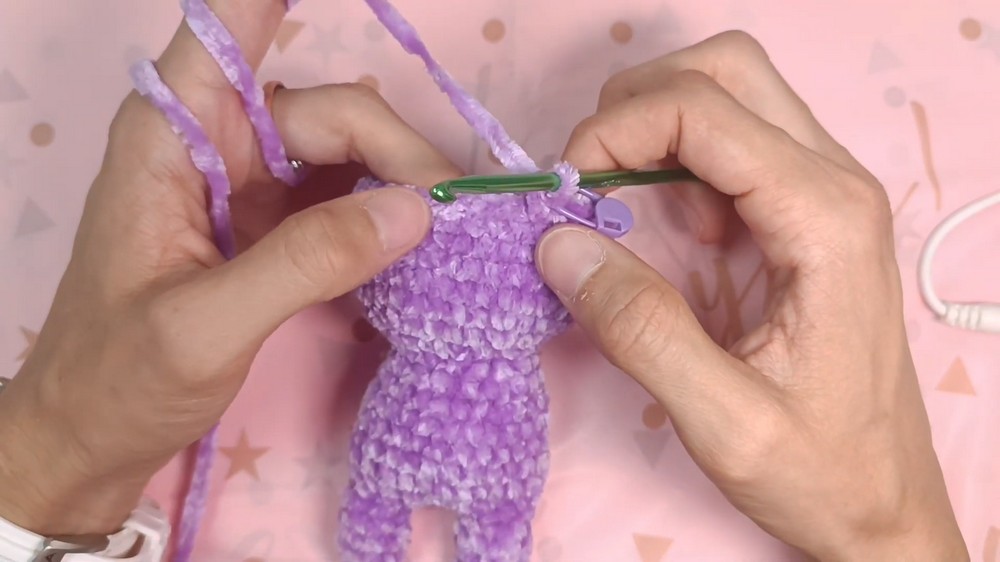
Body and Head
Legs Joining & Body Rnd 1:
- After completing second leg, ch 3, sl st to any st of the first leg.
- sc in each st around first leg (6), sc in each of the 3 ch (3), sc in each st of second leg (6), sc in other side of the 3 ch (3).
- (18 sts)
Place stitch marker in last st.
Rnd 2:
- [sc in next 2 sts, inc] repeat around (24 sts).
Rnd 3–7:
- sc in each st around (24 sts, 5 rounds).
Pause here and add stuffing to the legs. Stuff firmly but don’t overfill.
Rnd 8:
- [sc in next 2 sts, dec] repeat around (18 sts).
Rnd 9:
- sc in each st around (18 sts).
Rnd 10:
- [sc in next 4 sts, dec] 3 times (15 sts).
Now you begin the bunny’s head—note the increases next!
Rnd 11:
- inc in each st around (30 sts).
Rnd 12:
- [sc in next 4 sts, inc] repeat to end (36 sts).
Rnd 13–17:
- sc in each st around (36 sts, 5 rounds).
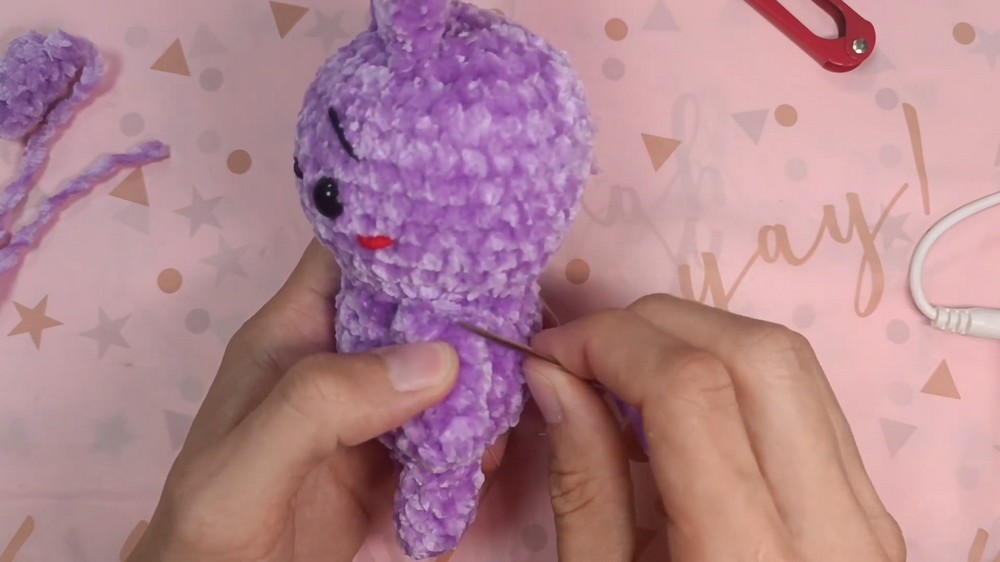
Stuff the body generously. Place eyes between Rnds 4 and 5 from the start of the head, about 5 sts apart and symmetrical to the legs. Attach eyes securely with safety washers.
Rnd 18:
- [sc in next 4 sts, dec] repeat around (30 sts).
Rnd 19:
- [sc in next 2 sts, dec] 6 times (24 sts).
Rnd 20:
- [sc in next st, dec] 6 times (18 sts).
Pause, stuff head fully. Shape as you go.
Rnd 21:
- dec in all sts around (12 sts).
Rnd 22:
- dec in all sts around (6 sts).
Fasten off. Thread tail onto needle, weave through final 6 sts, pull to close. Bury yarn end.
Your bunny is taking shape—it's time to make all the sweet details!
Arms (Make 2)
Rnd 1:
- With main color, mr, 6 sc in ring.
Rnd 2–5:
- sc around (6 sts, 4 rounds).
sl st to join, ch 1, fasten off leaving tail for sewing. Do not stuff.
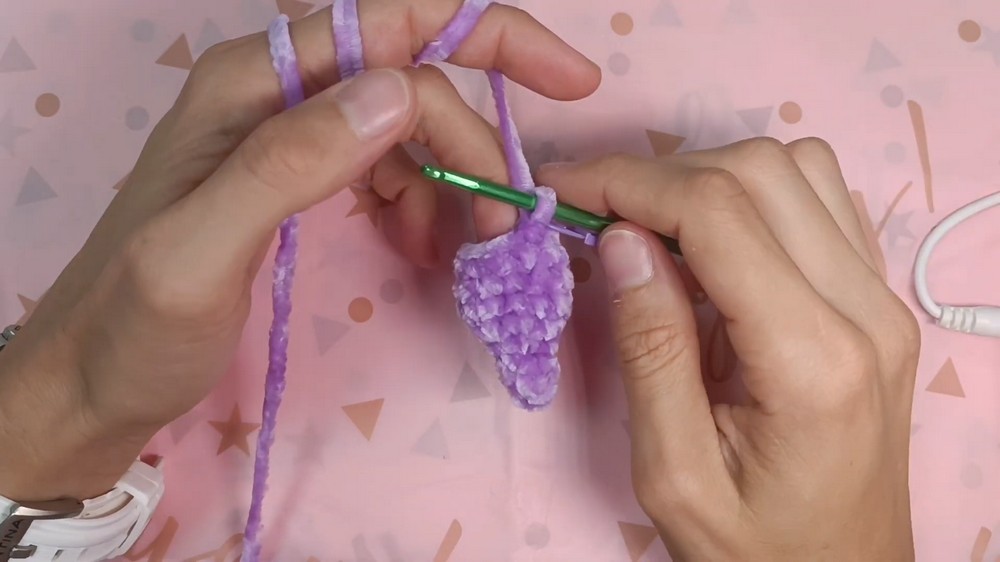
Ears (Make 2)
Rnd 1:
- With main color, mr, 4 sc.
Rnd 2:
- sc in each st around (4 sts).
Rnd 3:
- [sc in next st, inc] repeat around (6 sts).
Rnd 4:
- [sc in next st, inc] repeat around (9 sts).
Rnd 5:
- [inc, sc in next 2 sts] repeat 3 times (12 sts).
Rnd 6–7:
- sc around (12 sts, 2 rounds).
Rnd 8:
- [sc in next 2 sts, dec] repeat 3 times (9 sts).
Rnd 9:
- [sc in next st, dec] repeat 3 times (6 sts).
Rnd 10:
- sc around (6 sts).
sl st to join, ch 1, fasten off leaving long tail for sewing. Gently pinch base when sewing to shape.
Tail
Rnd 1:
- With main color, mr, 6 sc.
Rnd 2:
- inc in each st around (12 sts).
Rnd 3:
- [dec] 6 times (6 sts).
sl st to join, ch 1. Fasten off, stuff lightly, leave tail for sewing.
Belly Patch
Rnd 1:
- With contrast color, mr, 8 sc.
Rnd 2:
- ch 1, 2 sc in each st around (16 sts).
sl st to join, ch 1, fasten off leaving tail for sewing.
Face Embroidery (Red/Black Yarn)
- With red yarn, embroider blush/cheeks one round below the eyes (see photo or video).
- With black yarn, embroider nose as an upside down “Y” between eyes, and two small lines for eyebrows above the eyes.
Assembly & Finishing
- Use pins to hold all pieces in place before sewing.
- Sew ears on top of head, close together.
- Attach arms at sides just under the head join.
- Sew tail to center backside, between legs.
- Affix belly patch to center front.
- Secure all ends—thread through and trim.
- Adjust stuffing if needed for shape.
- Embroider face details (blush, nose, eyebrows) as described.
Solution of Problem
- Problem: Gaps between stitches and stuffing shows.
Solution: Use a smaller hook for tighter stitches, or try the invisible decrease for smooth shaping. - Problem: Head is wobbly or loose after sewing.
Solution: Seam the head securely at multiple points around neck opening, or reinforce with extra stitches. - Problem: Ears flop over too much.
Solution: Sew ears with a slight pinch at the base and use extra passes to secure. Add a touch of stuffing if desired. - Problem: Arms and legs not symmetric.
Solution: Pin in place, check evenness before sewing. If needed, undo and reposition.
What you can make by using these stitches
- Bunnies in various sizes and colors
- Plush bears or cats (adjust ear/tail/face)
- Amigurumi dolls
- Cute critter keychains or ornaments
- Baby toys (embroider all features for safety)
- Holiday or seasonal plushies