
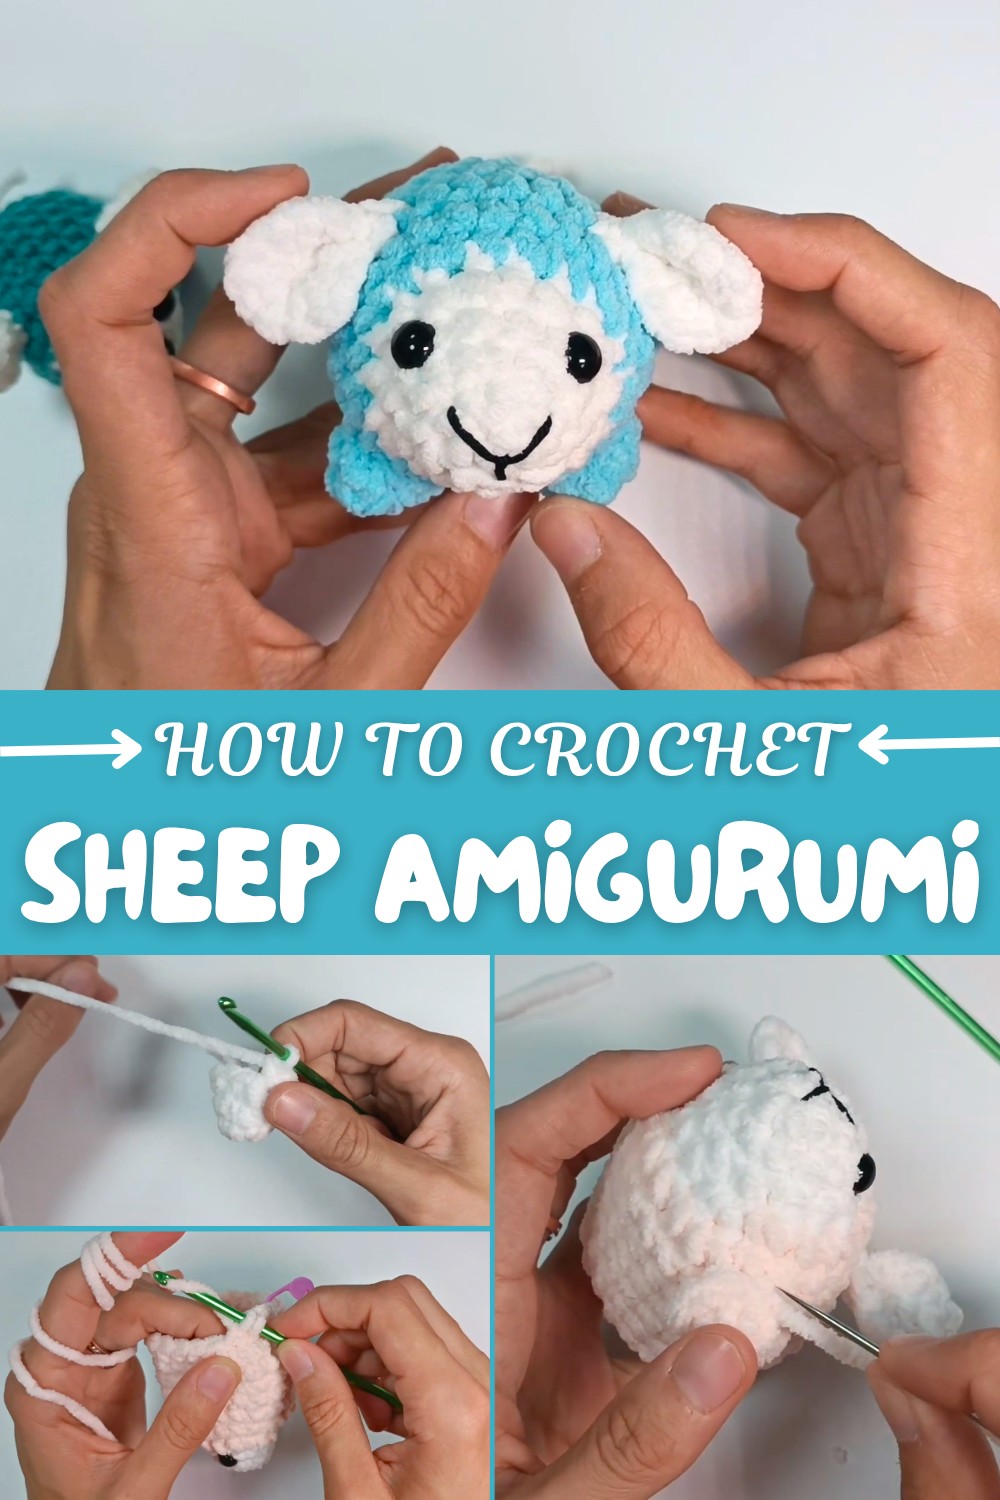
Cute Free Crochet Sheep Amigurumi Toy Pattern
Make a cuddly sheep in about an hour with this Free Crochet Sheep Amigurumi Pattern, ideal for beginners who struggle with finding quick and easy plush projects.
If you’re dreaming of a cuddly, quick-make plushie, this easy project is sure to warm your heart and home. The Free Crochet Sheep Amigurumi Pattern offers a delightful way to craft a soft, huggable friend that’s perfect for both beginners and experienced crocheters seeking a fast, satisfying make. Featuring a round, chubby body with a plush texture, this baby sheep stands out with its cozy white form contrasted by a pastel pink (or classic blue) stripe, inviting endless color options to match your personal style. Beyond the basic sheep, the amigurumi pattern can be used as a foundation to create other charming sheep-inspired items, such as mini lamb keychains, decorative sheep ornaments, or even themed nursery mobiles for your little one.
Free Crochet Sheep Amigurumi Pattern with Smiling Face
Distinctive design elements make this sheep truly charming—expressive safety eyes, a tiny stitched smile, stubby legs, floppy ears, and an adorable little tail. Their compact size and gentle shape result in a toy that’s just right for hugging, decorating a nursery, or popping onto a desk as a cheerful mascot.
You’ll explore a variety of essential amigurumi skills while constructing the pattern, such as beginning with a magic circle, working in single crochet for a dense, squishy feel, mastering neat increases and invisible decreases for smooth shaping, and executing a seamless color change. Assembly focuses on sewing securely for durability and embroidering facial details to add personality.
Ideal for gifting—whether as a baby shower treat, birthday surprise, or a sweet collectible—this Free Crochet Sheep Amigurumi Pattern delivers joy with every stitch. It’s also a wonderful opportunity to practice colorwork and three-dimensional crochet techniques. If you’re eager for an adorable, approachable project that builds skills and delivers heartwarming results, you’ll love making this playful little sheep—no matter your crochet experience.

Easy Baby Sheep Amigurumi Crochet Pattern
Introduction
Welcome to this step-by-step baby sheep crochet pattern, designed to be accessible even for beginners! This adorable little sheep is made with basic shapes, soft velvet or plush yarn, and simple stitches. The pattern is worked in easy-to-follow parts: body/head, legs, ears, tail, and embroidery for a sweet smile. You'll sew them together at the end for a cuddly, squishy friend.
The project starts with a magic ring, then uses only single crochets, increases, and decreases throughout—even the ears and legs! It’s ideal for newer crocheters and quick for more experienced makers.
Skill Level & Terminology
Skill Level:
Beginner-friendly.
You only need to know single crochet (sc), increase (inc), decrease (dec), slip stitch (sl st), and magic ring (MR).
Stitch Terminology:
Pattern is written in U.S. crochet terms.
Materials & Tools
- Chunky or velvet yarn: White (for body, ears, legs, tail)
- Accent color yarn (light pink or pale blue for body back)
- Small amount of thin black yarn (for mouth)
- 4 mm crochet hook
- Stuffing (polyester fiberfill)
- 8 mm safety eyes (or black embroidery thread for eyes)
- Stitch marker
- Tapestry/yarn needle
- Scissors
Note: Substitute yarn thickness for a larger or smaller sheep, adjusting hook size to match.
Gauge
Gauge is not crucial, but ensure your stitches are tight enough to keep stuffing inside.
Example: 8 sc x 8 rows ≈ 2"/5 cm in velvet or plush yarn without stretching.
Abbreviations List
- MR: Magic ring
- sc: Single crochet
- inc: Increase (2 sc in one st)
- dec: Decrease (single crochet two stitches together)
- sl st: Slip stitch
- ch: Chain
- st(s): Stitch(es)
- FLO: Front loop only
Special Stitch Instructions
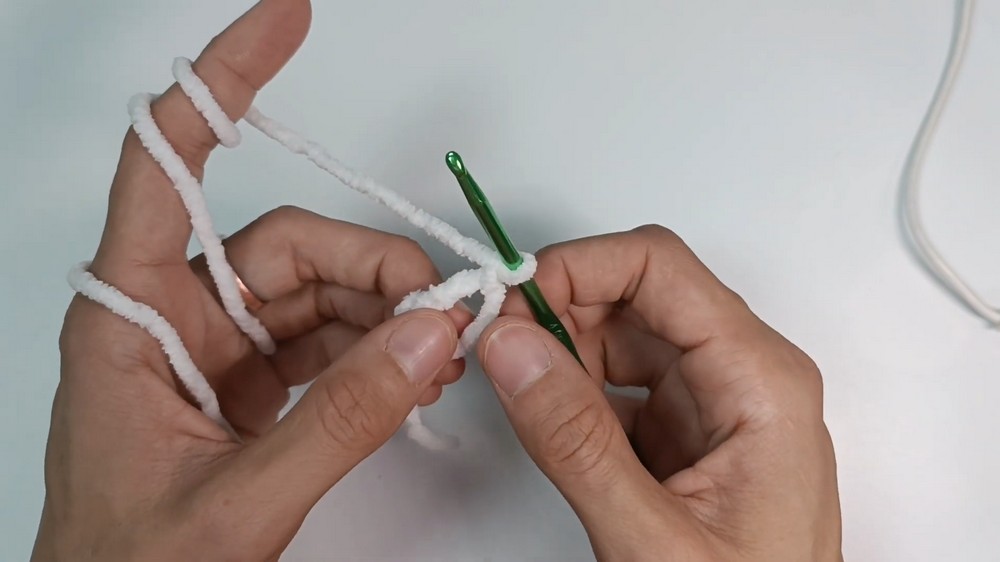
- Magic Ring (MR): Wrap yarn and create a loop, work indicated number of sc into ring, then pull the tail to close the ring.
- Invisible decrease (inv dec): Insert hook in front loop of next two stitches, yarn over and pull through, yarn over and pull through both loops on hook.
- Changing color: On last yarn over of final st in old color, yarn over with new color to finish.
The Pattern Itself
Head & Body
- Start with white yarn.
- Round 1: MR, 6 sc in ring. (6)
- Round 2: 6 inc (2 sc in each st) around. (12)
- Round 3: 12 sc (one in each st). (12)
- Round 4: [1 sc, inc] x6. (18)
- Change to accent color (pale blue or pink) in last step of last increase.
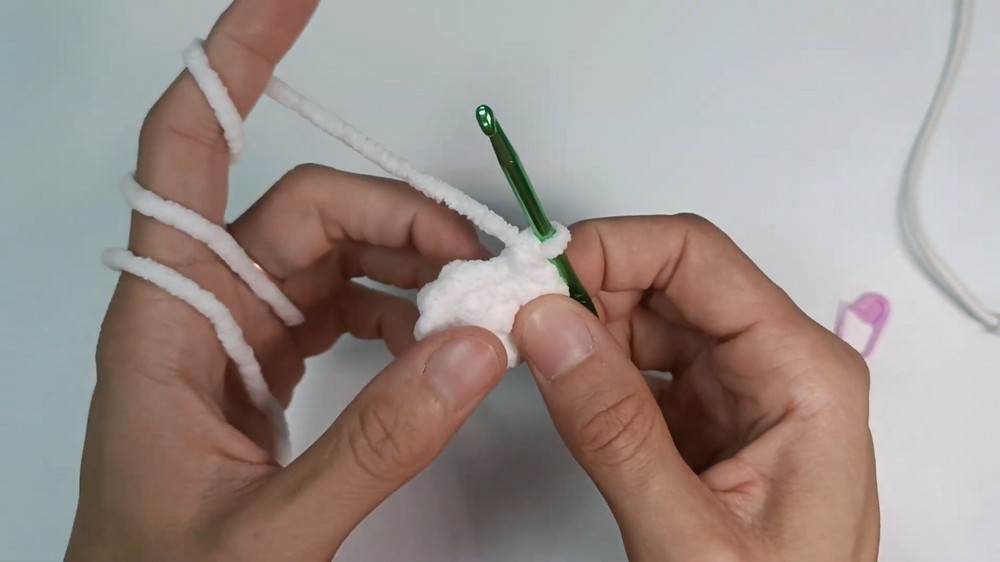
- Round 5: Working FLO only, [2 sc, inc] x6. (24)
- Rounds 6–11: 24 sc (1 in each st) around. (6 rounds)

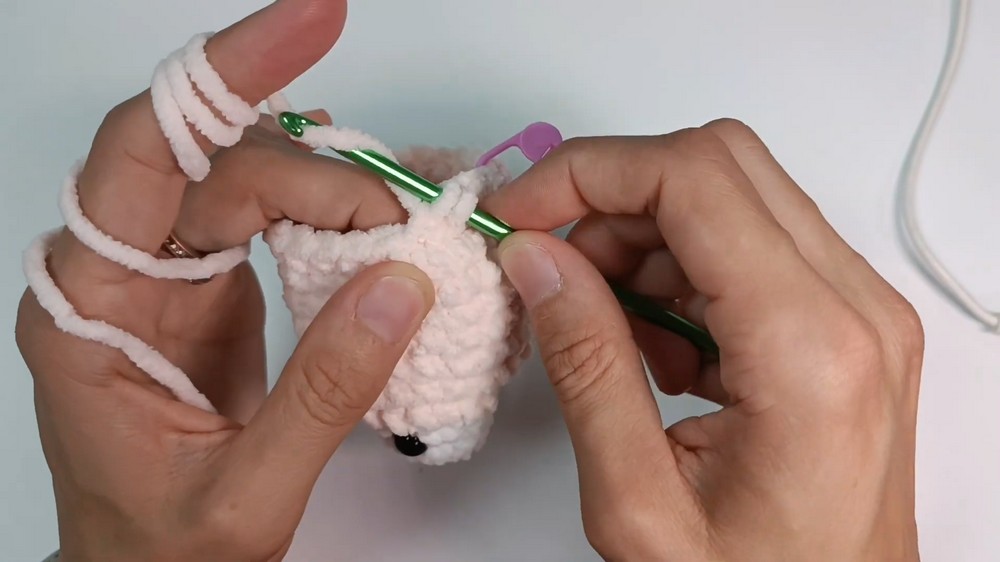
At this stage, insert the safety eyes between Rounds 3 and 4, 5 stitches apart. If using embroidery for eyes, skip this step and embroider after assembly. This makes the face neat and symmetrical.
For non-pattern readers:
You’ll start with the white part of the face, beginning in a magic ring; next, you increase outwards for a flat circle, then add your main body color using only the front loops of each stitch. The rest is worked as simple rounds until your sheep’s chubby body is the right size. Attach the eyes now for best placement.
Shaping & Closing the Body
- Round 12: [2 sc, dec] x6. (18)
- Stuff body, shaping the head and back as you go.
- Round 13: [1 sc, dec] x6. (12)
- Stuff again to desired firmness.
- Round 14: 6 dec. (6)
- Sl st, cut yarn leaving tail for closing.
- With needle, thread through FLO of remaining 6 sts and pull tight to close.
The decreases gently taper the sheep’s back, and by stuffing as you close, you create a soft, bouncy shape.
Legs (Make 4)
- With white yarn:
- Round 1: MR, 6 sc. (6)
- Round 2: [2 sc, inc] x2. (8)
- Sl st in next st, ch 1, cut yarn (leave tail for sewing).
The legs are simple, rounded “nubbins”—they’re quick to make and easy to attach symmetrically for a stable, standing sheep.
Explanation:
You form each tiny leg with just two rounds. Their placement gives stability and a playful look.
Ears (Make 2)
- With white yarn:
- Round 1: MR, 6 sc. (6)
- Round 2: 6 inc (2 sc in each st) around. (12)
- Sl st in next st, ch 1, cut yarn (leave tail).
- Optional: Join to opposite side of the circle (across the opening) with a slip stitch and fasten off to “pinch” one side for a dimpled look.
Ears are perfect circles. Sew them slightly forward on the head for sheepish cuteness.
Tail
- Cut a short piece (2–2.5"/5–7 cm) of white yarn.
- Knot in place at the top back, then hide the long tail inside the body with a needle for a neat finish.
Mouth Embroidery
- With thin black yarn, stitch a simple “V” smile below the eyes.
- Start from the center bottom, stitch up to the right, down through the same start point, up to the left, and back through. Tie off and hide the yarn tails.
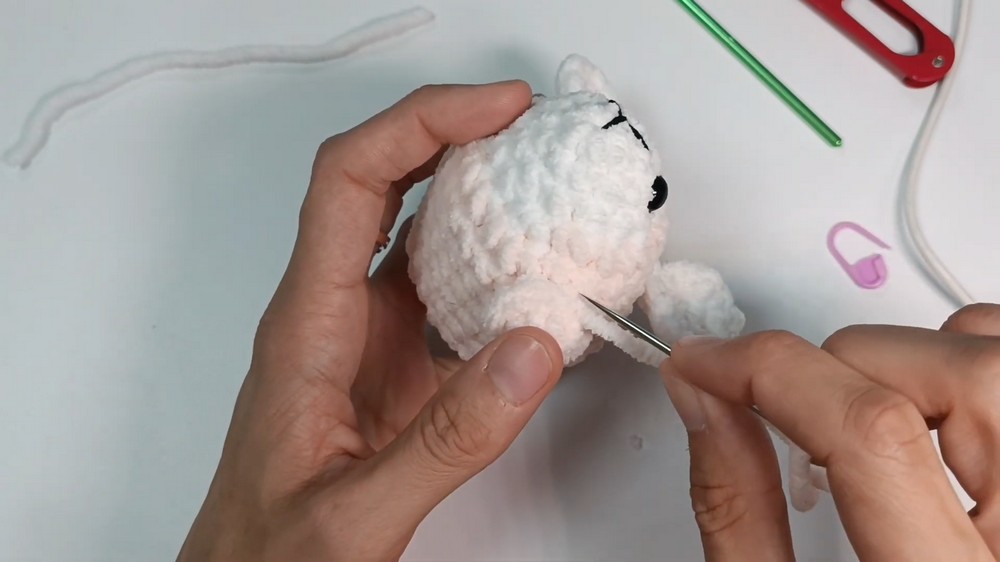
This creates the sheep’s sweet, gentle expression.
Finished Size
- Using plush or velvet yarn and a 4 mm hook, your sheep measures about 10–14 cm (4–5.5") tall.
- If you use finer yarn and a smaller hook, the sheep will turn out smaller.
Assembly & Finishing
- Sew the four legs to the bottom of the body, placing evenly for balance and stability.
- Sew the ears onto the sides of the white “face” portion, between the head and the body back, positioning as desired.
- Attach the tail with a simple knot, pull the longer yarn end inside, and trim.
- Embroider the smile just below and between the eyes.
- Weave in or hide all ends for a neat finish.
Starting The Pattern & Used Stitches
To start this adorable little sheep, all you need is a solid basic knowledge of the magic ring, single crochet, and simple increases/decreases. All body elements are begun with a magic ring and shaped with single crochets. Color changes and easy assembly make it beginner-friendly, with a bit of embroidery for extra charm!
Conclusion
Your amigurumi baby sheep is now complete! Made entirely from easy stitches and shaped in just a few hours, it’s the perfect project for beginners or as a quick, sweet gift for a loved one or child. Experiment with colors or yarns for your own unique flock!
Enjoy your cute baby sheep, and happy crocheting!