
Free Crochet Crab Plush Amigurumi Pattern for Creative Playtime
Fix toy collection blues with the Free Crochet Plush Crab Amigurumi Pattern and bring a soft, smiley crab to life in no time.
Sometimes, the most charming crochet projects come in the form of adorable sea creatures, and this plush crab amigurumi is a delightful example! With its soft, squishy claws, tiny legs, and big, playful eyes, this crab will become an instant favorite for kids, loved ones, or even as a quirky desk companion. Made using plush chenille yarn, the texture is incredibly fluffy and satisfying to cuddle. Pair that with a cheerful color like pink, blue, or classic red, and you have a sweet handmade creation full of personality. It’s a no-stress, beginner-friendly design, requiring very little sewing (just for the eyes and smile!), and it all comes together seamlessly thanks to continuous stitching techniques.
Free Crochet Crab Plushie Amigurumi Pattern for Coastal Kids Rooms
What makes this pattern so versatile is the variety of stitches it incorporates, from basics like single crochet, increases, and decreases, to details crocheted with back-loop-only and front-loop-only techniques. These touches give the crab dimension and texture, making it extra cute and lifelike. With proper shaping and strategic stuffing, you’ll see how each piece – legs, claws, and body – fits perfectly together to form this charming sea creature.
Other Things You Can Crochet Using This Pattern:
- Other sea creatures, like octopuses, turtles, or fish.
- Mini plush toys for kids or as keychains.
- Themed animal sets with color variations, like blue or coral crabs.
- Unique ornaments for decorations or gifts.
- Imaginative playsets for toddlers or younger kids.

Why You’ll Love Making This Crab Amigurumi:
- Simple and beginner-friendly design with minimal sewing.
- Works up quickly, making it perfect for last-minute gifts.
- Leaves you with a versatile template for future plushies.
- Adorable and customizable, perfect for matches of color and creativity!
Crochet Crab Pattern (Step-by-Step Guide)
Crochet this adorable Crab Plushie, perfect as a fun accessory, decoration, or a toy! This beginner-friendly pattern is quick and easy to follow, incorporating basic techniques like the magic circle, single crochet, and invisible decrease. Assembly is minimal—only the eyes and smile need sewing! Let’s dive into the instructions and create this cute crab.
The crochet Crab Plushie is an ideal project for beginners and seasoned crocheters. Using simple stitches and techniques, this design results in a cute crab with six legs, two claws, and bright eyes. Whether you make it for yourself or as a gift, this project is guaranteed to impress!
Skill Level & Terminology
- Skill Level: Beginner
- Crochet Terminology: US terms
This pattern is suitable for anyone familiar with basic stitches. For beginners, detailed explanations are included for special stitches and techniques.
Materials & Tools
- Yarn:
- Pink plush yarn (or any desired color)
- Black thin yarn (for the smile)
- Hook: 4 mm crochet hook
- Safety Eyes: 8 mm
- Stuffing: Poly-Fil or any soft filling material
- Other Tools:
- Scissors
- Stitch marker
- Yarn needle
Gauge
Gauge is not critical. A tighter stitch creates a sturdy plushie that holds its stuffing without gaps.
Abbreviations
Here are the abbreviations you'll encounter in this pattern:
- MR: Magic Ring
- SC: Single Crochet
- Inc: Increase (2 SC in one stitch)
- Dec: Decrease (Invisible decrease detailed below)
- BLO: Back Loop Only
- FLO: Front Loop Only
- Sl St: Slip Stitch
Special Stitch Instructions
- Magic Ring (MR): Begin with a loop where stitches are crocheted into the center, allowing the ring to be pulled tight and closed.
- Invisible Decrease: Insert the hook into the front loops of the next two stitches, yarn over, pull through the loops, yarn over again, and pull through the last two loops. This creates a cleaner look compared to regular decreases.
Finished Size
- Overall Height: Approximately 3–4 inches (8–10 cm), depending on yarn and stuffing.
- Body Diameter: Roughly 2.5 inches (6.5 cm).
Pattern Instructions
Legs
You will need six identical legs.
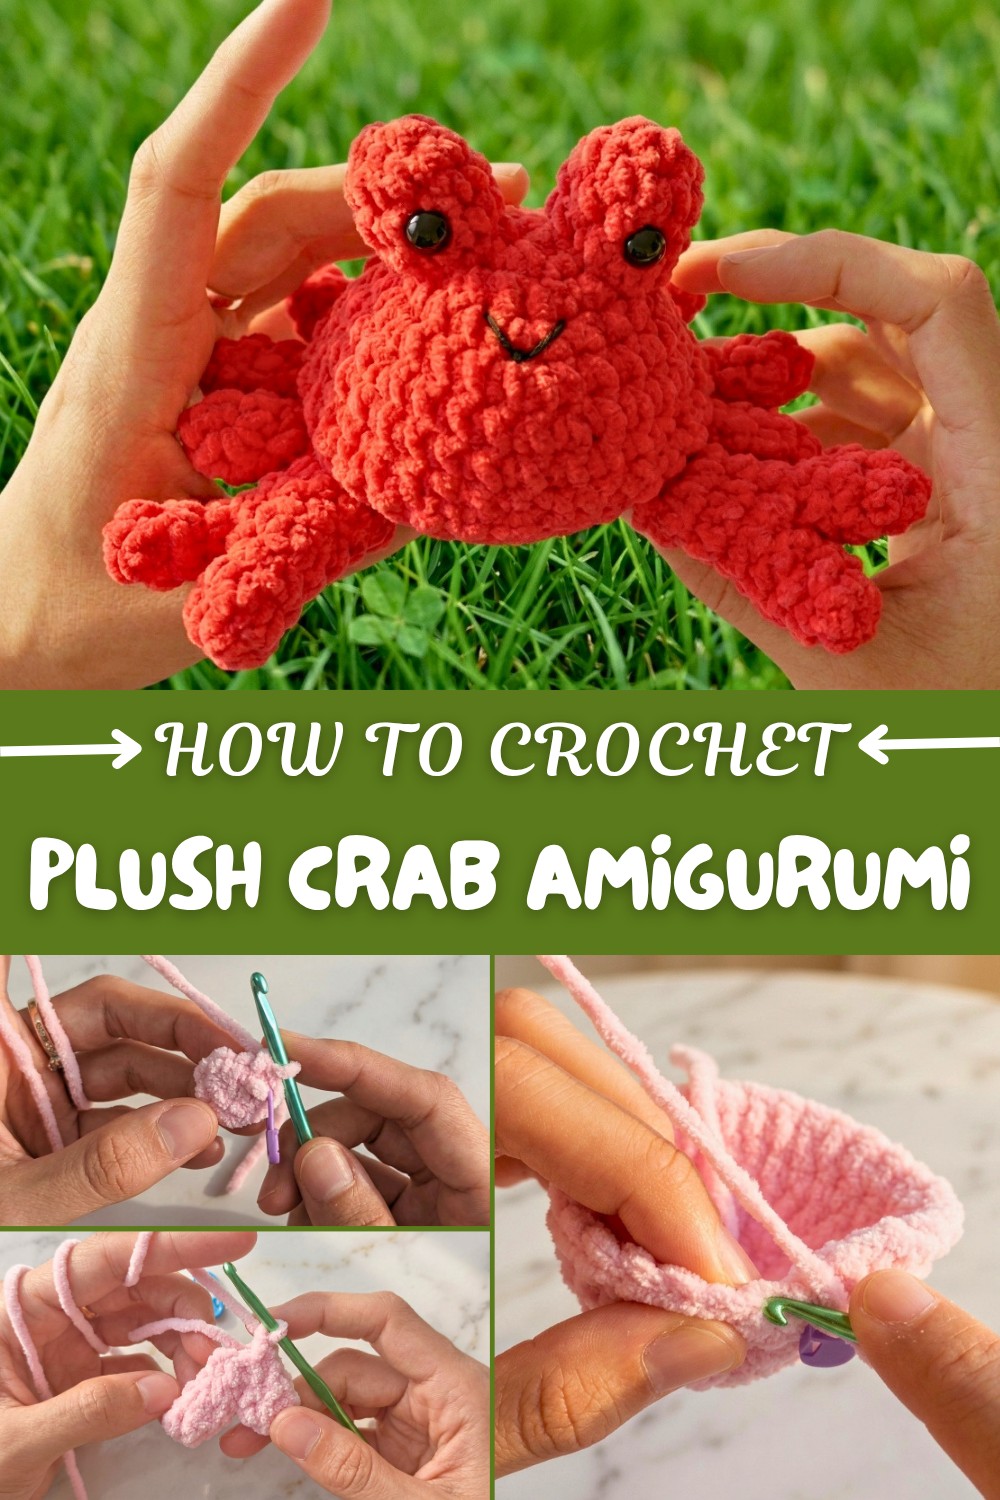
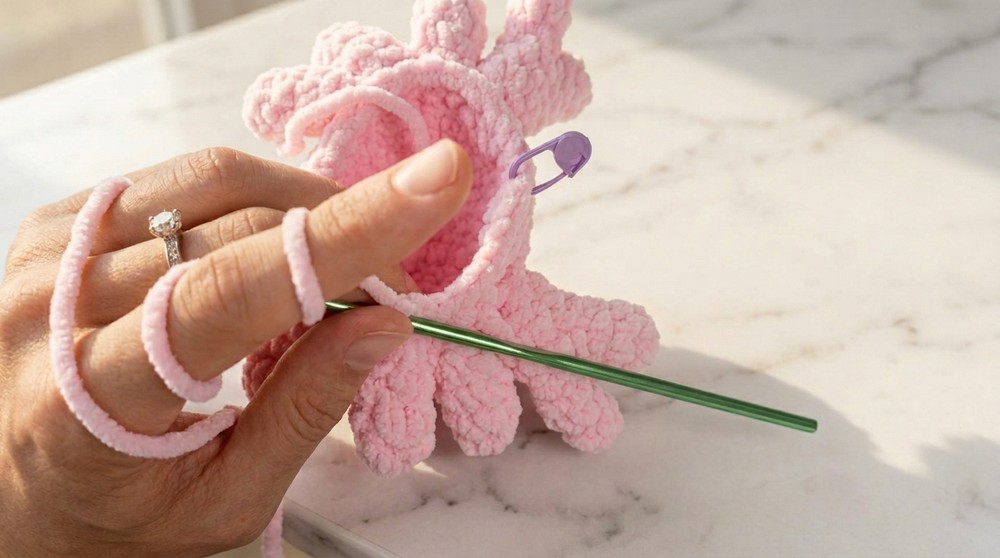
- Round 1: Create a MR. Work 5 SC into the ring. Pull tight and place a stitch marker in the last stitch. (5 SC total)
- Rounds 2–4: Work 1 SC into each stitch (5 SC per row).
- Finish Off: Sl St into the next stitch, chain 1, and cut the yarn. Hide the tails inside or trim excess yarn.
- Helpful Tip: Legs do not require stuffing for this project.
Repeat these instructions until you have 6 legs.
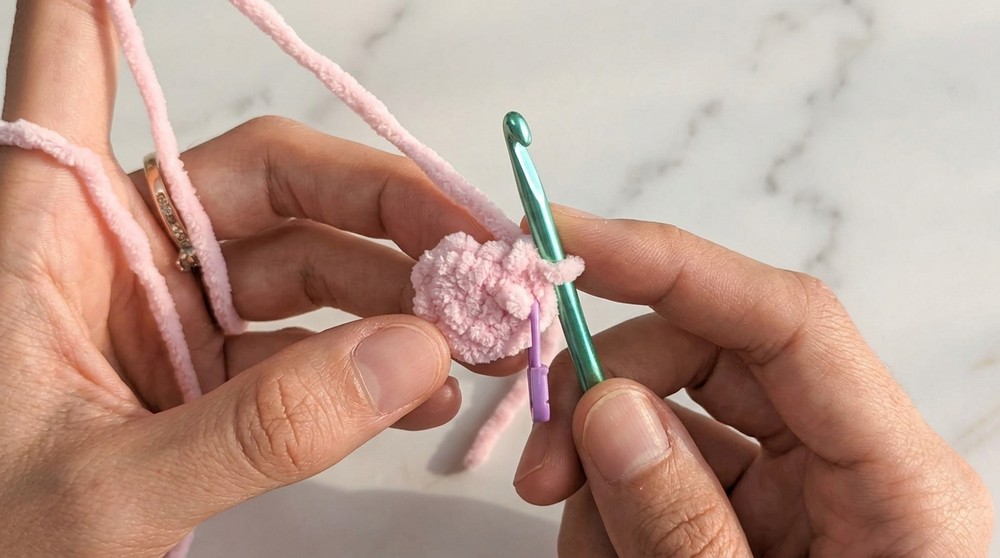
Claws
Create two claws.
Claw Part 1
- Round 1: Create a MR. Work 4 SC into the ring. Pull tight. (4 SC total)
- Rounds 2–3: Work 1 SC into each stitch (4 SC per row).
- Finish Off: Sl St into the next stitch. Cut the yarn and hide the tail.
Claw Part 2
- Round 1: Create a MR. Work 5 SC into the ring. Pull tight. (5 SC total)
- Rounds 2–3: Work 1 SC into each stitch (5 SC per row).
- Join Claw Parts: Without fastening off, join Claw Part 2 to Claw Part 1 by:
- Aligning the stitches of both parts.
- Crocheting 1 SC through both layers at each matching stitch.
- Round 4: Insert 7 SC evenly around the connected claw.
Eyes
Create two eyes.
- Round 1: Create a MR. Work 8 SC into the ring (8 SC total).
- Rounds 2–4: Work 1 SC into each stitch for 3 rows.
- Finish Off: Sl St into the next stitch. Leave a long tail for sewing to the body.
- Insert Eyes:
- Place a 10-mm safety eye in the center of the eye piece.
- Secure the safety washer at the back.
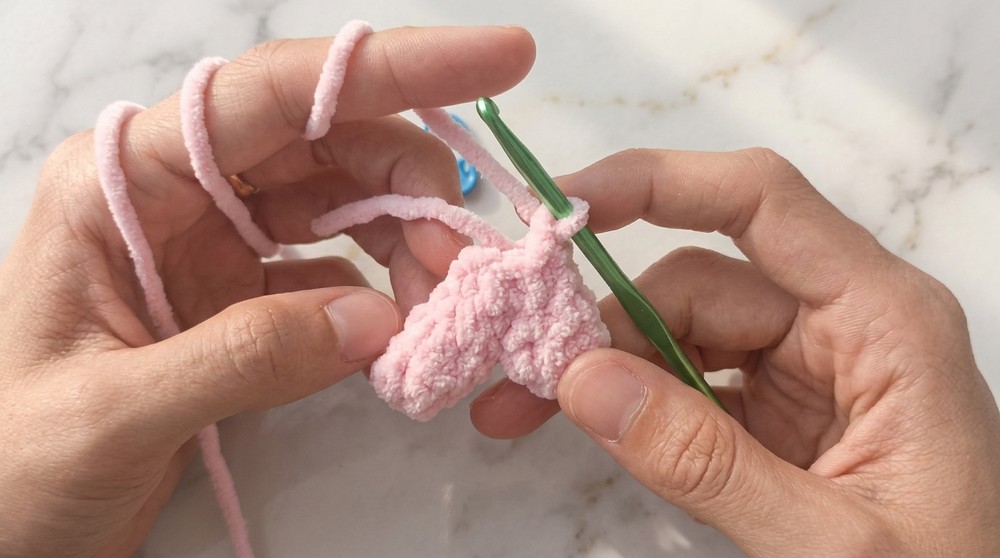
Body
The body is crocheted in rounds, starting from the top.
Rounds 1–7: Increasing the Size
- Round 1: Create a MR. Work 6 SC into the ring (6 SC total).
- Round 2: Work 6 Inc (2 SC per stitch) (12 SC total).
- Round 3: (1 SC, Inc) repeat 6x (18 SC total).
- Round 4: (Inc, 2 SC) repeat 6x (24 SC total).
- Round 5: (3 SC, Inc) repeat 6x (30 SC total).
- Rounds 6–7: Work 1 SC into each stitch for two rows (30 SC per row).
Round 8: Creating the BLO Detail
- Round 8: Use BLO to crochet 30 SC into each stitch.
- Tip: BLO leaves the front loops visible, creating a textured line.
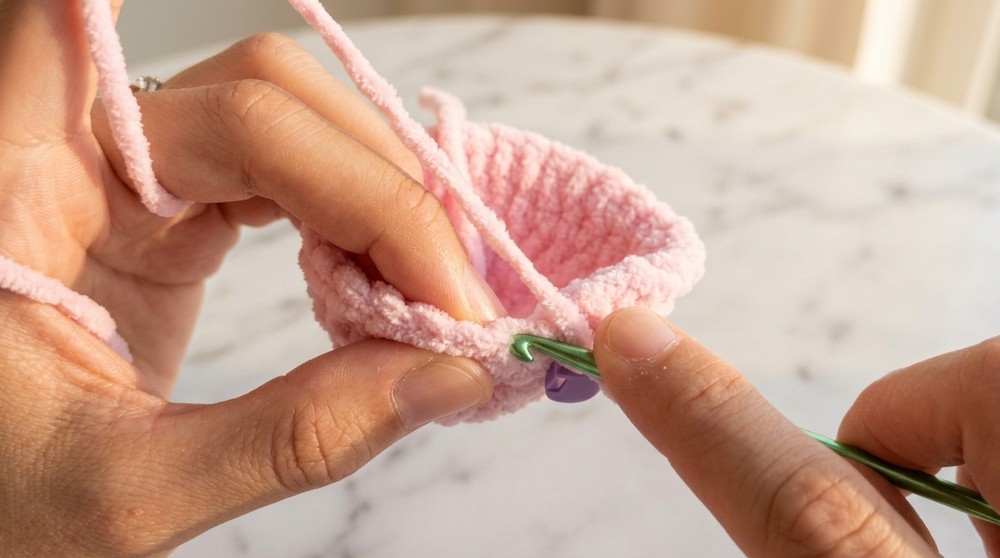
Rounds 9: Attaching the Legs and Claws
While crocheting Round 9, attach each claw and leg:
- Flatten each piece and align the stitches. Join claws first, followed by legs.
- Work SC through the aligned stitches of the body and respective piece.
- Continue crocheting SC when no pieces are attached.
Shaping the Body (Rounds 10–13)
- Round 10: (3 SC, Dec) repeat 6x (24 SC total).
- Round 11: (2 SC, Dec) repeat 6x (18 SC total). Begin stuffing the crab securely.
- Round 12: (1 SC, Dec) repeat 6x (12 SC total).
- Round 13: Work 6 Dec to close.
Closing the Body
Thread the yarn tail through the remaining front loops. Pull tight to close the body securely. Finish by weaving the yarn into the crab.
Assembly & Finishing
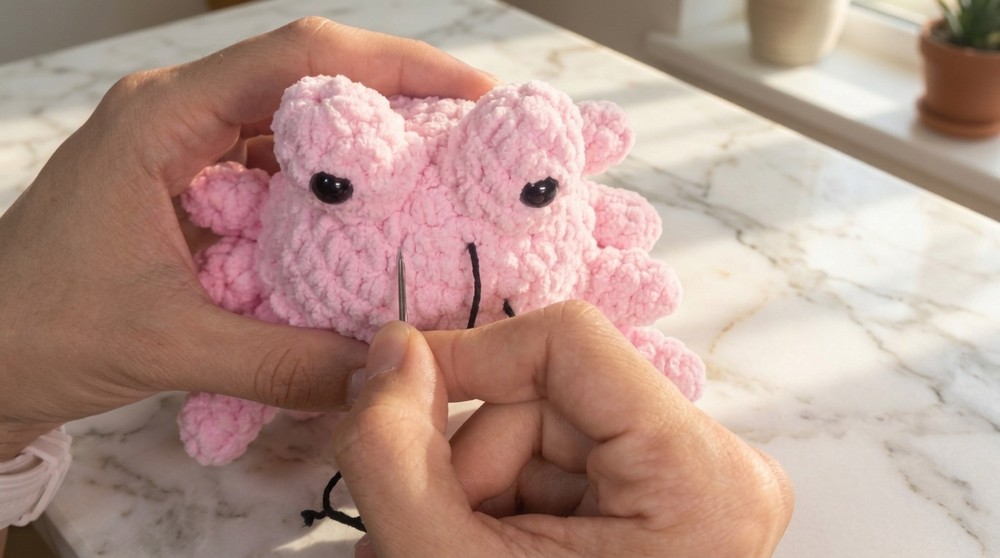
Attaching Eyes
- Sew the eyes to the top of the crab using the yarn tail. Place them evenly on both sides, securing with long pins before sewing. Stuff the eyes slightly before completing the stitches.
Adding the Smile
- Embroider a smile using black yarn:
- Create diagonal stitches for a curved mouth between the eyes.
- Secure and hide yarn ends inside the body.
Pattern Summary
The crochet Crab Plushie starts with the legs, claws, and eyes before moving to the main body. Pieces are attached as you crochet, reducing the need for sewing. The crab’s charming smile and expressive eyes bring personality to this easy yet rewarding project.
Conclusion
Congratulations—your Crab Plushie is complete! This cute and versatile design is perfect for a wide range of uses. With its simple construction and minimal sewing, this project is enjoyable for crocheters of all levels.
Feel free to customize the colors and express yourself through this adorable crab.
What You'll Learn from this Pattern
- Mastering 3D amigurumi techniques, including shaping, attaching limbs, and creating texture.
- Practice with essential stitches like single crochet, increases, and the magic circle.
- How to work with front and back loops to add decorative details.
- Techniques for sewing on small parts (eyes, smiles) for a clean, polished finish.