
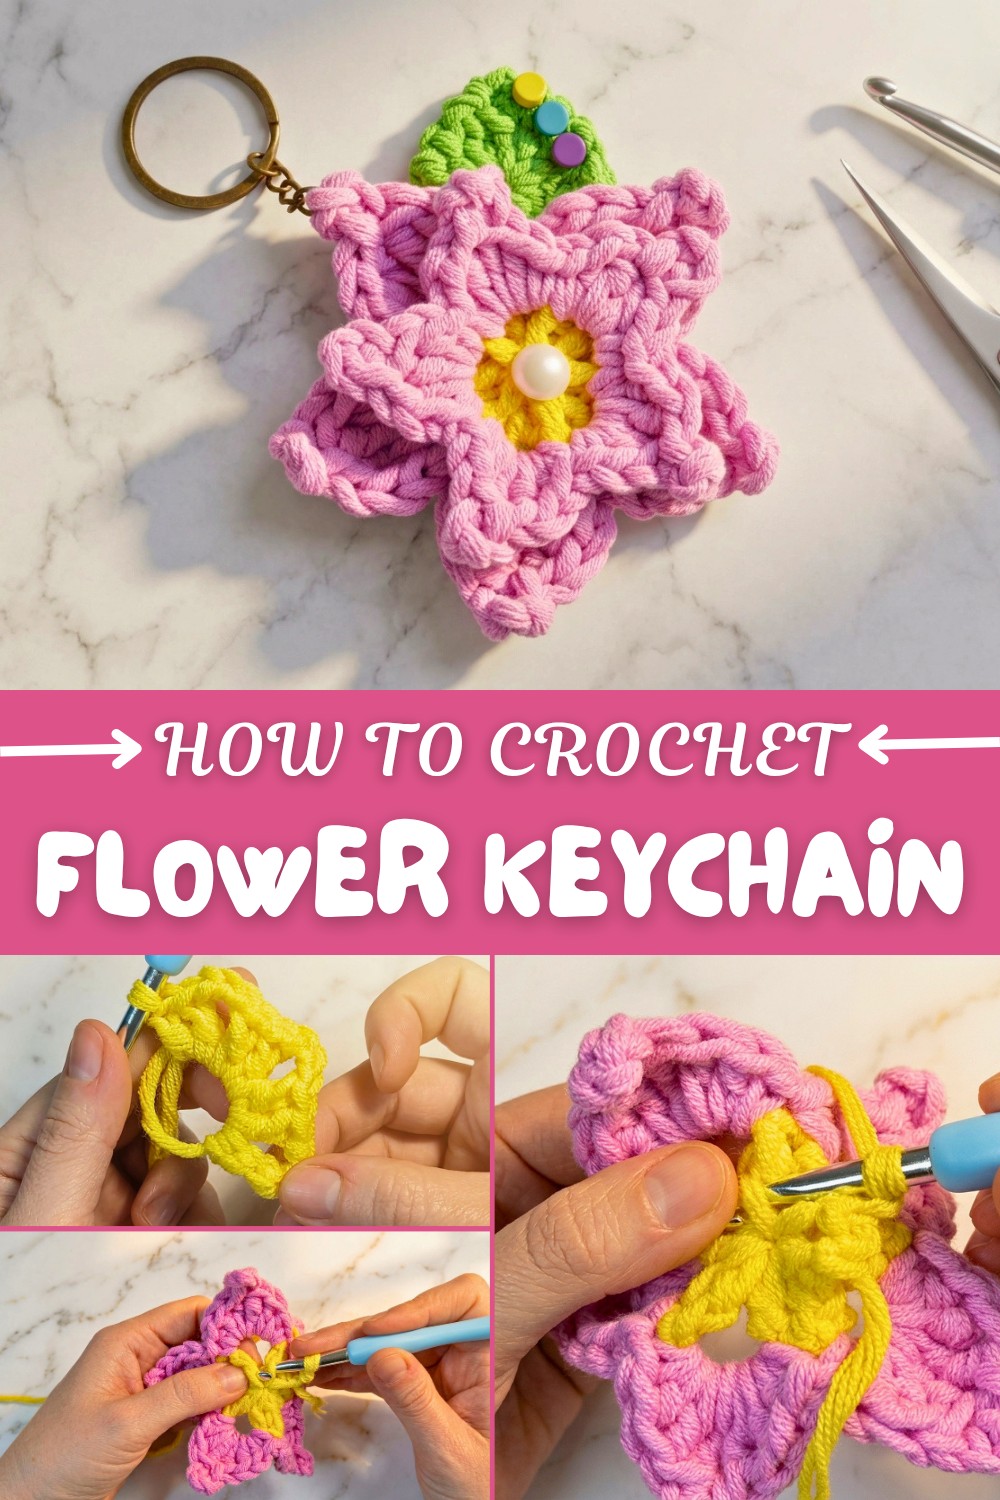
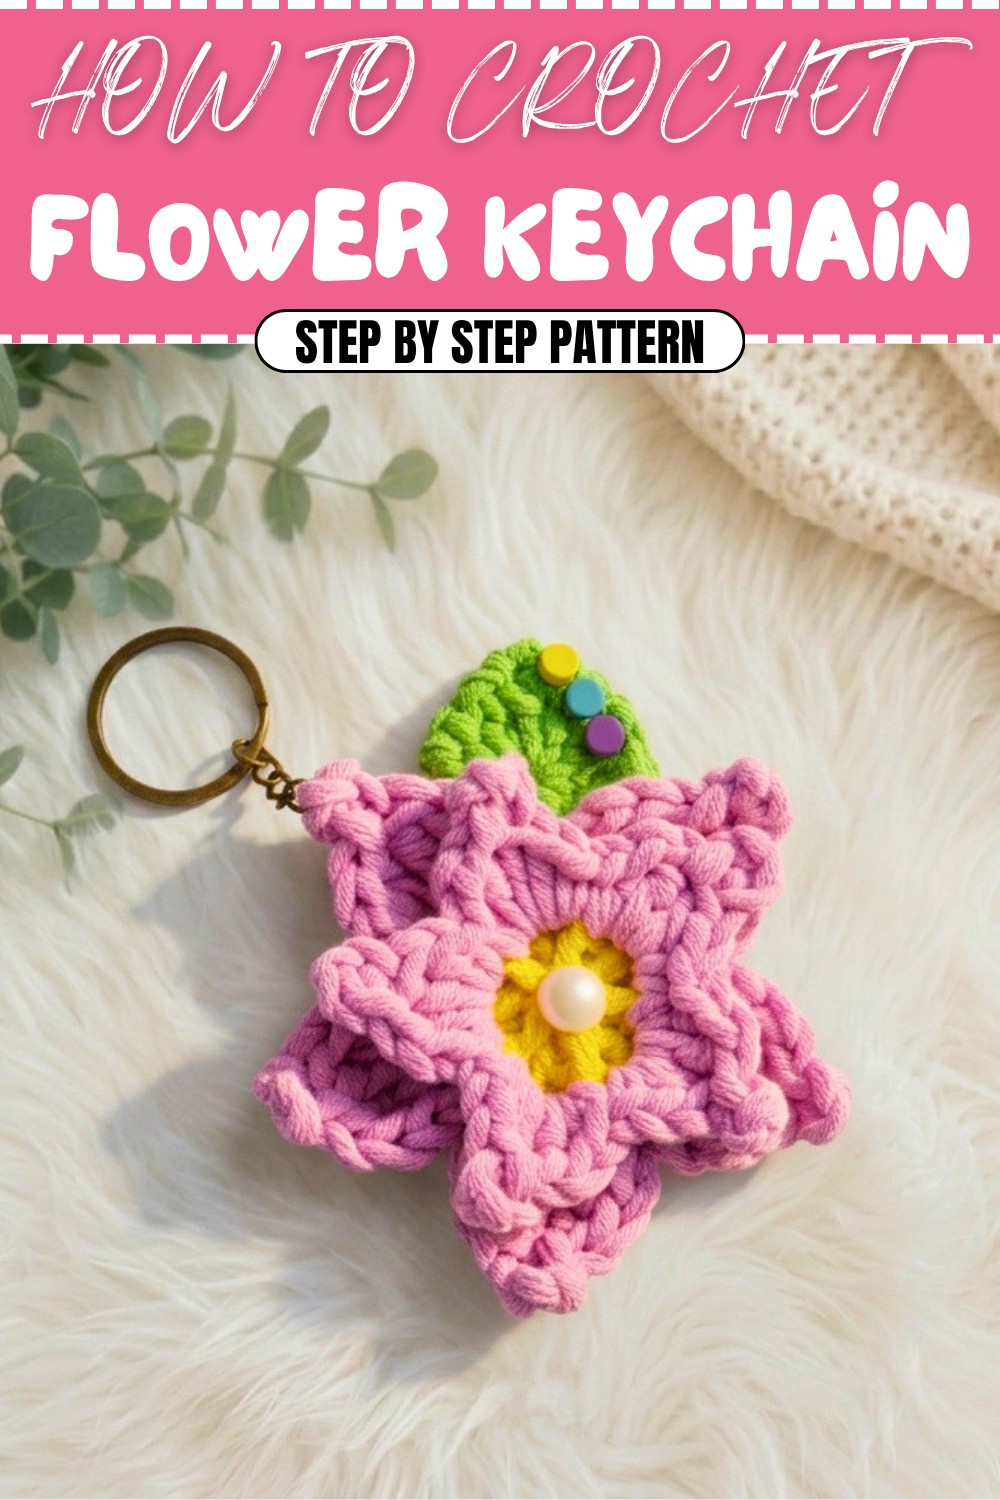
Free Crochet Flower Keychain Pattern for Fashionable Accessories
Amplify your bag’s charm with a free crochet flower keychain pattern that’s unique, playful, and sure to draw compliments everywhere.
If you’re looking for a quick, fun, and beginner-friendly crochet project that’s full of charm, this Crochet Flower Keychain Pattern will capture your heart! There’s something truly magical about creating adorable flowers with just a few stitches. This pattern is not only practical but also doubles as a pretty little accessory for your bag, keys, or as a thoughtful handmade gift for loved ones. The best part? It uses only small amounts of yarn, so it’s a perfect project for using up those leftover bits from your stash! The vibrant petals, paired with a fun button detail or playful beads, make this flower keychain a customizable and delightful project. You can mix and match your favorite colors and even add personalized touches like names or cute trinkets for extra flair.
Eye-Catching Crochet Flower Keychain Pattern for Weekend Projects
The pattern guides you through using essential stitches such as single crochet, half double crochet, double crochet, and a whimsical picot stitch to give the petals their intricate edging. It starts with a magic ring, making it an excellent craft for practicing circular crocheting. But don’t be intimidated—this pattern is simple, quick, and perfect for building confidence if you’re a beginner. Plus, the creative assembly process really lets your artistic side shine!
What Else Can You Crochet Using These Techniques?
This pattern opens up so many possibilities! Once you’ve mastered the techniques, explore:
- Accessories: Crochet bracelets, brooches, or appliqués for clothes or hats.
- Home Decor: String flowers together to make garlands or wall hangings.
- Gift Toppers: Add handmade flower details to gift wraps or greeting cards.
What You’ll Love About This Pattern
- Simple and beginner-friendly.
- A great way to use scrap yarn.
- A joyful, customizable project to express your creativity.
- Perfect for quick gifts or festive décor!
Flower Keychain Crochet Pattern
Introduction
Create a delightful flower-shaped keychain with this step-by-step crochet pattern! With basic stitches, the project is perfect for beginners and quick to complete. Add your favorite colors, beads, or charms for personal flair, and turn leftover yarn into a practical accessory you can carry with you every day.
Skill Level & Terminology
- Skill Level: Beginner
- Terminology: US Crochet Terms
Materials & Tools
- Yarn: Medium-weight yarn (Melissa Zeppelin or similar):
- Yellow: Center of the flower.
- Pink: Petals.
- Green: Leaf.
- Hook Size: 6 mm crochet hook.
- Scissors: To cut yarn.
- Tapestry Needle: For hiding ends and sewing parts.
- Keyring or Carabiner: For attaching the flower.
- Optional: Beads or buttons for embellishment.
Gauge
Gauge isn’t crucial for this project as it’s decorative. Using thicker yarn will create a larger, more visible flower.
Abbreviations List
- MR: Magic Ring
- Ch: Chain Stitch
- Sc: Single Crochet
- Hdc: Half Double Crochet
- Dc: Double Crochet
- Tr: Triple Crochet
- Slst: Slip Stitch
Special Stitch Instructions
Magic Ring
- Wrap the yarn around your fingers to create an overlapping loop.
- Insert the hook into the loop, pull up a loop of yarn, and chain 1 to secure.
Picot Stitch
- Chain 3, insert the hook into the top of the previous stitch (through two loops), and work a slip stitch to form a small decorative point.
Finished Size
The finished flower measures approximately 2–3 inches across excluding a leaf or charm. Size may vary depending on yarn thickness.
What You’ll Learn from This Pattern
- Petal Construction: Create beautifully layered petals with half-double and double crochets.
- Picot Stitch: Learn how to add texture and detail using picot-centric edges.
- Magic Ring Technique: Master an essential skill to create seamless crochet circles and flowers.
- Custom Assembly & Detailing: Attach leaves, keyrings, buttons, beads, or charms for a personalized touch.
The Pattern Itself
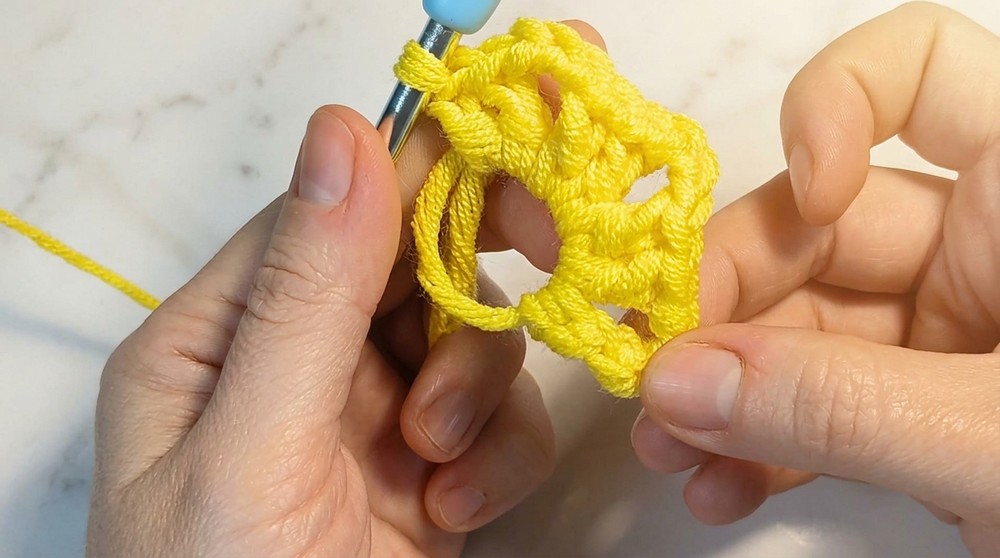
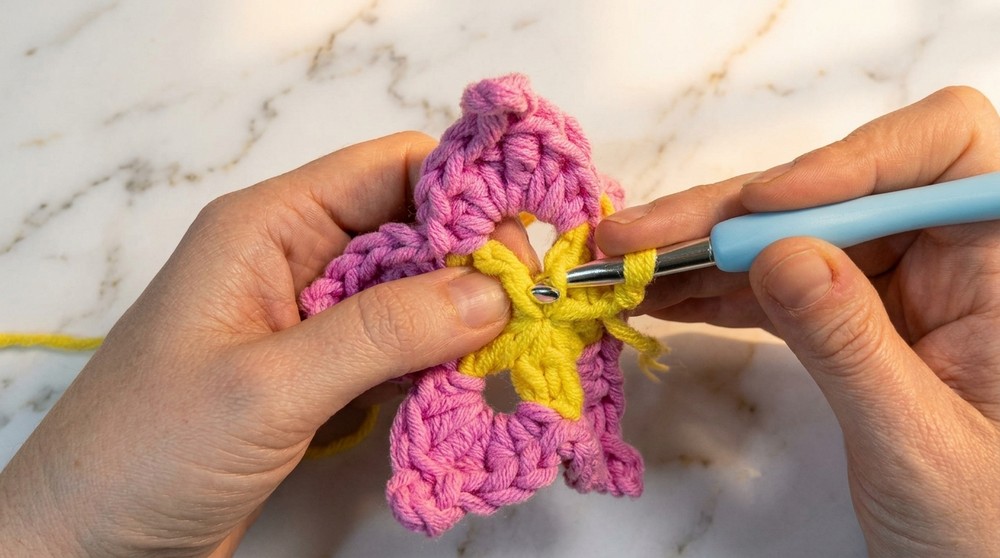
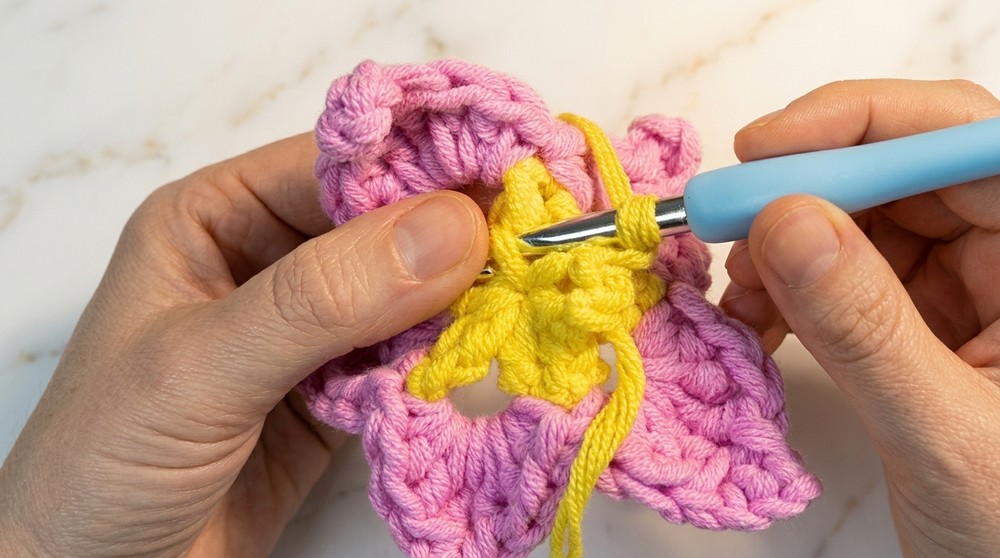
Flower Center (Yellow Yarn)
- Start with a Magic Ring:
- Work 1 Ch into the ring to secure.
- Round 1:
- Stretch the yarn to the height of a Dc. Work 1 fake Dc:
- Yarn over, insert hook into the ring, pull up a loop (3 loops on the hook), yarn over, pull through 2 loops, yarn over, pull through the remaining 2 loops.
- Work 2 Dc, Ch 3.
- Repeat 2 Dc, Ch 3 until you have 5 groups of 2 Dc, divided by chain spaces.
- Tighten the magic ring to close the loop.
For beginners: The center creates a circular base using simple double crochet stitches. Magic ring ensures there are no gaps in the middle.
- Stretch the yarn to the height of a Dc. Work 1 fake Dc:
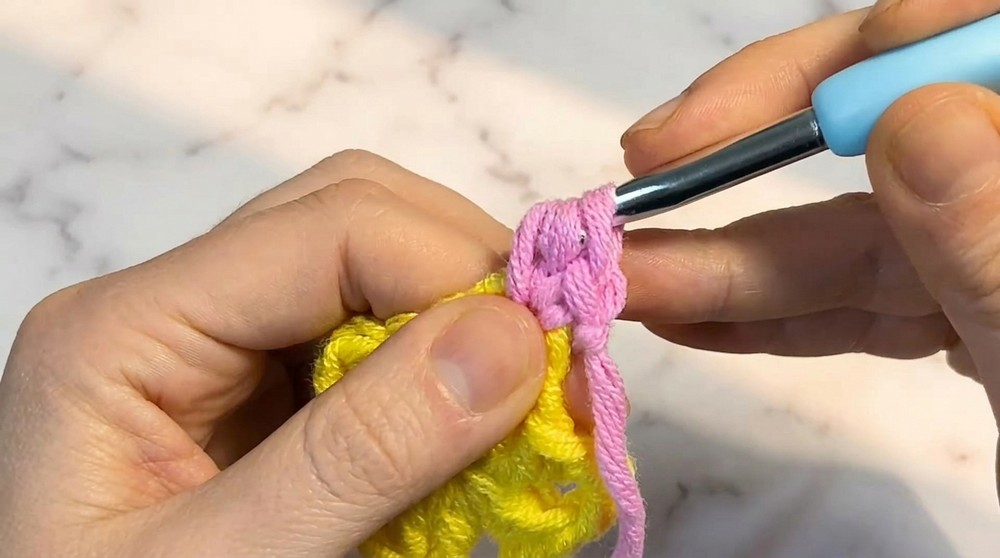
Petals (Pink Yarn)
- Attach Pink Yarn:
- Place the yarn inside any of the chain loops from the previous round. Work 1 Sc to secure.
- Petal Structure:
- Inside the chain loop: Work 1 Sc, 1 Hdc, 1 Dc, 1 Tr.
- Make a Picot Stitch (Ch 3, Slst) at the top of the last Tr.
- Work the reverse order inside the same chain loop: 1 Tr, 1 Dc, 1 Hdc, 1 Sc.
- Repeat for Remaining Petals:
- Move to the next chain loop and repeat the above steps until you have 5 petals in total.
- Finish Round:
- Join to the first Sc with a Slst and cut the yarn. Secure by weaving in ends.
For beginners: The petals are worked symmetrically inside the chain loops of the center. Use the picot stitch for a decorative point at the top.
Second Layer of Petals (Pink Yarn)
- Create Smaller Petals:
- Reattach pink yarn and fold the first petal layer backward for easier access.
- Work into the small rings formed by stitches from the previous round.
- Inside Each Ring:
- Work 1 Sc, 1 Hdc, 1 Dc, 1 Picot (Ch 3, Slst), 1 Dc, 1 Hdc, 1 Sc.
- Repeat:
- Continue working petals inside each ring until you’ve created 5 smaller petals.
For beginners: The second layer adds dimension and depth to the flower. Each smaller petal fits neatly inside the rings formed in the center, creating an intricate yet simple design.
Leaf (Green Yarn)
- Create a Magic Ring:
- Work 6 unclosed Dc into the ring.
- Pull through all loops (Tunisian-style stitching) until only 1 loop remains.
- Form the Second Side:
- Within the same ring, work another 6 unclosed Dc, pull through all loops as before.
- Adjust Shape:
- Close the magic ring tightly to give the leaf its heart-shaped appearance.
For beginners: The leaf is created using unfinished stitches that are pulled together for a rounded, heart-like shape—perfect for decorating the keychain and adding a leafy touch.

Assembly
- Secure Ends:
- Hide all loose strands using the tapestry needle.
- Sew Leaf Onto Flower:
- Position the leaf where desired and sew it securely to the back of the flower using matching yarn.
- Add Keyring:
- Open the ring and loop it through the picot point of one petal using tweezers to secure.
- Optional Decorations:
- Attach beads, charms, or buttons to the center of the flower for added customization.
For beginners: Assembling the flower is straightforward—secure the leaf and decorative details, then add the keyring for the final touch.
How to Start and Stitches Used
This project begins with the Magic Ring and progresses through basic stitches such as Single Crochet (Sc), Double Crochet (Dc), and Half Double Crochet (Hdc). You’ll also learn how to make pretty petals with Picot Stitches and create a leaf with unclosed double crochet stitches.
Conclusion
This easy flower-shaped keychain is a great beginner-friendly project that combines fun, decoration, and functionality. Its layers of colorful petals, sturdy design, and versatile size make it perfect for gifting or personal use. You can customize it with keyrings, beads, or buttons to make it your own! Grab your leftover yarn and get creative—you’ll love making this keychain!