
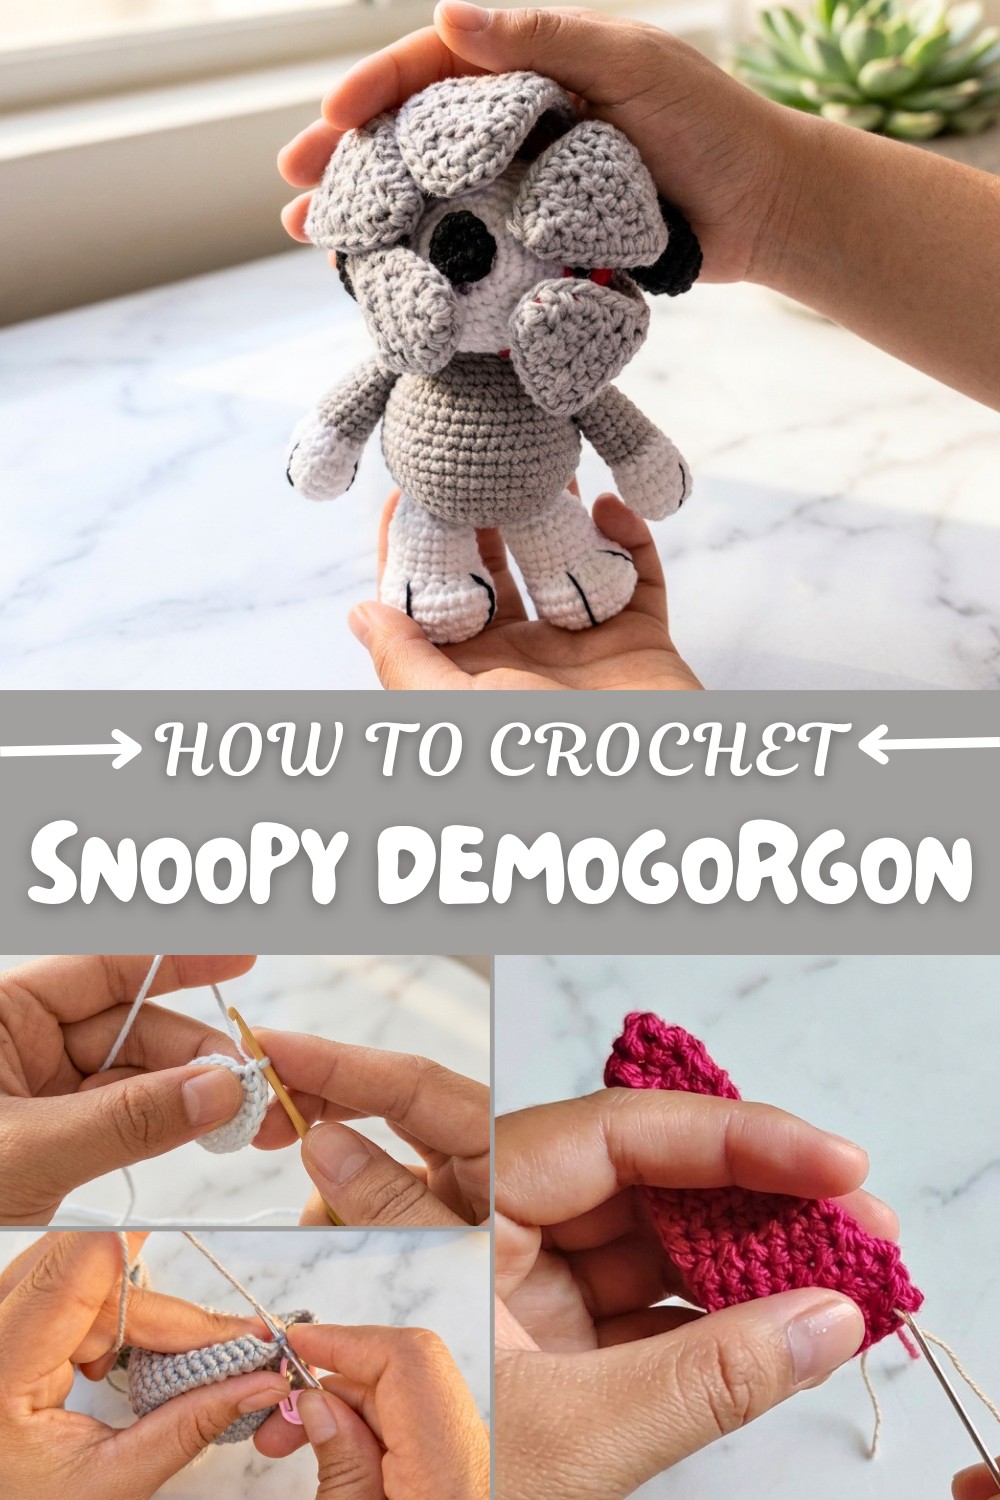
How-To Crochet Snoopy Demogorgon Pattern Free
Celebrate creativity with this Free Crochet Snoopy Demogorgon Pattern, blending iconic charm and playful fantasy for a fun and imaginative experience.
If you love fun trends and unique crochet projects, you have to check out the Free Crochet Snoopy Demogorgon Pattern! This pattern puts a trendy twist on two fan favorites, Snoopy from Peanuts and the scary Demogorgon from Stranger Things. It might sound wild, but the end result is creative, cute, and makes a great conversation piece.
Crochet Snoopy Demogorgon Pattern With Basic Materials – Free
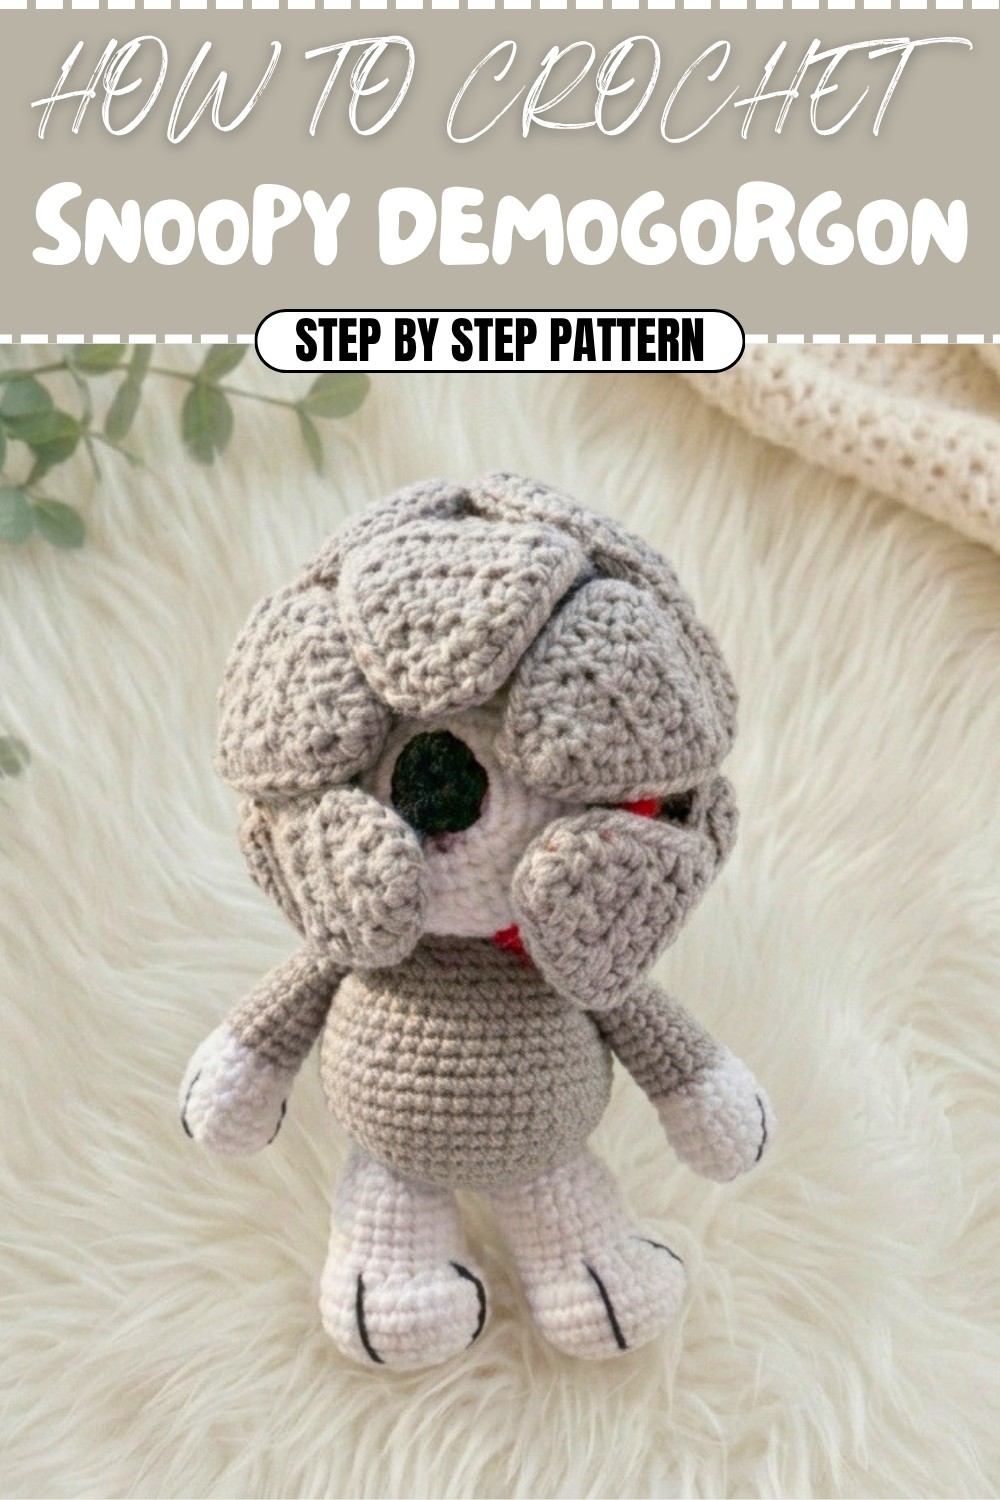
What makes this project so eye-catching is the way it combines Snoopy’s classic shape with the Demogorgon’s famous “flower-mouth.” The head has Snoopy’s adorable black ears and round nose, while the face opens up into soft, petal-like “teeth” just like the monster from the show. This clever mix keeps the look playful and not too spooky, making it fun for anyone who likes a bit of quirky style.
The finished Snoopy Demogorgon is small and squishy, thanks to the soft yarn and simple stitches. The petals around the face add texture and make the toy really stand out, while the white and black colors keep it familiar and cute. You can easily add red or pink for extra detail if you want to make yours really pop.
This pattern is great for pop culture fans, Halloween decorations, or even as a gift for someone who loves Stranger Things and Peanuts. It doesn’t take a lot of yarn or time, so you can finish one in a day or two. You can put your finished toy on a shelf, use it as a fun desk buddy, or even turn it into a unique bag charm.
Overall, the Free Crochet Snoopy Demogorgon Pattern is trendy, adorable, and super fun to make. It’s perfect for adding a little creativity and a lot of character to your crochet collection.
Mogorgon Snoopy Amigurumi Pattern
Pattern Notes
This pattern presents a delightful and creative fusion of Snoopy with the Demogorgon, inspired by Stranger Things. The petals are wired, so they can open and close for added personality. The pattern is worked in continuous rounds unless otherwise stated. Use a stitch marker to keep track of your starting round. Read each section carefully, and refer to the plain language paragraph after each major part if you prefer a narrative over standard stitch format.
Skill Level
Adventurous Beginner to Intermediate
This pattern is suitable for those who have mastered the basics of amigurumi (magic ring, single crochet, increasing and decreasing, color change, sewing parts) and want to try working with wires and some embroidery details.
Materials
- Yarn: Sport or DK weight in these colors:
- White (main for Snoopy)
- Black (ears, nose, embroidery)
- Gray or light brown (Demogorgon petals and body)
- Red (front of petals)
- Thin white (embroidery for petal spots)
- Hook: 2.0 mm
- Stuffing: Polyester fiberfill
- Wire: Very thin craft or florists’ wire for petals
- Sewing/tapestry needle
- Pins
- Scissors
- Stitch marker
- Hot glue or strong adhesive
Measurements / Sizing
Finished size: Approx. 14-18 cm tall (size may vary depending on yarn and tension).
Gauge
Gauge is not crucial for amigurumi, but stitches should be tight enough to prevent stuffing from showing.
Suggested Gauge: 9 sc x 9 rows = 4 cm square
Stitch Abbreviations
| Abbreviation | Meaning |
|---|---|
| MR | Magic ring |
| ch | Chain |
| sc | Single crochet |
| inc | Increase (2 sc in 1 stitch) |
| dec | Decrease (sc 2 together) |
| hdc | Half double crochet |
| sl st | Slip stitch |
| FO | Fasten off |
| st(s) | Stitch(es) |
Special Stitches
- Half Double Crochet Decrease (hdc dec): Yarn over, insert hook into next st, yarn over, pull up a loop, insert into next st, yarn over, pull up a loop, yarn over and pull through all loops on hook.
- Sewing closed: Fold open ends flat and sc or sew through both layers.
- Wired petals: Encapsulate the wire edge by single crocheting or hdc through both petal pieces with wire inside.
The Pattern!
Legs (Make 2 in White)
- MR, 6 sc in ring (6)
- 6 inc (12)
- [1 sc, 1 inc] x6 (18)
- [2 sc, 1 inc] x6 (24)
5-7. sc in each st (24) - 6 sc, 6 dec, 6 sc (18)
9-13. sc in each st (18) - [1 sc, 1 dec] x6 (12)
FO and leave tail for sewing.
You’re making tube-shaped legs by gradually increasing and decreasing. Repeat this process to make both legs.
Body (Gray or Light Brown)
- MR, 6 sc in ring (6)
- 6 inc (12)
- [1 sc, 1 inc] x6 (18)
- [2 sc, 1 inc] x6 (24)
- [3 sc, 1 inc] x6 (30)
- 2 sc, inc; [4 sc, inc] x5; 2 sc (36)
- [5 sc, 1 inc] x6 (42)
- 3 sc, inc; [6 sc, inc] x5; 3 sc (48)
9-12. sc in each st (48) - 3 sc, dec; [6 sc, dec] x5; 3 sc (42)
14-16. sc in each st (42) - [5 sc, 1 dec] x6 (36)
- sc in each st (36)
- 2 sc, dec; [4 sc, dec] x5; 2 sc (30)
- [3 sc, 1 dec] x6 (24)
FO, leave long tail to sew to head. Stuff body firmly.
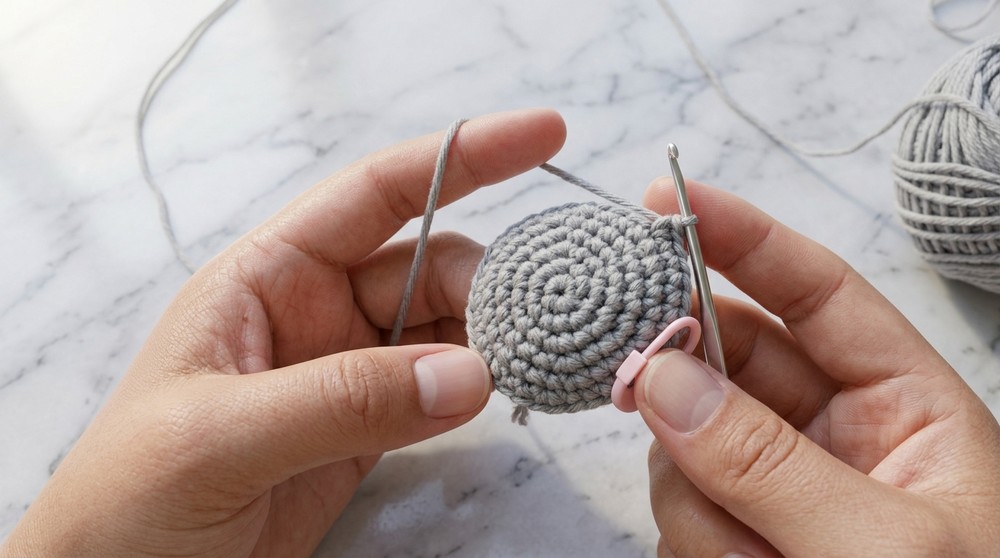
Create an oval 3D shape using regular increments of increases, then decrease for shaping. Set aside for assembly.
Arms (Make 2: White changing to Gray)
- MR, 6 sc in ring (6)
- 6 inc (12)
- [1 sc, 1 inc] x6 (18)
4-6. sc in each st (18) - 3 sc, 2 dec, 4 sc, 2 dec, 3 sc (14)
- sc in each st (14); Change to gray for last stitch.
9-15. sc in each st (14) - 7 dec (7)
FO, fold flat and sew ends with 4 sc through both sides. Leave tail for sewing.
Each arm is gently shaped with a decrease, flattened and sewn closed to be attached easily to the body.
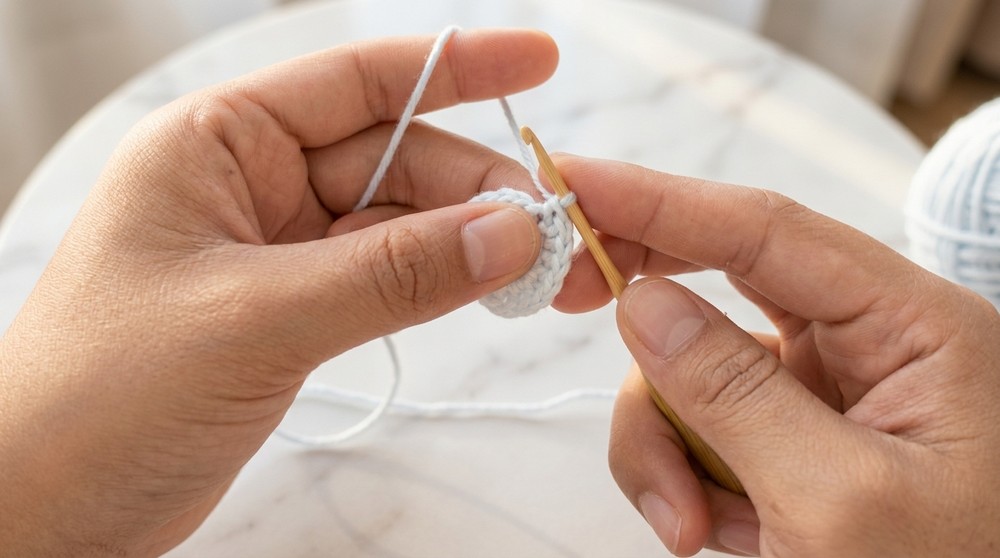
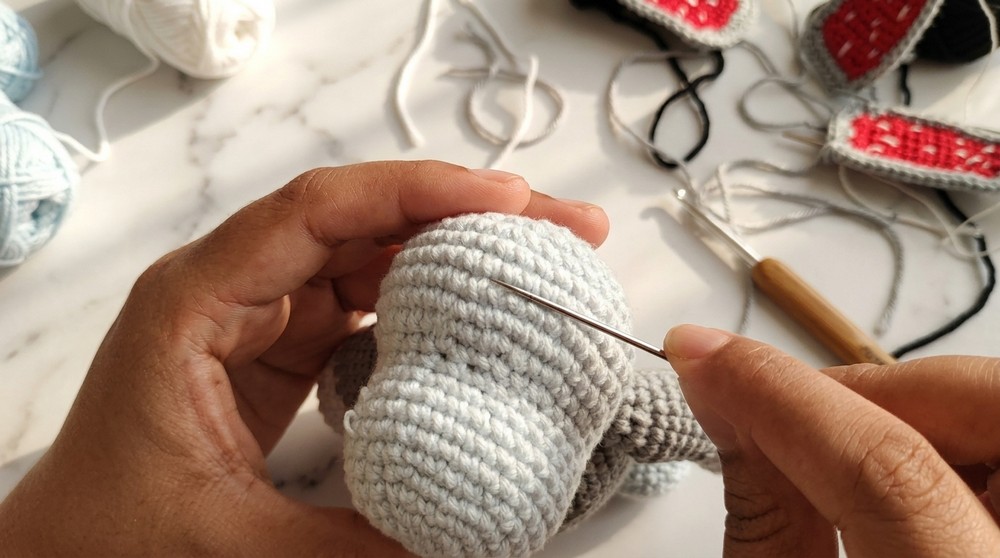
Head (White)
- MR, 6 sc in ring (6)
- 6 inc (12)
- [1 sc, 1 inc] x6 (18)
- [2 sc, 1 inc] x6 (24)
- [3 sc, 1 inc] x6 (30)
6-11. sc in each st (30) - 8 sc, [sc, inc] x7, 8 sc (37; this shapes the snout/jaw)
- 8 sc, [2 sc, inc] x7, 8 sc (44)
14-16. sc in each st (44) - dec, 40 sc, dec (42)
- [5 sc, 1 dec] x6 (36)
- sc in each st (36)
- 2 sc, dec, [4 sc, dec] x5, 2 sc (30)
- [3 sc, 1 dec] x6 (24)
- [2 sc, 1 dec] x6 (18)
- [1 sc, 1 dec] x6 (12)
- 6 dec (6)
FO, draw hole closed with tail and secure. Stuff firmly.
Create a classic round head with extended jaw for the Snoopy mouth. Gradual increases and decreases shape the face and cranium.
Ears (Make 2: Black)
- MR, 6 sc in ring (6)
- 6 inc (12)
- [1 sc, 1 inc] x6 (18)
4-7. sc in each st (18) - [1 sc, 1 dec] x6 (12)
9-11. sc in each st (12) - 6 dec (6)
FO, flatten, sew closed, leave tail for sewing.
The ears are long and droopy as in real Snoopy. Flatten before sewing on the head.
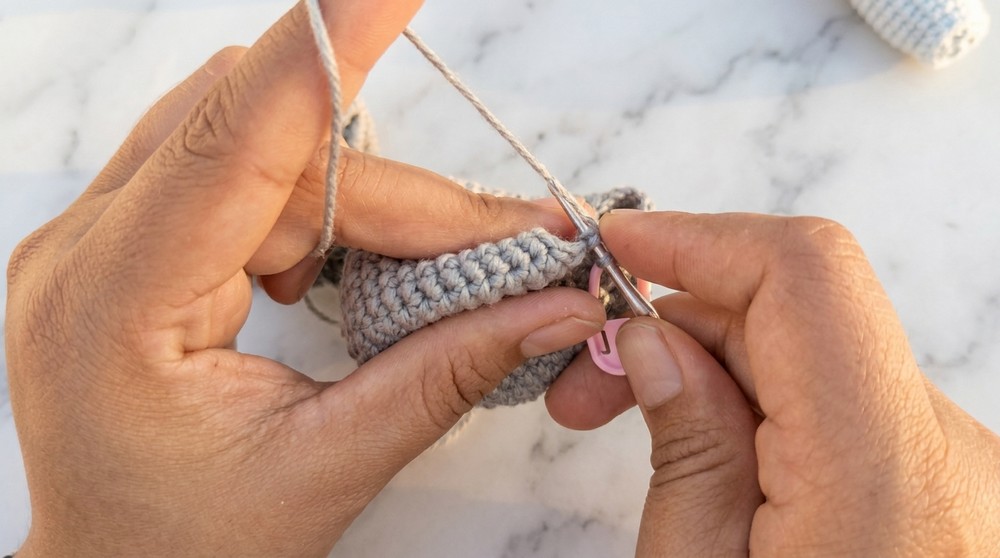
Demogorgon Petals (Make 5 Pairs: 5 Gray, 5 Red; Each Petal = 2 Layers)
- Ch 9. Hdc in 2nd ch from hook and each ch to end (8 hdc)
- Ch 1, turn. 8 hdc across
- Ch 1, turn. Hdc dec, 4 hdc, hdc dec (6 hdc)
4-6. Ch 1, turn. 6 hdc across (3 rows) - Ch 1, turn. Hdc dec, 2 hdc, hdc dec (4 hdc)
8-10. Ch 1, turn. 4 hdc across (3 rows) - Ch 1, turn. Hdc dec twice (2 hdc)
- Ch 1, turn. Hdc dec (1 hdc)
FO and weave in ends.
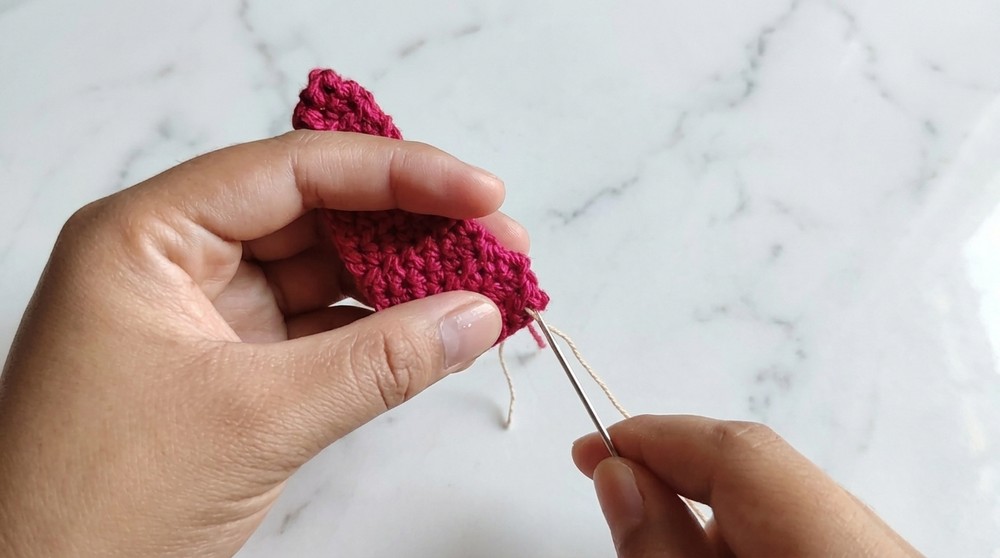
Create 5 in red and 5 in gray. For each petal: Add thin white embroidered spots to red petals, then pair up with a gray petal (wrong sides together), insert wire between, and use gray yarn to sc or hdc evenly around the petal edge, joining the two layers and securing the wire inside. Leave a long tail for sewing.
Petals are made using rows of half double crochet, with shaping via decreases. Two layers + wire make petals sturdy and poseable. Join with a border round and leave enough thread for attaching later.
Petal and Facial Embroidery
- Use thin white thread to add dots or short lines to the red petals before assembly. Knot and secure ends at the back.
- Details such as eyes, eyebrows, and “mouth” are sewn at the end using thin black thread, following the guide in the assembly section.
Nose (Black)
- MR, 3 sc, 3 hdc, 3 sc (all in MR), join with sl st
- FO, secure and leave tail for sewing or gluing. Attach to the end of Snoopy’s snout.
This creates a small oval for a classic Snoopy nose.
Assembly
- Sew head to the body ensuring the jaw points forward.
- Attach arms: Place, pin, and sew to sides of the body, about 4 rows down from the neck.
- Sew legs: Pin and sew to base of body, about one row down from the body, spaced evenly.
- Arrange Demogorgon petals: Pin gray-red petal pairs around the jaw of the head (see the round where the mouth starts), and sew in place, making sure wire ends are tucked for safety.
- Sew ears to the head: Place just behind the arms, spaced about 8 sc apart, and sew down securely.
- Face embroidery: Embroider long black eyes above the snout (about 5 stitches wide, 4 stitches apart). Embroider a mouth curve in black beneath the eyes.
- Optional details: Use black thread to add “paw” lines on hands and “triangle” lines on the feet for extra detail.
- Attach nose: Sew or glue to the front of the snout.
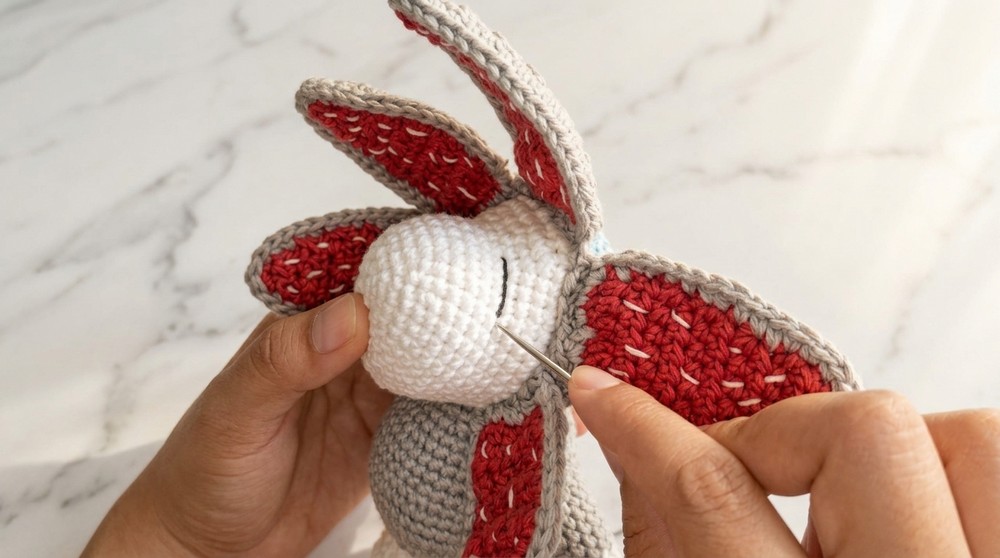
Assemble the Snoopy by sewing pieces together: legs and arms to the body, head to body, ears and nose to head. Place and secure petals around the jaw, using pins to space them evenly and sewing into place. Add facial features and embellishments with a needle and black/white thread for the finishing touch.
Conclusion
You’ve made a quirky, striking Mogorgon Snoopy! This project teaches 3D shaping, color changes, using wire for articulated petals, and expressive embroidery. The result is a show-stopping amigurumi with both classic cuteness and monstrous flair. Take your time sewing and arranging pieces for best results—and enjoy your creative masterpiece.