
Crochet Demogorgon Amigurumi Easy Free Pattern to Try
Enjoy this free crochet Demogorgon amigurumi pattern with easy step by step guidance to create a fun spooky and unique handmade gift for fans.
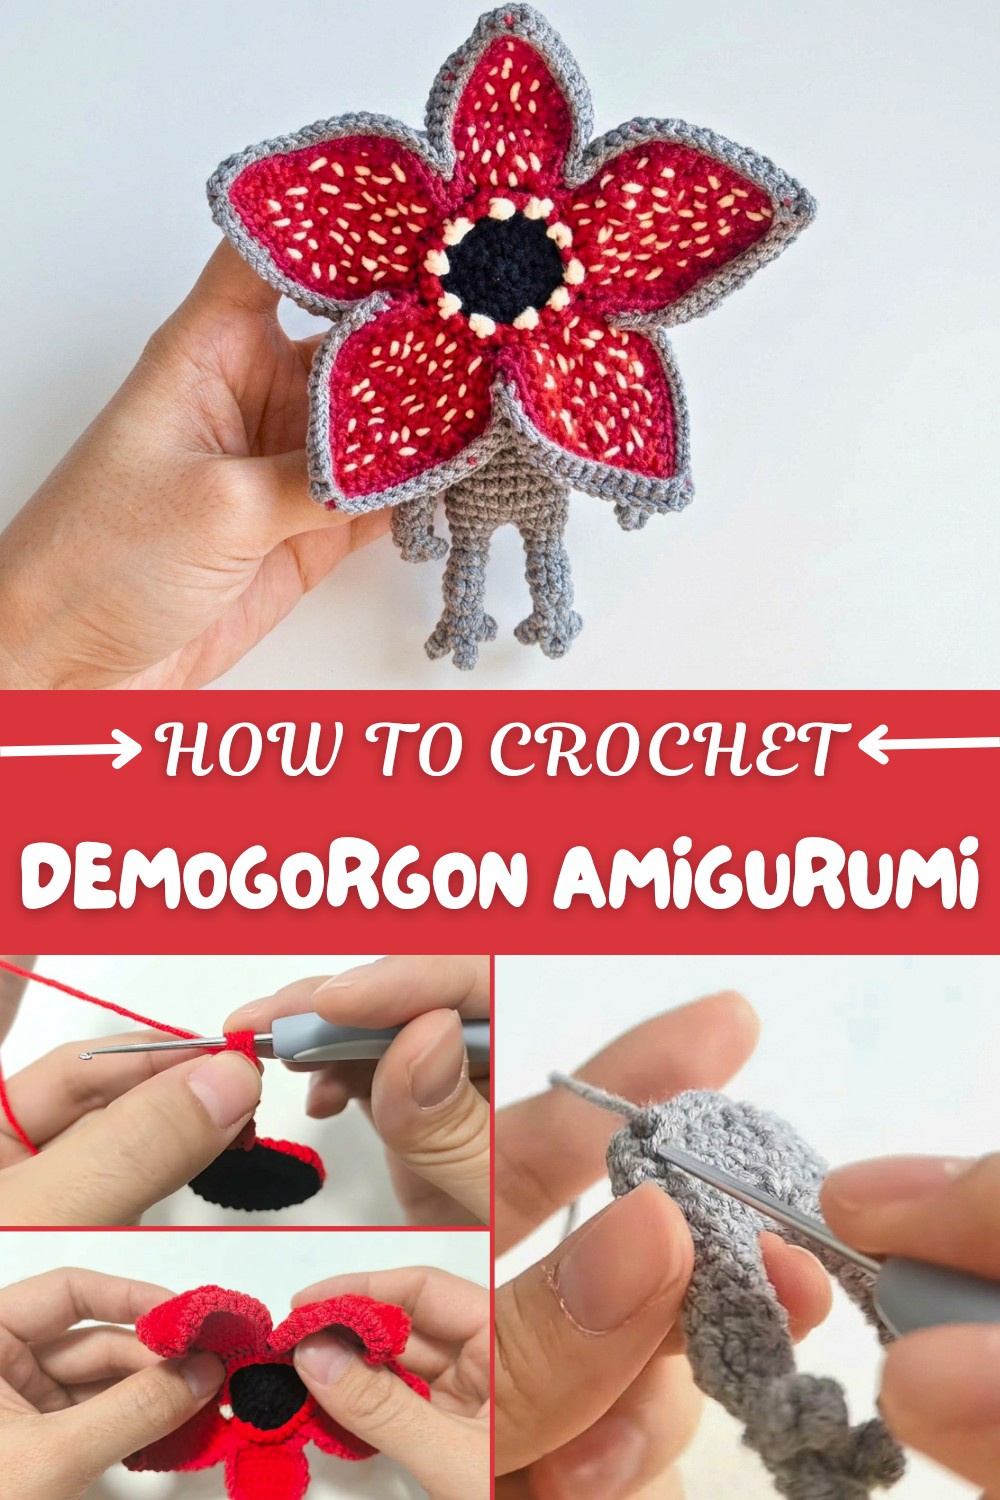
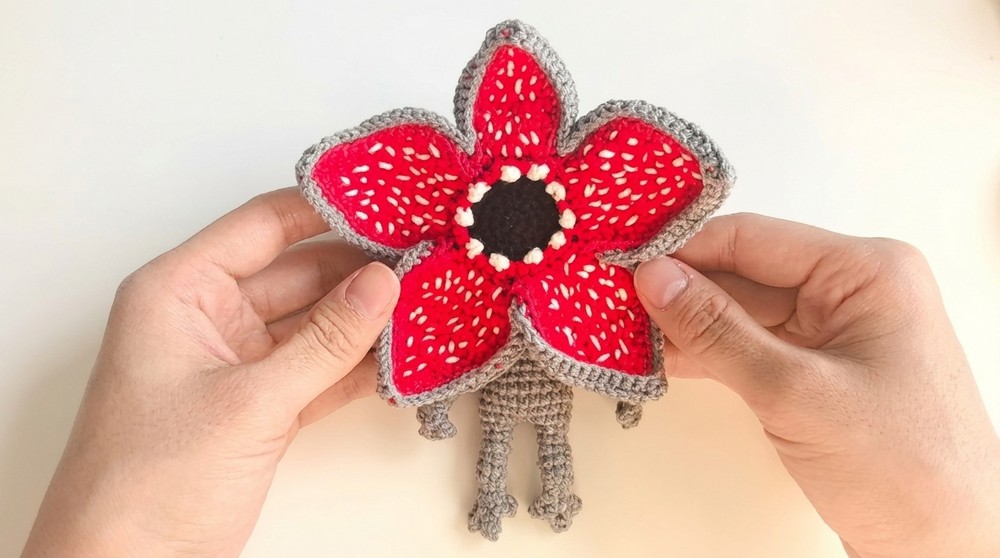
This little monster plush grabs attention with its flower-shaped head made of bright red petals, each edged with neat white “teeth.” The unique look gives it a fun and slightly spooky personality that stands out among other crochet toys. The Free Crochet Demogorgon Amigurumi Pattern highlights the big petal face as its most attractive feature, making it different from usual plushies.
Free Crochet Demogorgon Amigurumi Pattern for Fans
The small body fits perfectly under the bold head. Slim arms and legs with tiny fingers and toes add cute details, keeping the shape lively and balanced. Crocheters will like working through each section, starting from the center ring and stitching petals one by one. The steps are simple and clear, and you can easily change yarn colors or add extra petals to make your own special version.
It’s nice to see the whole character come together piece by piece. You can make more monster friends following the same steps and create a set by adjusting colors or petal size.
This amigurumi turns into a cool keychain or bag charm if you attach a small loop. It adds a playful touch as a desk or shelf decoration and makes a fun gift for fans of monster stories or anyone who loves unique handmade items. The bright red and gray colors, layered petals, and neat textures make this plushie easy to spot and sure to bring smiles wherever you use it.

Crochet Flower Doll Amigurumi Pattern
Create a beautiful and detailed flower doll with this comprehensive amigurumi pattern. The flower doll features a rich, layered design, including a multi-row flower core, small and large petals, realistic hands, feet with toes, and a sweet face. Each part is carefully constructed with common amigurumi stitches like single crochet, increases, and decreases, plus half double crochet for soft petal shaping. This pattern is well-suited for crafters looking to challenge themselves and learn assembly and finishing tricks.
Skill Level & Terminology
Skill Level: Intermediate
Terminology: Uses US Crochet Terms
You should be comfortable with magic rings, single crochet, increases, invisible decreases, working in the front loop only (FLO), and sewing amigurumi pieces neatly.
Materials & Tools
- Yarn: DK/light worsted weight (colors: black, red, gray, skin/flesh, pink for blush, and scraps for face details)
- Hook: 2.5–3.0 mm crochet hook
- Stuffing: Polyester filling
- Tools: Yarn needle, stitch markers, scissors, glue (optional for assembly or facial details)
Gauge
Not critical, but produce tight stitches to prevent stuffing showing.
- Sample core circle (R6) ~3.5–4 cm diameter with DK & 3mm hook
Abbreviations List
| Abbreviation | Meaning |
|---|---|
| MR | Magic Ring |
| ch | Chain |
| sc | Single crochet |
| inc | Increase (2 sc in a st) |
| dec | Decrease (sc2tog) |
| hdc | Half double crochet |
| sl st | Slip stitch |
| st(s) | Stitch(es) |
| FLO | Front Loop Only |
| FO | Fasten Off |
Special Stitch Instructions
- Magic Ring (MR): Wrap yarn into a ring, work first stitches into the ring.
- FLO: Instead of working through both loops, insert hook only into the front (nearest) loop.
- hdc dec: Yarn over, pull up a loop in each of the next 2 sts (3 loops on hook), YO, pull through all loops.
Finished Size
- Flower head (with petals): Approx. 10–13cm/4–5in diameter
- Doll height (including body and head): Approx. 17–20cm/7–8in
Pattern Start & Stitches Used
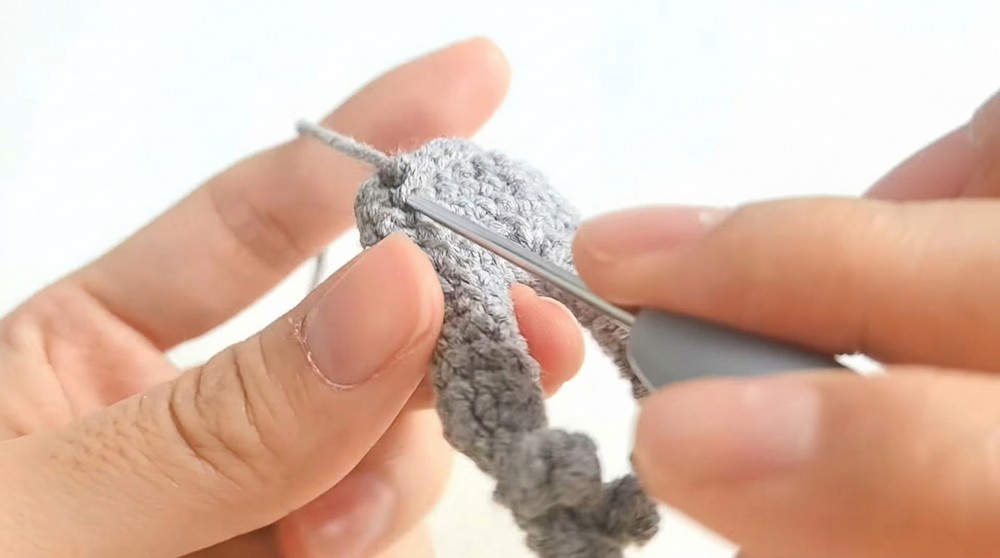
You will begin with the flower core using single crochet in a magic ring and continue with rounds of increases. Petals are worked from the edge. After the head and facial features, you’ll make the limbs separately, using slip stitches and sc for the fingers/toes. All pieces are sewn together at the end.
The Pattern Itself
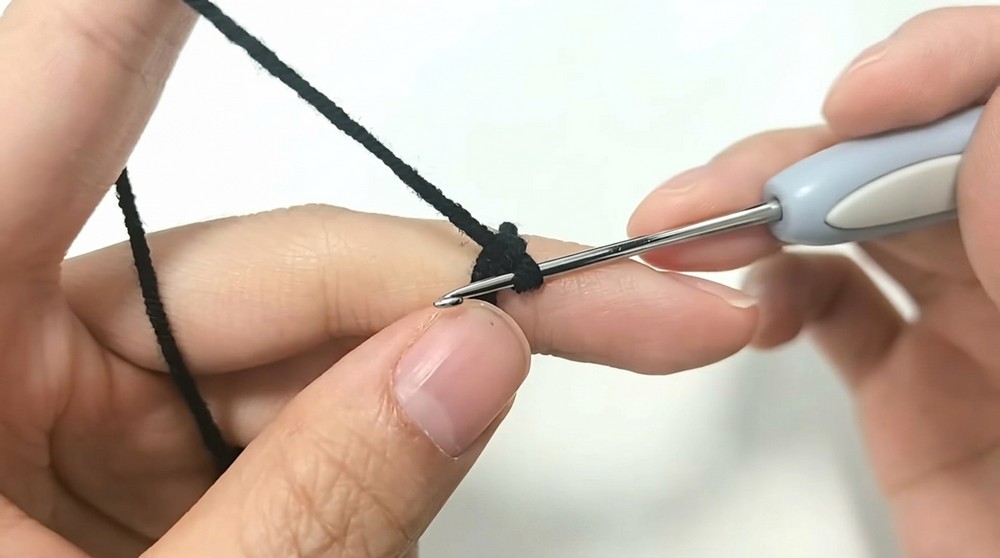
A. FLOWER CORE (Front, Black/Red)
R1: With black, MR, 6 sc in ring (6)
R2: 6 inc (12)
R3: 6 × (sc, inc) (18)
R4: 6 × (2 sc, inc) (24)
R5: 6 × (3 sc, inc) (30)

R6: Change to red, FLO, 30 sc (30)
You just crocheted the round black base and covered it with a red single crochet edge. The FLO is where you’ll make the petals next.
If you don’t read patterns:
Start with black yarn. Make a magic ring and work 6 single crochets into it. In each round, keep increasing following the numbers. Change to red on the last round and work only into the front loop. This gives you the core base for the flower and a place to add petals.
B. SMALL PETAL × 1 (Red)
Work into the FLO of R6:
- R1: 4 sc, turn. (4)
- R2: inc, 2 sc, inc, turn. (6)
- R3: inc, 4 sc, inc, turn. (8)
- R4-5: 8 hdc, turn. (8)
- R6: hdc dec, 4 hdc, hdc dec, turn. (6)
- R7: hdc dec, 2 hdc, hdc dec, turn. (4)
- R8: hdc, hdc dec, hdc, turn. (3)
- R9: hdc3tog (hdc all 3 sts together). (1)
FO.
This forms your first, small top petal. All petals are worked by crocheting out from the core’s edge, flipping/turning at each row.
C. LARGE PETALS × 5 (Red)
Work across the rest of the FLO edge:
- R1: 6 sc, turn. (6)
- R2: inc, sc, sc, sc, sc, inc, turn. (8)
- R3: inc, 6 sc, inc, turn. (10)
- R4-5: 10 hdc, turn. (10 each)
- R6: hdc dec, 6 hdc, hdc dec, turn. (8)
- R7: hdc dec, 4 hdc, hdc dec, turn. (6)
- R8: hdc dec, 2 hdc, hdc dec, turn. (4)
- R9: hdc, hdc dec, hdc, turn. (3)
- R10: hdc3tog (3 to 1). (1)
FO.
Repeat for the remaining petals around the base. Flip/turn each row for shaping.
For those not reading patterns:
Start with one petal made as above, then make 5 large petals all around the remaining edge. Always flip at the end of each row for a soft natural curve.
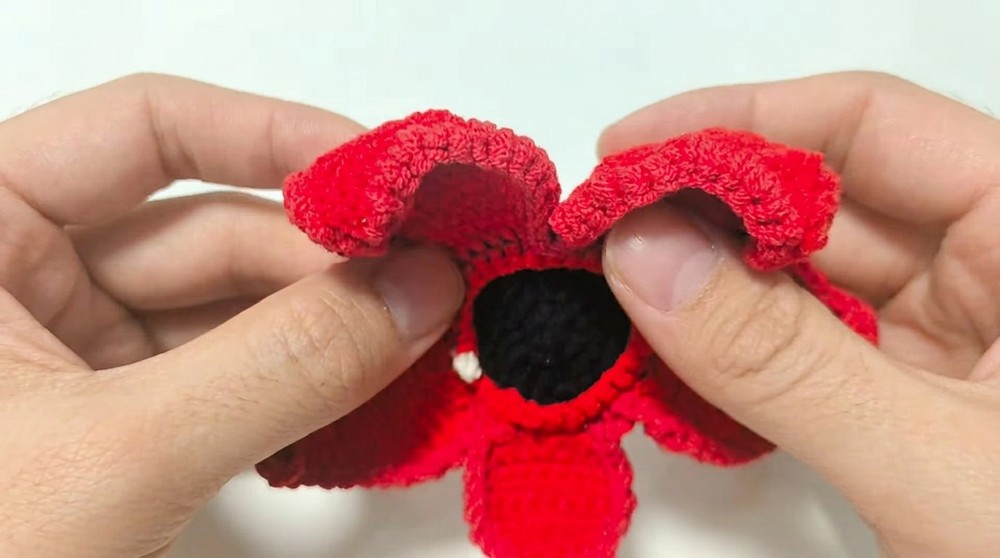
D. PETAL EDGING & TEETH
- Around all petals, crochet a round of sc.
- On each petal’s tip, ch 2, work 1 sc in the second last st for a point.
- For 'teeth' details, in the back loop of flower core R6, insert hook, work 2 sl st, then merge these two holes with the next. Make a total of 10 teeth.
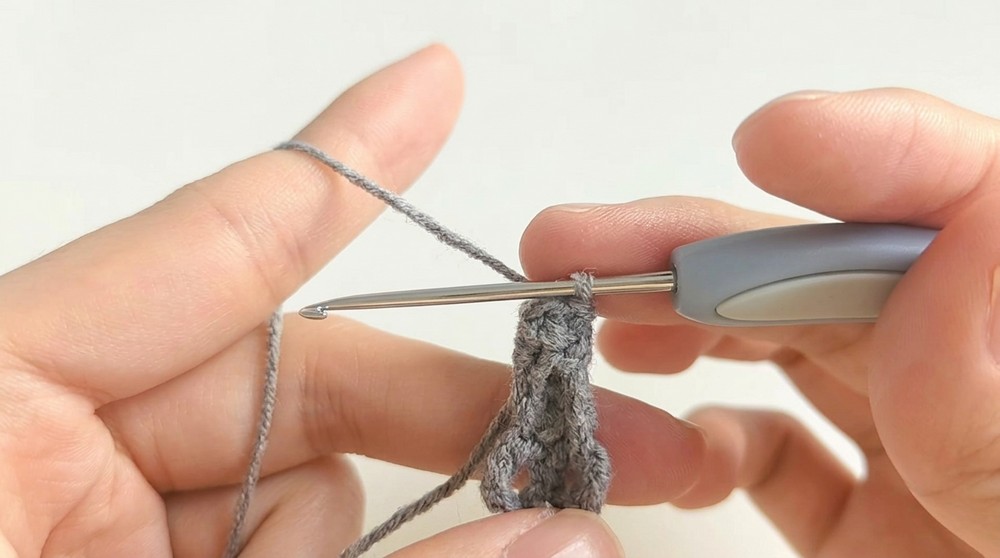
E. BACK FLOWER (Gray)
R1: MR, 6 sc (6)
R2: 6 inc (12)
R3: 6 × (sc, inc) (18)
R4: 6 × (2 sc, inc) (24)
R5: 6 × (3 sc, inc) (30)
R6: 6 × (4 sc, inc) (36)
F. BACK SMALL PETALS × 4 (Gray)
Work in FLO of core:
- R1: 6 sc, turn. (6)
- R2: inc, 4 sc, inc, turn. (8)
- R3: inc, 6 sc, inc, turn. (10)
- R4-5: 10 hdc, turn. (10 each)
- R6: hdc dec, 6 hdc, hdc dec, turn. (6)
- R7: hdc dec, 4 hdc, hdc dec, turn. (4)
- R8: hdc dec, 2 hdc, hdc dec, turn. (4)
- R9: hdc, hdc dec, hdc, turn. (3)
- R10: hdc3tog. (1)
FO.
G. BACK LARGE PETALS × 5 (Gray)
- R1: 7 sc, turn. (7)
- R2: inc, 5 sc, inc, turn. (9)
- R3: 2 inc, 5 sc, 2 inc, turn. (13)
- R4-6: 13 hdc, turn. (13 each)
- R7: hdc dec, 9 hdc, hdc dec, turn. (11)
- R8: hdc dec, 7 hdc, hdc dec, turn. (9)
- R9: hdc dec, 5 hdc, hdc dec, turn. (7)
- R10: hdc dec, 3 hdc, hdc dec, turn. (5)
- R11: hdc dec, hdc, hdc dec, turn. (3)
- R12: hdc3tog. (1)
FO.
H. HANDS × 2
R1: MR, 6 sc (6)
Finger: 4 ch, 3 sl st in 2nd to 4th ch from hook (repeat for 3 fingers)
Arm: Attach to hand on the 4th–6th sts, sc through half of stitch (6 sc), join with sl st.
R3-8: sc in each st (6)
I. FEET × 2
R1: MR, 6 sc (6)
Toe: 4 ch, 3 sl st from 2nd ch (repeat for 3 toes, in inner half of needle)
R2: 2 × (2 sc, inc) (8) (work in both normal and previous inner loops)
R3-4: 8 sc
R5: 2 × (2 sc, dec) (6)
R6: 6 sc
R7: 3 × (sc, inc) (9)
J. BODY
- Join both feet with 2 ch.
- R1: 22 sc (work around both legs and chs).
- R2-3: 22 sc
- R4: 6 sc, dec, 8 sc, dec, 4 sc (20)
- R5: 20 sc
- R6: 5 sc, dec, 8 sc, dec, 3 sc (18)
- R7: 18 sc
K. JOIN HANDS AND BODY
- R8: 3 sc, dec, (sc, 2 dec, sc), sc, dec, 4 sc, dec, sc, (sc, 2 dec, sc), dec, sc (22)
- R9: (3 sc, dec)*2, 4 sc, dec, 3 sc, dec, sc (18)
- R10: (sc, dec)x6 (12)
- R11: (sc, dec)x4 (8)
- R12-18: 8 sc
L. HEAD
R1: MR, 6 sc (6)
R2: (sc, inc)x3 (9)
R3: (2 sc, inc)x3 (12)
R4-8: 12 sc
R9: (3 sc, inc)x3 (15) FLO
R10: (4 sc, inc)x3 (18)
R11: (2 sc, inc)x6 (24)
R12: (3 sc, inc)x6 (30)
R13: (4 sc, inc)x6 (36)
R14-21: 36 sc
R22: (4 sc, dec)x6 (30)
R23: (3 sc, dec)x6 (24)
R24: (2 sc, dec)x6 (18)
R25: (sc, dec)x6 (12)

R26: 6 dec (6) FO
Assembly & Finishing
- Stuff and sew the head to the body.
- Attach hands to the body at shoulders.
- Place and sew feet to bottom of the body.
- Sew petals (front and back) to the head’s periphery.
- Using glue or needle, add facial details and blush with pink/embroidery.
- Add any small accessories or details as you desire.
If you don’t read patterns:
Make all parts in order, add petals, then limbs, then join petals to the head and head to the body. Stuff each part as you go, and sew strongly.
Conclusion
You have now completed a beautifully detailed amigurumi flower doll! This pattern covered working in rounds, making layered petals, shaping realistic hands and feet, and assembling small parts. You can customize colors and facial expressions for variety.