
Cute & Free Kitten Amigurumi Crochet Pattern For Fun
Bring a tiny crochet cat to life using this Free Crochet Amigurumi Kitten Pattern, a lovely project for anyone who enjoys making playful handmade amigurumi designs.
Creating a soft, playful kitten using basic crochet techniques is easier than you think. This kitten is designed as a small, charming toy that can be used in many ways, such as an adorable gift, a cozy shelf ornament, or even a fun keychain or pendant. The process to make this kitten is straightforward, ensuring that anyone, even beginners, can follow along with ease.
Free Crochet Kitten Pattern Adorable Amigurumi for Beginners
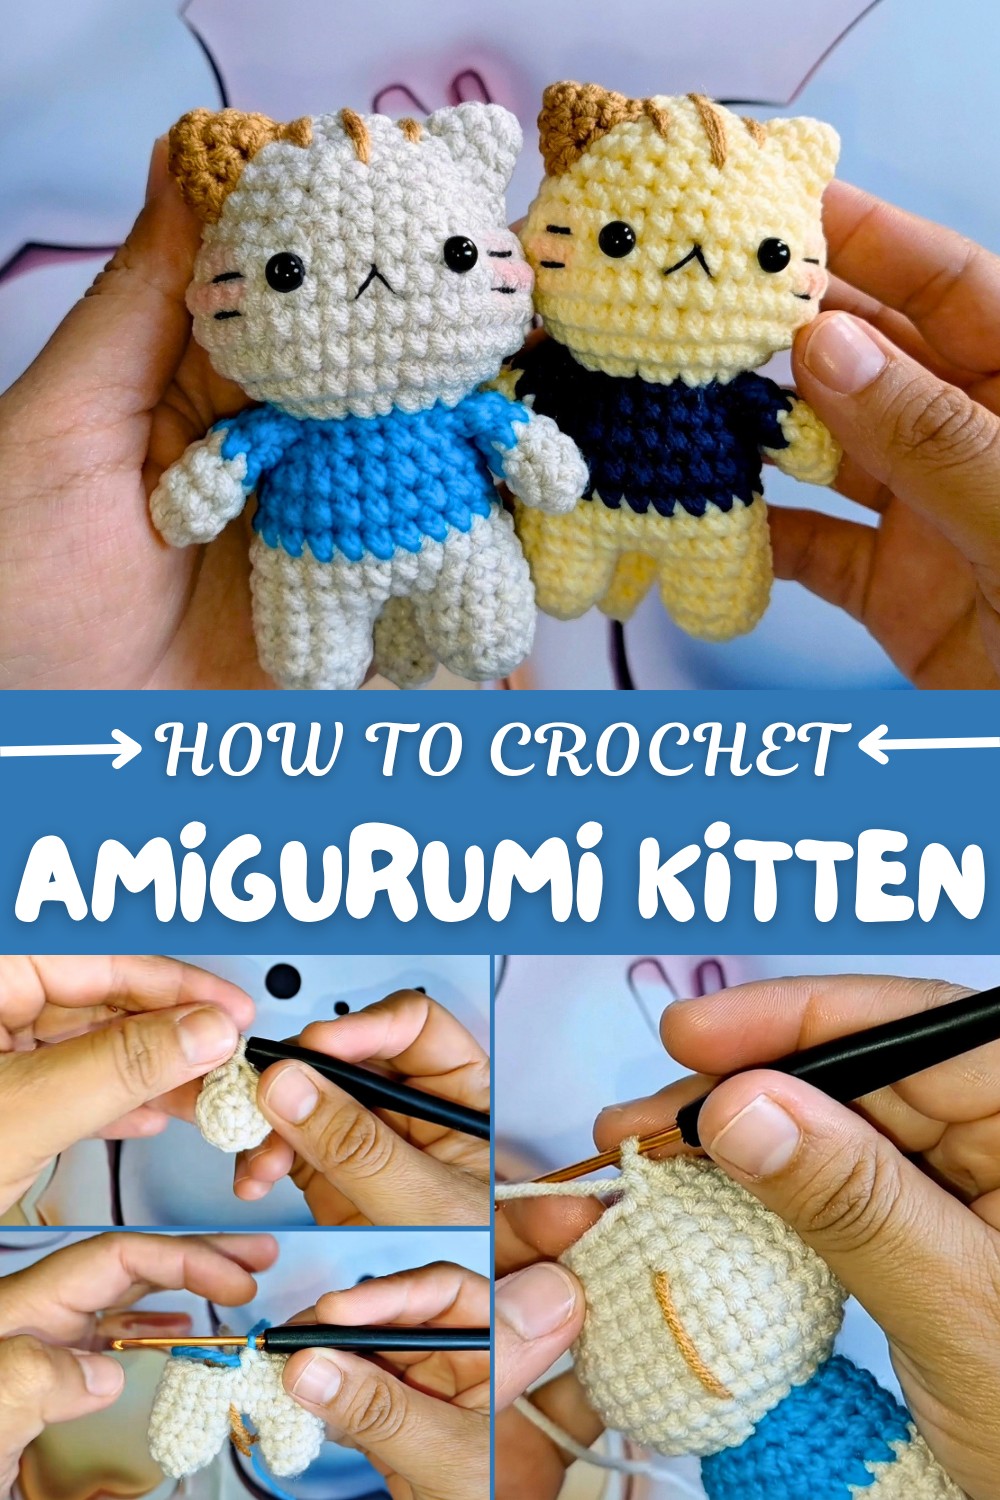
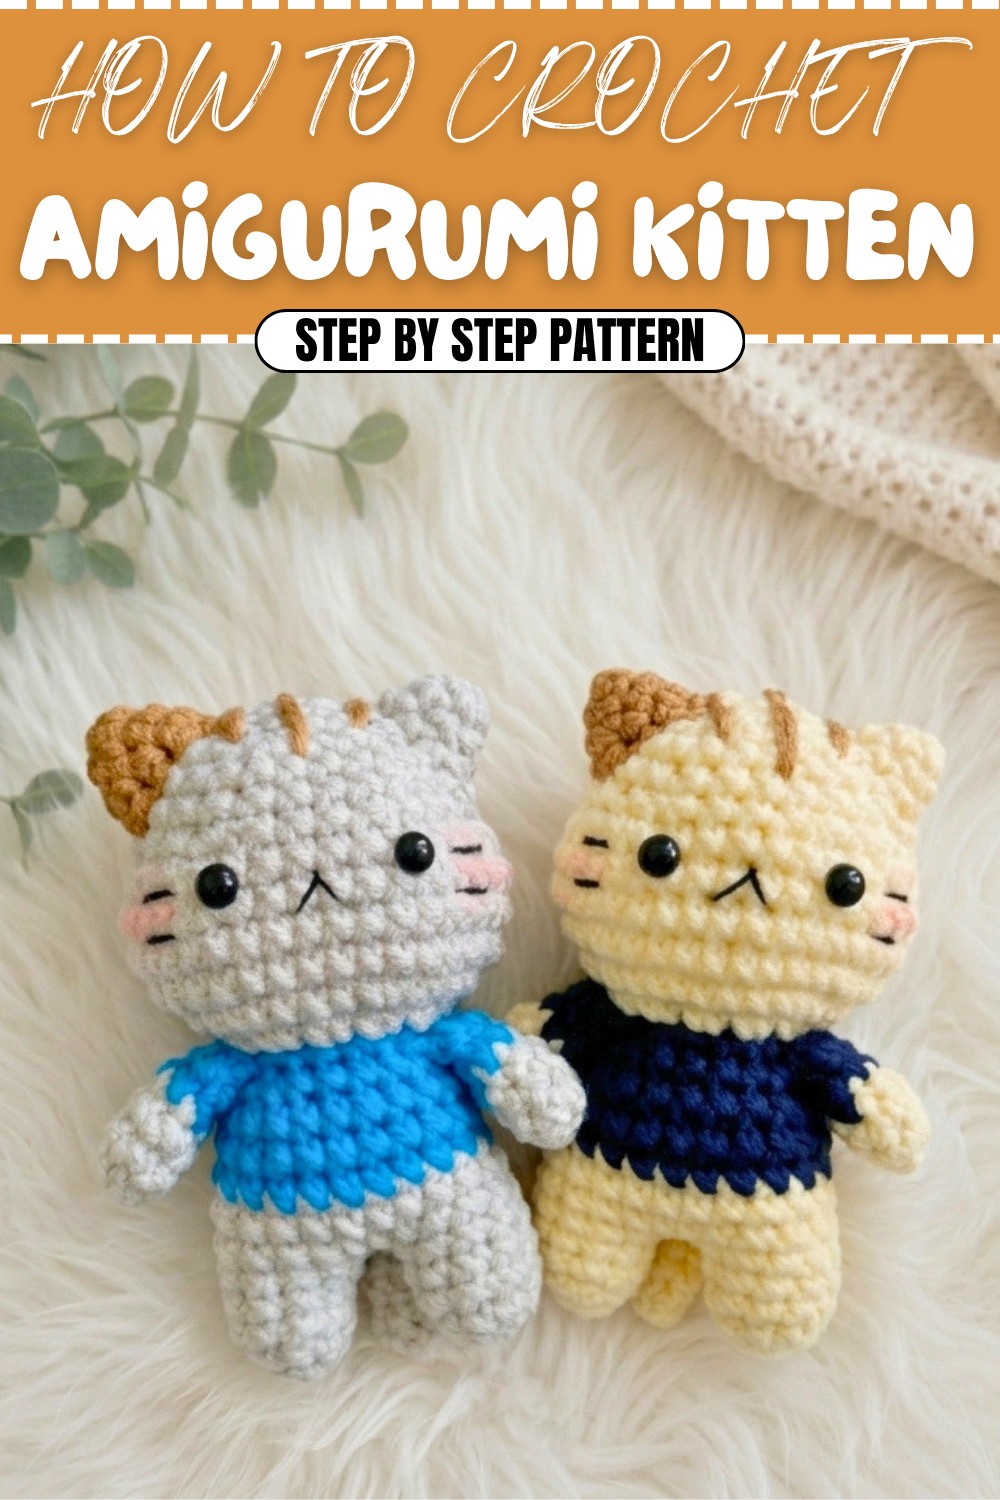
One of the most attractive parts of this design is its well-balanced shape and sweet features. The kitten has a cute round head, tiny paws, floppy ears, and a long tail, all coming together beautifully to form a character full of personality. Its appealing size makes it ideal for adding a special touch to bags or even decorating a child’s room. The working style involves simple techniques, starting by making each part, including the head, body, arms, legs, ears, and tail, separately and then joining everything to bring the kitten to life.
About Channel!
Everything you need to make this project is explained in a free video tutorial available on the Laly Crochet YouTube channel. The tutorial, found here, provides clear and easy-to-follow instructions, ensuring no step is missed. This free pattern offers a relaxing way to make something meaningful while creating cute memories to share with family or friends.
Cat Amigurumi Pattern (Approx. 10 cm)
This pattern will guide you in creating a cute 10 cm cat amigurumi. With clear instructions and simple techniques, you will craft a charming and adorable cat featuring a striped body and a sweet expression. This pattern is perfect for creating unique gifts or decorations.
Skill Level
Intermediate: This pattern involves shaping, color changes, and assembly. While the stitches are simple, prior experience in crocheting amigurumi is recommended.
Materials
For the 10 cm cat amigurumi, you will need the following materials:
- Cotton yarn (base color: beige, detail color: blue).
- Yarn needle for sewing and weaving in ends.
- Synthetic stuffing to shape and fill the figure.
- Cold silicone adhesive or glue (to secure the eyes in place).
- Scissors for trimming and tidying up yarn ends.
Special Stitches
- Magic Ring (MR): A crochet technique used to create a tight, adjustable starting ring.
- Increase (inc): Complete two single crochet stitches into the same stitch.
- Decrease (dec): Crochet two stitches together to form one stitch.
- Chain (ch): A basic foundation stitch to form length.
- Single Crochet (sc): The primary stitch used throughout this project.
Stitch Abbreviations
| Abbreviation | Meaning |
|---|---|
| ch | Chain |
| sc | Single Crochet |
| inc | Increase |
| dec | Decrease |
| MR | Magic Ring |
Useful Tips
- Count stitches: Use a stitch marker to keep track of each round and prevent errors while crocheting.
- Changing colors: To avoid leaving loose ends while switching colors, tighten the unused yarn during transitions.
- Stuffing: Evenly stuff each part to avoid any lumps or gaps, and avoid overstuffing as this can distort the shape.
- Feature placement: Attach the eyes and sew the facial features symmetrically for a balanced appearance.
Detailed Pattern
1. Body and Legs
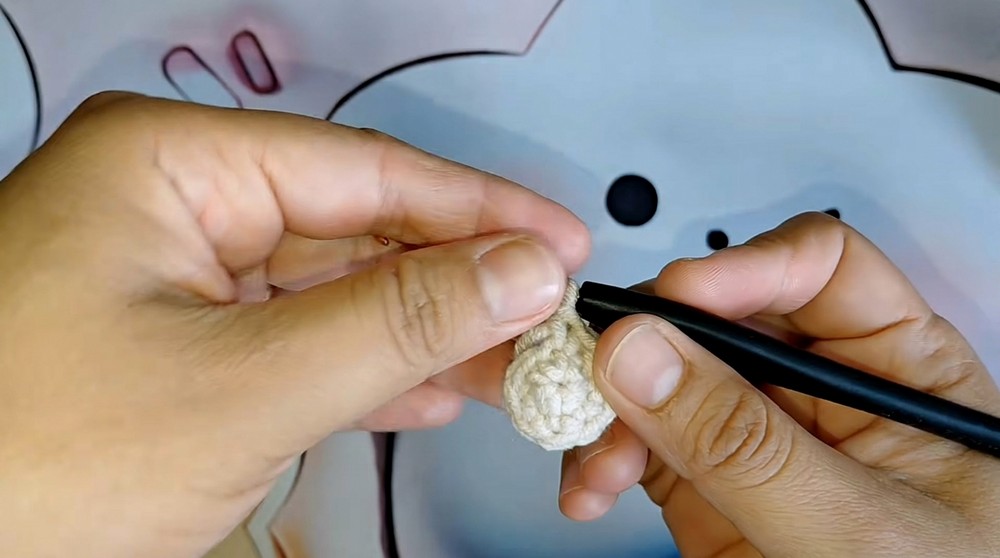
Legs (Make 2):
- R1: Create a magic ring, and crochet 6 sc into the ring.
- R2: (1 sc, 1 inc), repeat 3 times (9 sts).
- R3-R4: Work sc in each stitch around (9 sts).
- Fasten off after finishing the second leg.
Joining the Legs:
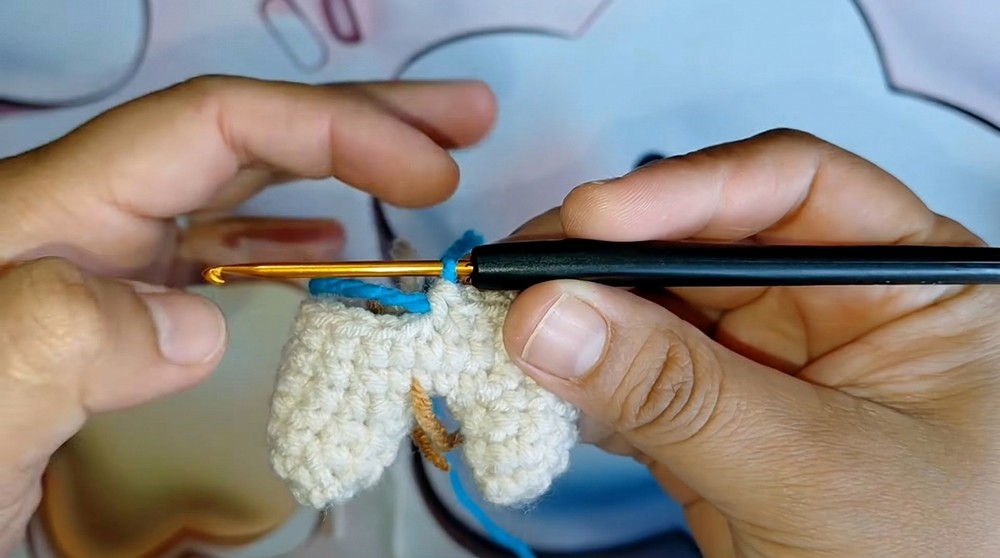
- R5: Join both legs with 2 ch in between. Crochet 9 sc into one leg, 2 sc into the chain stitches, then 9 sc into the second leg, and finish with 2 sc in the other side of the chain stitches (22 sts in total).
Body:
- R6-R7: Work sc in each stitch around (22 sts).
- R8: Switch to the detail color (blue) and crochet 22 sc.
- R9: Work sc in each stitch (22 sts).
Shaping the Body:
- R10: Work 20 sc, then 1 dec (21 sts).
- R11: (5 sc, 1 dec), repeat 3 times (18 sts).
- R12: (1 sc, 1 dec), repeat 6 times (12 sts).
2. Head
Base of the Head:
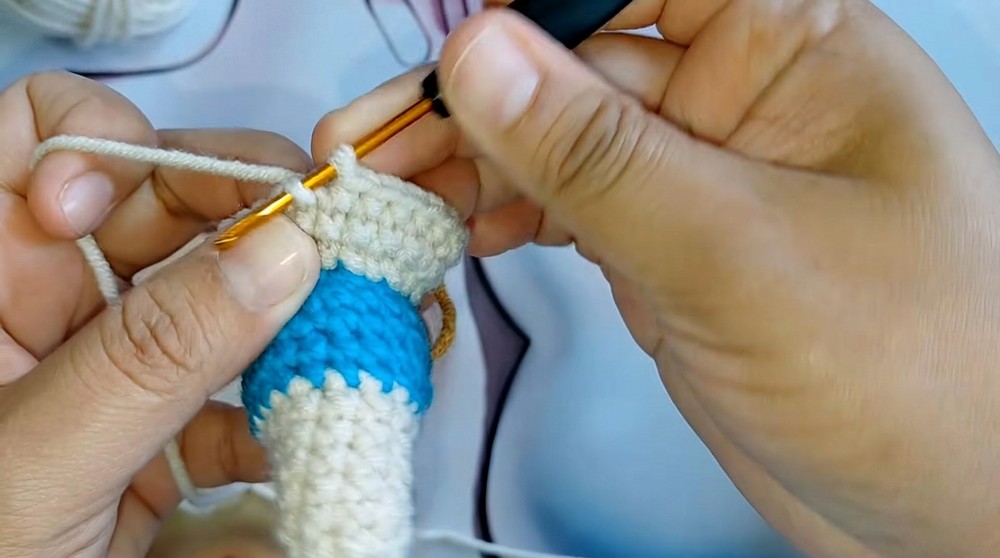
- R13: Work 12 inc equally around the base (24 sts).
- R14: (3 sc, 1 inc), repeat 6 times (30 sts).
Cheeks:
- R15: Work in sequence: 8 sc, 3 inc, 9 sc, 3 inc, 7 sc (36 sts).
Building Height:
- R16-R17: Work sc in each stitch around (36 sts).
Shaping and Closing the Head:
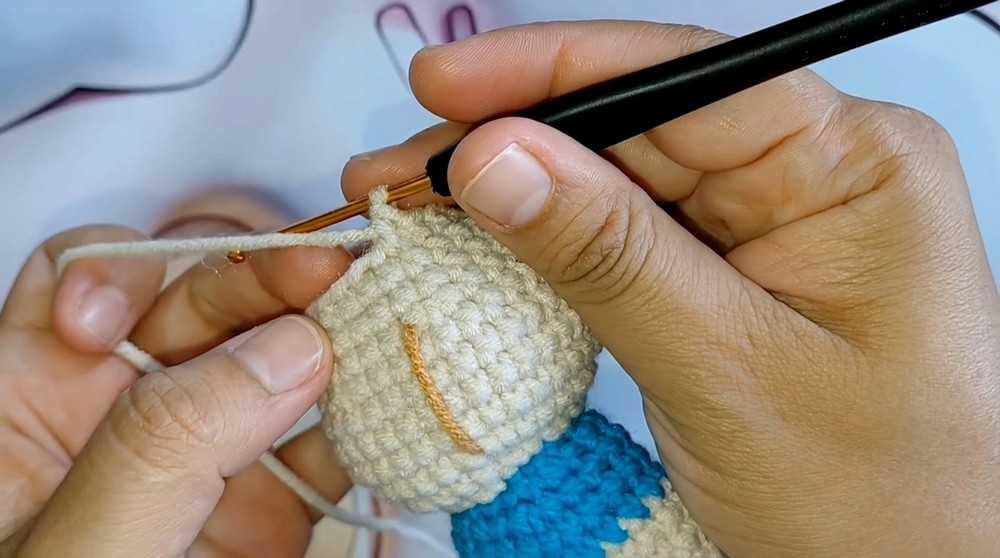
- R18: Work in sequence: 8 sc, 3 dec, 9 sc, 3 dec, 7 sc (30 sts).
- R19: (3 sc, 1 dec), repeat 6 times (24 sts).
- R20-R21: Work sc in each stitch around (24 sts).
- R22: (2 sc, 1 dec), repeat 6 times (18 sts).
- R23: (1 sc, 1 dec), repeat 6 times (12 sts).
- R24: 6 dec = 6 sts. Fasten off and use a yarn needle to secure the end and close the opening tightly.
3. Arms, Ears, and Tail
Arms (Make 2):
- R1: Create a magic ring, and crochet 6 sc into the ring.
- R2-R3: Work sc in each stitch around (6 sts).
- Switch to blue yarn.
- R4-R5: Work sc in each stitch around (6 sts).
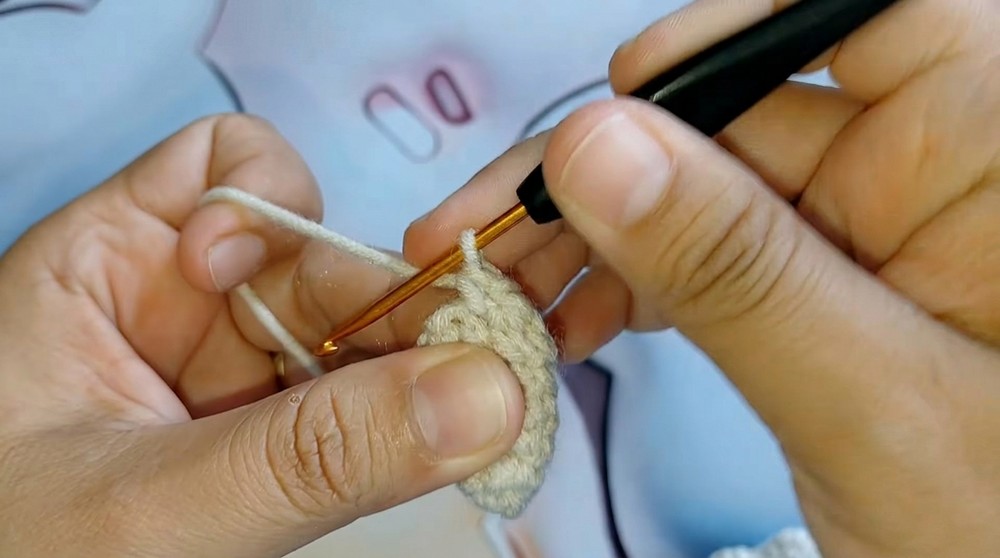
Ears (Make 2):
- R1: Create a magic ring, and crochet 4 sc.
- R2: (1 sc, 1 inc), repeat 2 times (6 sts).
- R3: (2 sc, 1 inc), repeat 2 times (8 sts).
Tail:
- Follow the exact steps as the Ears for R1-R3 (8 sts).
- R4-R6: Work sc in each stitch around (8 sts).
- R7: (2 sc, 1 dec), repeat 2 times (6 sts). Fasten off and stuff lightly.
4. Final Details
- Face and Eyes:
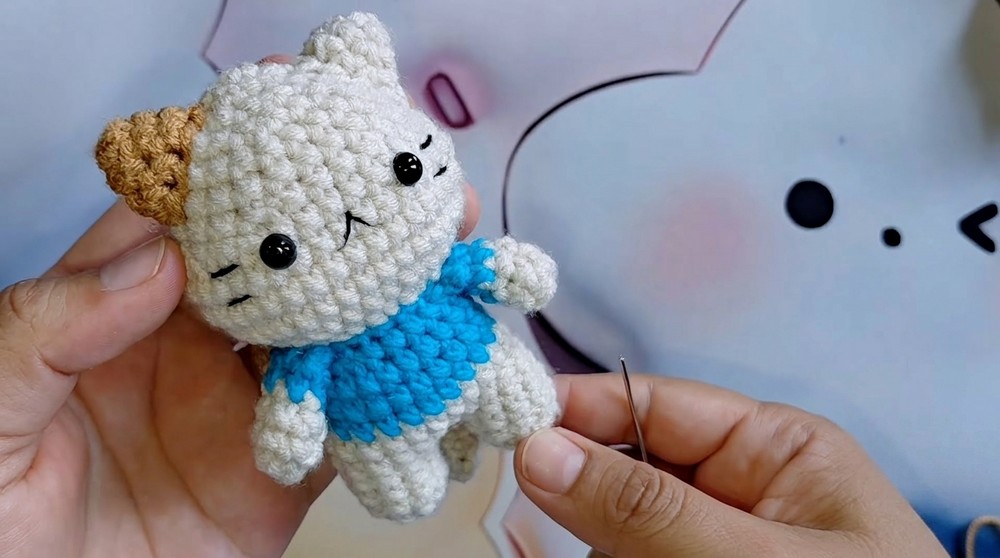
- Attach safety eyes between R8 of the head. Separate them with 6 sts between. Use cold silicone adhesive to ensure they are secure.
- Embroider a small inverted "V" for the nose beneath the eyes using black thread.
- Add whiskers: Sew three thin lines on each cheek with black thread.
- Blushing Cheeks: Apply pink or orange blush to say "cheeks" for an adorable finish.
Assembly and Sizing
- Join the Head to the Body: Align the head to the top of the body and sew it securely. Use small, tight stitches to ensure it is stable.
- Attach the Limbs: Sew the arms on both sides of the body directly under the head. Place the legs firmly at the bottom of the body.
- Attach the Ears: Position the ears symmetrically on top of the head, leaving a balanced gap between them. Sew securely.
- Add the Tail: Attach the tail to the back of the body. Shape it to give a natural curve, fitting the cat’s playful design.
When assembled, your cat amigurumi should be approximately 10 cm tall.
Conclusion
This 10 cm cat amigurumi pattern is designed to be both fun and engaging. By combining simple shapes and careful assembly, you’ll create an adorable and well-crafted piece. This pattern encourages creativity, offering room for customization to make each creation unique and personal.