
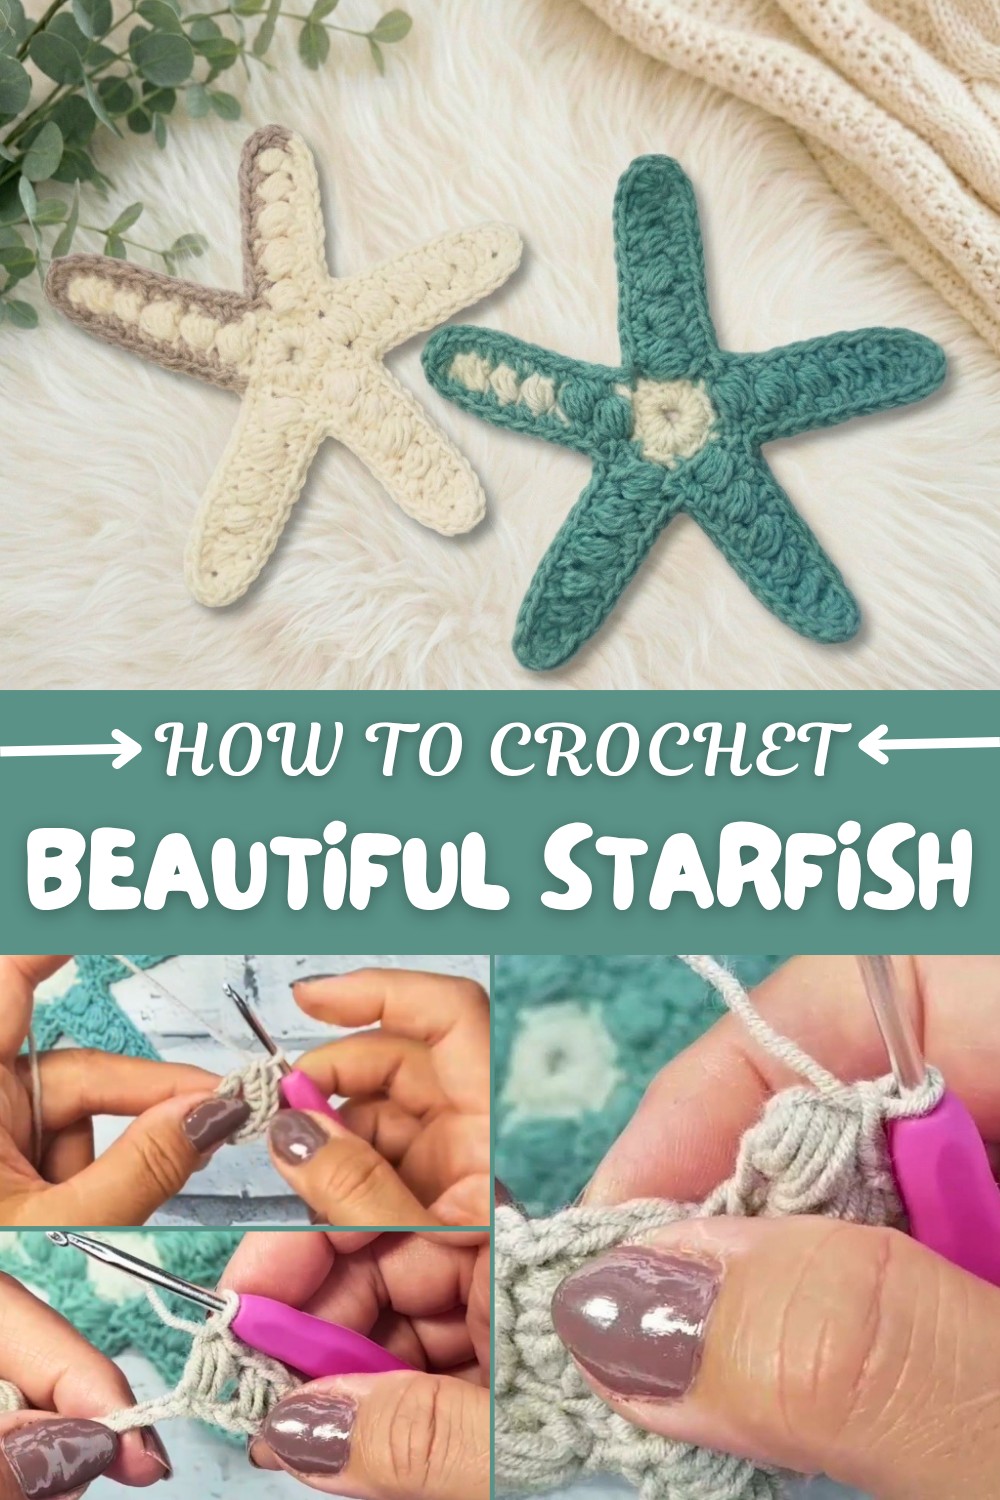
Best Free Crochet Starfish Pattern for Summer Projects
Have you ever imagined bringing a bit of the ocean’s magic into your home? That’s exactly how I felt when I discovered a free crochet starfish pattern online! The idea of turning simple yarn into a cute starfish was both exciting and inviting, especially since the process looked cheerful and easy to follow. Crocheting a starfish turned out to be a relaxing creative journey, and soon enough, I had a colorful little sea creature to add to my collection.
Free Crochet Starfish Pattern Using Leftover Yarn Scraps
This pattern only requires basic supplies and is perfect for using up leftover yarn. It is especially friendly for beginners, as each step is straightforward and enjoyable. The finished starfish is bright, playful, and ready to be used in so many ways, from home decor to fun gifts.
Main Steps to Make a Crochet Starfish
- Begin The Center
- Start with a magic ring and crochet a round base
- Build up the center using simple stitches
- Shape the Five Arms
- Work in the round to create the five points
- Use single crochet and half-double crochet for structure
- Learn and add fun puff stitches for texture on each arm
- Finishing Touches
- Fasten off your yarn securely
- Weave in any loose ends with your needle
- Gently shape your starfish with your fingers for the best look
What You’ll Learn and Create
Making this crochet starfish is a wonderful way to practice chaining, working in the round, and creating those puffy, textured stitches that really make each arm stand out. If you’re new to crochet, you’ll quickly gain confidence as you follow along with these steps.
Once you master this pattern, your creativity can truly shine. You can turn your starfish into:
- Appliques for bags or pillows
- Cute coasters or garlands
- Handmade toys for children
- Or experiment with the same stitches to make flowers, sun shapes, and more!
This pattern is not only easy, but it also makes each finished starfish unique and full of personality. Give it a try, and soon you’ll have your own little crochet celebration of the sea!
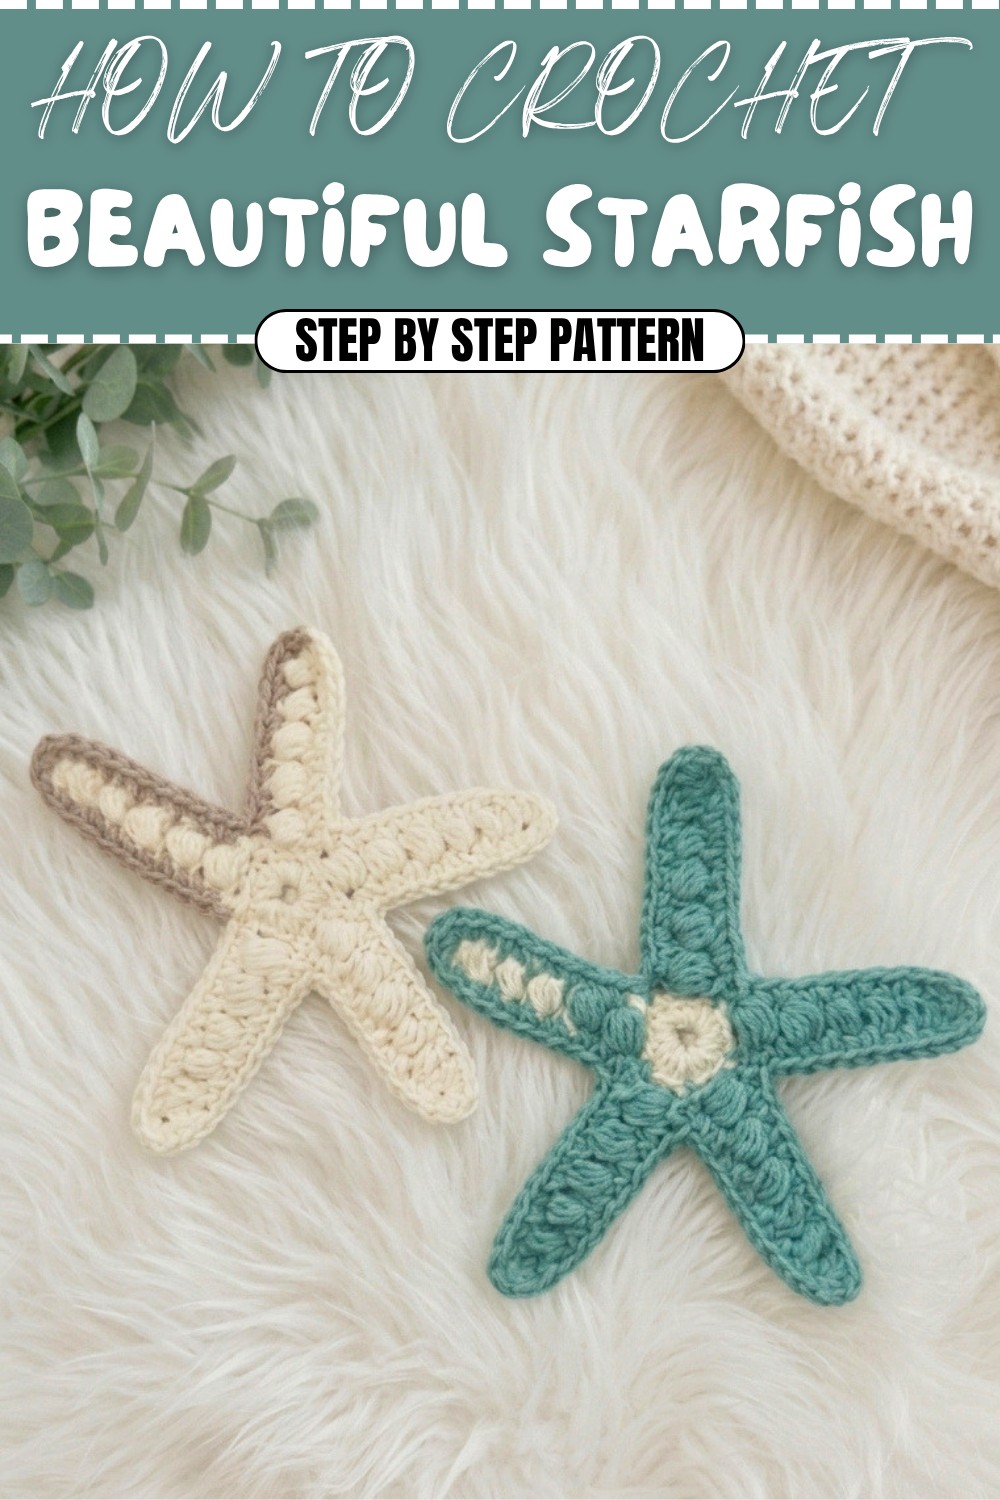
Starfish Crochet Pattern
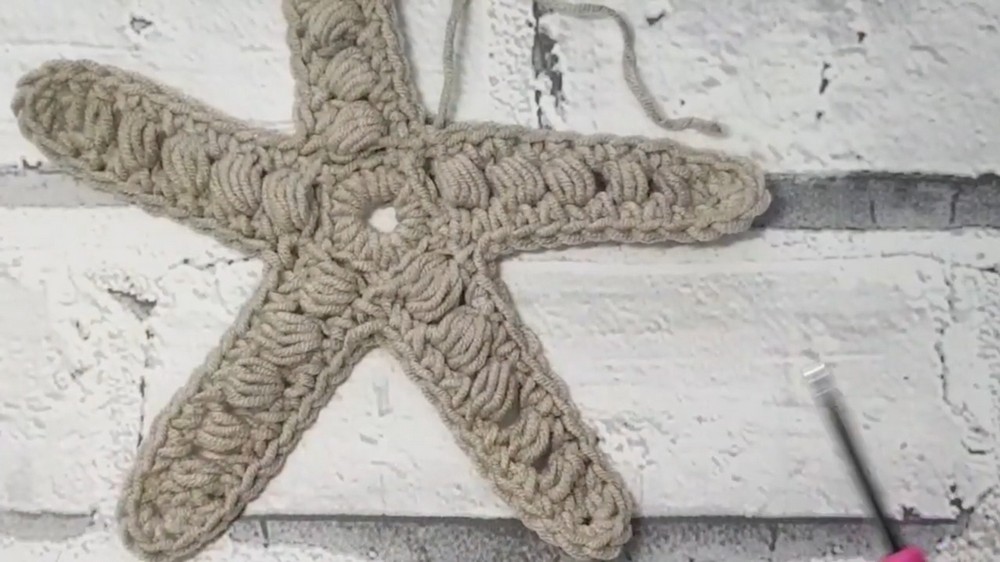
Create your own charming starfish with delightful puff stitch texture! Each starfish measures about 6 inches across and makes a perfect accent for home décor, beach themes, or as a thoughtful gift. This pattern introduces varied puff stitches for a realistic, textural effect. Carefully crafted and thoroughly explained, it is suited to intermediate and advanced crocheters who enjoy working with special stitches.
Skill Level & Terminology
- Skill Level: Intermediate to Advanced (due to multiple puff stitch variations and shaping)
- Terminology: US Crochet Terms
Materials & Tools
- Yarn: Milk Cotton Variegated Yarn or any smooth, medium-weight (worsted/aran) yarn. Use yarn with color variation for a more realistic starfish effect.
- Hook: 3 mm crochet hook
- Notions: Scissors, yarn needle for weaving in ends, stitch markers (optional)
- Optional: Blocking mat for shaping finished starfish
Abbreviations
- ch – chain
- sc – single crochet
- hdc – half double crochet
- dc – double crochet
- tr – treble crochet
- st(s) – stitch(es)
- sl st – slip stitch
- rep – repeat
- puff (n) – puff stitch made with n loops pulled up (see special notes)
Special Notes
- All instructions are in US crochet terminology.
- Puff stitches are defined by the number of yarn-overs (pull-ups):
- Puff 2: two pull-ups
- Puff 3: three pull-ups
- Puff 4: four pull-ups
- Puff 5: five pull-ups
- Always chain 1 after every puff stitch to close it.
- Varying stitch height and puff amount creates the starfish’s signature shape.
Pattern Instructions
1. Center Foundation
- Make a slip knot and ch 7.
- Sl st into the first ch to form a circle.
Plain Explanation:
Start by making a loop of 7 chains and join the ends to get a small circle—this will be the starfish’s center.
2. Starfish Body (Round 1)
- Ch 1 (does not count as a stitch).
- Work 15 sc into the circle.
- Sl st into the first sc to join. Tighten your starting yarn to close the ring if needed.
Plain Explanation:
Single crochet 15 stitches evenly into the center ring to create the starfish’s core. Slip stitch to join the round.
3. First Starfish Arm
- Ch 1 (does not count as a stitch).
- Sc in the same st as join.
- Ch 12 (this forms the first starfish “arm”).
- Working back down the chain toward the round:
- Sc in 2nd ch from hook.
- Hdc in next ch.
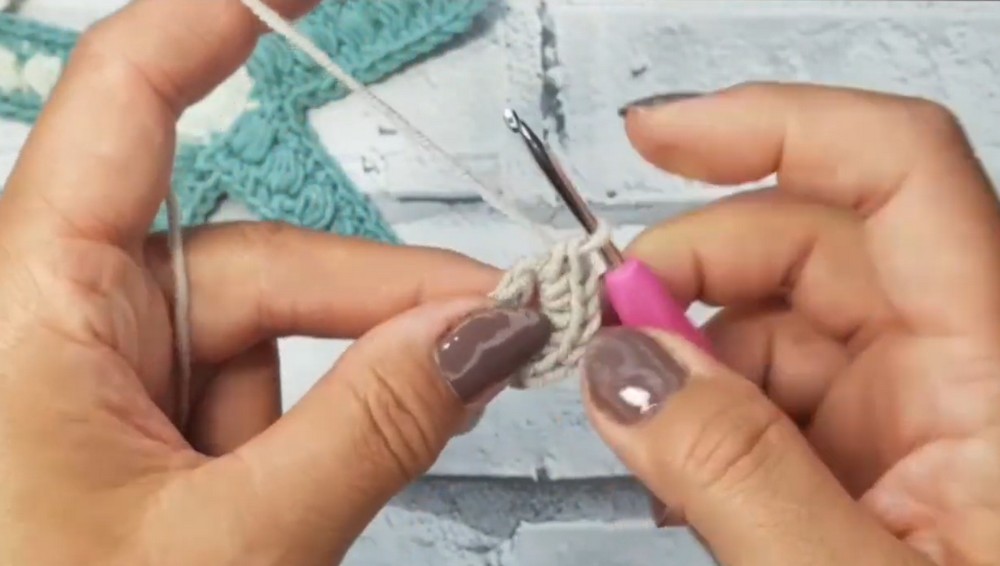
- Puff (2): Yarn over, insert into next ch, pull through; rep once (total 2 pull-ups), yarn over, pull through all loops on hook, ch 1 to close puff.
- Skip 1 ch. Puff (3): Yarn over and pull up three loops as above in next ch, yarn over, pull through all, ch 1.
- Skip 1 ch. Puff (4): Work as above, with four loops, skip 1 ch before.
- Skip 1 ch. Puff (5): Five pull-ups in next ch, skip 1 ch before.
- Skip 1 ch. Puff (5): Repeat as above for the final arm tip, skip 1 ch before.
- Attach to body: Skip 2 sts on the round, sc in next st.

Plain Explanation:
You start each leg with a chain, then use single crochet, half-double crochet, and a series of puffs to shape the leg, skipping a stitch before each new puff to give it a natural, pointy look.
4. Repeat for All 5 Arms
- Rep the arm instructions above (starting with ch 12 and finishing with a sc back into circle) for the remaining 4 arms.
- Each time, skip 2 stitches in the circle before attaching the arm with an sc.
- After the last arm, sl st into the starting sc, fastening off any loose ends. You will have five arms evenly spaced.
Plain Explanation:
Repeat the arms around the star center—every time, chain 12, work the sequence of stitches back, and fasten to the center. Space arms evenly by skipping 2 stitches in the body between each arm.
5. Edging for Starfish Definition
- Ch 1, do not count as a stitch.
- Work sc around the edges of all arms in this sequence:
- On top of each puff stitch, place 1 sc.
- In each ch-1 space between puffs, also place a sc.
- Continue down the arm: sc in hdc, sc, and for the tip ("armpit"—the base where the arm meets the circle), work 4 sc for smooth rounding.
- Continue not skipping any puffs or chains.
- When you reach the base of each arm, work directly across into the next arm (into top of next puff), with no ch between arms.
- Continue this all the way around, finishing with sl st to the first sc of the round.
Plain Explanation:
Now, single crochet all around the outline, putting a stitch into the top of each puff and chain between, plus four sc at the base of each arm. This thickens each leg and gives the starfish its bold, finished shape.
6. Finishing
- Fasten off and use a yarn needle to weave in all ends securely on the back.
- Gently block or flatten your starfish for a perfect finish.
Plain Explanation:
Cut off extra yarn and weave in the ends with a needle. Stretch or press flat to make your starfish smooth and tidy.
Conclusion & Pattern Corrections
Conclusion
You have now completed a beautiful, textural starfish that’s crisp, sturdy, and eye-catching. This versatile motif is perfect as a standalone decoration, wall hanging, or playful handmade gift.
Pattern Correction
If you notice uneven arms, ensure you are skipping the correct number of stitches between arms on the center circle and that your puff stitch counts are accurate. Adjust the tightness of your puffs for more uniform legs.
Tips
- Use a yarn with color changes for a stunning effect.
- Block your finished starfish for best shape.
- If you are left with a gap in the center, pull your starting tail firmly and weave it in.
- Keep puffs tight for better definition on small motifs.