
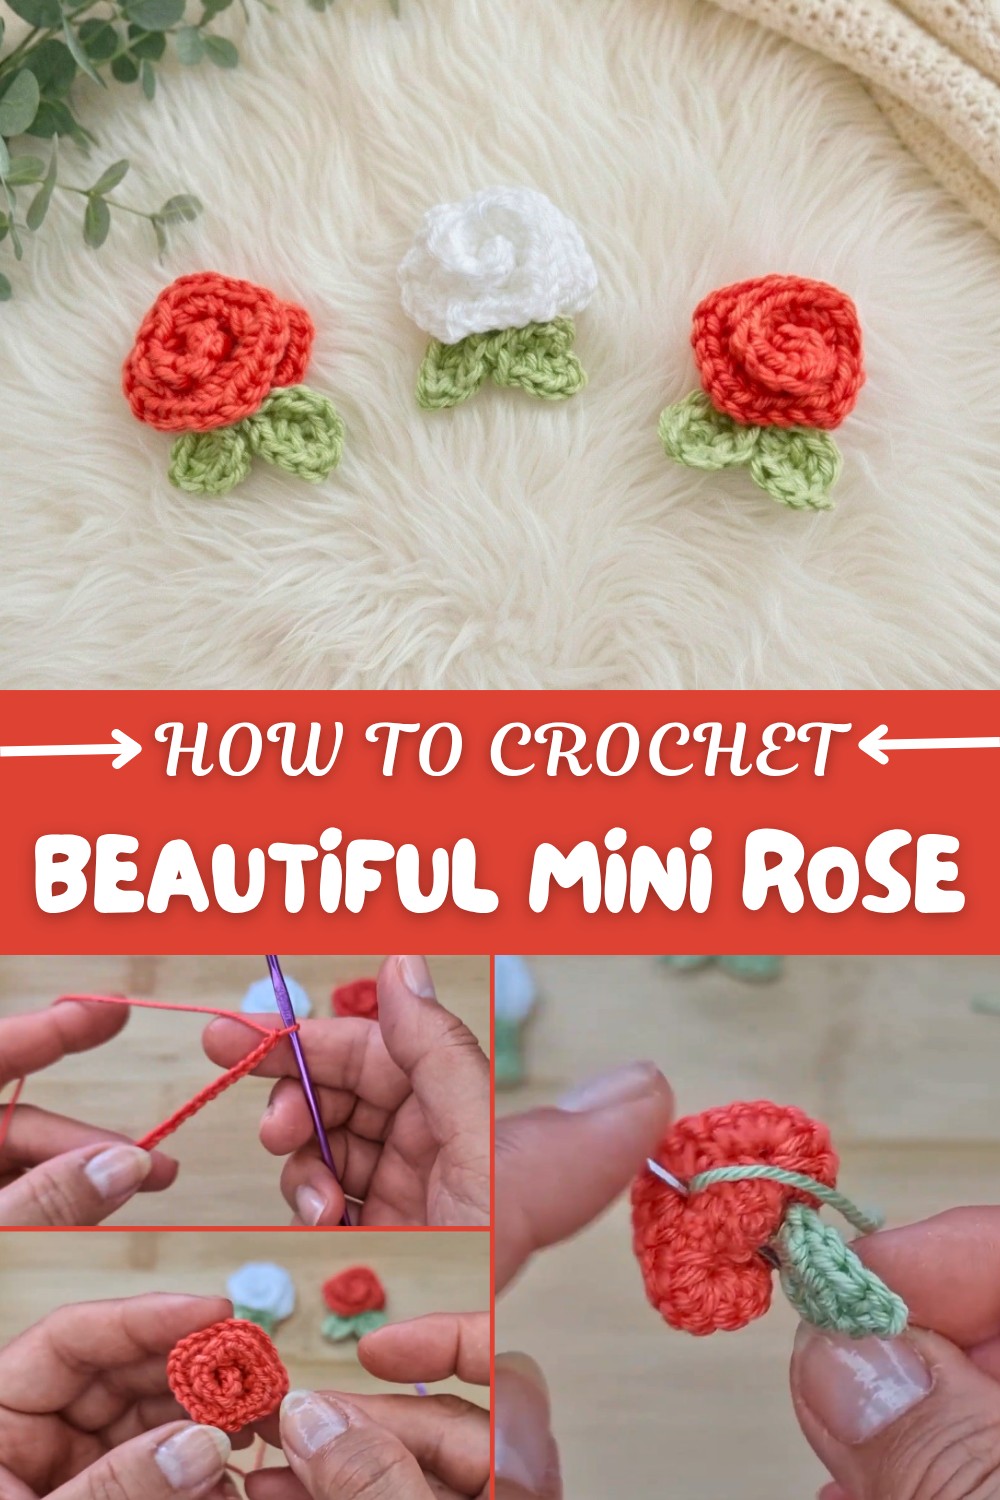
Beautiful Free Crochet Mini Rose Pattern for Accessories
Few delights in crochet rival the charm of working with soft, mercerized cotton yarn to bring a miniature bloom to life. With the Free Crochet Mini Rose Pattern, you can create petite, dazzling roses that add a lovely accent to any project. Crocheted using vibrant shades such as nectarine or classic white, these tiny roses measure just about an inch across, making them ideal as motifs or embellishments. Whether chosen to adorn hairbands, handbags, purses, or transform a simple piece into a showstopper, their versatility is boundless.
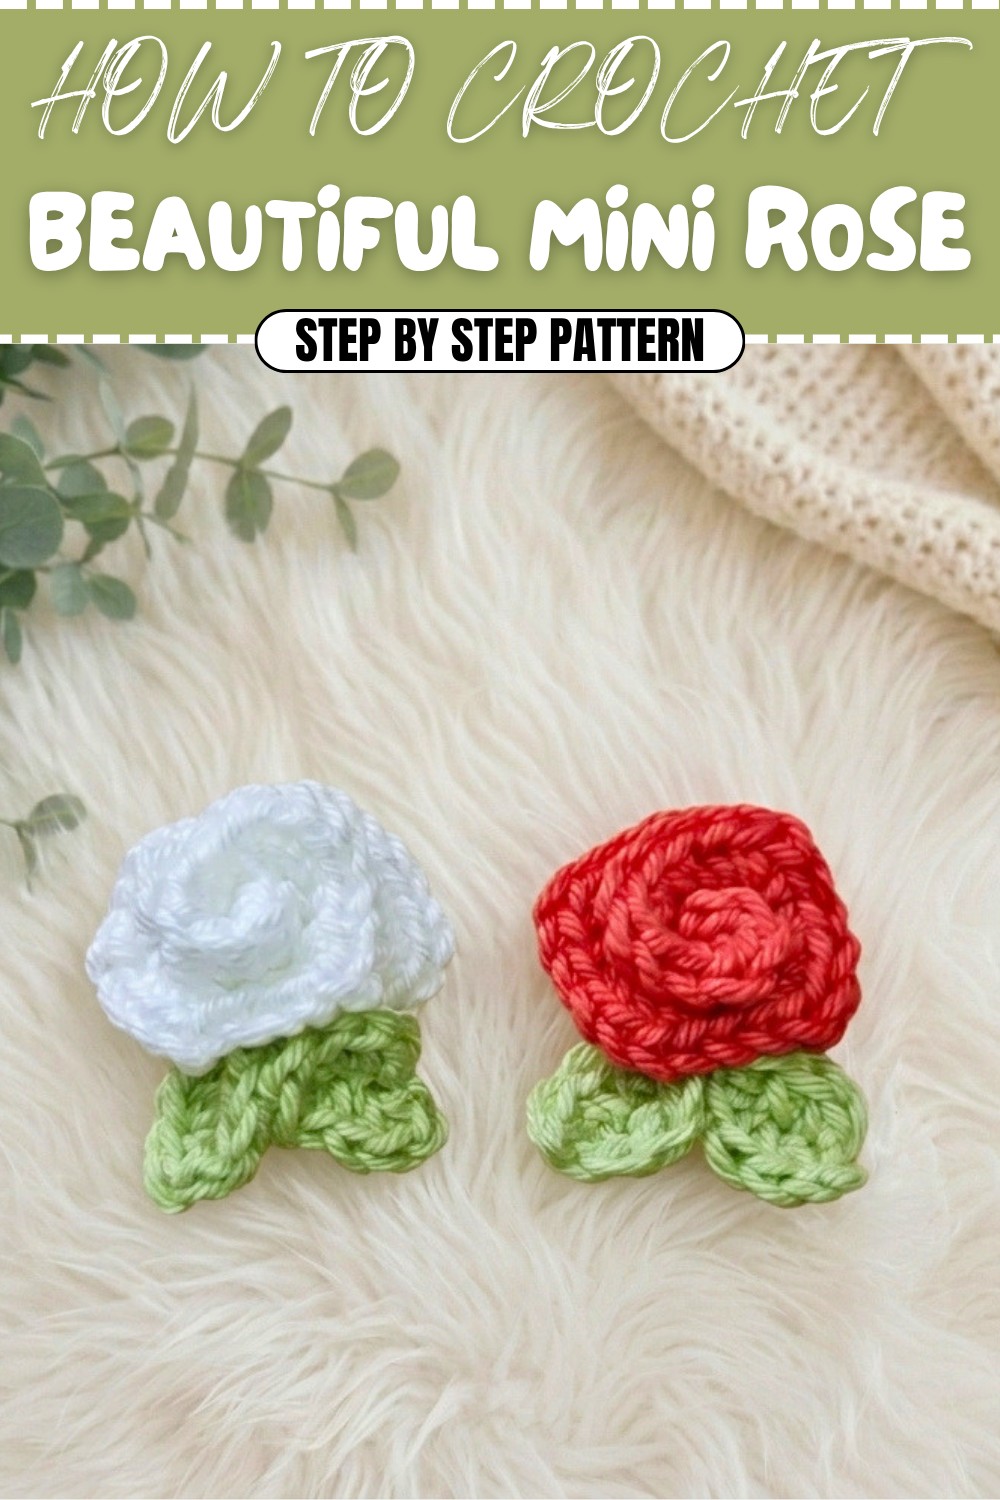
Free Crochet Mini Rose Pattern for Home Decor
The magic of this pattern is in its cotton yarn patons DK cotton, prized for its gentle shine and smooth texture. Pair your favorite colors with leafy greens for artful realism; the leaves in a kiwi hue provide a perfect contrast against the vivid petals. Color customization is a breeze, and choosing shades that suit your mood or match a special theme is sure to yield delightful results.
This mini rose is easy and quick to crochet, requiring only basic tools: a three-millimeter hook, a tapestry needle, and scissors. The construction begins with a foundation chain of eighteen stitches. The primary stitch involved is the single crochet, essential for achieving the rose’s tight, neat texture and forming both petals and leaves. Fans of single crochet are worked into single stitches, gradually shaping the petals into their iconic layered form. With six petals crocheted with five single crochets each, and two smaller petals with three, you achieve the gentle gradient that mimics a real rose.
Bring a sweet, hand-made touch to your accessories, gifts, or home décor with this fast, beginner-friendly mini crochet rose and leaf motif! Perfect for embellishing bags, hats, brooches, or even headbands, this cheerful little rose works up in no time with just a few basic stitches.
Once the crocheting is complete, simply roll the strip into a spiral, letting it fall naturally into a rose shape. Secure the layers with careful sewing, preserving its delicate appearance. The leaves follow with chains and half double crochets to add pointy details and a lifelike finish.
What makes this pattern truly special is not only its beauty but also its adaptability, allowing you to personalize each miniature rose for gifts, accessories, or elegant home decor.
Mini Crochet Rose with Leaves – Step-by-Step Pattern
Skill Level & Terminology
Skill Level: Beginner
Terminology: US Crochet Terms
This project is suitable for anyone comfortable with chains, single crochets, and half double crochets. Minimal seaming is required.
Materials & Tools
- Yarn: Light DK cotton (mercerized or regular), such as Patons 100% DK Cotton in ‘Nectarine’ (rose) and ‘Kiwi’ (leaves), or any smooth DK cotton
- Hook: 3mm crochet hook
- Tapestry/Darning Needle: For sewing
- Scissors
Optional: Fabric glue for attaching motif, or safety pin to make a brooch.
Gauge
Gauge is not essential for this project, but for reference:
- 17 sc x 20 rows = 2"/5cm with 3mm hook in DK cotton.
Abbreviations List
- ch – Chain
- sl st – Slip Stitch
- sc – Single Crochet
- hdc – Half Double Crochet
- yo – Yarn Over
- st(s) – Stitch(es)
Special Stitch Instructions
- Half Double Crochet (hdc): Yo, insert hook in st, yo, draw up a loop (3 loops on hook), yo, pull through all 3 loops.
- Slip Stitch (sl st): Insert hook into st, yo, pull through both st and loop on hook.
Finished Size
Rose with leaves is about 1" (2.5cm) diameter.
Pattern
In this pattern, you’ll learn to crochet a delicate, coiled rose with shaped petals and a matching pair of leaves. The motif is easily customizable for size and color and can be sewn or glued onto many different projects. You’ll begin with a simple strip, work petals into it, then roll and sew the flower before adding your leaves.
Part 1: Crochet the Rose
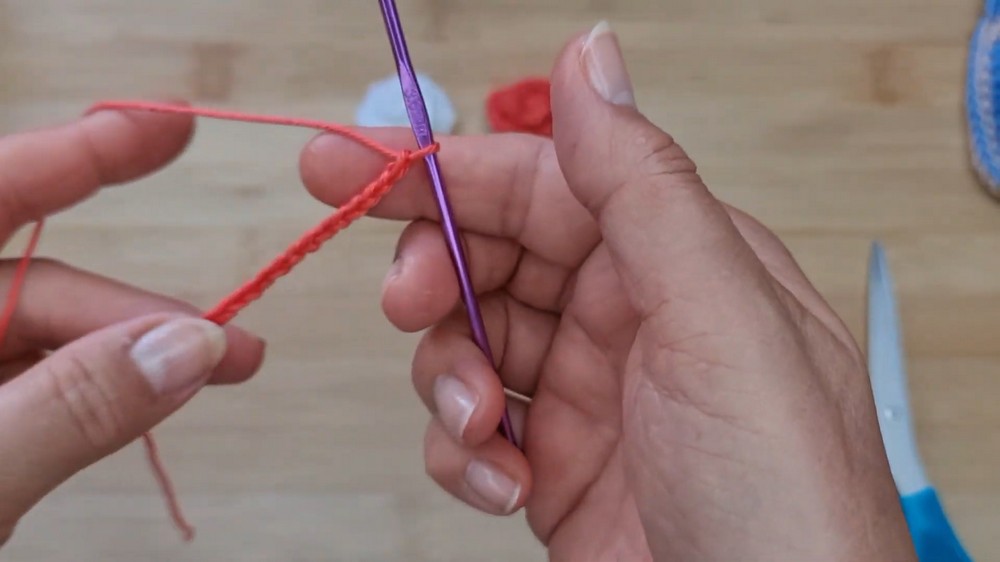
- Step 1: With flower color (e.g., nectarine or red), ch 18.
- Step 2: In 2nd ch from hook, sc. Sc in every chain down the row (17 sc total).
- Step 3: Ch 1, turn.
- Step 4: Work as follows:
- Sc in first st.
- 5 sc in next st (creates fan petal).
- (Sc in next st, 5 sc in next st) repeat across until 6 fans have been made (alternating sc and 5 sc), ending with sc after last fan.
- For the final two fans: Work (sc in next st, 3 sc in next st) twice (for smaller end petals).
- Sc in last st.
After this row, your strip will curl naturally because of the fan stitches. You make a foundation chain, cover it in single crochets, then use alternating single crochets and mini "fan" petals to create the curly rose strip.
If you don't follow patterns:
Start with a chain of 18, single crochet across, then do a row where you alternate one single crochet in a stitch, then five single crochets in the next, to make petals that form the rose when rolled up.
Part 2: Assemble the Rose
- Step 5: Fasten off, leaving a 5” (13cm) tail for sewing.
- Step 6: Gently roll up the crocheted strip from the narrow petal end to the wider, forming rose spiral.
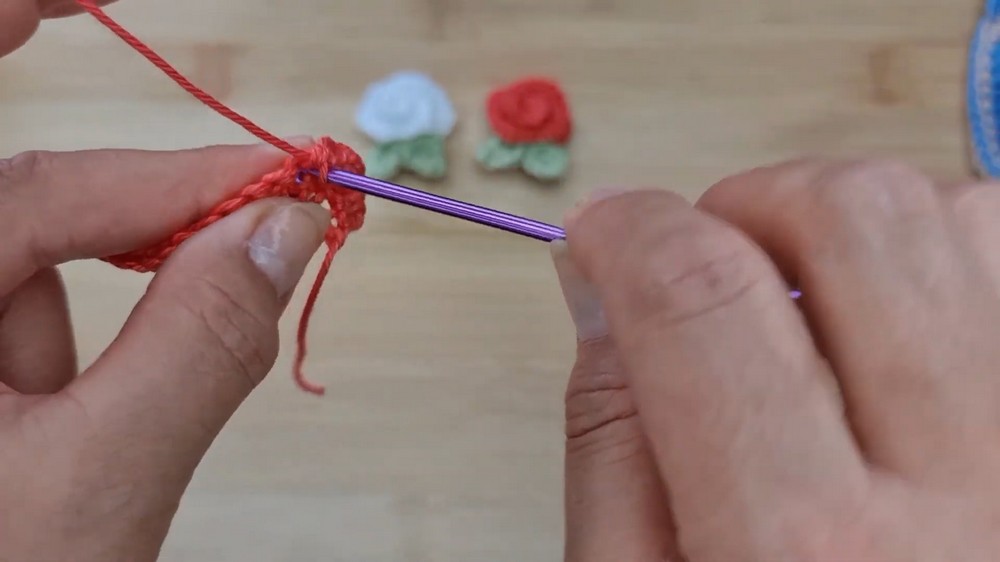
- Step 7: Thread tail through needle. Pass through the layers of the rose at the base with small stitches to secure the shape.
- Step 8: Adjust petals as you go. Secure final end and fasten off.
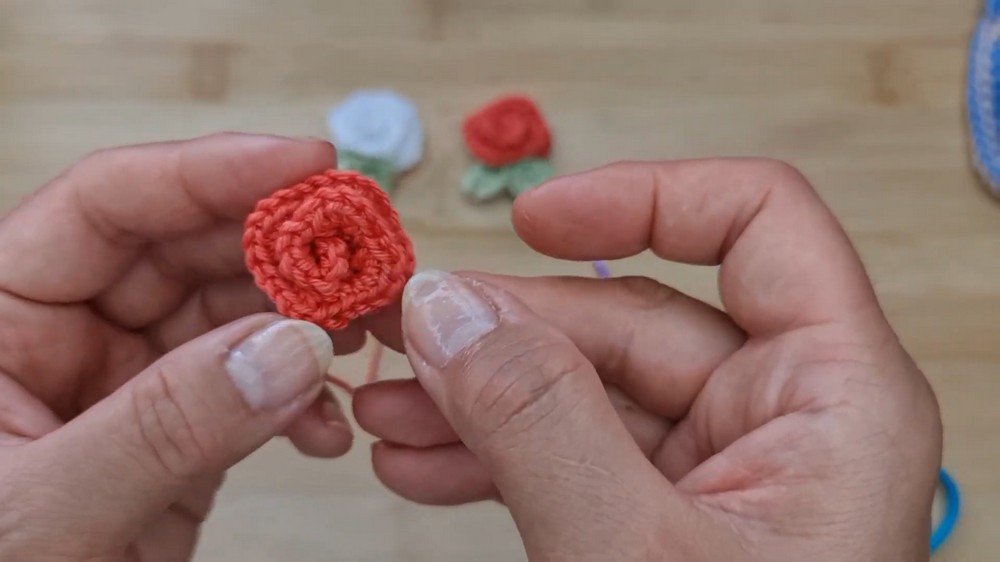
After rolling the strip, you simply sew through its base several times to hold the rose’s shape. Use tiny stitches so they're invisible from the top side, and tug the shape until you're happy with it.
If you don’t follow patterns:
Just roll the petal strip into a floral coil and stitch back and forth at the under-layers to make it stay as a flower.
Part 3: Crochet the Leaves (Make 2)
For each leaf:
- Step 9: With green, ch 4.
- Step 10: In second ch from hook, sc.
- Step 11: In next ch, 2 hdc. (Both hdc into the same chain.)
- Step 12: In last ch, sc.
- Step 13: Do another sc in the same last ch (for the turn).
- Now work back around the foundation chain:
- Sc in next st.
- 2 hdc in next st.
- Sc in next st.
- Now work back around the foundation chain:
- Step 14: Ch 1 (for leaf tip), sl st in same st (creates a point).
- Step 15: Fasten off, leaving long tail for sewing to rose.

The leaf is made from a small chain, with single and half double crochets on both sides; the tip is made by chaining 1 and slip stitching back to the same spot.
If you don’t read patterns:
Chain four. Do one single crochet, two half-double crochets, and a single crochet along one side. Sc again in end to turn, work back with same stitches. Chain 1, slip stitch for the tip, fasten off.
Part 4: Sew Leaves to Rose
- Step 16: Thread tail of first leaf on needle. Place leaf at base (or side) of rose, sew in place with a few neat stitches.
- Step 17: Repeat for second leaf – arrange them slightly offset or as you prefer.
- Step 18: Bring remaining yarn ends to the back, knot if needed, and weave in or trim tails.
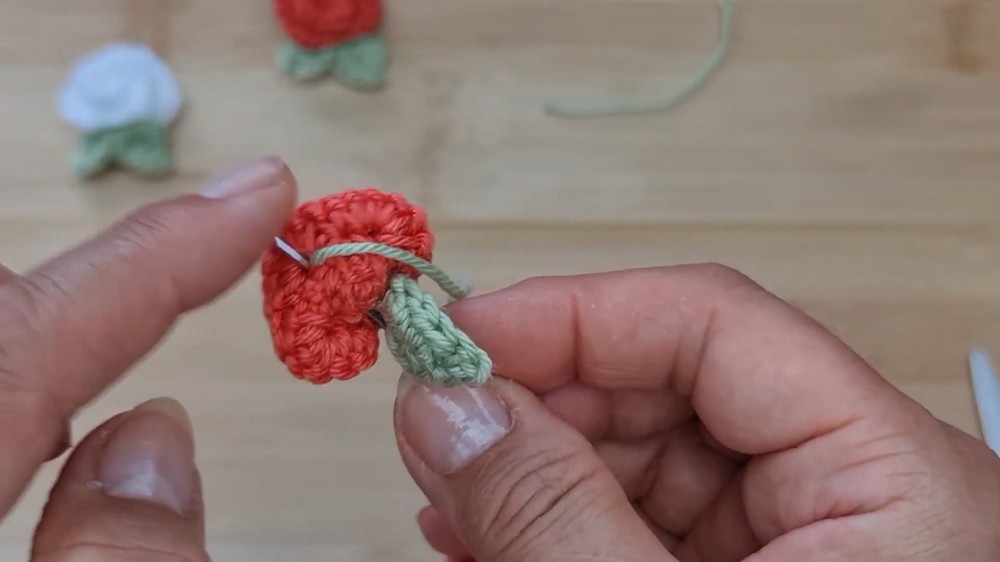
Arrange leaves before sewing to decide on the prettiest positioning. Sew through the base of the rose using the tails to anchor each leaf securely.
If you don’t follow patterns:
With needle and yarn tail, sew each leaf wherever you want at the rose’s base, hiding all tails on the back for a neat finish.
Assembly & Finishing
- If using as a brooch, glue on or sew a safety pin to the back.
- For sewing onto other items (hairband, bag, clothing), leave long sewing tails.
- If desired, block lightly with steam to shape petals and leaves.
About the Pattern
- Getting Started: Start with easy foundation chains for the flower and each leaf; use only chain, single crochet, and half double crochet stitches.
- Stitches Used: Chain, single crochet, half double crochet, slip stitch.
- Customizing: Change up yarn color, size of hook, or number of chains/petals for different looks. Make extra leaves or larger roses by extending pattern repeats.