
Fun Crochet Honey Bear Free Pattern for Animal Lovers
Join in making a Crochet Honey Bear that is soft cuddly and ideal for gifts decorations and fun beginner crochet projects everyone will love.
This soft and cuddly little friend is perfect for everyone who loves handmade toys. The cute crochet honey bear is warm and cozy, made with gentle honey-colored yarn that brings comfort and charm. Its round belly, tiny ears, and sweet face make it an instant favorite for kids and adults alike.
Cozy Crochet Honey Bear Free Pattern for Gifts and Nursery Décor
You can make this bear in different sizes — from small keychains to larger huggable bears — depending on your choice. The colours are also flexible; while the classic honey shade is popular, you can pick creams, browns, or yellows to give your bear a fresh look.
This handmade bear isn’t just pretty; it’s useful too. It works great as a toy, a thoughtful gift, or a cute decoration that brightens any room. The project is simple and teaches important crochet techniques like single crochet stitches, along with how to increase and decrease stitches to form the bear’s round shapes
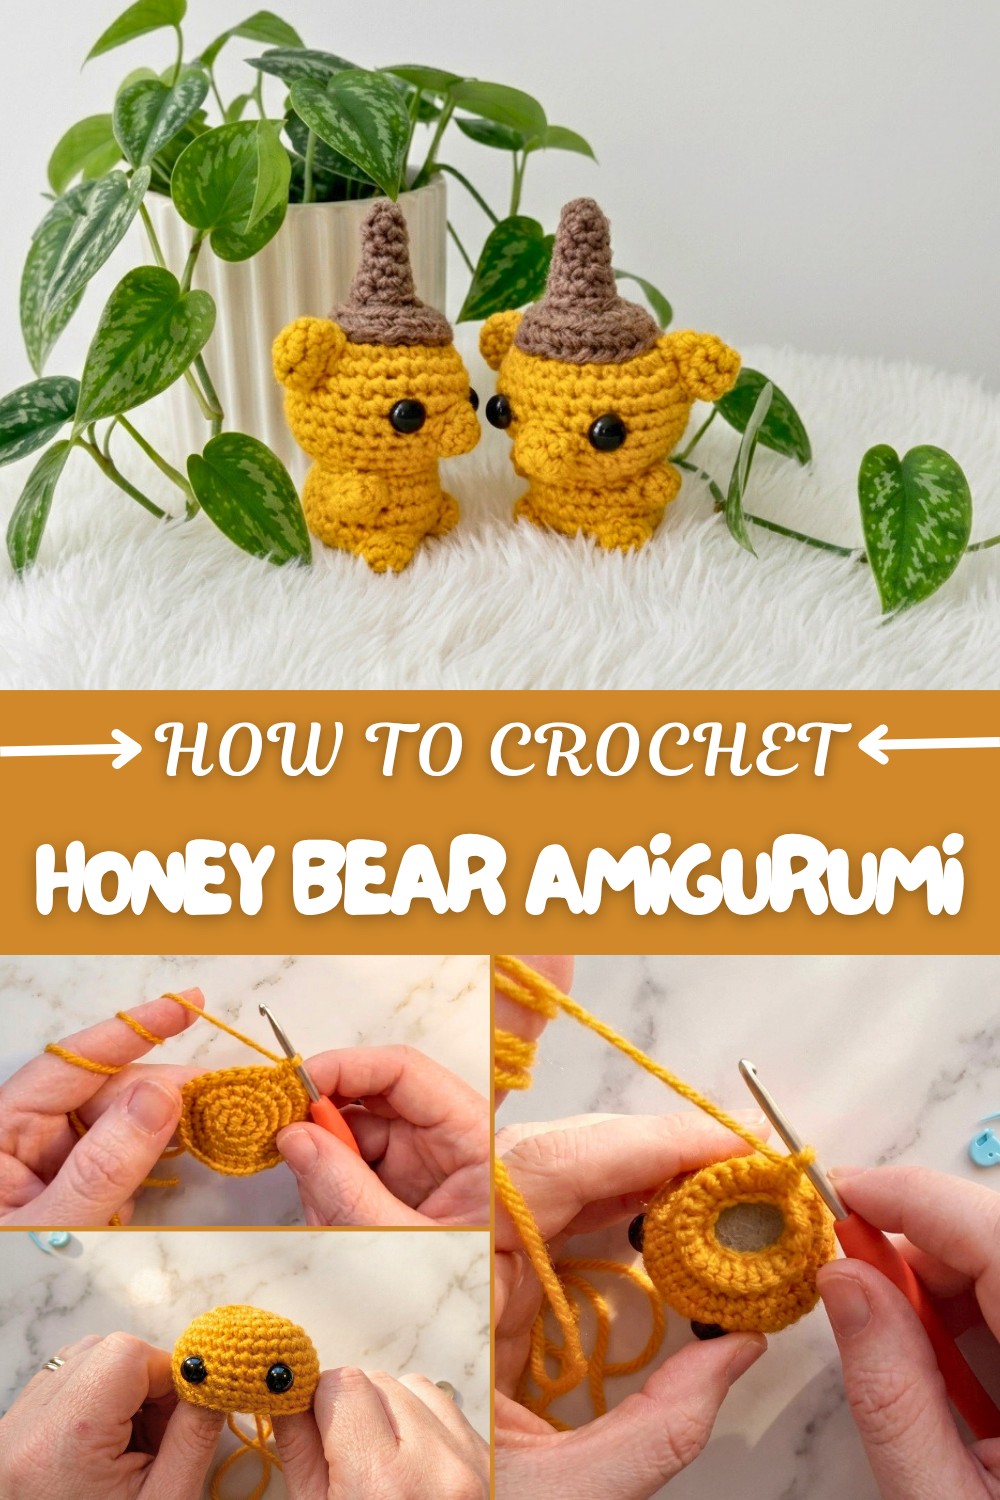
Making the bear is fun and helps you build skills while creating something special. Each stitch adds to the soft, smooth texture that makes this little honey bear so lovable. Whether you’re new to crochet or looking for a sweet project, the cute crochet honey bear is a wonderful choice, full of warmth and happiness.
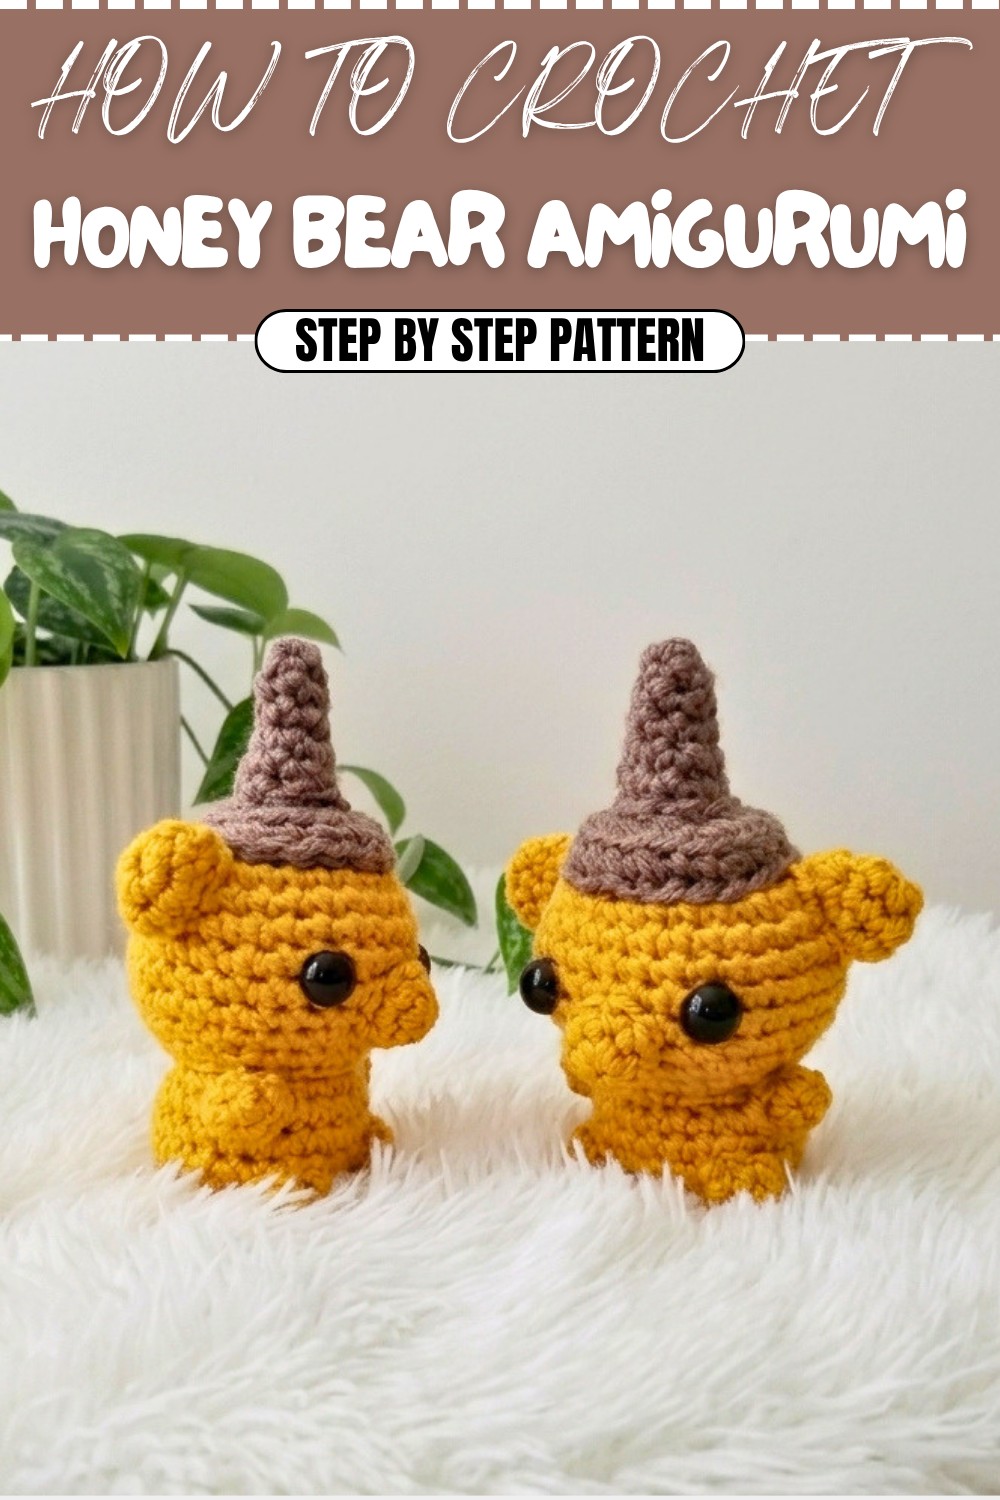
Honey Bear Amigurumi – Step-by-Step Crochet Pattern
In today's tutorial, you will learn how to crochet an adorable honey bear, complete with a little cap, a spout, and all those cute details. This delightful project makes a wonderful gift, desk buddy, or simply a cheerful addition to your handmade collection. With clear steps, you’ll create your own honey bear using just two colors and basic crocheting skills.
Quick Overview Of Pattern
- Head and body are worked as one piece, creating a seamless plush.
- Arms, legs, snout, ears, tail, lid (cap), and spout are made separately.
- All amigurumi parts are joined by sewing.
- Minimal color changes and simple increase/decrease formulas.
Notes
- Work in rounds (spiral); do not join unless otherwise noted.
- Use a stitch marker to mark the first stitch of each round.
- Stuff as you go; small pieces require only a little stuffing.
- All instructions use US crochet terms.
Skill Level
Adventurous Beginner – Intermediate
Should be comfortable with working in the round (magic ring), basic increases, decreases, sewing pieces, and minor color changes.
Materials
- Worsted weight yarn in:
- Brown (bear features)
- Golden yellow (honey bottle)
- 3.25 mm crochet hook
- Pair of scissors
- Yarn/tapestry needle
- Stitch marker
- Safety eyes (1 pair, ~6 mm)
- Polyfill stuffing (or scrap yarn)
Measurements / Sizing
- Finished bear: approx. 4.5–5.5 inches (11–14 cm) tall
Gauge
Gauge is not critical, but stitches should be tight enough that stuffing does not show through.
Stitch Abbreviations
| Abbr. | Meaning |
|---|---|
| MR | Magic Ring |
| sc | Single crochet |
| inc | Increase (2 sc in same stitch) |
| dec | Decrease (invisible unless stated) |
| sl st | Slip stitch |
| FLO | Front loop only |
| BLO | Back loop only |
Special Stitches
Invisible Decrease (dec)
Insert hook in the front loop only of the next 2 sts, yarn over and pull through both loops, yarn over and pull through last 2 loops.
Full Crochet Pattern
HEAD & BODY (Begin in golden yellow, worked as one piece)
Rnd 1: MR, 6 sc (6)
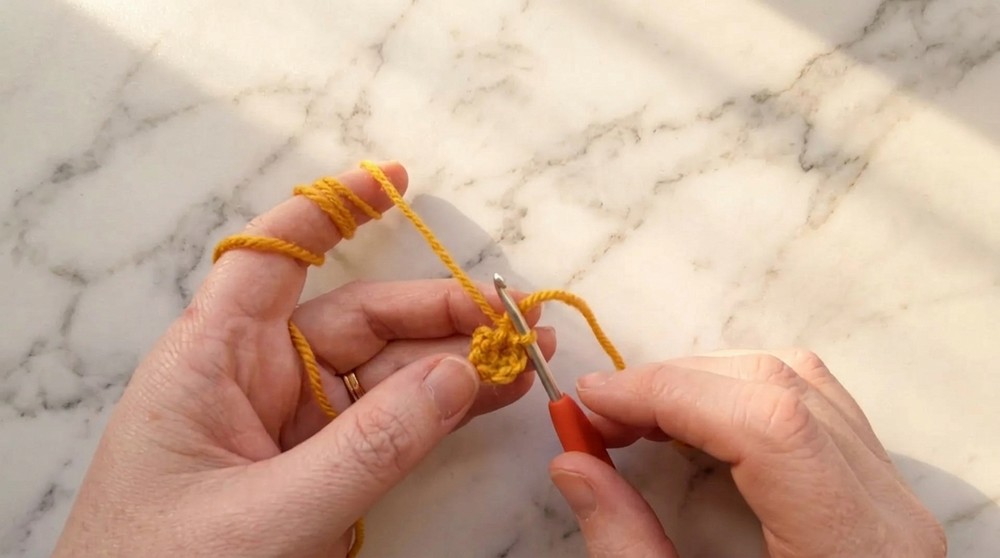
Rnd 2: inc in each st around (12)
Rnd 3: (inc, sc) around (18)
Rnd 4: (inc, sc 2) around (24)
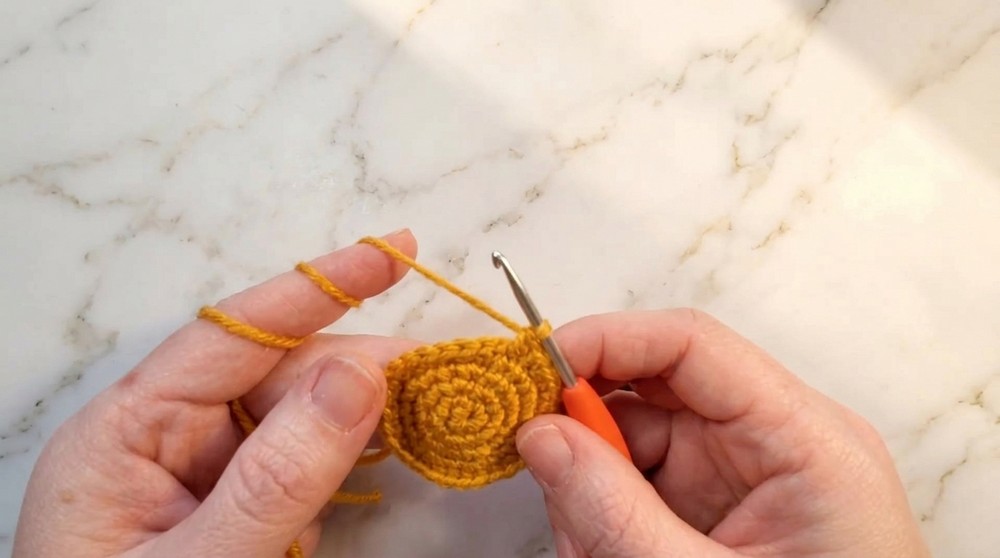
Rnd 5: (inc, sc 3) around (30)
Rnds 6–10: sc in each st (30)
Rnd 11: (dec, sc 3) around (24)
Insert safety eyes between Rnds 8 & 9, spaced about 5 stitches apart.
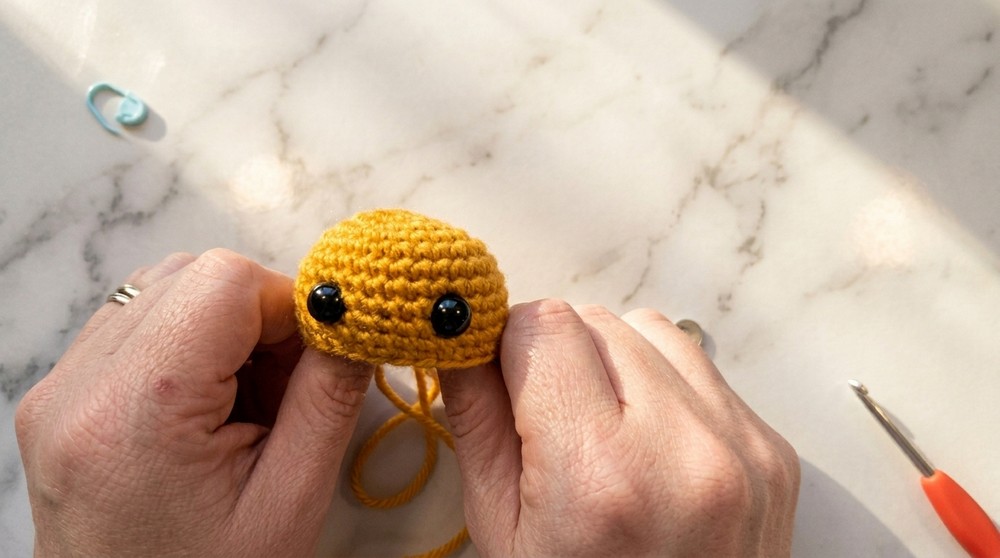
Rnd 12: (dec, sc 2) around (18)
Add some stuffing to head.
Rnd 13: (dec, sc) around (12)
BODY:
Now, working in FLO only:
Rnd 14: inc in every st (24)
You will see a ring of unused back loops inside.
Rnd 15–17: sc in each st (24 per round)
(Add more stuffing as you progress; shape firmly.)
Rnd 18: (dec, sc 2) around (18)
Rnd 19: (dec, sc) around (12)
Pause to stuff the body securely.
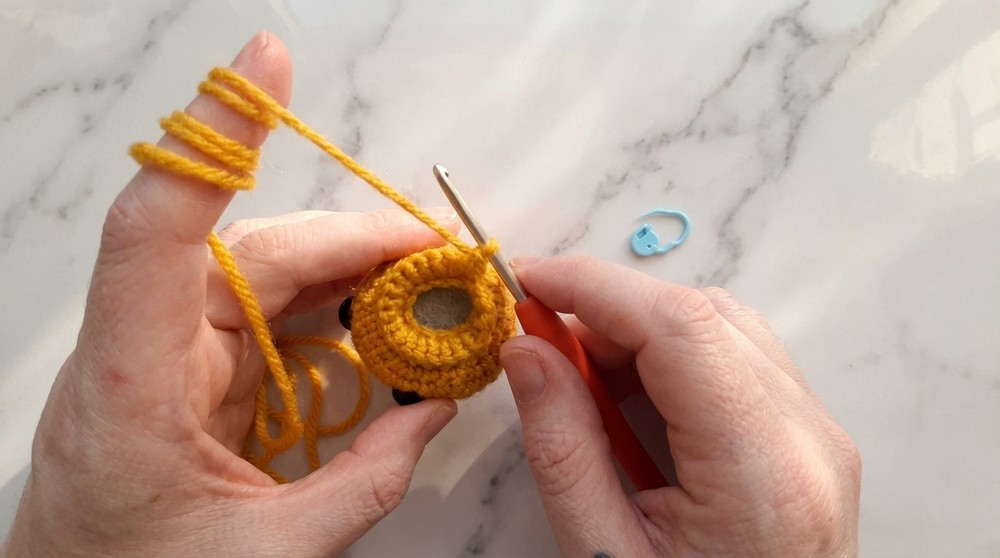
Rnd 20: dec around (6)
- Sl st into next st, fasten off, leaving a long yarn tail.
- Sew closed by weaving needle through FLO of remaining 6 sts and pull to close.
ARMS (make 2, brown)
Rnd 1: MR, 4 sc (4)
Rnd 2: [inc, sc, inc, sc] (6)
- Sl st, fasten off leaving a tail for sewing.
- Stuff lightly by tucking in yarn tails.
LEGS (make 2, brown)
Rnd 1: MR, 4 sc (4)
Rnd 2: inc in each st (8)
- Sl st, fasten off, leave tail for sewing.
- Stuff lightly with yarn tail.
SNOUT (brown)
Rnd 1: MR, 6 sc (6)
Rnd 2: [inc, sc, sc, inc, sc, sc] (8)
- Sl st, leave yarn tail for sewing (stuff lightly).
EARS (make 2, brown)
Rnd 1: MR, 6 sc (6)
Rnd 2: [inc, sc, sc, inc, sc, sc] (8)
Rnd 3: sc in each st (8)
- Sl st, leave a long tail for sewing.
- Do not stuff.
TAIL (golden yellow)
Rnd 1: MR, 3 sc (3)
- Pull tight, knot to secure, leave tail for sewing.
LID (cap, brown)
Rnd 1: MR, 6 sc (6)
Rnd 2: inc in each st (12)
Rnd 3: (inc, sc) around (18)
Rnd 4: BLO – sc in each st (18) (creates a ridge for shaping the cap)
- Sl st, leave long tail for sewing.
SPOUT (brown)
Rnd 1: MR, 4 sc (4)
Rnd 2: sc in each st (4)
Rnd 3: [inc, sc] x2 (6)
Rnd 4: sc in each st (6)
Rnd 5: [inc, sc, sc, inc, sc, sc] (8)
Rnd 6: sc in each st (8)
- Sl st into next st, leave long tail for sewing.
- Roll and stuff spout lightly.
Assembly & Finished Size
- Attach snout between the eyes, with top edge aligned to eye line. Sew around, stuffing lightly.
- Sew arms to either side of the body at shoulder level.
- Sew legs to the underside/curve of the body.
- Attach the tail at the center bottom of the body, using simple stitches.
- Center and sew the lid (cap) to the top of the head; pause before closing and stuff lightly.
- Sew the spout to the center of the cap, stuffing lightly for shape.
- Position and sew ears symmetrically, right up against the base of the cap on each side.
- Weave in all ends securely.
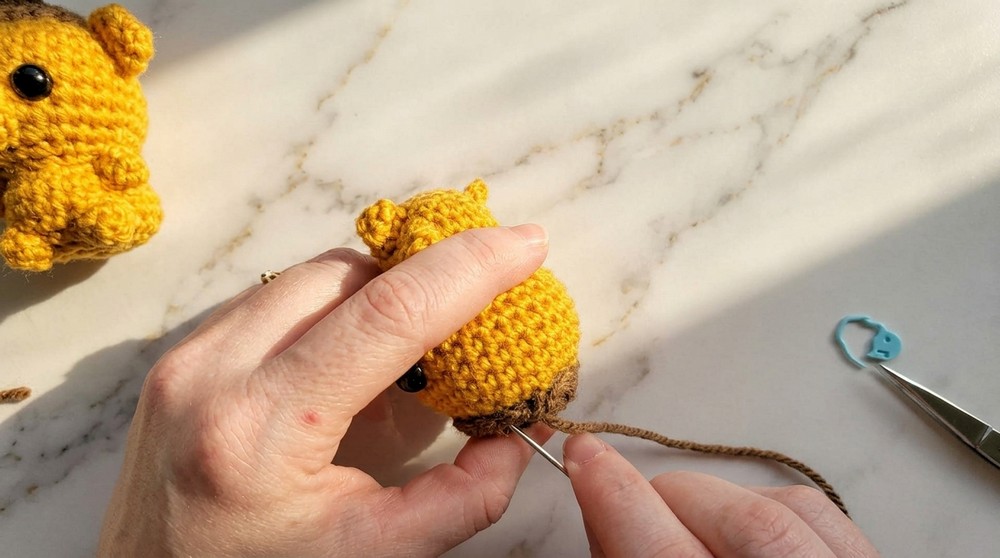
Conclusion and Ending Words
Congratulations! You’ve finished your adorable honey bear, topped with a sweet spout and capped just like the classic honey bottle. Each bear is uniquely yours—embrace variations in size or expression. Feel free to customize: embroider a smile, add a tiny crocheted bee, or adjust cap color, making your bear one of a kind. Thanks for creating with this pattern; share your makes and enjoy your little honey bear!