
Simple Crochet Leopard Free Pattern for Plush Toy Collections
Create a unique and adorable Crochet Leopard that adds warmth and charm to your home or makes a special handmade gift full of personality and charm.
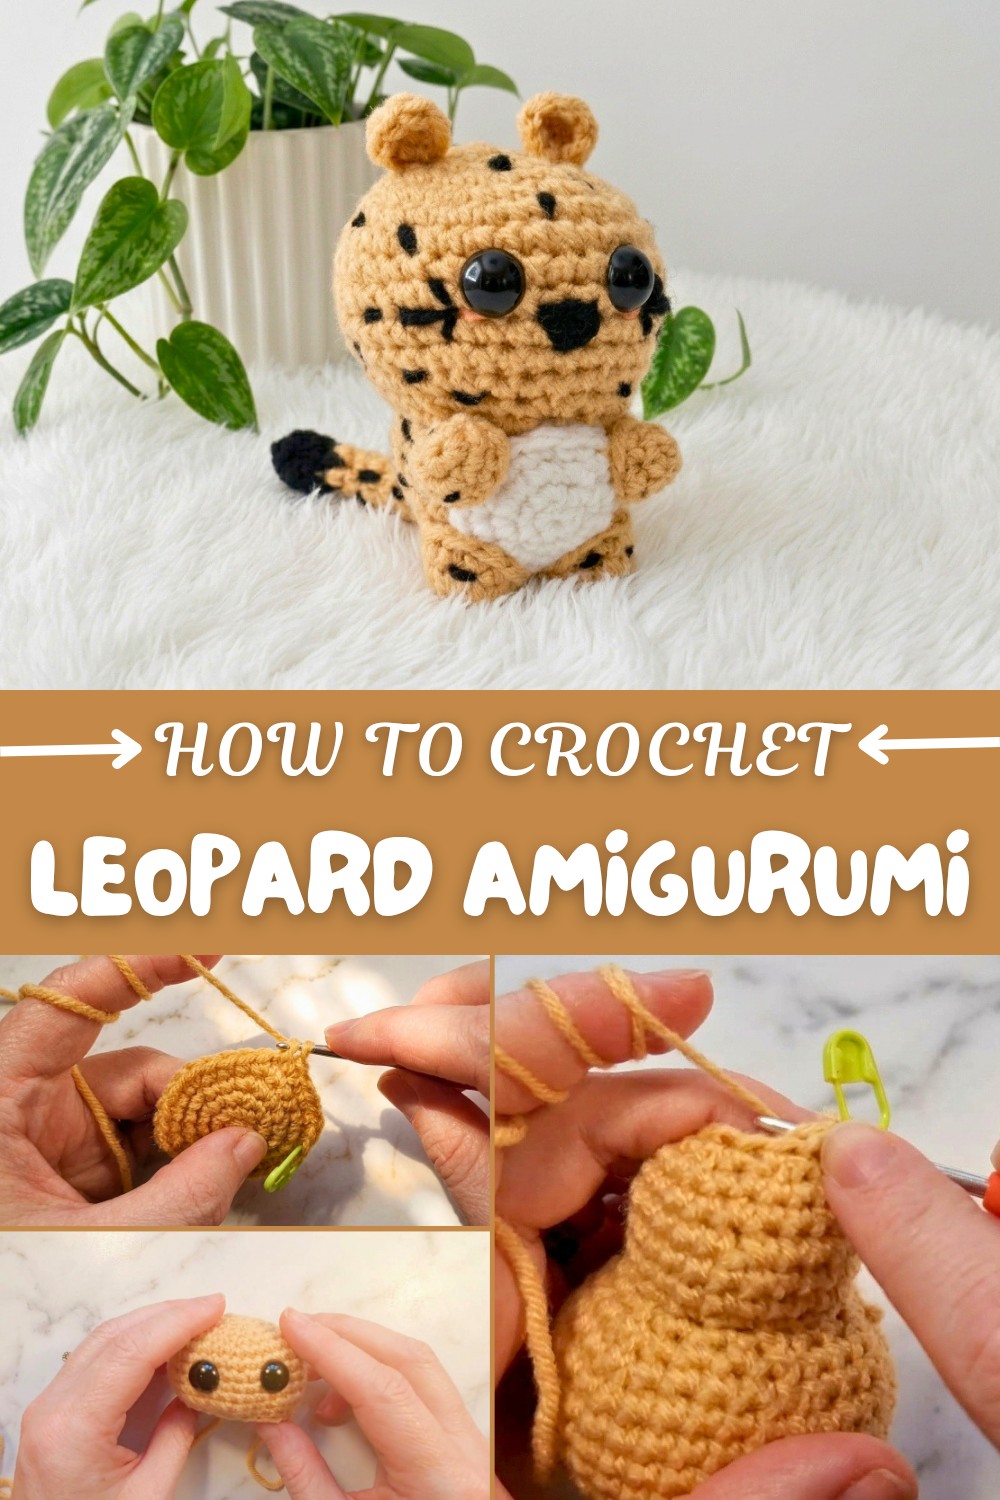
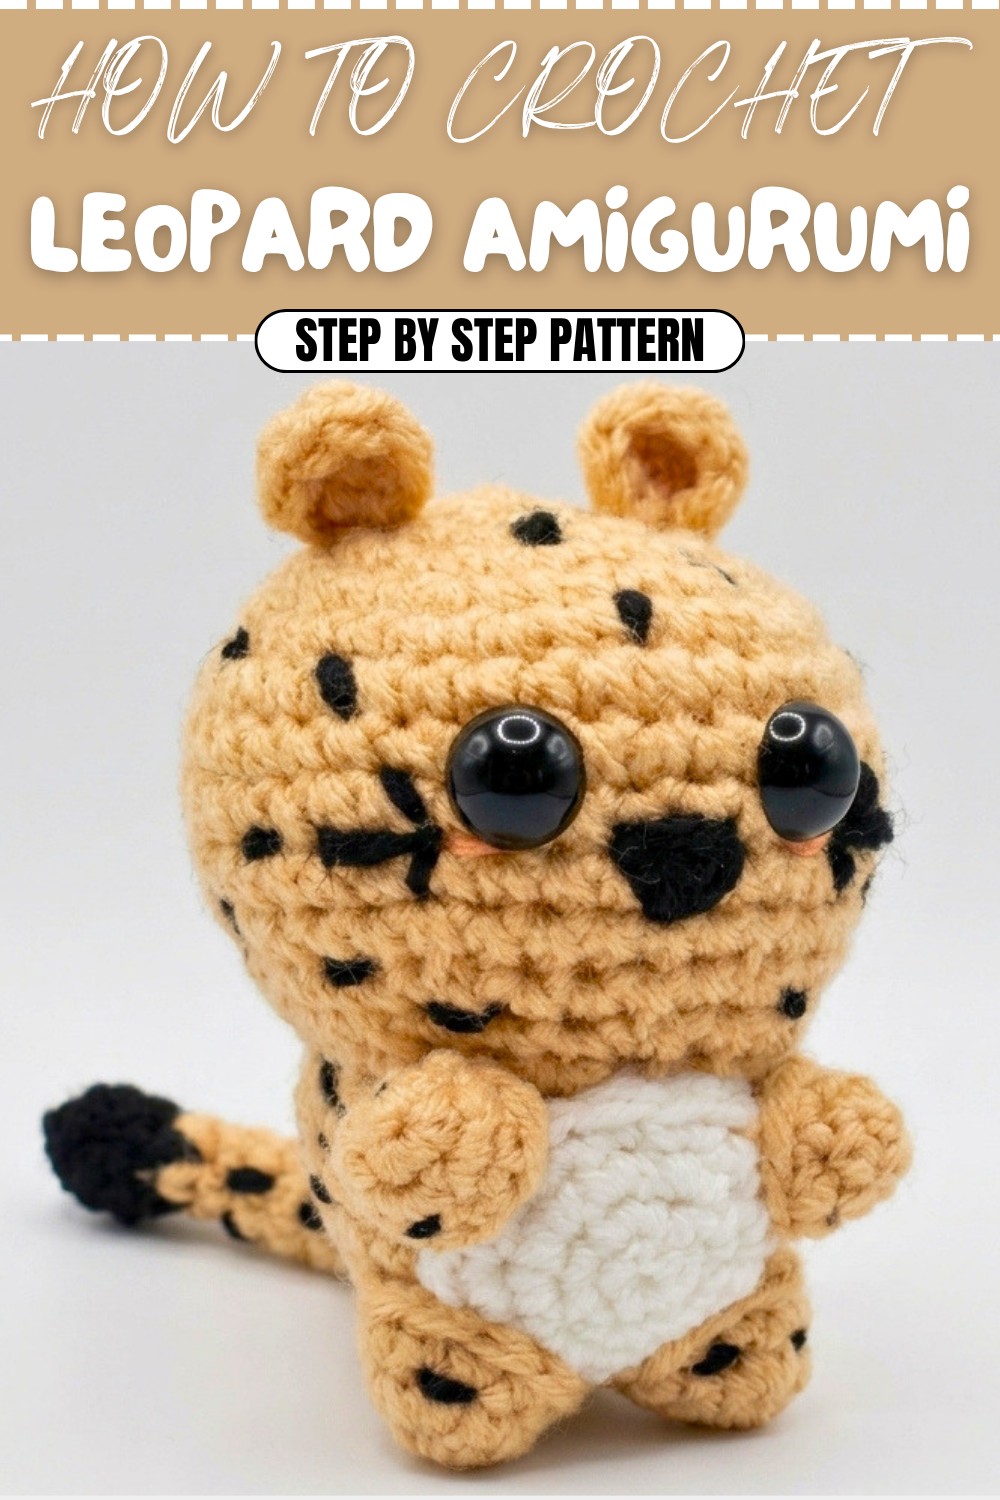
Looking for a fun project that feels both friendly and interesting? The Crochet Leopard is a great option. It looks like a small leopard made from soft yarn. The shape is simple and cute, giving it a gentle, almost lifelike character. The spots are easy to see because of the clear color differences. This makes it resemble a real leopard, but in a warm and cozy way.
Free Crochet Leopard Pattern for Soft Toys and Keepsakes
Usually, the colors include shades of brown, beige, and black. These colors go well together and offer a natural, warm look. The yarn holds its color well, so the toy stays looking nice even after being handled or washed many times.
Besides being nice to look at, the Crochet Leopard is soft and safe. It works well as a toy for children or as a comforting decoration. People often use it to decorate shelves, desks, or beds. It can also be a friendly companion for kids during playtime or nap time.
Working on this project also helps improve patience and hand skills. At the same time, it gives a sense of satisfaction when the leopard begins to take shape. It fits well for anyone wanting a simple, rewarding task that results in a charming item.
The Crochet Leopard adds a touch of warmth and personality wherever it is placed. This makes it a nice choice for beginners and experienced people alike.
Little Leopard Amigurumi – Step-by-Step Crochet Pattern
In today’s tutorial, you’ll learn how to crochet a charming little leopard — a cute variation on a classic amigurumi cat. With straightforward, clearly illustrated steps and just a few basic materials, you’ll create a soft and spotty friend. Whether you’re new to amigurumi or looking to expand your collection, this leopard project is simple, rewarding, and easily customizable.
Quick Overview Of Pattern
- This amigurumi leopard is made using continuous rounds (spirals) in single crochet.
- The head and body are worked as one piece with strategic increases and decreases for shape.
- Separate pieces (arms, legs, ears, tail, and belly) are made and then sewn onto the main body.
- Features such as spots, nose, and whiskers are simply embroidered on for a finished look.
Notes
- Work in the round unless otherwise specified.
- Use a stitch marker to keep track of the first stitch of every round.
- When changing colors (such as for the tail), complete the last yarn-over of the old color with the new color.
- Stuff amigurumi firmly but avoid distorting the stitches.
- All instructions use US crochet terms.
Skill Level
Beginner – Advanced Beginner:
If you are comfortable with the magic ring, single crochet, increasing, decreasing (invisible decrease encouraged), and basic sewing, you’ll find this project a delight!
Materials
- Worsted weight yarn in:
- Golden yellow (main)
- Black (spots, nose, tail tip)
- White (belly)
- Crochet hook: 3.25 mm
- Safety eyes (your choice of size)
- Stitch marker
- Yarn needle
- Scissors
- Polyfill stuffing
Measurements / Sizing
- Finished size: approximately 10–13 cm (4–5 inches) tall
- Schematic: standard round amigurumi proportions
Gauge
Gauge is not critical; your stitches should be tight enough so stuffing does not show through (adjust hook size as needed).
Stitch Abbreviations
| Abbr. | Meaning |
|---|---|
| MR | Magic ring |
| sc | Single crochet |
| inc | Increase (2 sc in the same st) |
| dec | Decrease (invisible, unless stated) |
| sl st | Slip stitch |
| ch | Chain |
| FLO | Front loop only |
Special Stitches
Invisible Decrease (dec)
Insert hook into FLO of next 2 stitches, yarn over, pull through both loops, yarn over and pull through 2 loops on hook.
Color Change
When changing colors, at the last yarn-over of the last stitch in the old color, yarn over with the new color and pull through to finish the stitch.
Crochet Project Instructions
Head & Body (Worked As One Piece, in Golden Yellow)
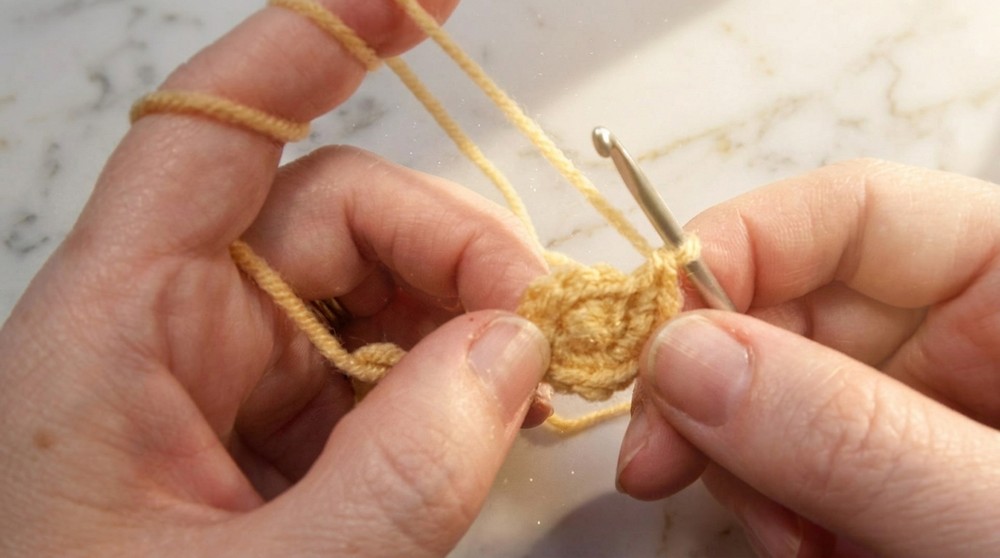
Rnd 1: MR, 6 sc (6)
Rnd 2:
- 2 sc in each st (12)
Rnd 3:
- (inc, sc) around (18)
Rnd 4:
- (inc, sc 2) around (24)
Rnd 5:
- (inc, sc 3) around (30)
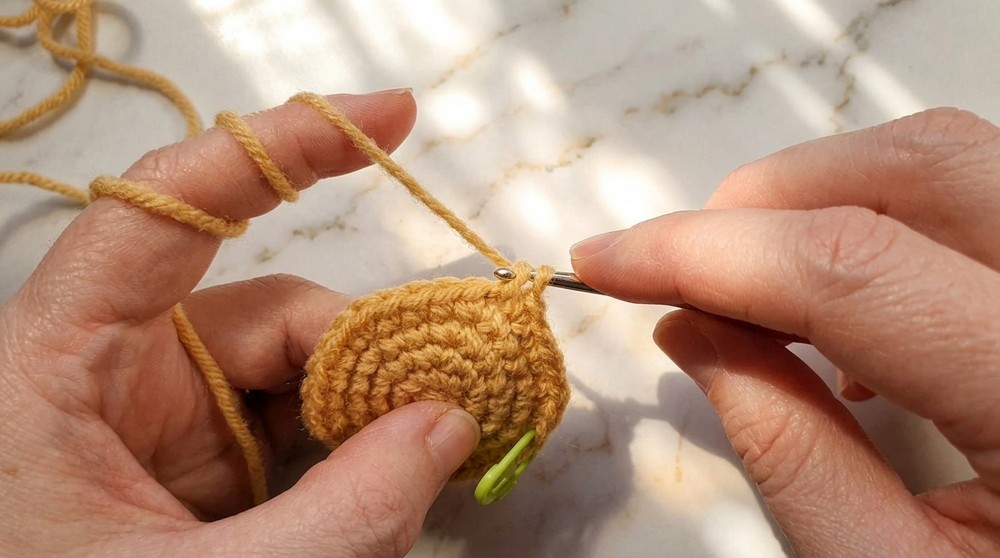
Rnd 6:
- (inc, sc 4) around (36)
Rnds 7–11:
- sc in each st (36)
Rnd 12:
- (dec, sc 4) around (30)
Rnd 13:
- (dec, sc 3) around (24)
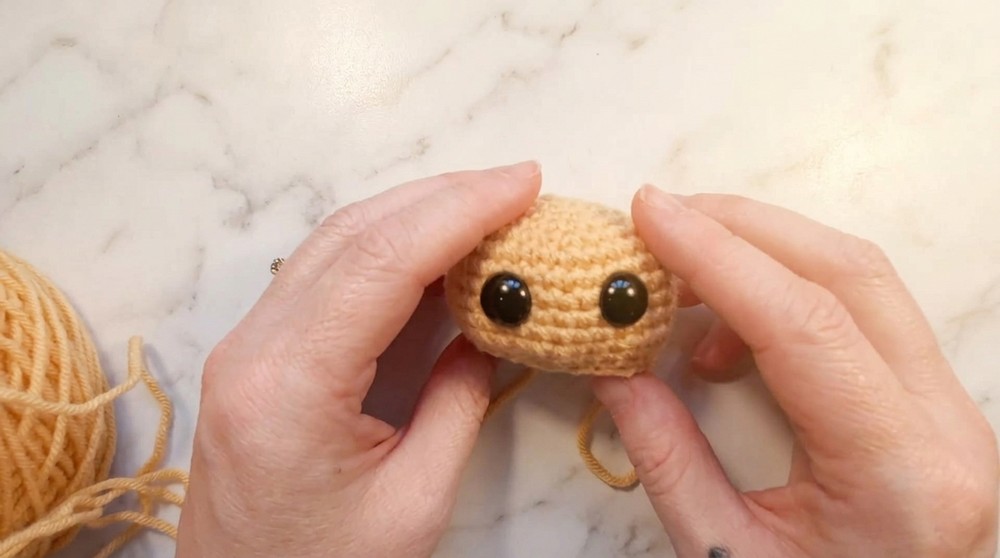
- Insert safety eyes between rounds 8 and 9, spaced 3–4 stitches apart.
Rnd 14:
- (dec, sc 2) around (18)
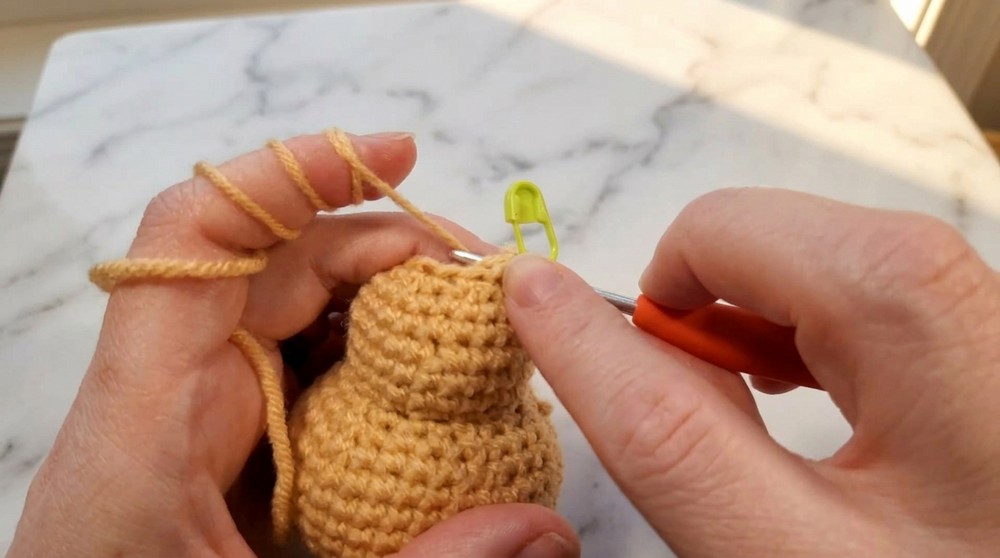
Add stuffing. Stuff as you go from here!
Rnd 15:
- Work in FLO only: (inc, sc) around (27)
Rnds 16–20:
- sc in each st (27, back to both loops)
Rnd 21:
- (dec, sc) around (18)
Rnd 22:
- (dec, sc) around (12)
Rnd 23:
- dec around (6)
- Finish stuffing.
- Sl st to finish, cut yarn, leave tail.
- Weave needle through FLO of final 6 sts and pull tight to close. Weave in tail.
Belly (in White, worked flat)
Rnd 1:
- MR, 4 sc (4)
Rnd 2:
- inc in each st (8)
Rnd 3:
- (inc, sc) around (12)
Rnd 4:
- (inc, sc 3) around (15)
- Sl st to finish; leave a long tail for sewing.
Arms (Make 2, in Golden Yellow)
Rnd 1:
- MR, 4 sc (4)
Rnd 2:
- inc in each st (8)
Rnd 3:
- sc in each st (8)
- Sl st to finish; leave tail for sewing.
Legs (Make 2, in Golden Yellow)
Rnd 1:
- MR, 5 sc (5)
Rnd 2:
- inc in each st (10)
Rnd 3:
- sc in each st (10)
- Sl st to finish; leave tail for sewing.
Ears (Make 2, in Golden Yellow)
Rnd 1: MR, 6 sc (6)
- Ch 1, turn.
- Sc in each st (6), ch 1, turn.
- Sc in each st (6).
- Sl st around MR to secure edge; pull tail tight.
- Leave tail for sewing.
Tail (Golden Yellow & Black)
Rnd 1: With black, MR, 5 sc (5)
Rnds 2–3: sc in each st (5)
Rnd 4: In black, sc 2. On 3rd st, begin color change to yellow at last yarn over. Sc last 2 in yellow (5)
Rnds 5–12: sc in each st (5)
- Sl st to finish; leave long tail.
- Lightly stuff if desired.
Assembly & Finished Size
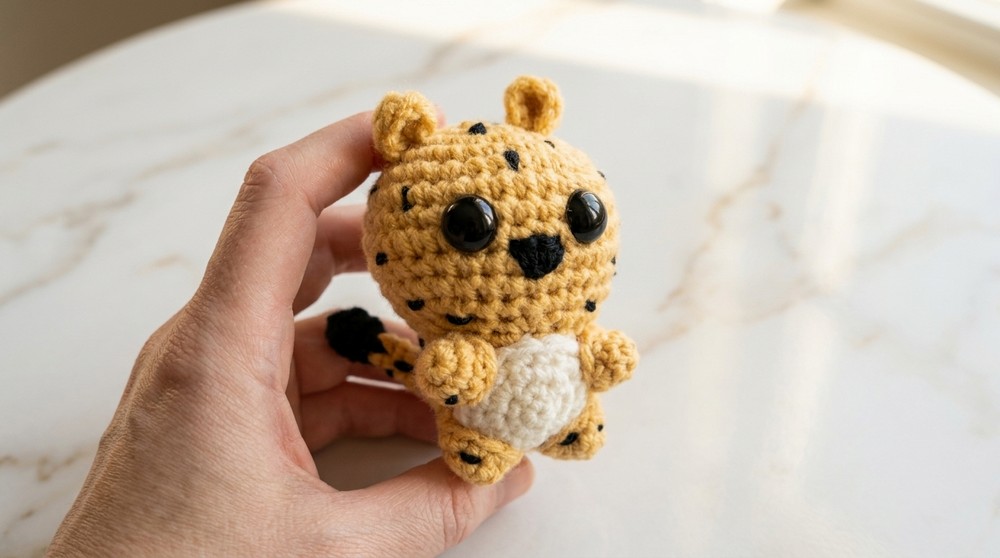
- Belly: Center the belly on the lower front, between the eyes and bottom; sew with whip stitch.
- Arms: Lightly stuff (or leave flat), sew to sides just below head at edge of belly.
- Legs: Lightly stuff (or leave flat), sew to the lower sides beneath belly.
- Ears: Shape to be gently curved, sew on top sides of head, slightly forward.
- Tail: Attach to back near bottom, curve as desired.
Embroidered Details:
Nose: Stitch a small black triangle one row below and centered between the eyes.
Spots: Using black yarn, embroider small vertical or diagonal stitches over body, arms, and tail for the “leopard” effect.
Whiskers: Optional—embroider 2–3 lines on either side of the face, under each eye.
Blush: Add with yarn or soft makeup for cheeks/inner ears as desired.
Finished Size: Approximately 10–13 cm (4–5 inches) tall.
Conclusion and Ending Words
Congratulations! You have now completed your own adorable leopard amigurumi. This easy, customizable pattern allows for creative tweaks—play with whiskers, blush, and spot placement for your own style. If you enjoyed this tutorial, share your makes and inspire others. Each handmade toy carries the warmth and care of its creator. Happy crocheting, and thank you for following along!