
Free Crochet Keychain Pattern in No Time
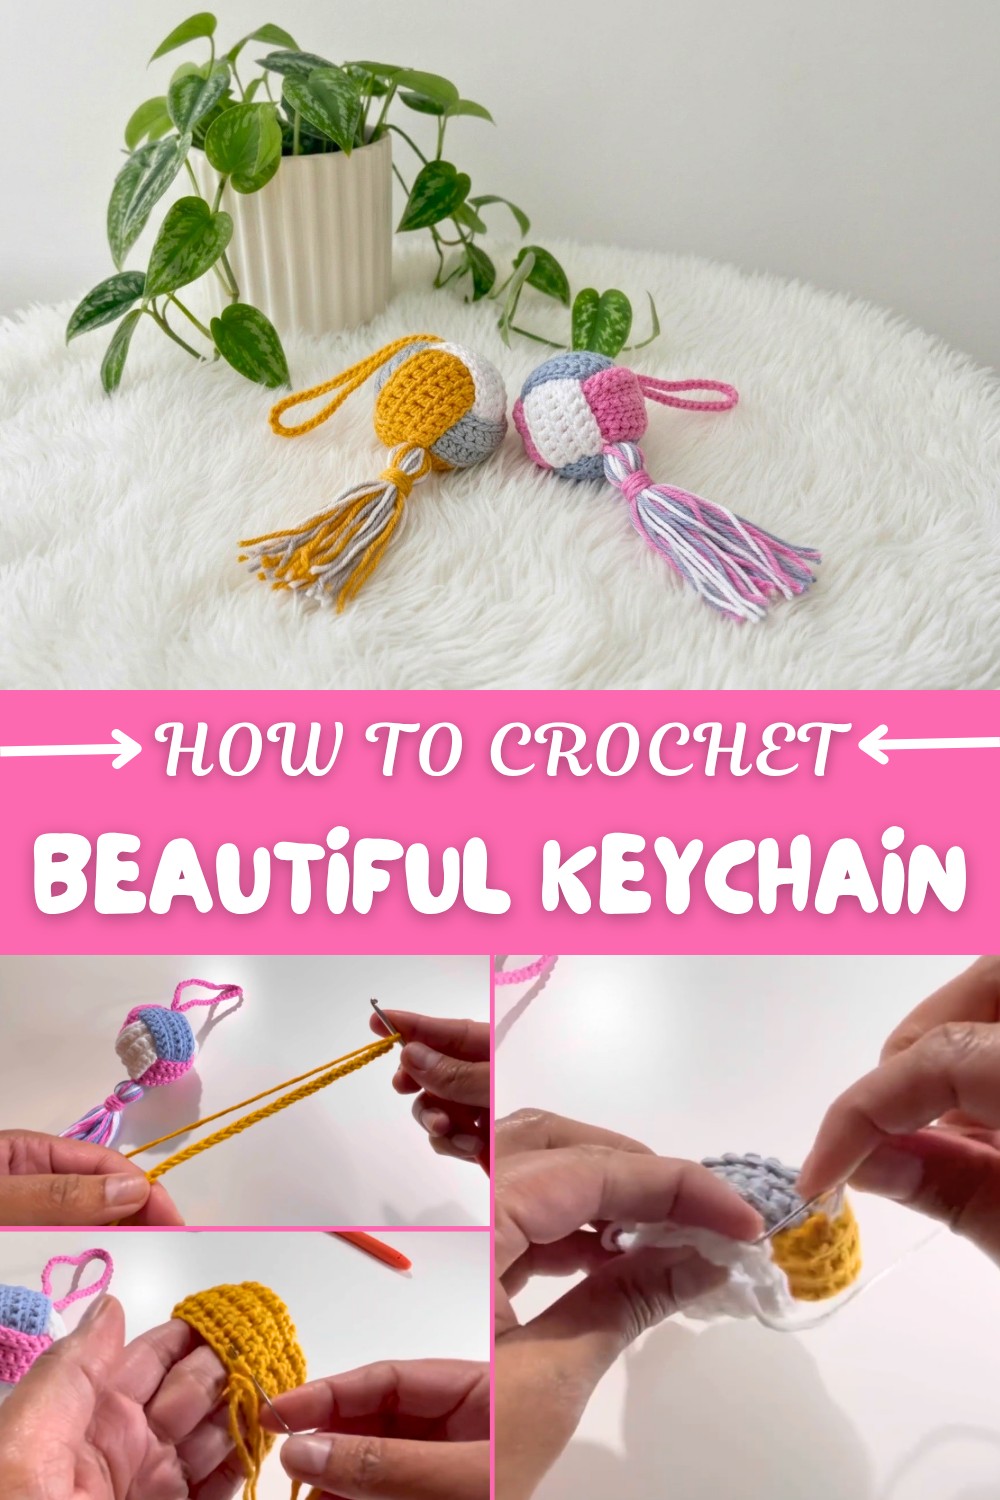
Customization options are plentiful with this pattern: pick vibrant or pastel yarn colors to suit your style, experiment with variegated yarn for a playful look, or add tiny embroidered details or bead accents for extra character. The free crochet keychain pattern is suitable for crocheters of all skill levels, especially beginners eager to practice working in rounds and mastering even stitch tension.
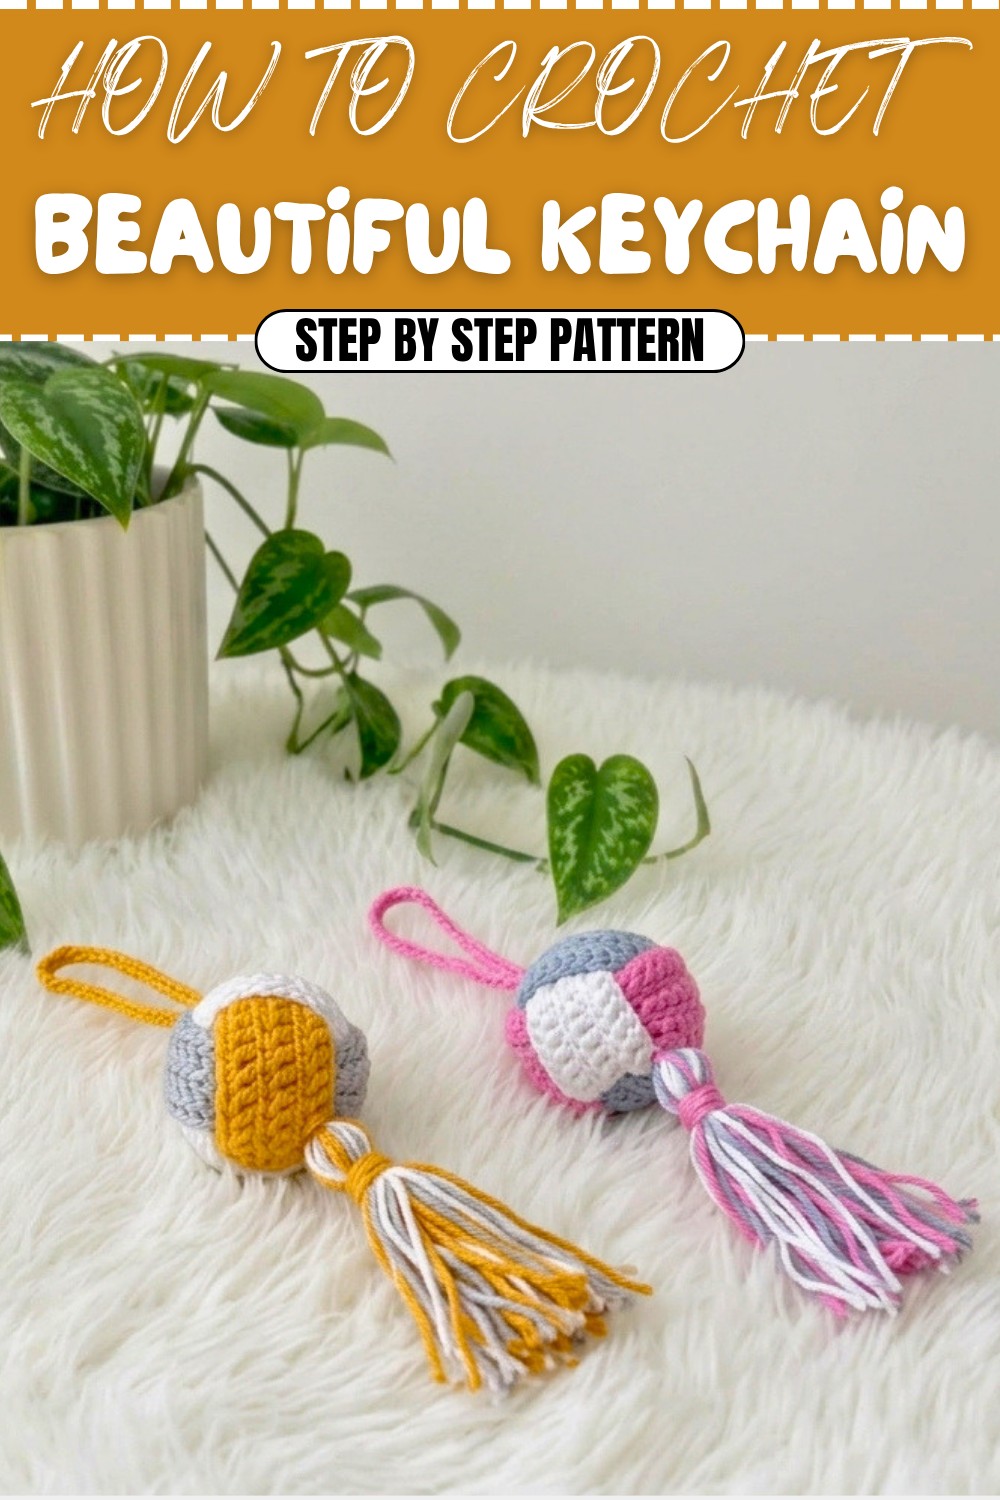
By making this simple yet delightful keychain, you’ll strengthen essential crochet techniques such as single crochet rounds, increasing and decreasing stitches, and finishing with a neat closure. It’s a perfect project for using scrap yarn and building confidence with shaping. Fun, functional, and endlessly customizable, this little keychain is a sweet way to add a handmade touch to your daily routine or offer a heartfelt, practical gift for a friend.
Crochet Colorful Keychain Ball with Tassel – Complete Detailed Pattern
This vibrant crochet keychain ball pattern incorporates three different yarn colors and a 3mm crochet hook to create a fun, textured accessory with a delightful tassel at the bottom. The design features alternating rows worked in the back loop only (BLO) and front loop only (FLO), producing a unique ribbed texture in each of the three panels of color. After creating the panels, they are carefully folded, sewn, and assembled into a spherical shape, then stuffed for volume. The finishing touch is a chained loop for easy attachment, with a multi-colored tassel adding charm and flair. Created with clear step-by-step instructions, this project is perfect for crocheters looking to sharpen their edge finishing and seaming skills while playing with color and texture.
Pattern Highlights
- Three different yarn colors required for colorwork and panel construction.
- Use of 3mm crochet hook for control and detail.
- Base panels constructed using single crochet stitches, worked alternately in Back Loop Only (BLO) and Front Loop Only (FLO) for textural effect.
- Panels are folded and sewn together at edges to form a ball.
- Assembly involves inserting panels inside one another for a 3D shape.
- Stuffed interior with an organized pleat system using a plucker tool.
- Addition of a chain loop for keychain functionality.
- A colorful tassel made from all three yarn colors decorates the bottom.
- Finished product is compact, visually striking, and durable.
Notes
- When working with multiple colors, keep tension consistent to maintain even edges.
- The third panel is not sewn on at edges until final assembly to preserve the structure of the ball.
- Stuffing should be firm but not overstuffed to keep the keychain lightweight.
- The plucker tool helps to neaten the internal pleats and give the ball a smooth finish.
- All sewing is done with a needle to ensure secure seams.
- Tassel wrapping and trimming ensure a neat, professional look.
- Use yarn scraps of contrasting colors for the tassel for added vibrancy.
Skill Level
Intermediate: This project demands familiarity with single crochet, working in back and front loops only, seaming techniques, and ability to crochet a consistent gauge. Not recommended for beginners without previous experience with similar stitches and seaming.
Materials
- Three yarn colors (size or weight compatible with 3mm hook; suggested DK or Light Worsted)
- 3mm crochet hook
- Tapestry needle for sewing/seaming
- Stuffing/filling (fiberfill recommended)
- Plucker tool (optional but recommended to shape internal pleats)
- Card or small stiff object approx. 5-6 cm (2–2.5 inches) wide for wrapping tassel
- Scissors
Measurements / Sizing
- Base panel width: 28 stitches across (29 chains foundation)
- Height: 6 rows of alternating BLO and FLO
- Chain loop length: 40 chains (approximate length suitable for keychain use)
- Tassel length: Approximately 5-6 cm after trimming
- Finished ball diameter: Approximate 4-5 cm (depending on yarn and stuffing)
Gauge & Stitch Pattern
- Gauge is not critical but consistent tension will affect panel size and assembly fit.
- Stitch pattern:
- Rows alternate between Back Loop Only (BLO) and Front Loop Only (FLO) single crochet stitches.
- Provides ribbed texture on front and back surfaces.
Stitch Abbreviations
- ch – chain
- sc – single crochet
- BLO – back loop only
- FLO – front loop only
- sl st – slip stitch (not applicable in this pattern but for reference)
- st(s) – stitch(es)
Special Techniques
- Working in Back Loop Only (BLO): Insert hook only in the back leg or loop of the stitch to create a ridge on the fabric.
- Working in Front Loop Only (FLO): Insert hook only into the front leg or loop of the stitch.
- Sewing edges with needle: Using a yarn needle to sew folded panels together; keep tension firm without puckering.
- Using a plucker tool: To organize and smooth pleats inside the ball before closing.
The Pattern
Step 1: Creating the Base Panels (Make 3 – One for Each Color)
Complete the following steps for each of the three yarn colors, but do not sew the edges for the third panel yet.
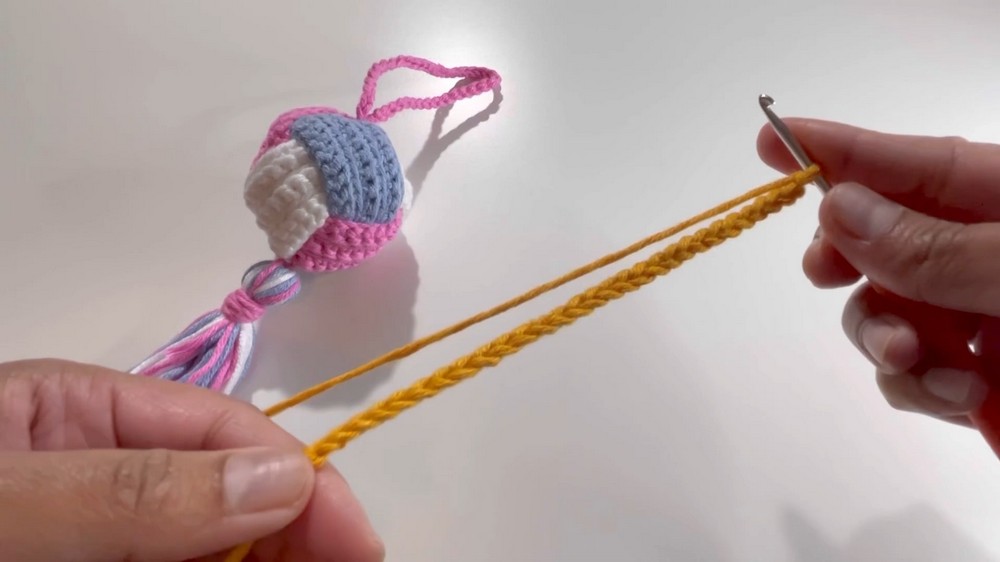
Starting Chain
- Begin with a slip knot.
- Chain 29.
Row 1
- Single crochet (sc) into the 2nd chain from the hook.
- Continue sc across the entire chain—you should have 28 single crochet stitches total.
Row 2
- Chain 1, turn your work.
- Single crochet across all 28 stitches, working in the back loop only (BLO).
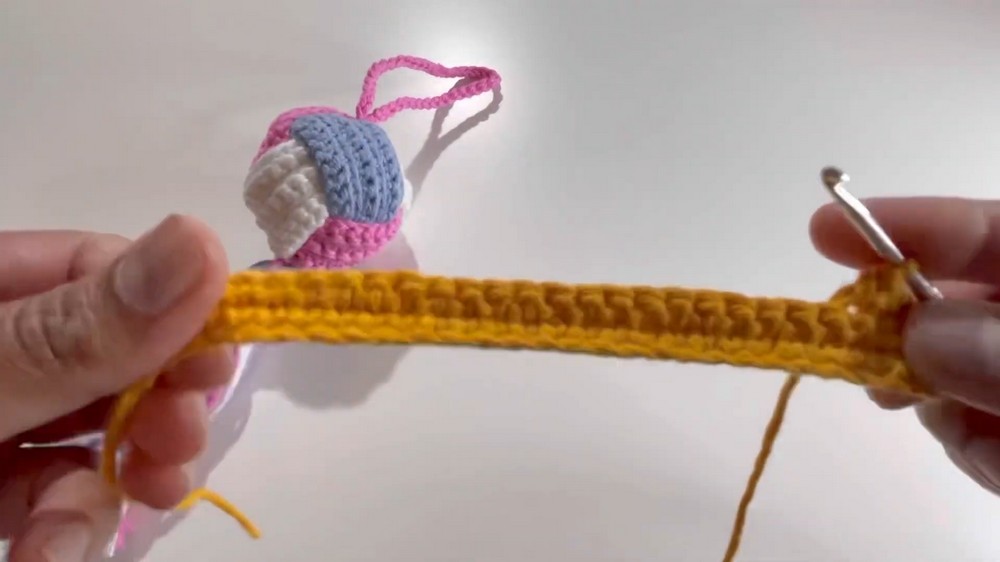
Row 3
- Chain 1, turn.
- Single crochet across all 28 stitches, working in the front loop only (FLO).
Rows 4 to 6
- Continue alternating between BLO and FLO for rows 4 (BLO), 5 (FLO), and 6 (BLO).
At the end of these rows, each panel will have a textured ribbed pattern with six rows total.
Step 2: Assembly
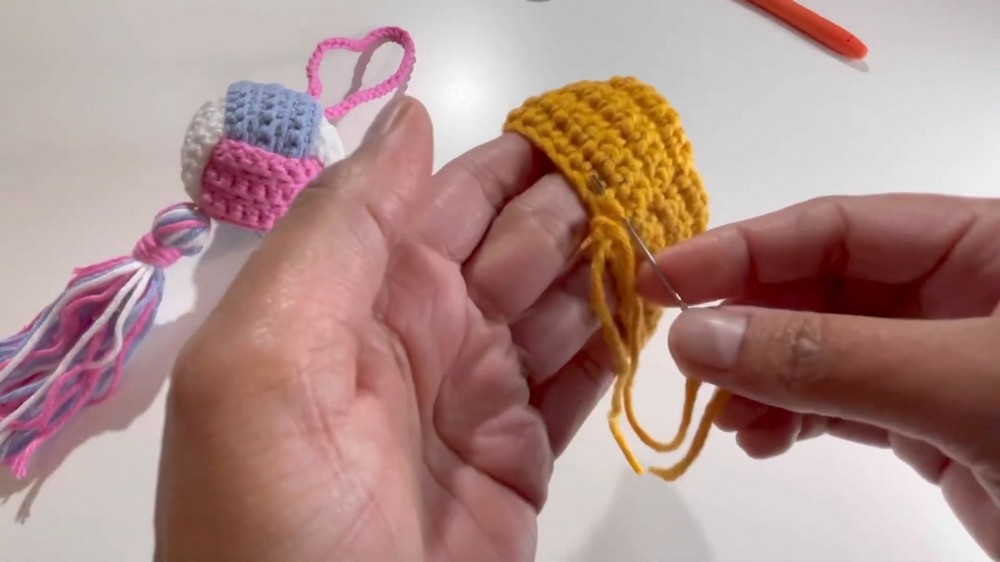
Attach First Two Panels
- Fold each of the first two color pieces so that the front portions face inside and the back portions face outside.
- Use a tapestry needle and yarn to sew the edges of these two panels together securely.
Combine All Three Panels
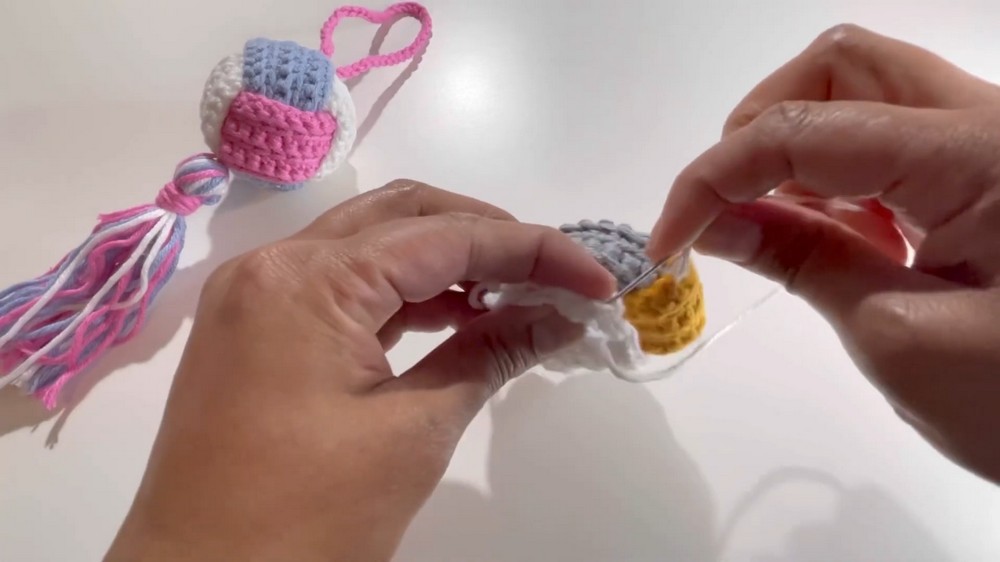
- Insert the second panel inside the first folded and sewn panel.
- Insert the third panel through the center formed by the first two panels.
- Sew the tops of the three panels together firmly to close the opening and form a ball shape.
Stuffing the Ball
- Insert stuffing/filling into the ball through the open bottom before completing the final closure. Use fiberfill for a light but firm fill.
- Use a plucker tool if available to gently organize and arrange the internal pleats to maintain a smooth, round appearance.
Step 3: Adding the Loop and Tassel
Loop for Keyring
- Make a slip knot with any yarn color.
- Chain 40.
- Attach the end of the chain loop firmly at the top of the ball using a needle and secure sewing stitches.
Tassel Construction
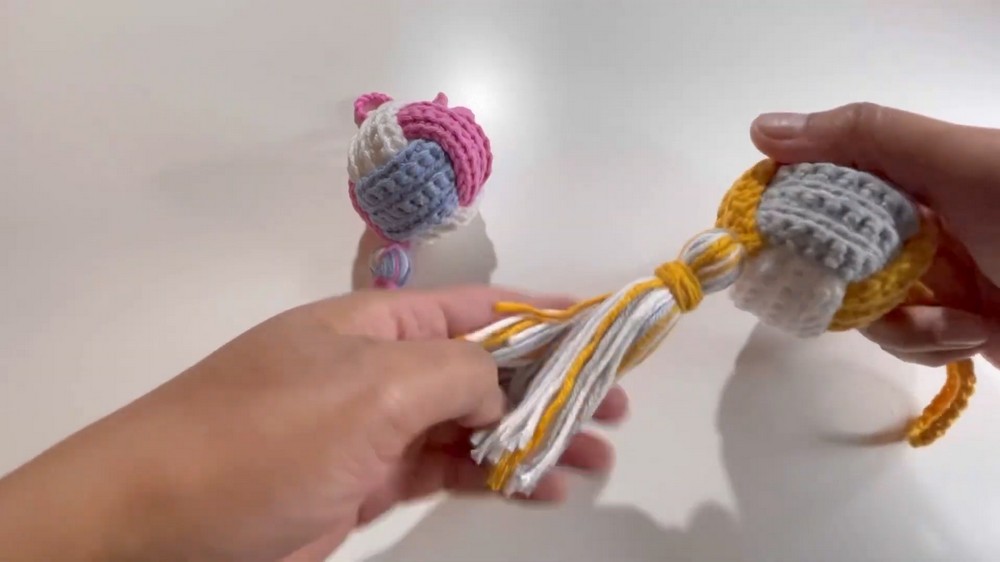
- Wrap all three yarn colors combined around a card approximately 12 times to create the tassel strands.
- Carefully slide the yarn bundle off the card, tie one end tightly.
- Wrap another small piece of yarn around the top of the bundle several times to secure it.
- Trim the ends evenly to form a neat tassel.
- Sew or tie the tassel securely to the bottom of the keychain ball.
Assembly & Finished Size
After sewing the loop and tassel, your keychain ball will have a roughly 4–5 cm diameter, with the tassel adding a playful 5–6 cm length beneath. The chain loop should be comfortably sized to attach to bags, keys, or zippers.
Assembly is critical to maintain the shape—the panels interlock inside each other, sewn firmly at the top, with stuffing inside to keep structure. The ribbed textured pattern provides a tactile appeal and polish to the finished accessory.
Conclusion
This colorful crochet keychain project elegantly combines simple stitch techniques with color changes and fine assembly skills to produce a delightful accessory that is both functional and decorative. By focusing on working in the back and front loops selectively, sewing folded panels precisely, and finishing with a colorful tassel, you will create a piece that showcases texture, color, and craftsmanship. The step-by-step approach with clearly defined processes ensures clarity and success for intermediate crocheters eager to expand their stitch repertoire and seaming confidence. Once completed, this keychain ball makes a perfect gift or a personal statement of your handmade artistry.