
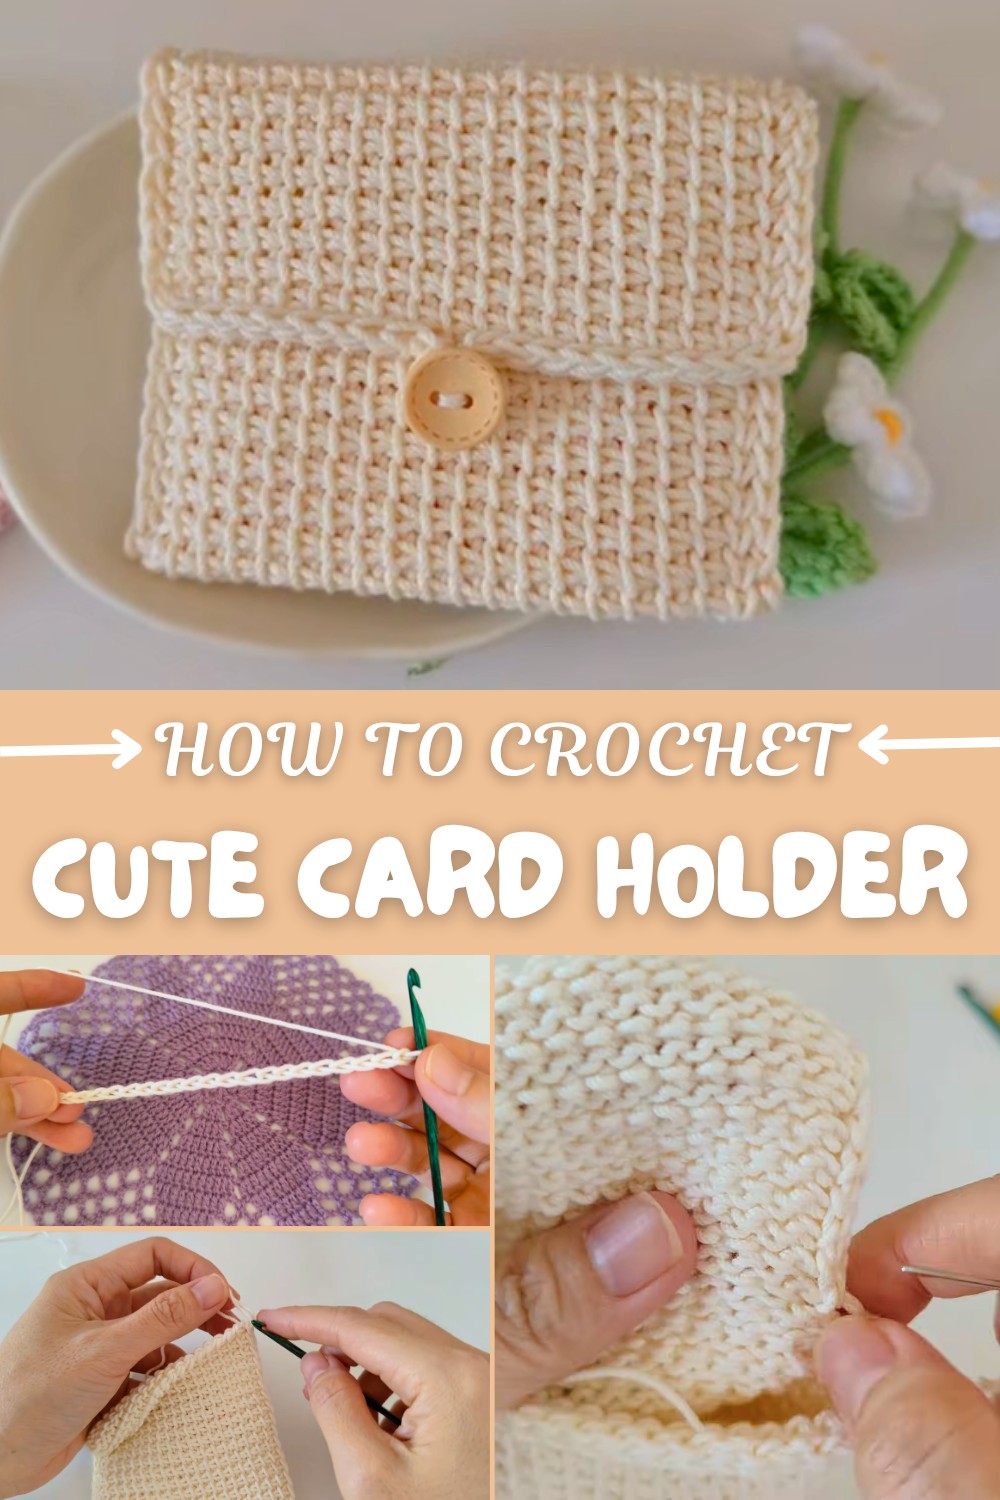
Free Crochet Card Holder Pattern with Tunisian Stitch
When someone wants to make something practical and stylish with crochet, a card holder is a perfect choice. You don’t need a lot of experience, and it’s a quick project for anyone who wants to use their hands during free time. Making a crochet card holder is useful for organizing your cards and makes a thoughtful little gift. It’s easy to follow and great for students or anyone just starting in crochet.
Crochet Card Holder Free Pattern– Simple Tunisian Instructions
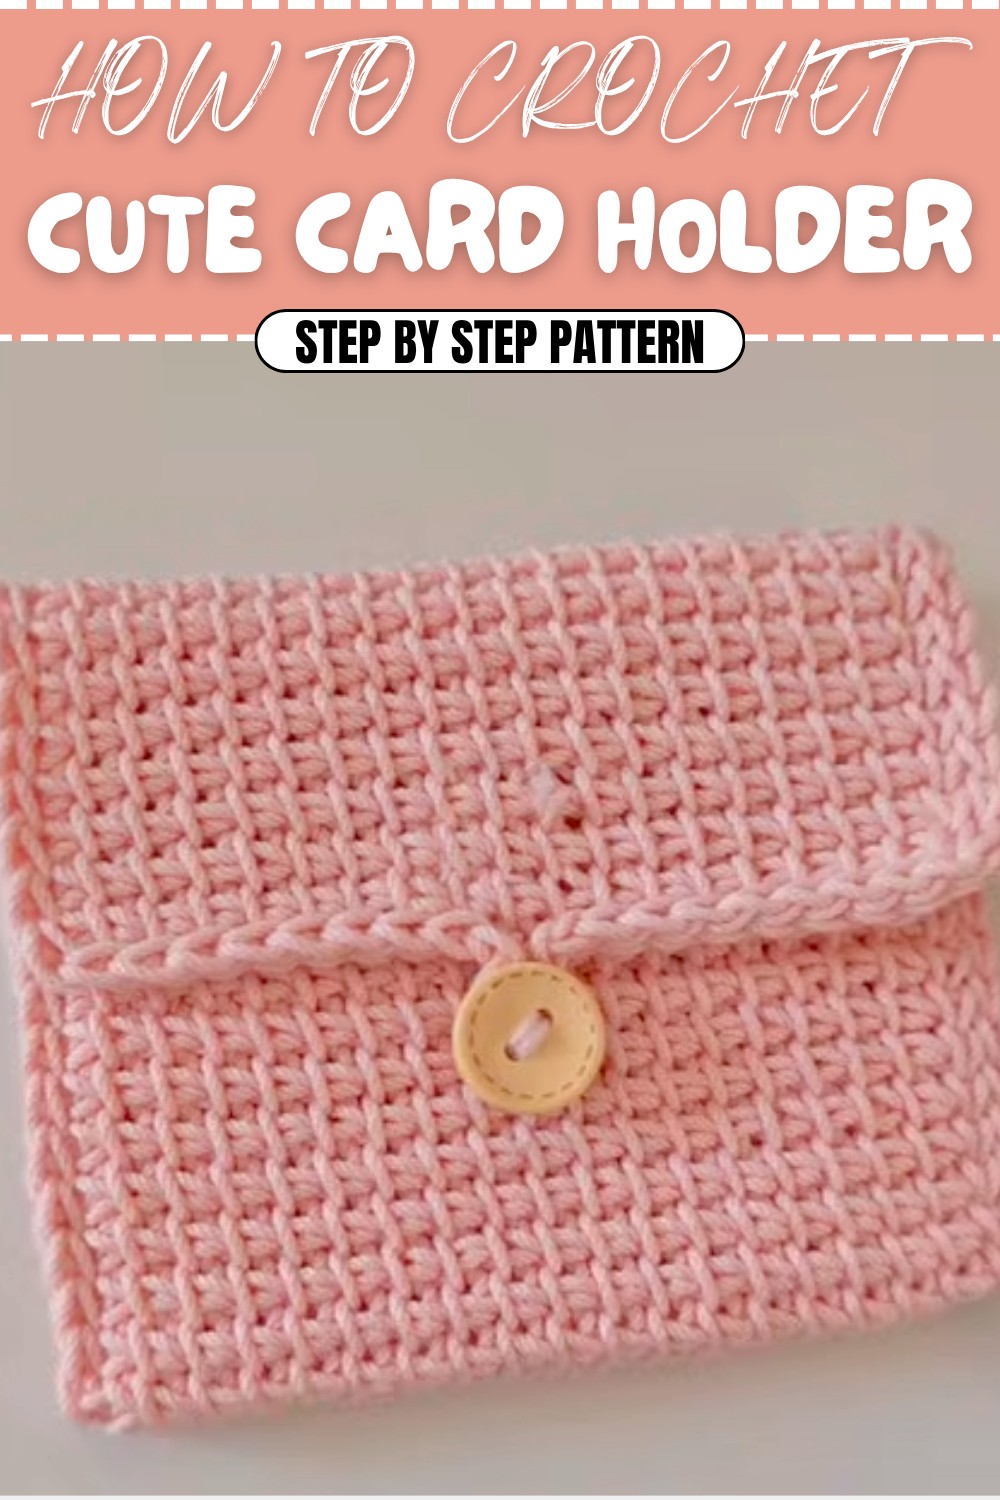
One thing that will make your card holder stand out is the Tunisian stitch, which gives the material a neat, woven texture and adds durability. You can choose any colors you prefer to reflect your personality or match your accessories. This simple design works well with cotton or soft acrylic yarn, and you only need a crochet hook and a button for closure. With just a few adjustments to size or by adding decorations, you can turn this card holder into a coin pouch, a small wallet, or even a pocket for earphones.
There are a few important steps to remember while making your card holder. You begin with a slip knot and chain around twenty stitches, but this number might change depending on the size of your cards. Pay attention to keeping all stitches neat using the Tunisian stitch, which involves moving forward and returning on each row.
The rectangle you build needs to be about three times the height of a card so it can fold into a pocket with a flap. Once the main piece is finished, fold it carefully and use slip stitches along the sides to shape the pocket. Adding a button and crocheting a loop gives a secure closure, and weaving in all the loose ends helps your card holder look neat and tidy.
Sizing Guide
- Standard width for the holder: 8 cm (about 20 chains for most yarn and hooks)
- Standard height for the rectangle: 12 cm
- Make the rectangle about three times the height of a card so you can fold it with a flap
- You can easily change the size: add or subtract chains for width, add or subtract rows for height
- Adjust sizing as needed by measuring your card against your crochet piece before sewing the sides
Tunisian Simple Card Holder Pattern
Materials
- 100% Cotton or smooth DK/light worsted yarn (choose a color you love)
- 5 mm Tunisian crochet hook (or regular hook with no handle grip)
- Yarn needle (for sewing and weaving in ends)
- Scissors
- Button (for closure)
- Stitch markers (optional)
Skill Level
- Intermediate
You should be comfortable with the Tunisian Simple Stitch and have basic seaming skills.
Abbreviations (US Terms)
- ch – chain
- sl st – slip stitch
- st – stitch
- yo – yarn over
Special Notes
- Piece is worked flat in rows using the Tunisian Simple Stitch (TSS).
- The project is assembled by folding and slip stitching the sides.
- Finished size fits standard bank and ID cards; add more chains for a wider wallet.
Pattern
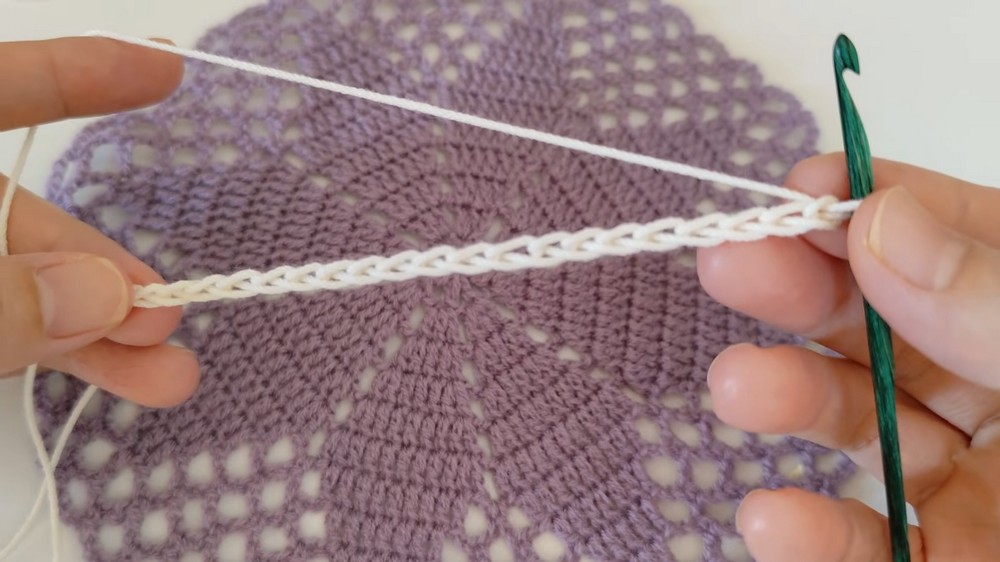
1. Foundation Chain
- Make a slip knot.
- Ch 20 (or more/less for your preferred card holder width).Start with a slip knot for security. Now chain 20 stitches for the foundation; add or reduce chains for the width you'd like. This chain determines how wide your finished card holder will be.
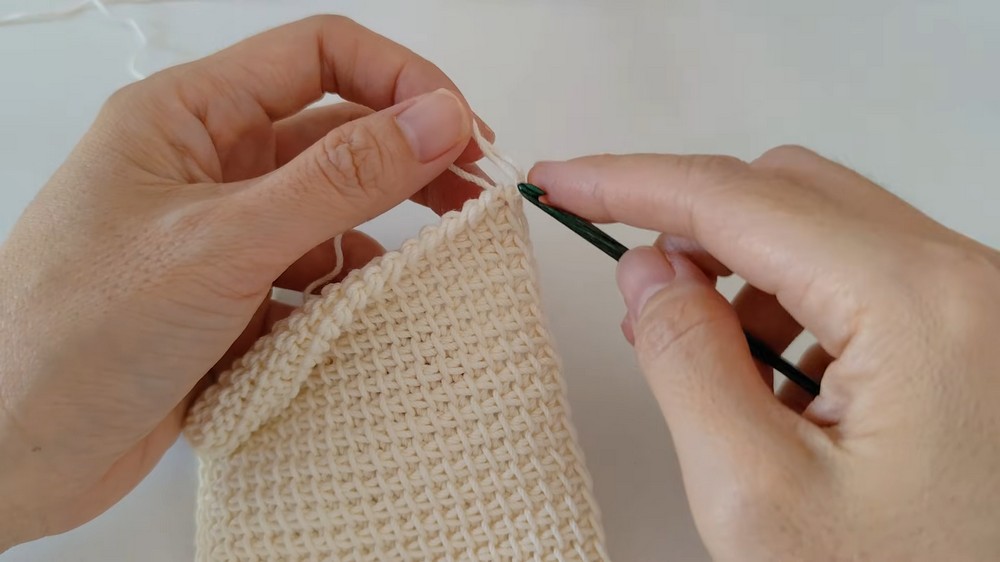
2. First Row (Tunisian Simple Stitch Forward Pass)
- Insert your hook into the back bump of the 2nd ch from hook, yo, pull up a loop.
- Continue pulling up a loop in each chain across. (You should have 20 loops on your hook).Each loop on your hook acts like a column of stitches for Tunisian crochet. You'll end up with as many loops as your starting chains. Work into the back “bump” of the chain for a neater edge.
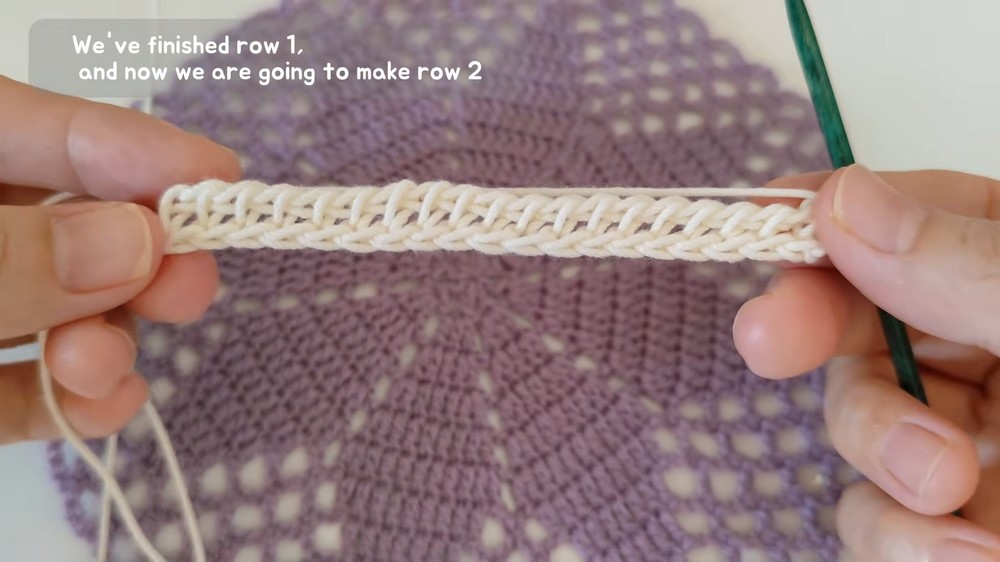
3. First Row (Return Pass)
- Yo, pull through 1 loop (edge stitch).
- Then [yo, pull through 2 loops] repeatedly until you have only one loop left on the hook.This “return pass” closes the Tunisian row, drawing your fabric together horizontally. The first pull-through counts as the edge stitch; after that, always pull through two until only one loop remains.
4. Tunisian Simple Stitch Rows (Rows 2 – 39)
- Do NOT turn your work.
- Skip the first vertical bar (already on hook), insert hook under the next vertical bar, yo, pull up a loop.
- Repeat across for each vertical bar of the row.
- At the last stitch, insert hook through both front and back loops (edge stitch), yo, pull up a loop.
- Return pass: yo, pull through 1, then yo, pull through 2 across as before.
- Repeat this row until the fabric is long enough to fold into 3 sections (about 39 rows total).Tunisian helps you create a neat, woven-like fabric without turning the work. The first loop counts as your first stitch and isn't worked into. The last stitch is always through both edge loops for a strong, tidy edge. For most cards, 39 rows gives you enough for the body and flap—check by folding the fabric in three parts.
5. Binding Off
- With one loop left, insert hook under first vertical bar, yo, pull through both bar and loop (sl st bind-off).
- Repeat in each vertical bar and in both edge loops at the row end.
- Fasten off, leaving a long tail for assembly.This creates a neat, flexible edge matching the starting edge. The slip stitch bind-off prevents the last row from curling or stretching. Leave a tail to sew your wallet together later.
6. Fold and Mark Sections
- Fold the finished rectangle into thirds with the bottom two-thirds as the pocket and the top third as the flap.
- Mark the side edges at the pocket location using locking stitch markers or contrasting yarn.Test the fit by folding the fabric over your cards. Use stitch markers to show where you’ll seam the sides—this ensures your seam is even on both sides and the card holder opens correctly.

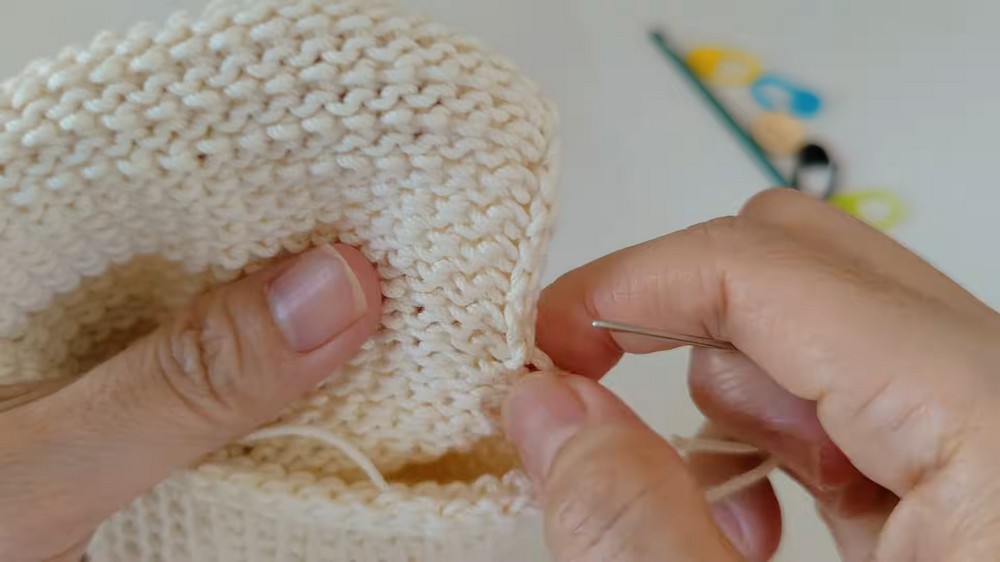
7. Side Seam: Creating the Pocket
- Align edges. Join yarn at bottom side of the pocket.
- Slip stitch through both layers along each pocket side to the flap fold.
- At each pocket top corner, ch 1 to help the edge curve smoothly.
- Fasten off at each side; weave in the ends.Slip stitching the sides creates the pouch shape. At the upper pocket corner, chain 1 helps prevent puckering. Be gentle—tight slip stitching can make the edge curl.
8. Edging (Optional but recommended)
- Slip stitch evenly around the raw edge of the flap and the top edge of the pocket for a finished look.
- When you reach the center of the flap, ch 5 (or as many as needed for your button), then sl st into the same stitch to make a button loop.
- Complete the slip stitch edging around the flap. Fasten off and weave in all ends.Adding a slip stitch border stabilizes the fabric and makes the wallet look clean and neat. The chain loop becomes the closure—make it as long as you need for your chosen button.
9. Attaching the Button
- Sew a button to the wallet’s front body, lining it up with the button loop.
- You can use yarn or regular thread for this step; secure well.Mark the center of the body below the flap, so the button fits precisely into the chain loop. Sew it on tightly so it holds up under use.
Conclusion
You have finished a minimalist, functional card holder in Tunisian Simple Stitch! This project is great for practicing even stitches, edges, and finishing techniques. Your new holder will keep cards or IDs safe, and you can customize the colors or add embellishment for your style.
Pattern Corrections & Tips
- Adjust the starting chain or row count for custom sizes.
- Keep your tension even to avoid a “wonky” or curled wallet.
- Slip stitch on the last bind-off row prevents the edge from stretching out.
- Block your finished piece lightly to shape if it curls.
- Use thinner buttons if you want a truly flat wallet, or fancier ones for style.