
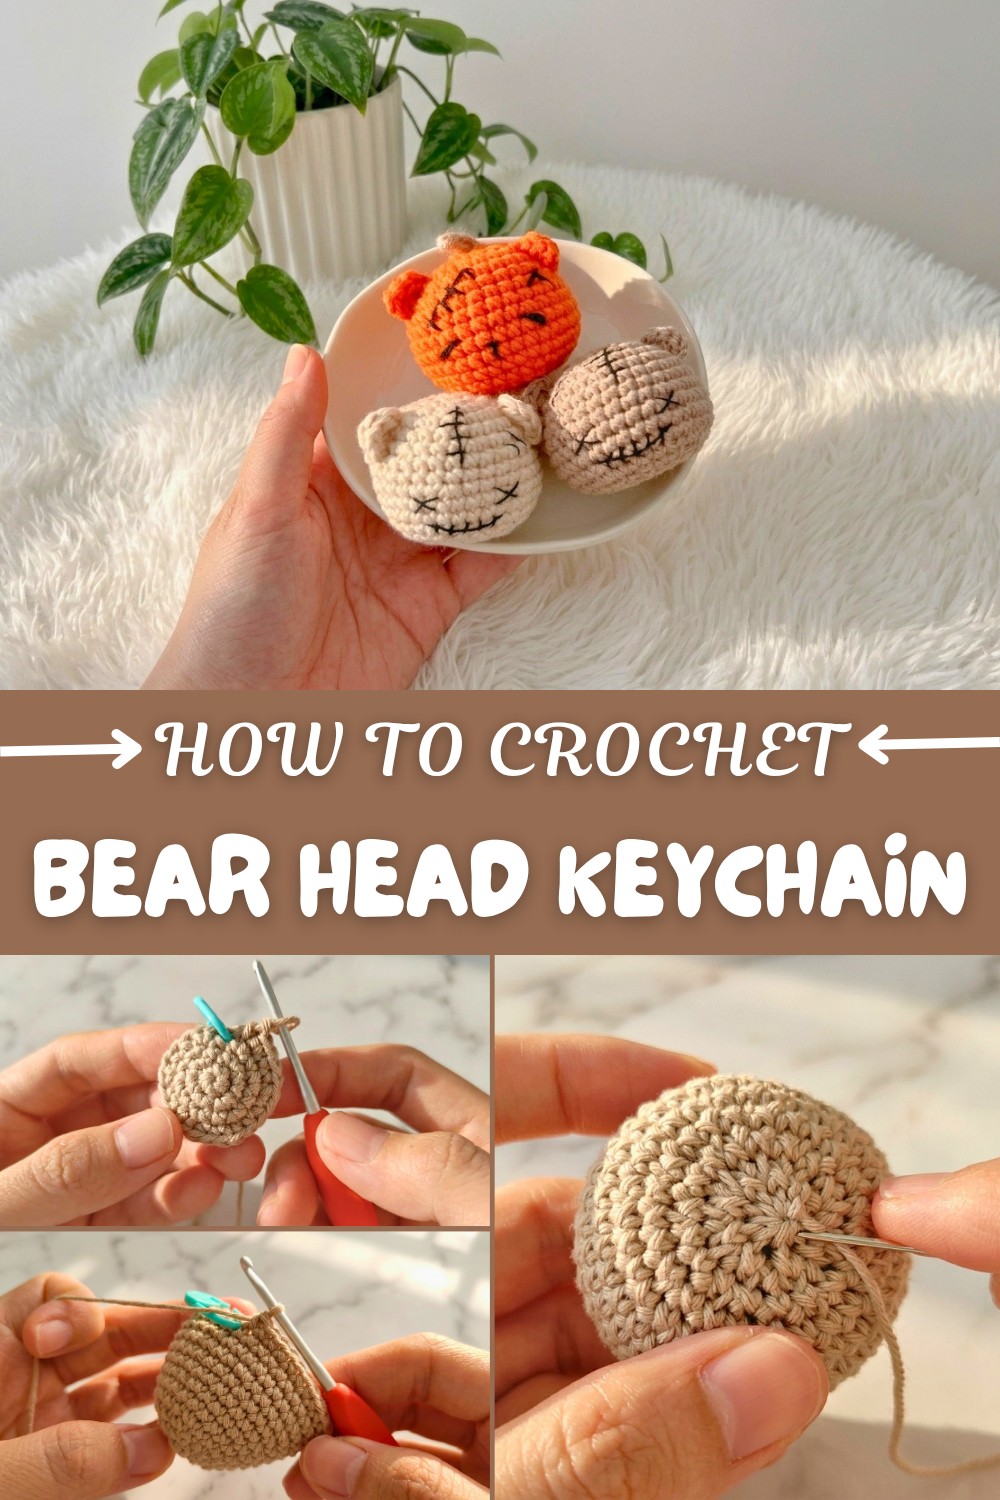
Free Crochet Bear Head Keychain Pattern (Beginner Friendly)
Holding a tiny, soft bear head in your palm a delightful little charm that started as just a ball of yarn and your own hands. Many crafters recall the moment they tried their first amigurumi project, and a bear head keychain is one of the most welcoming introductions to this hobby. With just a crochet hook, some simple yarn, and step-by-step guidance like you’d find in popular video tutorials, you can turn quiet evenings into a time of creative satisfaction. Whether you are making a gift for a friend or adding personality to your backpack, starting this project promises a relaxing, fulfilling experience.
Quick & Easy Free Bear Head Keychain Crochet Pattern
This adorable bear head keychain features classic round lines, perky little ears, and a sweet expression. It looks especially charming in soft browns, creams, or even playful pastel shades—choose your favorite yarn color for a personalized touch. Commonly, the single crochet stitch is used, making it perfect for those new to amigurumi.
A safety nose and eyes, or simply a bit of black yarn, add character and charm. By making simple changes in ear shape or thread color, you can transform this bear head into other cute animals like a bunny or cat, making your crochet journey even more versatile.
Common Issues and Easy Fixes
- Gaps in stitches: Avoid loose stitches; keep consistent tension, especially if stuffing peeks out.
- Misshapen bear head: Count stitches each round to ensure your sphere stays evenly shaped.
- Loose parts: Fasten off ends securely when sewing on ears, eyes, and the keychain loop.
Always check your work for tight knots and symmetrical features—adjust stuffing as you go to keep the shape round. Most finished keychains measure around 1.5 to 2 inches in diameter, perfect for your keys or as a backpack buddy.
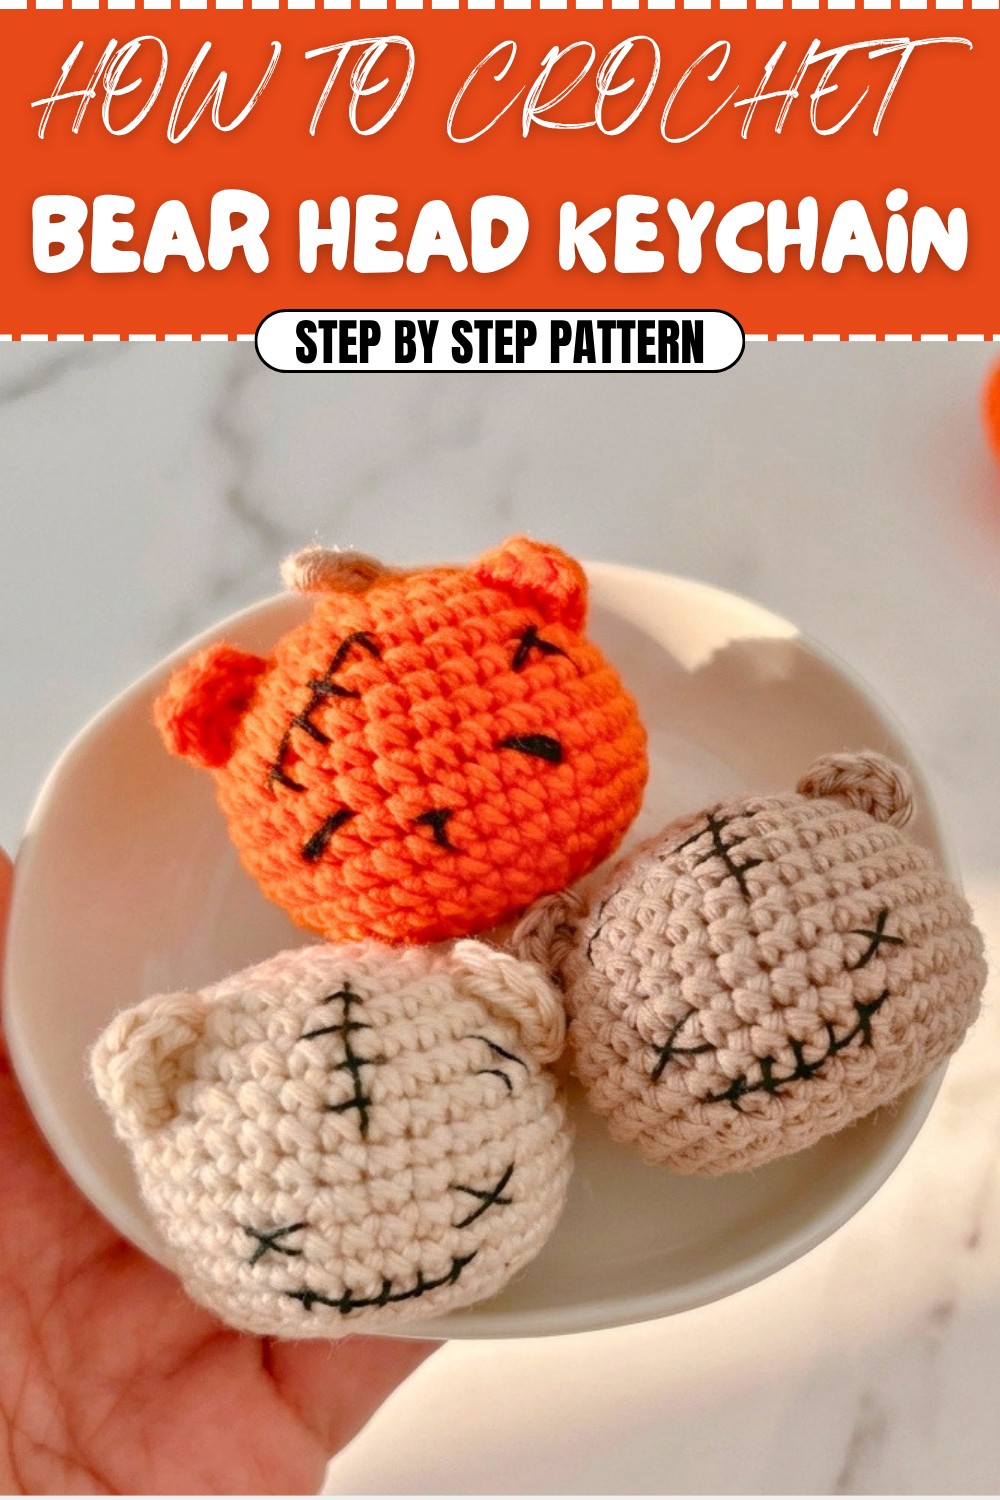
Spooky Halloween Bear Head Crochet Pattern
Let’s make a no-sew Halloween Bear Head that’s as cute as it is spooky. This bear head is worked in a round, and you can add your own embroidered scars and details. The ears are crocheted directly on, so easy.
Skill Level & Terminology
Skill Level: Beginner
Terminology: US Crochet Terms
Materials & Tools
- Worsted weight yarn (black, gray, orange, or any color you like)
- 2.75mm–3.5mm crochet hook
- Yarn needle
- Black yarn or embroidery thread for face details
- Polyester fiberfill/Stuffing
- Scissors
- 2 safety eyes (6–8mm) or black yarn for eyes
Gauge
No strict gauge. Stitches should be tight enough that stuffing doesn’t poke out.
Finished Size
About 2.5–3" (6–7.5 cm) across, depending on yarn and hook size.
Abbreviations
| Abbreviation | Meaning |
|---|---|
| MR | Magic ring |
| sc | Single crochet |
| inc | Increase (2 sc in one stitch) |
| dec | Decrease (sc 2 together) |
| hdc | Half double crochet |
| slst | Slip stitch |
| ch | Chain |
Special Stitch Instructions
- Magic Ring (MR): Make a loop, insert hook, pull up yarn, ch 1, crochet into ring; pull tail to close.
- Increase (inc): 2 sc in the same stitch.
- Decrease (dec): sc 2 together as one stitch.
- Half Double Crochet (hdc): Yarn over, insert hook, pull up loop (3 on hook), yarn over, pull through all 3.
The Pattern
Bear Head
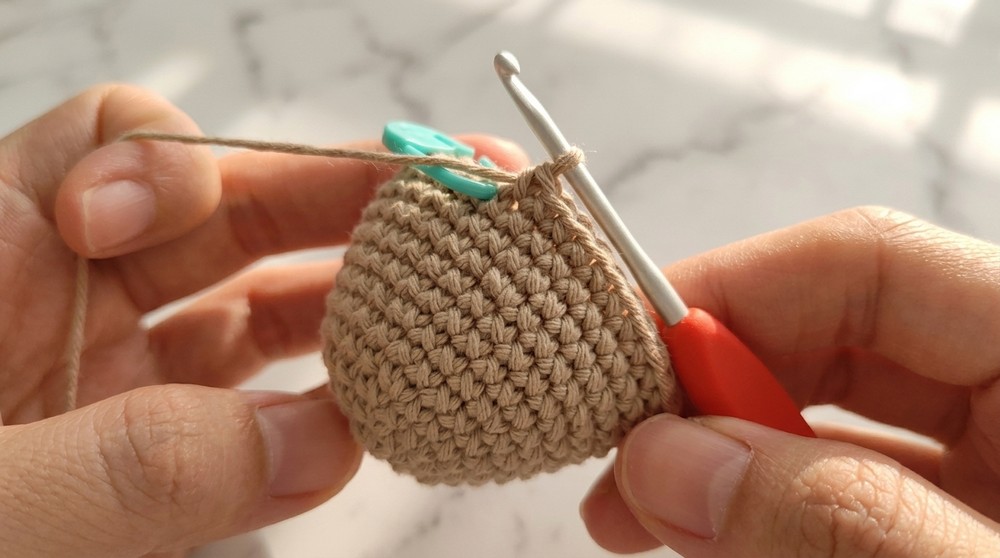
- Round 1: MR, 6 sc (6)
- Round 2: 2 sc in each stitch (inc) around (12)
- Round 3: (1 sc, inc) repeat around (18)
- Round 4: (1 sc, inc, 1 sc) repeat 6 times (24)
- Round 5: 1 sc in each stitch around (24)
- Round 6: (3 sc, inc) repeat 6 times (30)
- Round 7: 1 sc in each stitch around (30)
- Round 8: 1 sc in each stitch around (30)
- Round 9: (2 sc, inc, 2 sc) repeat 6 times (36)
- Round 10: 1 sc in each stitch around (36)
- Round 11: 1 sc in each stitch around (36)
- Round 12: 1 sc in each stitch around (36)
- Round 13: (2 sc, dec, 2 sc) repeat 6 times (30)
- Round 14: (3 sc, dec) repeat 6 times (24)
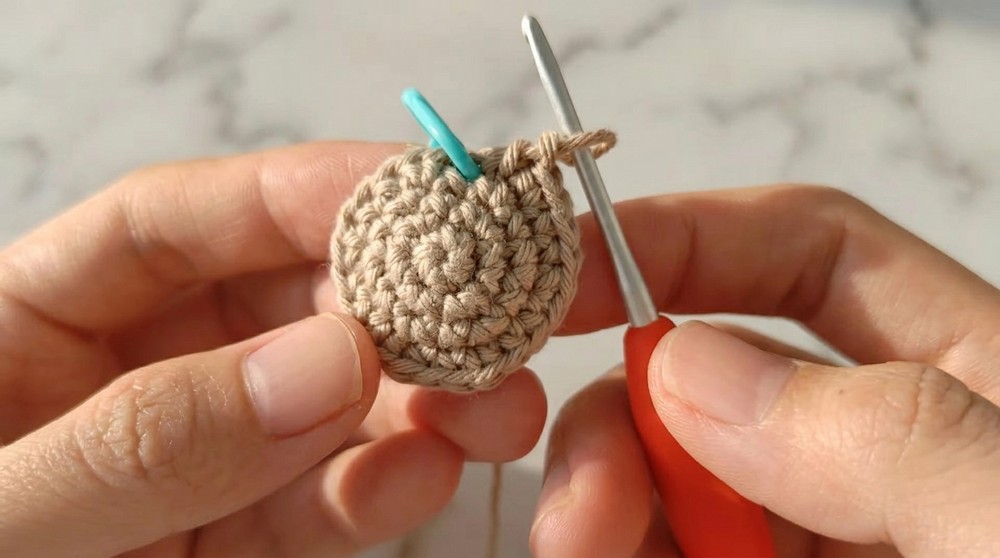
- Round 15: (1 sc, dec, 1 sc) repeat 6 times (18)Start stuffing the head here, a little at a time.
- Round 16: dec around (9)Continue stuffing as you go and close.
- Closing: Use a yarn needle to weave through the front loops of the last 9 stitches, pull to close, secure and hide tail inside.

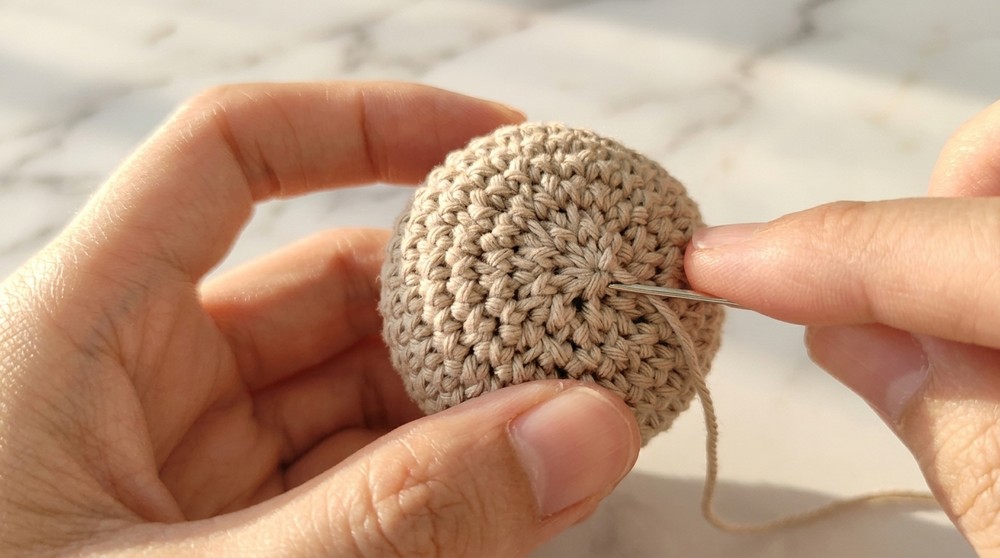
Easy explanation:
You are making a big ball for the bear head. Each “inc” means 2 sc in one stitch. When you see “dec,” crochet two stitches together. Start stuffing when the opening is still wide enough and add more stuffing as you close.
Eyes, Mouth, and Scars
- Eyes: Sew on or add safety eyes between rounds 10 and 11, about 4 stitches apart.
- Mouth: Embroider with black thread or yarn around round 12.
- Scars: Use your yarn needle and black yarn to make short straight or slanted lines across the face.
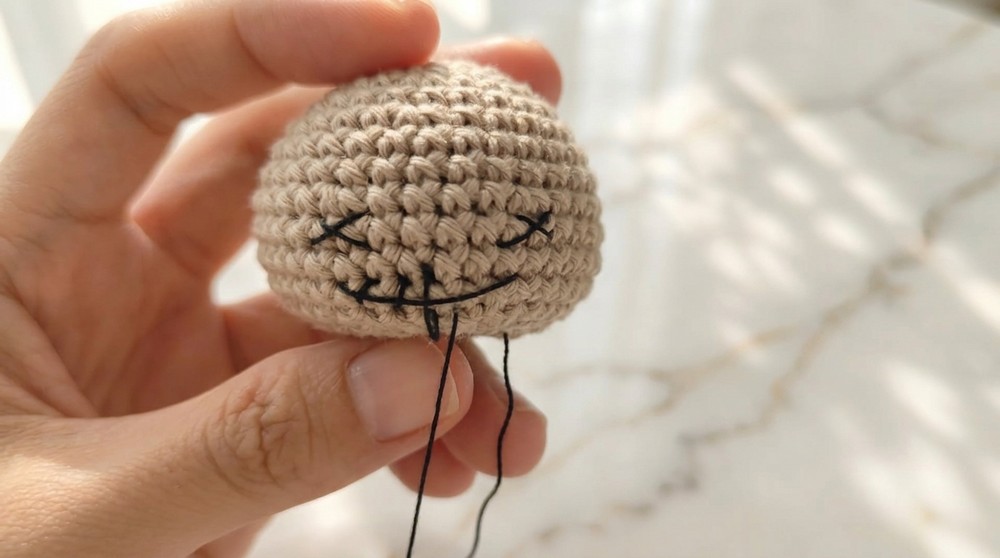
Easy explanation:
After the head is finished, use a needle and thread/yarn to make the bear’s face. Place the eyes first, then stitch a mouth and add as many “scary” scars as you want—this makes your bear unique!
Ears (Crocheted Directly On)
- Choose a spot at round 5 or 6 on each side for each ear.
- Attach yarn, ch 1.
- In the next stitch, 5 hdc (all in the same stitch).
- Slst in the next stitch, fasten off, and hide yarn end inside.
- Make the second ear the same way but in the opposite direction for symmetry.
Easy explanation:
You do not have to make the ears separately. Just attach yarn to the side of the head and make a little “fan” of 5 hdc in one spot—it looks like an ear! Repeat for the other side.
Assembly & Finishing
- Make sure the head is firmly stuffed and closed.
- Add face embroidery and scars.
- Crochet both ears directly onto the head using the steps above.
- Weave in any remaining yarn ends inside the head.
Easy explanation:
Double-check your stuffing and face details, then add the ears. Hide tails inside and your bear head is done—ready for Halloween!
Enjoy your spooky bear
Each bear will be a little different. Change colors and add more or fewer scars to make each one fun and unique.