
How to Beautifully Crochet Glove Pattern to Keep You Fashionable
Budget-Friendly Free Crochet Glove Pattern for Cozy Hands
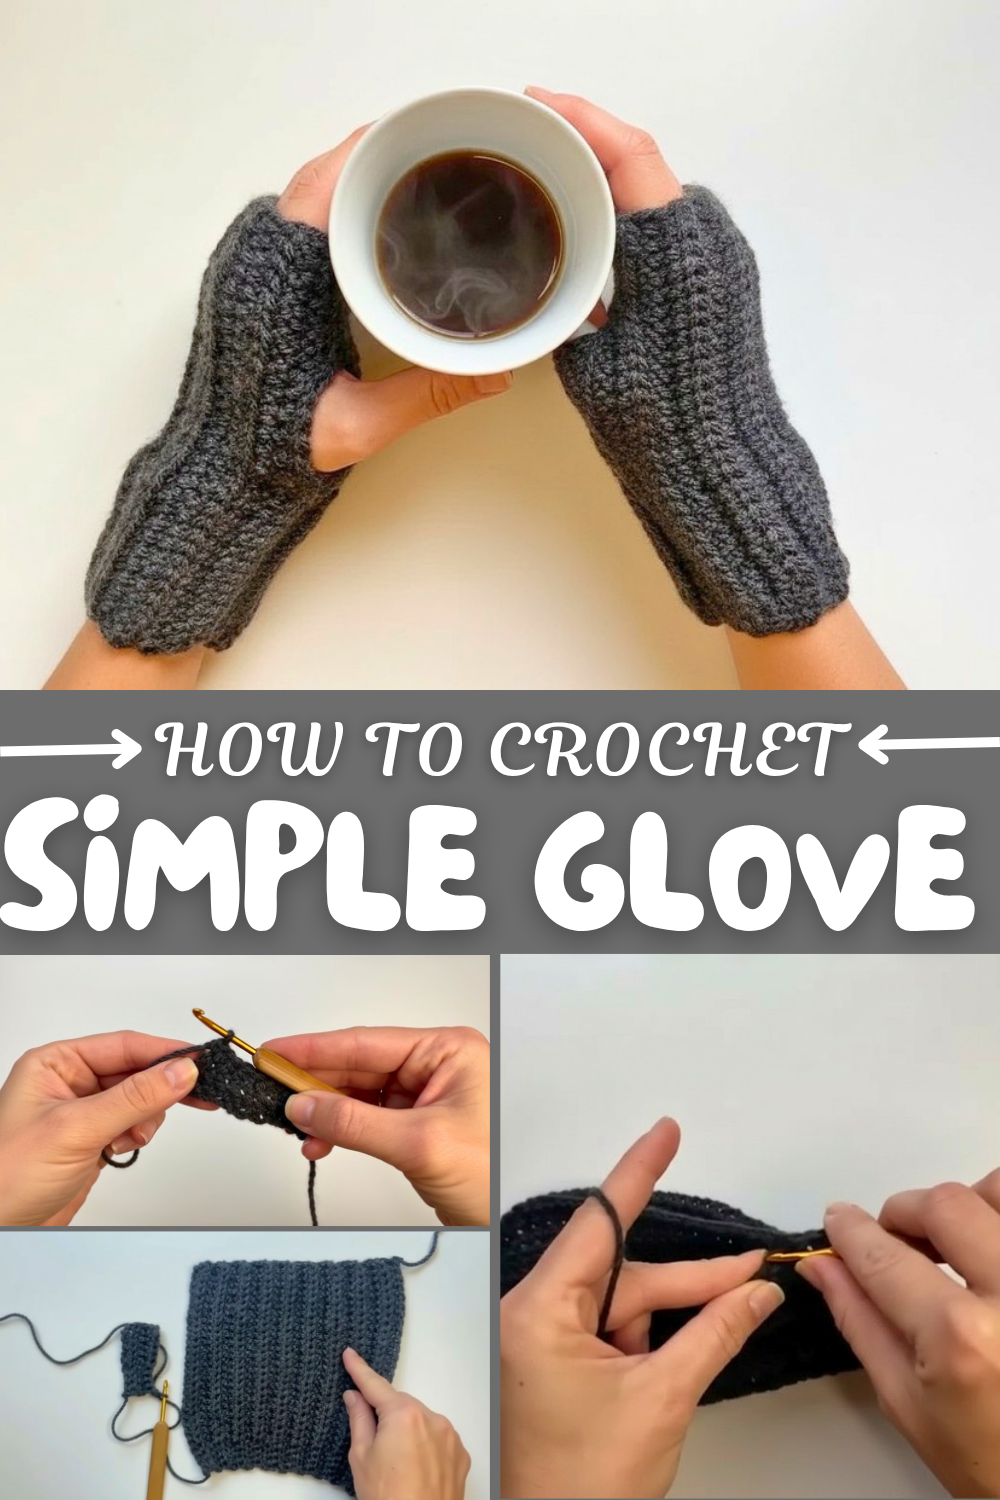
The process starts with a chain that fits the width of your hand. By working half double crochets while skipping certain chains, you create rows that build up the length, accommodating both wrist and finger area comfortably. A clever technique of crocheting into the back loop of stitches gives the gloves a lovely ribbed effect that wraps your hands snugly. The thumb opening is left natural by folding and joining the edges with slip stitches and single crochet, ensuring a neat finish that doesn’t restrict movement. This pattern is perfectly suited for beginners, as it focuses on basic stitches while yielding an elegant result.
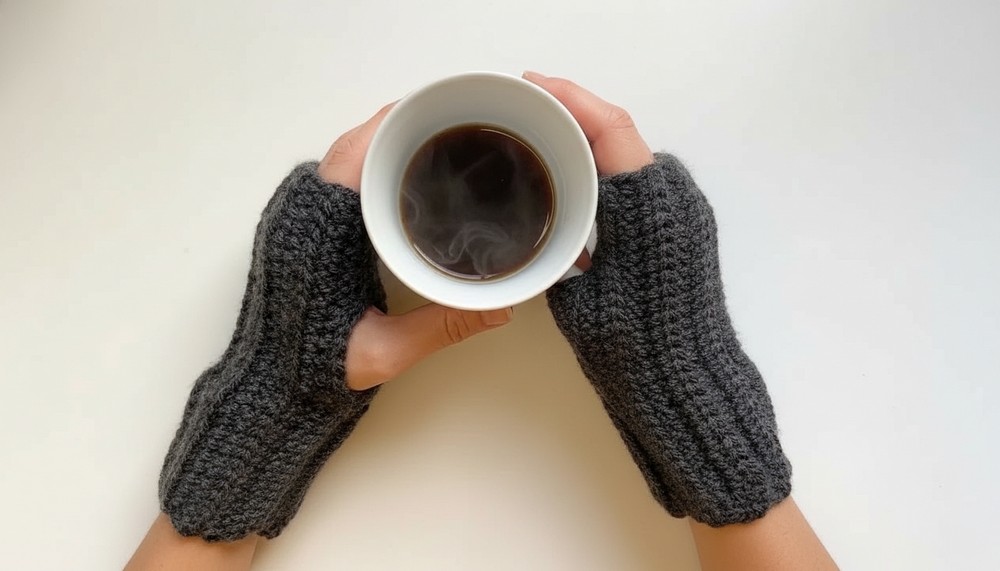
Crochet Wrist Warmers/Gloves Pattern
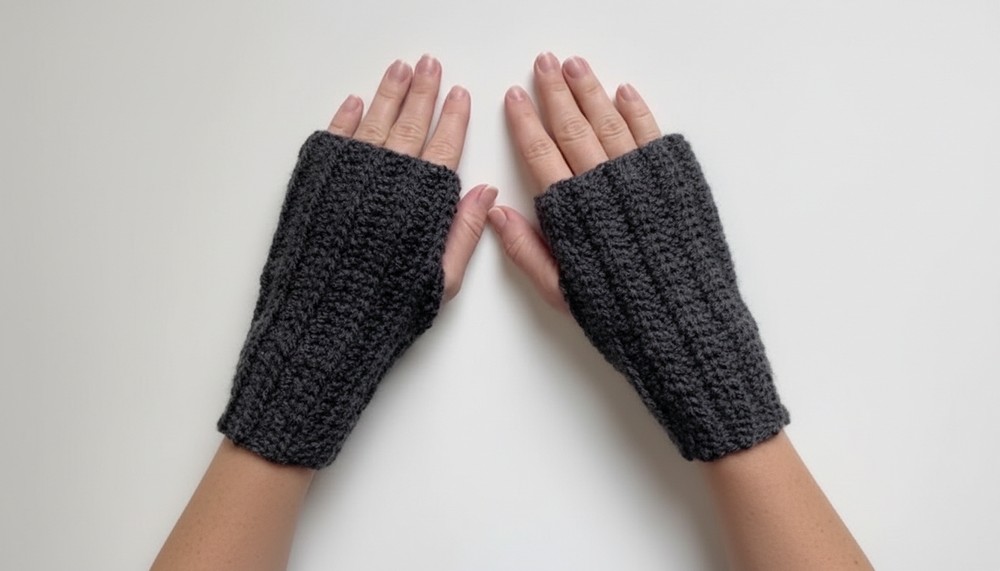
In this step-by-step pattern, we’ll create a comfortable and chic pair of wrist warmers. Simple and perfect for beginners, this pattern focuses on building the gloves sideways by working rows and closing them into a cylinder shape. The texture creates a ribbed effect by utilizing the back loop in stitches, giving the gloves flexibility and style.
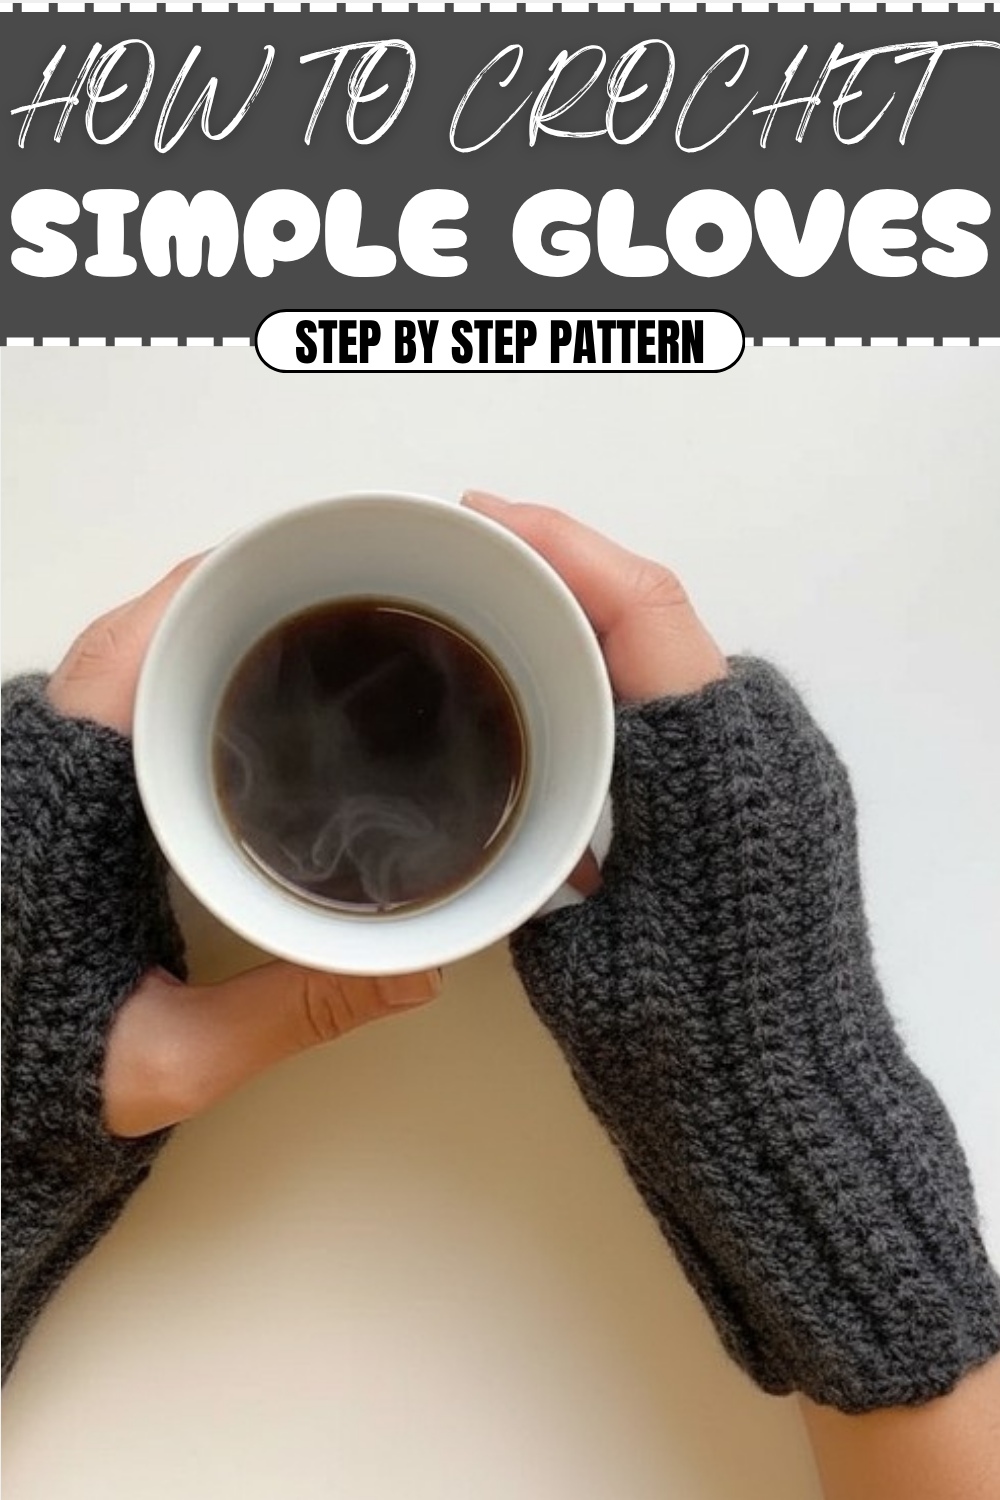
These crochet wrist warmers are versatile accessories for chilly weather. The ribbed texture provides elasticity, ensuring they fit snugly on all hand sizes. The pattern can be easily customized for different wrist lengths or hand sizes, making it perfect for gifts. Made with simple stitches like half double crochet (hdc) and single crochet (sc), this pattern is a great introduction to creating wearable pieces!
What You’ll Learn
This pattern teaches you how to:
- Work a ribbed texture using the back loop technique.
- Create wearable pieces using straightforward stitches.
- Seamlessly close your crochet piece into a functional and stylish accessory.
Skill Level
Beginner – This pattern uses basic crochet stitches like chain stitches, single crochet, and half double crochet, worked in rows. The assembly is straightforward, involving simple seam closures.
Terminology
Written in US Crochet Terms.
Materials & Tools
- Yarn: Medium-weight yarn (Thread 35 or similar yarn weight).
- Hook Size: 3mm or size compatible with your yarn for a snug texture.
- Scissors: For trimming yarn ends.
- Tapestry Needle: For weaving in ends and sewing seams.
Gauge
- 4 hdc stitches × 4 rows = 1 inch (2.5 cm) in ribbed pattern.
Adjust hook size if necessary to achieve this gauge.
Abbreviations
The following abbreviations are used in the pattern:
| Abbreviation | Meaning |
|---|---|
| ch | Chain |
| sc | Single Crochet |
| hdc | Half Double Crochet |
| sl st | Slip Stitch |
| yo | Yarn Over |
| bl | Back Loop |
Special Notes
- When working in rows, always turn your project after completing each row unless otherwise stated.
- To maintain the ribbed texture, always work into the back loop of stitches.
- The gloves are worked in rows and then joined to form a round, leaving an opening for the thumb.
Finished Size
The pattern makes wrist warmers approximately 18–19 cm (7–7.5 inches) long and 18 cm (7 inches) wide.
For larger or smaller wrist warmers, simply adjust the number of foundation chains to modify the width or add/remove rows to adjust the circumference.
The Pattern
Step 1: Foundation Chains
- Start with a yarn slipknot and attach it to your hook.
- Ch 31 to make a length of approximately 18–19 cm (depending on tension).
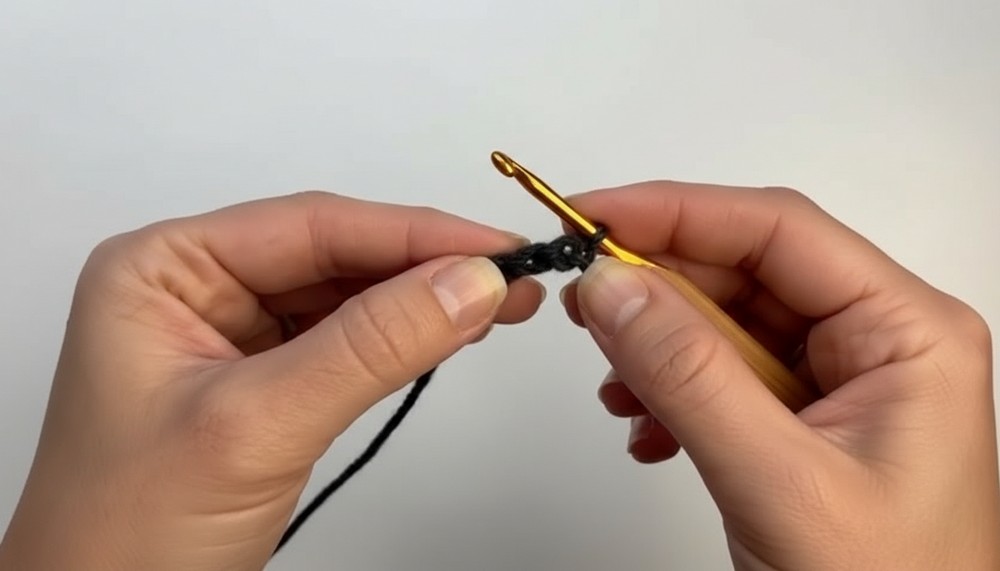
Ensure the foundation chain is loose—tight chains can make it difficult to create the desired stretch.
Step 2: Row 1 – Half Double Crochet (hdc)
- Starting in the 4th chain from the hook, work 1 hdc.
- Yo, insert your hook into the 4th chain, yo again, pull through. You will have 3 loops on the hook. Yo and pull through all 3 loops to complete the stitch.
- Work 1 hdc in each chain across, stopping 4 chains before the end of the foundation chain.
- In the last 4 chains, work sc stitches instead of hdc. This will create a tighter ribbing for the wrist.
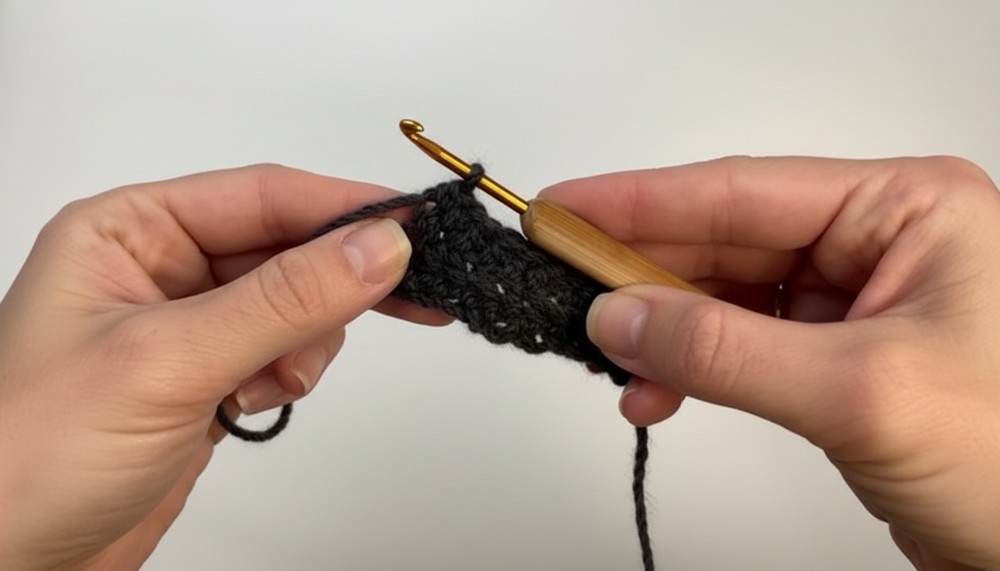
At the end of Row 1, you should have 25 hdc and 4 sc, for a total of 29 stitches.
Step 3: Working the Ribbing Texture
- Row 2: Ch 1, turn the work. Work as follows:
- In the first 4 stitches, work 4 sc in the bl (insert hook only into the back loop of each sc stitch).
- For the remaining 25 stitches, work hdc in the bl of each hdc stitch from the previous row.
- Continue in this pattern for each row:
- Work sc in the bl for the 4 stitches at the start of each row, and hdc in the bl across the remaining stitches.
By working into the back loop, you’ll create an accordion-like ribbed texture while maintaining stretch and elasticity.
Step 4: Building the Length
- Repeat Row 2 until the piece measures approximately 18 cm (7 inches) when laid flat. For reference:
- The tutorial creates 18 rows to reach the size for an average adult hand.
- Add extra rows to make the gloves wider or remove a few rows for a tighter fit.
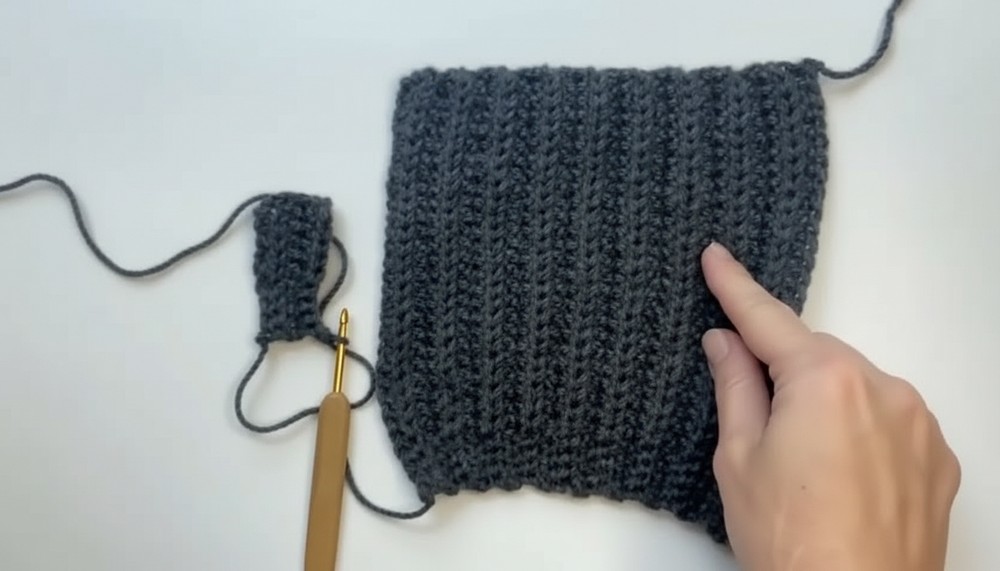
At this stage, you should have a rectangular piece with ribbing throughout. The tighter rows near the edge (4 sc stitches) create a snug fit for the wrist.
Step 5: Closing the Glove
- Fold the Piece in Half:
- Lay the rectangle flat, then fold it in half (vertically) so the long edges meet.
- Thread a tapestry needle with a long strand of matching yarn.
- Using a whip stitch or mattress stitch, sew the long edges together, leaving an opening for the thumb
- Leave about 4 cm (1.5 inches) unsewn to create the thumb hole.
- Test the glove on your hand to ensure the fit is comfortable and the thumb can move easily through the opening. Adjust the size as necessary.
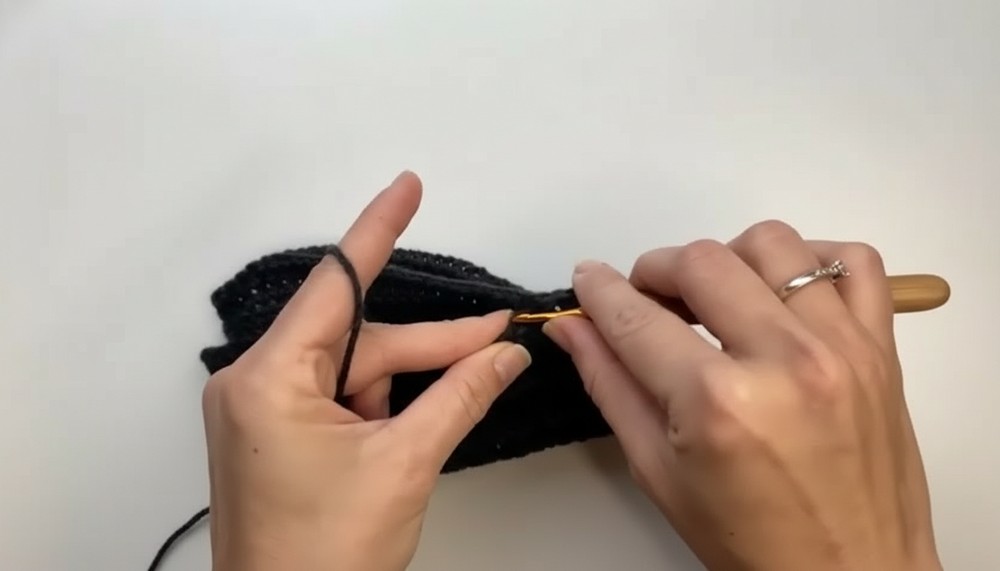
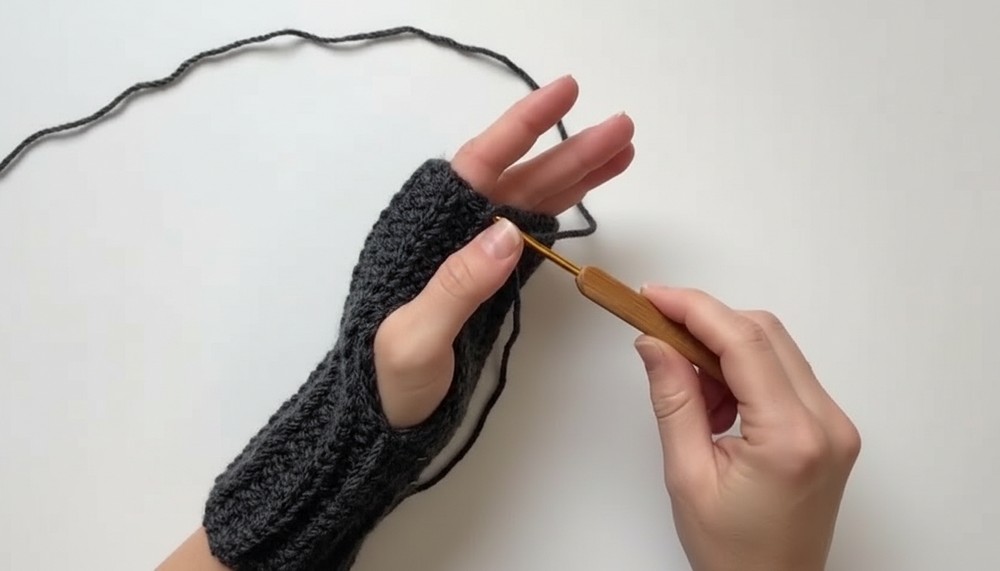
The textured ribbing should stretch easily to fit snugly over the wrist and hand. The seams should be nearly invisible when turned to the inside.
Step 6: Finishing the Gloves
- Secure the Edges:
- After sewing, weave in the loose ends from both the top and bottom of the seam.
- Cut any excess yarn with scissors.
- Turn the glove right-side out.
- Repeat all steps to create the second glove. Ensure the same number of stitches and rows are used for consistency.
Once both gloves are complete and the stitches are secure, feel free to customize your gloves with decorative details like buttons, embroidery, or borders.
Assembly & Finishing
- Test the Fit: Try on the gloves to ensure they fit snugly and comfortably. Adjust the thumb hole size if necessary.
- Weave in Ends: Securely weave in excess threads to prevent unraveling.
- Block the Gloves (Optional): Lightly block the gloves if your stitches are uneven or if the gloves require additional shaping.
Customization
- Adjust Length: To make the gloves longer, add more foundation chains beyond the 31 suggested, or reduce them for shorter gloves.
- Thumb Hole Size: Increase or decrease the size of the thumb opening based on personal preference for tighter or looser grip.
- Embellishments: Add buttons, beads, or embroidery to personalize your wrist warmers. Use contrasting colors to create striped or dual-tone effects.
Tutor’s Suggestions
- Measure frequently to ensure each segment fits perfectly.
- Use stitch markers for clarity while navigating complex sections like the thumb gap or finger divisions.
- Block your finished gloves to fix their shape and smooth uneven areas.
Why You’ll Love This Pattern
This pattern is perfect for beginners who want to explore wearable crochet pieces. It is simple, quick, and gratifying. The ribbed texture gives a sleek and modern look while ensuring a snug fit. The gloves are practical, cozy, and highly customizable—perfect for thoughtful gifts or adding a homemade flair to your wardrobe. Plus, the fast results make it ideal for last-minute projects.