
Easy Steps to Crochet Floral Motif Bag Pattern for Perfect Outfits
Free Guidance on Stunning Crochet Floral Motif Bag for All Occasions
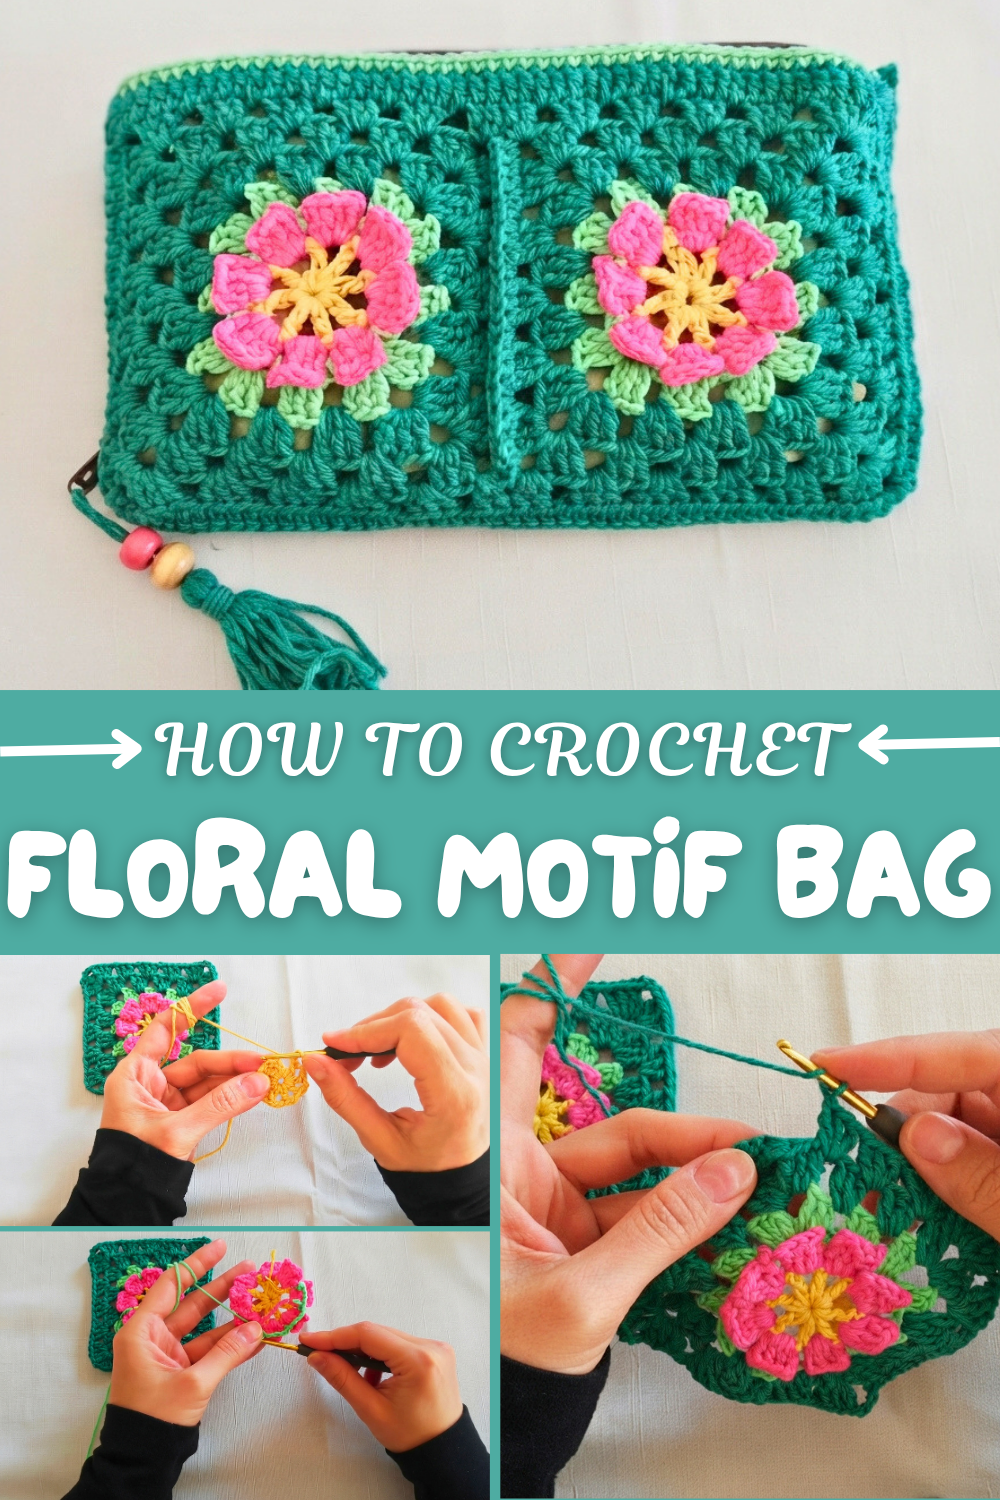
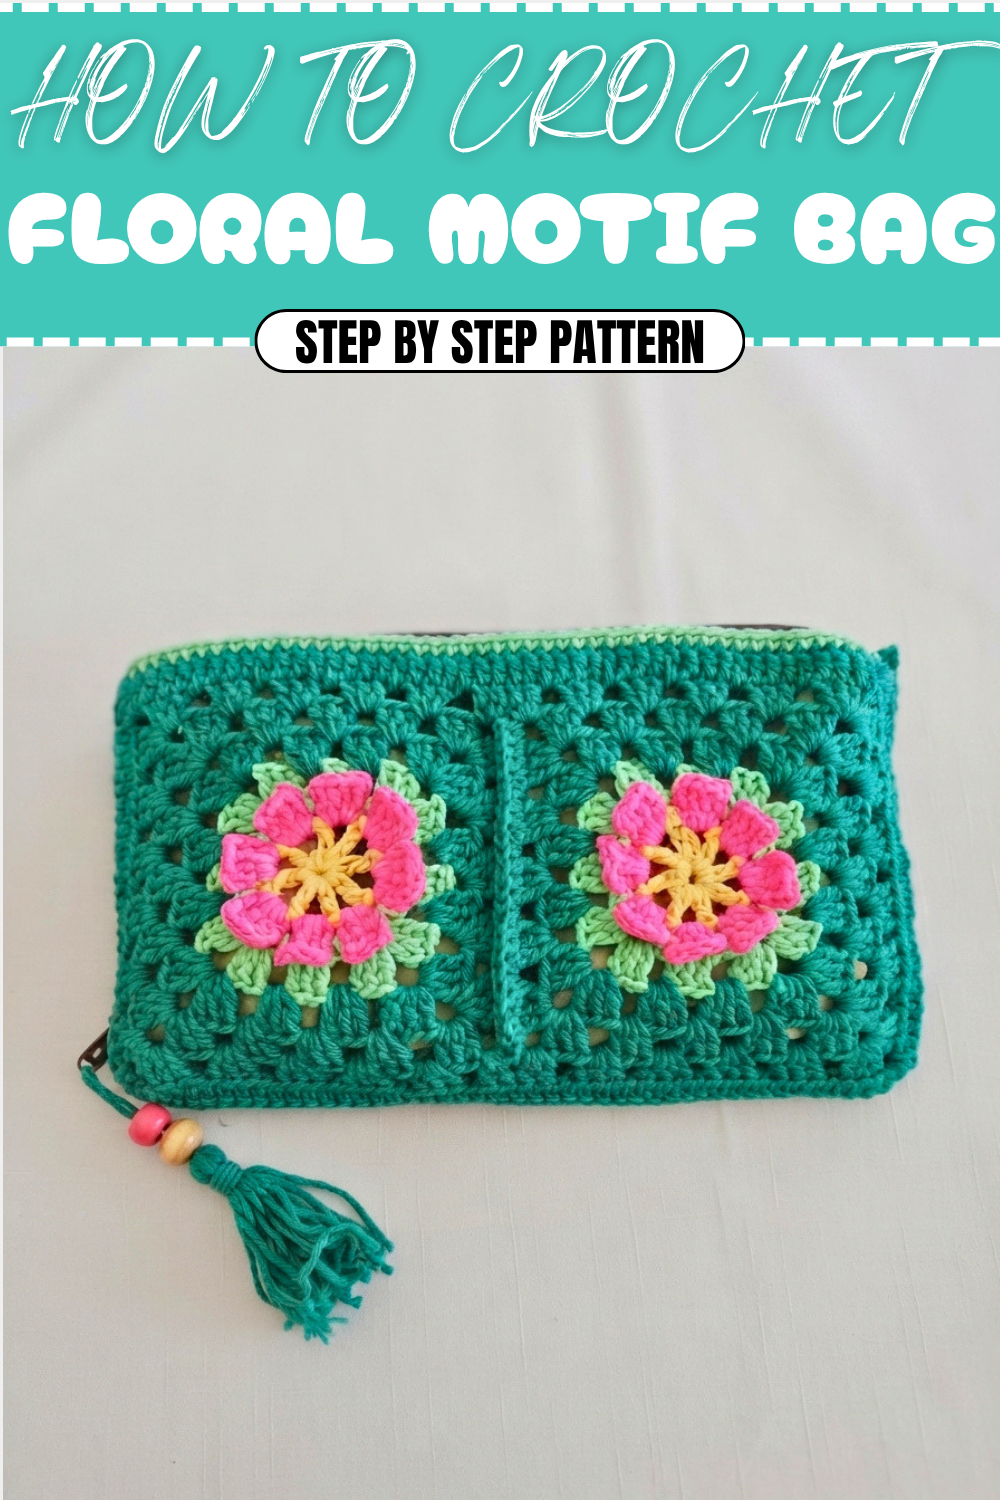
Starting with a simple chain, you work these motifs in rounds, building up layers that elevate the bag’s design. The motifs have a three-dimensional feel due to the alternating stitch heights and the way they link, providing an elegant yet sturdy texture. Joining the motifs with single crochets creates a seamless connection, making the whole piece both strong and flexible. The pattern allows room for creativity—choose your favorite colors to mix and match or keep it classic with one tone. Even if you’re new to crochet, the step-by-step process is straightforward and enjoyable.
More Creative Ideas from This Pattern
This floral stitch combination is versatile and can be adapted beyond bags. Consider making matching accessories such as pouches, coasters, or decorative cushion covers. Small motifs can be joined for lightweight shawls or wraps, perfect for warmer days when you want just a touch of handmade charm. With a change of yarn weight and hook size, you might even create a delicate table runner or placemats that bring a cheerful vibe to your home. This pattern is a great way to practice your stitch skills while crafting lovable, useful items.
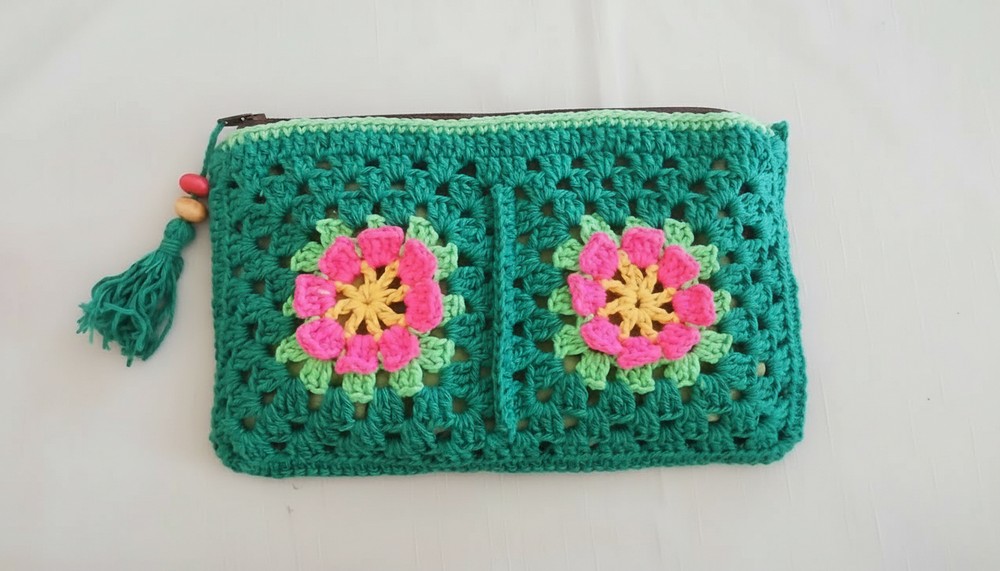
Crochet Convertible Pencil Case/Bag Pattern
This step-by-step guide walks you through creating a beautiful multipurpose pencil case that can also be used as a stylish bag or makeup pouch. Its unique design, functional structure, and elegant leaf motif make it both practical and visually appealing. With a spacious interior and an easy-to-add clip-on strap option, it’s perfect for organizing your accessories on the go!
Uses of This Pattern
This versatile crochet pattern is more than a pencil case—use it for storing art supplies, makeup, or everyday essentials. Featuring a combination of texture-rich stitches and a creative assembly, this project is fun for intermediate crocheters looking to create something both decorative and functional. Add clip-on straps to transform it into a mini bag or shoulder purse!
What You'll Learn from This Pattern
- How to make textured crochet leaf motifs.
- Techniques for joining motifs seamlessly.
- Adding structural elements like a lining and zipper to a crocheted piece.
Skill Level & Terminology
- Skill Level: Intermediate
- Terminology: US Crochet Terms
Materials & Tools
- Yarn: Medium-weight cotton yarn in three colors (e.g., yellow for center motif, light green for leaves, and dark green for edges).
- Hook: Size 3.5mm crochet hook.
- Tapestry Needle: For sewing and weaving in ends.
- Scissors: To cut yarn.
- Optional Decorations: Beads or tassels to embellish your final product.
- Zipper: A long zipper that can be sewn to the bag for closure.
Gauge
Gauge is not critical, but each motif with the stated materials should measure approximately 10–12 cm in diameter.
Abbreviations
| Abbreviation | Meaning |
|---|---|
| ch | Chain |
| sc | Single Crochet |
| dc | Double Crochet |
| sl st | Slip Stitch |
| yo | Yarn Over |
Special Stitch Instructions:
- Double Crochet (dc):
- Yarn over (yo), insert hook into stitch.
- YO, pull up a loop (3 loops on the hook).
- YO, pull through the first 2 loops. YO and pull through the final 2 loops.
- Slip Stitch Join: A technique to attach two pieces together seamlessly. Insert hook into both stitches, yarn over, and pull through both loops.
Finished Size
The completed pencil case/bag should measure approximately 25 cm wide and 15 cm tall, depending on the yarn, hook size, and whether the piece is lined or not.
The Pattern
Step 1: Creating the Center Motif Base
- Start with the Center Circle:
- Using Color 1 (e.g., Yellow):
- Ch 6, then join into a ring using a sl st to the first chain.
- Ch 5 (counts as a dc + ch 2) and work 1 dc into the ring, followed by ch 2.
- Repeat (dc + ch 2) 7 more times into the ring to create 8 dc, separated by ch 2 spaces.
- Total: 8 dc clusters + 8 ch-2 spaces around the ring.
- Join with a sl st to the top of the beginning ch-3 to close the round.
- Using Color 1 (e.g., Yellow):
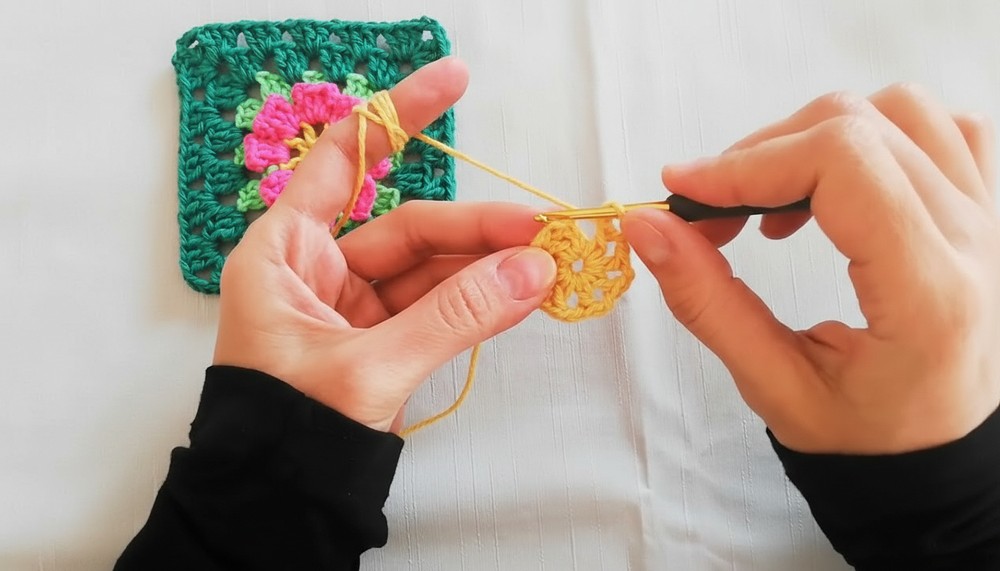
Your center motif will have an evenly spaced circular shape with 8 petals and gaps for attaching leaves in the next step.
Step 2: Adding the Colorful Leaf Design
- Attach Color 2 (e.g., pink):
- Join yarn with a sl st into any ch 2 space from the previous round.
- Work the Leaves Curve:
- Ch 3, in the same space, work 2 dc → Ch 3, sl st into the same space.
- Continue to the next ch 2 space, sl st → Ch 3 → 2 dc → Ch 3 → sl st.
- Repeat for all 8 ch-2 spaces.
- Round Closure:
- When all 8 leaves are complete, join with a sl st into the first ch-3 space. Fasten off the yarn.
Your motif now has a series of 8 colorful leaves that emerge from the core of the design, creating vibrancy and dimension.
Step 3: Adding the Light Green Foundation Layer
- Attach Color 3 (e.g., Second light Green):
- Join yarn with a sl st into any gap between the leaf sections.
- Foundation Chains:
- Ch 4, then move to the next gap to secure the new chain with a sc.
- Repeat this process around the motif, creating a chain foundation under each leaf.
- At the end of the round, sl st into the first chain to close.
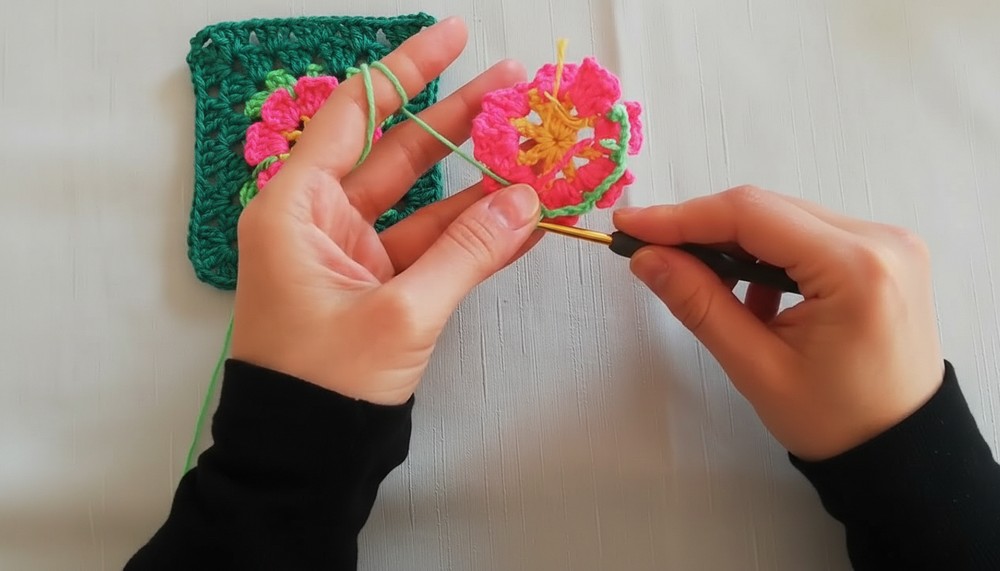
This chain foundation will serve as the base for placing additional layers of leaves and creating a three-dimensional appearance.
Step 4: Adding Angular Detail with Dark Green
- Dark Green Layer:
- Join yarn at any corner. Begin adding clusters in the following pattern:
- Into the ch-4 space: 3 dc → Ch 3 → 3 dc.
- Move to the next ch-4 space and work 3 dc into each space.
- Join yarn at any corner. Begin adding clusters in the following pattern:
- Corners:
- Every corner stitch should follow this pattern: 3 dc → Ch 3 → 3 dc into the same space.
- Round Closure:
- After completing all the clusters, join with a slip stitch into the top ch of the initial chain. Fasten off the yarn.
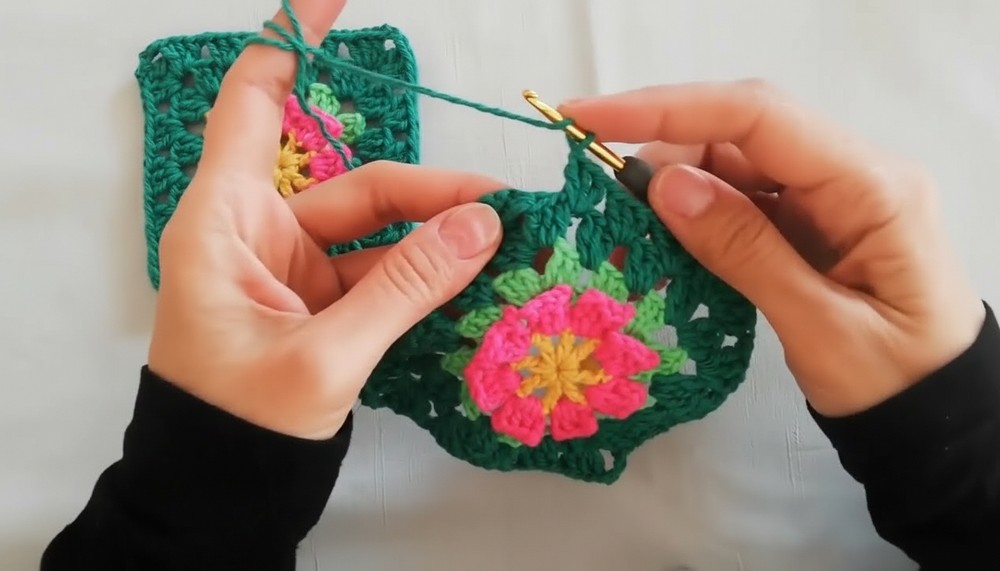
This step adds intricate dimension to the motif with additional layers of angled leaves and vibrant borders.
Step 5: Joining the Motifs
- Place two motifs back-to-back with their wrong sides facing each other.
- Use Color 3 to seam the motifs together:
- Insert your hook into corresponding edges of both motifs and work sc stitches across the edge.
- Match the corners and work 2 sc into each corner to create smooth edges. Leave one side open for inserting your belongings.
- Final Touch: For a clean finish, work a round of sc stitches around the open edges of the bag to tidy up.
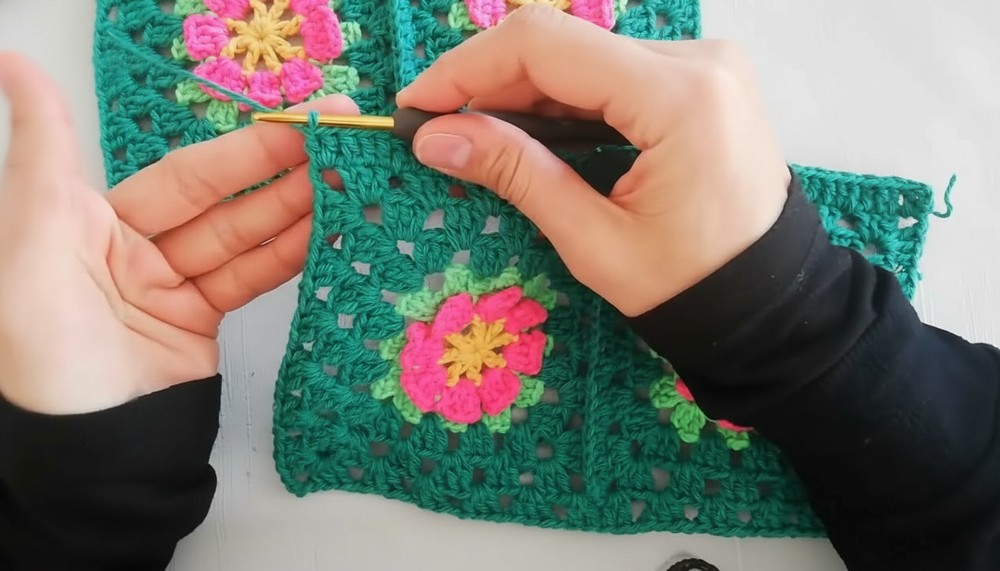
Step 6: Adding the Lining
- Prepare Fabric:
- Cut your fabric slightly larger than the inner dimensions of the bag (add 1 cm on all sides for seam allowance).
- Fold and iron the edges to prepare them for sewing.
- Attach the Zipper:
- Sew the zipper to the upper edges of the lining. Leave space so the zipper functions smoothly.
- Assemble the Lining and Attach to Bag:
- Place the lining inside the bag. Hand-stitch it to the inner sides of the crocheted motifs using the whipstitch technique or sew it with a machine for a cleaner look.
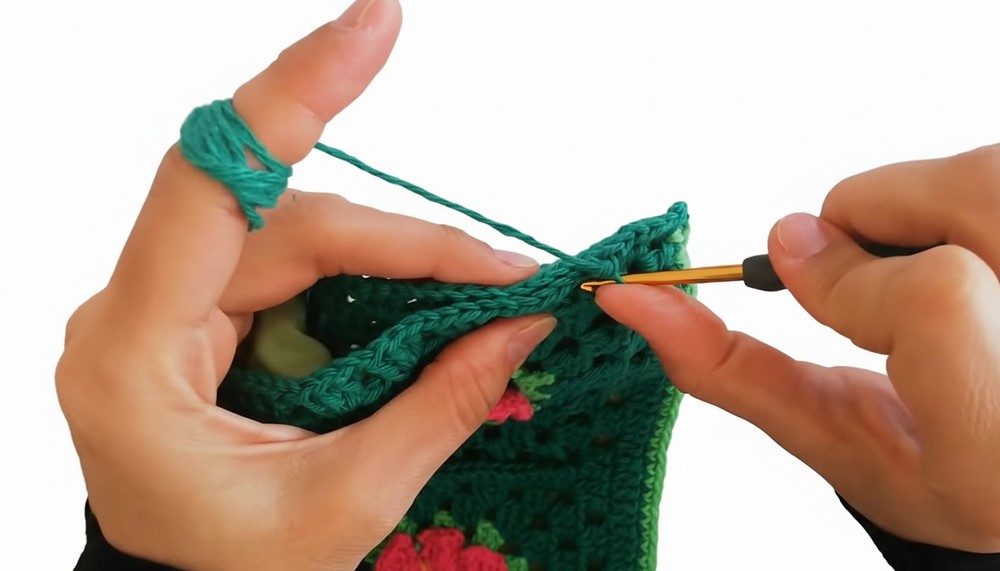
Why You'll Love This Pattern
This versatile project combines beauty and practicality. The bold leaf motifs and angular edges give it a high-end look reminiscent of designer handbags. Plus, the addition of a zipper and lining ensures functionality and durability. Make it for yourself or as a thoughtful gift—unique and useful!
Special Features
- Elegant Floral Motifs: Adds a delicate touch of nature-inspired design.
- Multi-functionality: Can be used as a tote, handbag, or even a gift bag.
- Customizable Size: Adjust the number of motifs to create the perfect size for your needs.
- Sturdy Build: Crocheted to ensure strength while maintaining its lightweight quality.
Level of Difficulty
Beginner to Intermediate
This pattern is great for crocheters with basic knowledge of stitches such as chain (ch), slip stitch (sl st), single crochet (sc), and double crochet (dc). If you're new to motifs, you'll find it slightly challenging but rewarding.
Tutor’s Suggestions
- Use Contrasting Colors: This makes the floral motifs stand out and enhances the bag’s visual appeal.
- Choose Quality Yarn: Opt for durable yarn that maintains shape and strength over time.
- Test Fit the Motifs: Lay them out before joining to ensure the arrangement looks symmetrical.
Uses
- Daily Use: A lightweight tote for carrying essentials like your wallet, phone, and keys.
- Beach or Picnic Bag: Perfect for carrying small items while adding a touch of flair to your outing.
- Gift Bag: A beautiful and eco-friendly alternative for wrapping gifts.
- Decorative Storage: Use it as a storage basket for lightweight items at home.
Tip
To ensure your bag retains its shape over time, consider adding a lining or reinforcing the handles with extra crochet rows. This will ensure durability and provide better support for heavier items.
Step-by-Step Instructions
A crochet floral motif bag is a stunning yet practical accessory that combines elegance and utility. Its design, featuring intricate floral patterns, makes it perfect for casual outings, special events, or even as a handmade gift. This stitch-by-stitch pattern is great for crocheters who enjoy working on decorative motifs while crocheting a functional and unique product.
Conclusion
The floral motif bag pattern is the perfect project for crochet lovers seeking elegance and practicality in one design. It encourages creativity, allowing you to play with colors and customize the size to fit your needs. With its detailed motifs and versatile uses, this accessory is bound to stand out wherever you go. Take your time, follow the steps, and enjoy crocheting a unique piece that's both functional and fashionable.