
How to Crochet Free Chunky Cardigan | Easy Pattern & Tutorial
Cozy up fast with our free Crochet Chunky Cardigan pattern perfect for creating warm stylish layers that add comfort and charm to any outfit.
Making something warm and stylish with your own hands can be a simple and enjoyable experience. This chunky cardigan, guided by Shirleyrosey expert tutorial, is a perfect choice for anyone who wants to create a cozy, handmade piece. Her method is clear and easy to follow, with each step explained in detail to ensure even beginners can successfully complete the process. From the textured twisted double crochet stitches to finishing touches like ribbing and cuffs, every part of the design has a purpose.
Quick & Easy Free Crochet Chunky Cardigan Pattern for Beginners
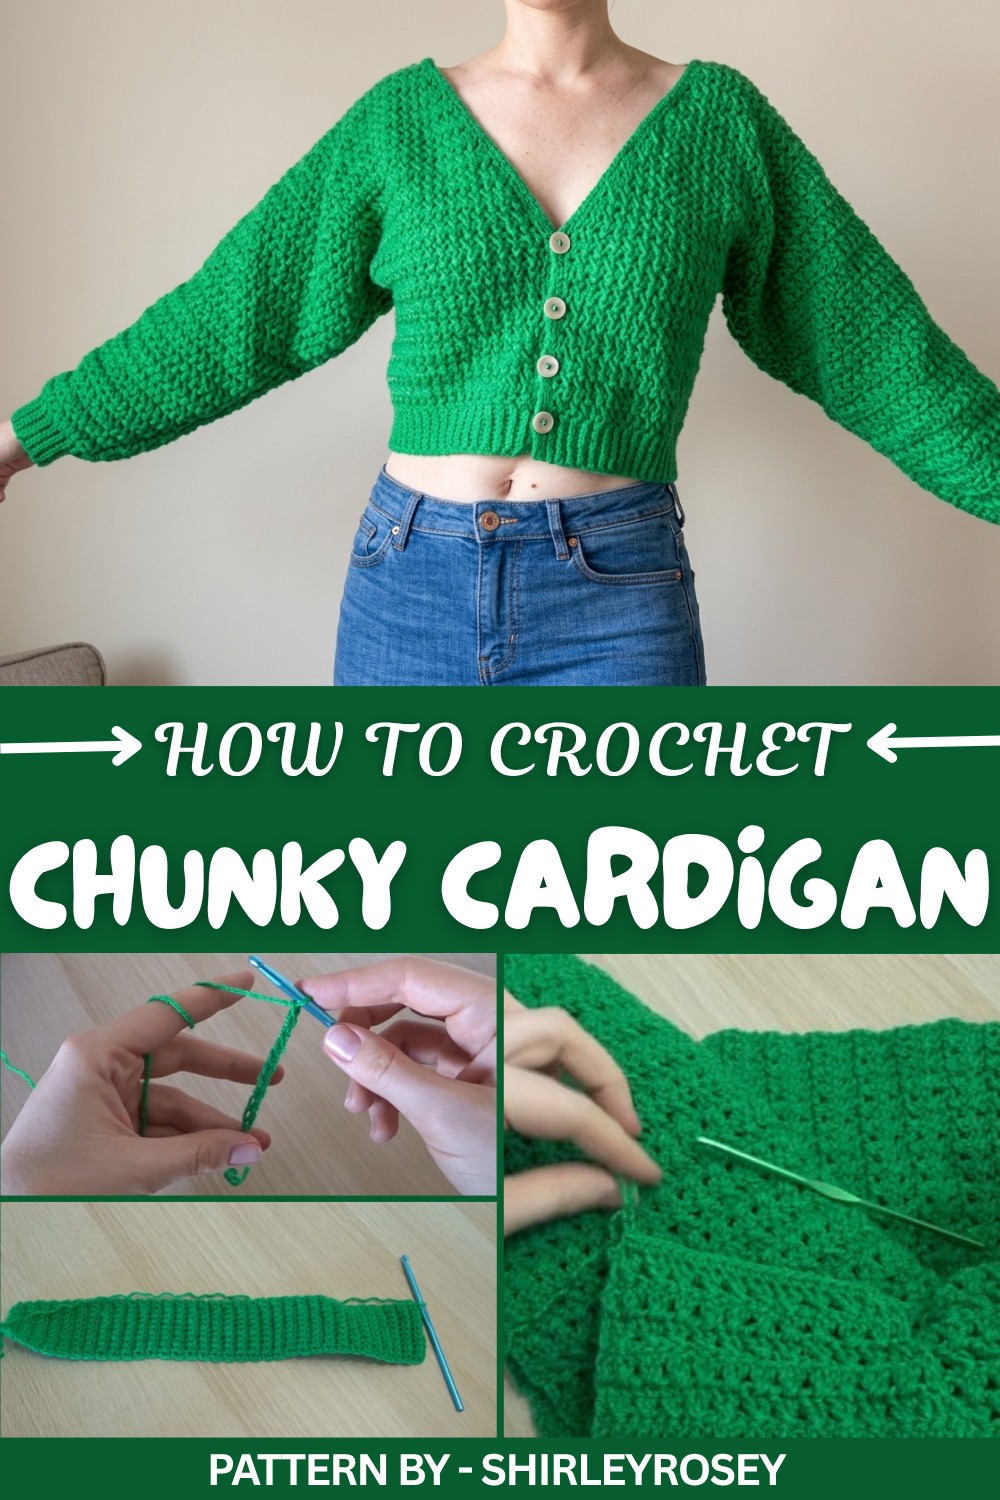
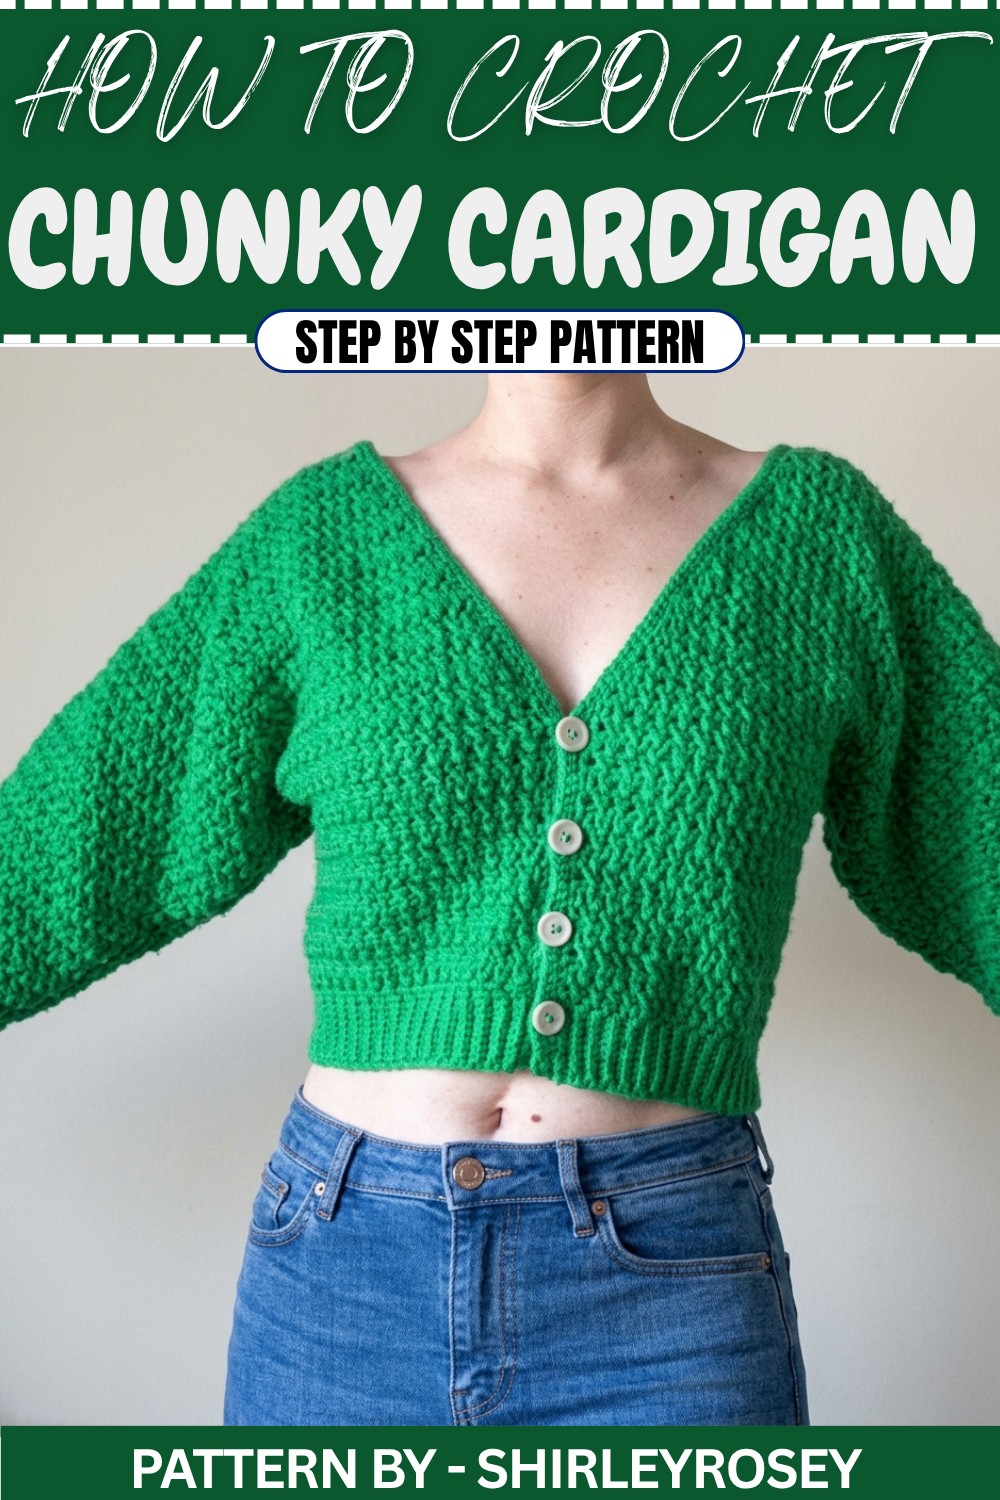
What makes this cardigan special is its design. The batwing sleeves provide a relaxed, elegant fit, and the cropped length pairs perfectly with both casual and semi-formal outfits. Its textured stitch pattern gives it a timeless look, making it suitable for all occasions. She also shares ideas for personalizing the cardigan, such as adjusting the length or adding buttons, so it fits your preferences exactly.
This cardigan isn’t just for looks, it’s highly practical. The chunky structure ensures warmth on chilly days, while the lightweight feel keeps it comfortable to wear anywhere. Whether it’s a layered look for an outing or an extra layer at home, this piece fits effortlessly into daily life. Her teaching approach ensures anyone can complete this project with ease, making it a great option for those wanting to create something useful and stylish.
Double Crochet Twist Cardigan Pattern
The double crochet twist cardigan is both stylish and cozy, featuring a textured twist stitch for added dimension and batwing sleeves for a relaxed fit. This pattern allows for customizations, including alternate lengths, to suit your preferences. It is designed for crocheters who want to create a classic yet contemporary garment.
Skill Level
Intermediate – This pattern includes increasing, decreasing, seaming, and working the twisted double crochet stitch, making it ideal for crocheters with some experience.
Materials
- Yarn: Medium-weight yarn (DK Acrylic yarn recommended).
- Hook: 5mm crochet hook.
- Accessories and Tools:
- Stitch markers.
- Scissors.
- Tapestry needle (for weaving in ends).
Special Stitches
Twisted Double Crochet Stitch:
This stitch creates the unique texture of the cardigan.
- Yarn over, skip the next stitch, and insert the hook into the following stitch.
- Work 1 double crochet (DC) as usual.
- Return to the skipped stitch, yarn over, and work 1 DC into the skipped stitch.
This creates a "twisted" look across the stitches.
SC2Tog (Single Crochet 2 Together):
This decrease stitch is used for shaping.
- Insert the hook into the first stitch, yarn over and pull up a loop.
- Insert the hook into the next stitch, yarn over and pull up loop (3 loops on hook).
- Yarn over and pull through all loops on the hook.
Stitch Abbreviations
- CH = Chain
- SC = Single Crochet
- DC = Double Crochet
- TWIST DC = Twisted Double Crochet Stitch
- SC2Tog = Single Crochet Two Together
- SL ST = Slip Stitch
Useful Tips
- Customize Lengths: The cardigan can be made cropped or longer by adjusting the number of rows in the back and front pieces and sleeves.
- Consistent Tension: Maintain even stitches throughout to ensure the cardigan’s pieces match up neatly during assembly.
- Count Rows: Use stitch markers or count rows to keep track of your progress and increases/decreases.
- Neat Edging: Work evenly into the edges when adding trims or seaming for a polished finish.
- Seam Inside Out: Always assemble the pieces with the wrong sides facing to ensure the seams are on the inside of the garment.
Detailed Crochet Pattern
Step 1: Ribbing (Base for All Pieces)
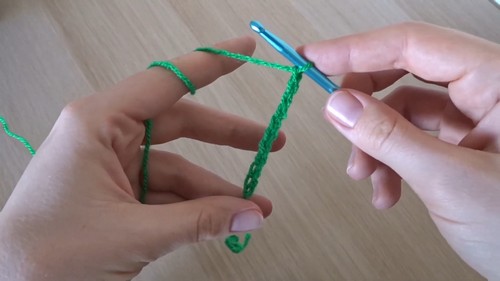
- Start with a slip knot, and chain 11 (10 for length, 1 turning chain).
- Skip the first chain and work 1 SC into the second chain from the hook. SC in each chain across the row (10 total SC).
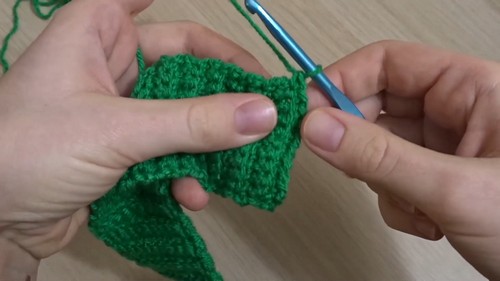
- Chain 1, turn. Work:
- 1 SC through both loops of the first stitch.
- SC in the back loop only for each remaining stitch, stopping at the last stitch.
- For the final stitch, work a SC through both loops for a secure edge.
- Repeat these steps for the number of rows specified for the various pieces:
- Sleeve Ribbing: 36 rows (adjust for your preferred fit).
- Back Piece Ribbing: 69 rows for a medium size.
- Each Front Piece Ribbing: 35 rows for a medium size.
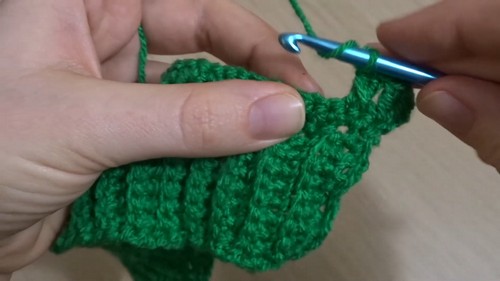
Step 2: Sleeves
Top of Ribbing (Increases):
- After completing the ribbing, chain 1 and turn your work 90 degrees to work along the side of the ribbed rows.
- Work 1 SC into the first ribbing row, then 2 SC into the same row (increase of one).
- In the next row, work 1 SC, then in the following row, work 2 SC.
- Continue this pattern—2 SC in one row, 1 SC in the next row—until you reach the end.
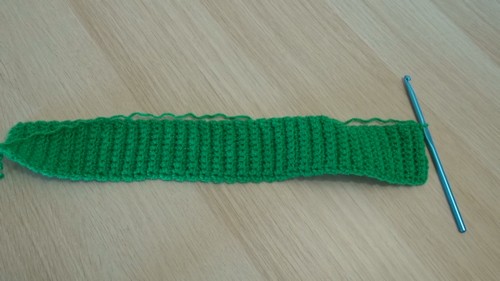
- You should have 54 stitches along the top of the ribbing.
Twisted Double Crochet Rows:
- Row 1 (Increase Row):
- Chain 2 and turn.
- Work 2 DC into the first stitch to create an increase.
- Begin the twisted double crochet pattern:
- Skip 1 stitch, work 1 DC into the next stitch.
- Go back to the skipped stitch and work 1 DC into it (creating the twist).
- Repeat this twist stitch across the row until one stitch remains.
- In the final stitch, work 2 DC to match the initial increase.
- Row 2 (Non-Increase Row):
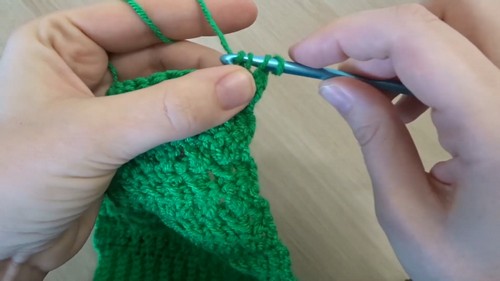
- Chain 2 and turn.
- Work 1 DC in the first stitch.
- Continue the twisted double crochet pattern across the row until 1 stitch remains.
- Work 1 DC in the last stitch (no increase).
- Repeat Rows 1 and 2 for a total of 44 rows. Remember to alternate odd rows with increases and even rows without increases. Adjust the length as desired.
Step 3: Back Piece
- Create the ribbing (69 rows for medium size). Refer to Step 1 for details.
- Chain 1, turn 90 degrees, and begin working into the side of the ribbing rows. Do 6 single crochets, followed by 1 increase (2 SC in the same row). Repeat this pattern (6 SC, 1 increase) a total of 9 times. You will have a total of 63 SC when complete.
- Chain 2, turn, and work as described for the sleeves (Step 2), but do not include any increases in the twisted double crochet rows.
- Repeat for a total of 36 rows (adjust for desired length).
Step 4: Front Pieces
- Create the ribbing (35 rows for medium size). Refer to Step 1 for details.
- Chain 1, turn 90 degrees, and work along the side of the ribbing rows. Do 6 single crochets, followed by 1 increase (2 SC in the same row). Repeat this pattern 5 times, giving you 40 SC.
- Chain 2, turn, and work the Row 2 instructions from the back piece.
- Continue for 17 rows of twisted double crochet before decreasing for the neckline.
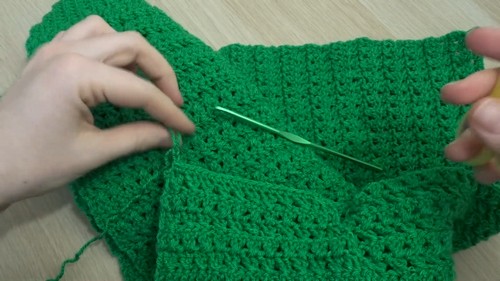
Shaping the Neckline:
- At the start of each neckline row, chain 2, then skip the first stitch and begin a SC2Tog over the next two stitches.
- Do not decrease at the other edge (this remains straight).
- Repeat this decrease at the neckline edge for 19 rows total, maintaining the twisted double crochet pattern in between.
Assembly
Shoulder Seams:
- Lay the front pieces and back piece with right sides together.
- Match up the shoulder edges and seam together using SC stitches over 20 stitches for each shoulder.
Attach Sleeves:
- With the cardigan inside out, match the center of the sleeve's wide edge to the shoulder seam.
- Seam the sleeve into place using SC, starting at the bottom of the cuff and working toward the stitch marker at the armhole.
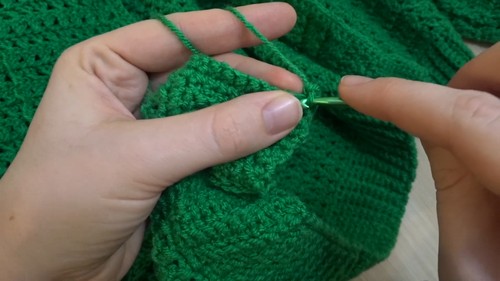
Side Seams and Sleeves:
- Fold the cardigan in half with the wrong side facing out. Seam along the side edges of the body, from the bottom ribbing to the armhole. Then continue along the length of the sleeves.
- Remember, seam using 2 SC per double crochet row for neat alignment.
Step 5: Edging and Buttons
- Attach yarn at the bottom corner of the cardigan. Work SC edging along the sides, working 2 SC for each double crochet row, 1 SC for each chain stitch, and 1 SC into each stitch along the neckline.
- After completing one round of SC edging, add buttonholes by chaining 3 stitches for each buttonhole (spaced evenly along one side). Skip the corresponding stitches for the buttonholes.
- Work a second round of SC to solidify the buttonholes, working 3 SC into each chain-3 space.
- Once complete, sew buttons onto the opposite side of the cardigan to match the buttonholes.
Conclusion
This comfortable and classic cardigan is made special with the addition of the double crochet twist stitch, giving it a cozy yet eye-catching texture. By following this detailed pattern, you’ll have a timeless batwing cardigan that’s easy to wear, highly versatile, and ideal for layering. Adjust the length and customize as needed to create the perfect piece that fits beautifully and matches your style.