
Easy Crochet Summer Crop Top Pattern: Free and Beginner-Friendly
Celebrate sunny days with a trendy crochet summer crop top created from an easy free pattern that’s ideal for beach trips and everyday fun.
Featured By: Julsmara Crochet
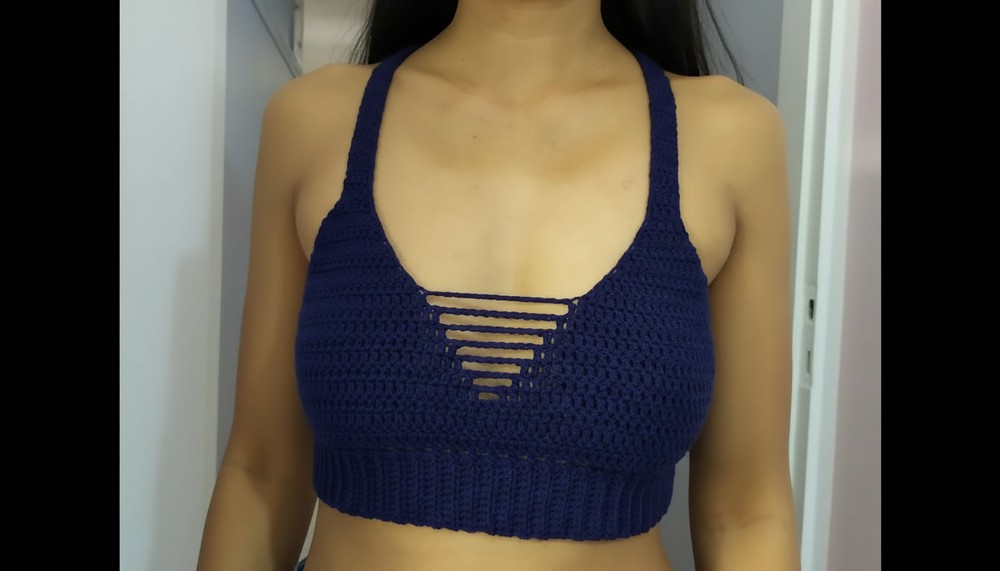
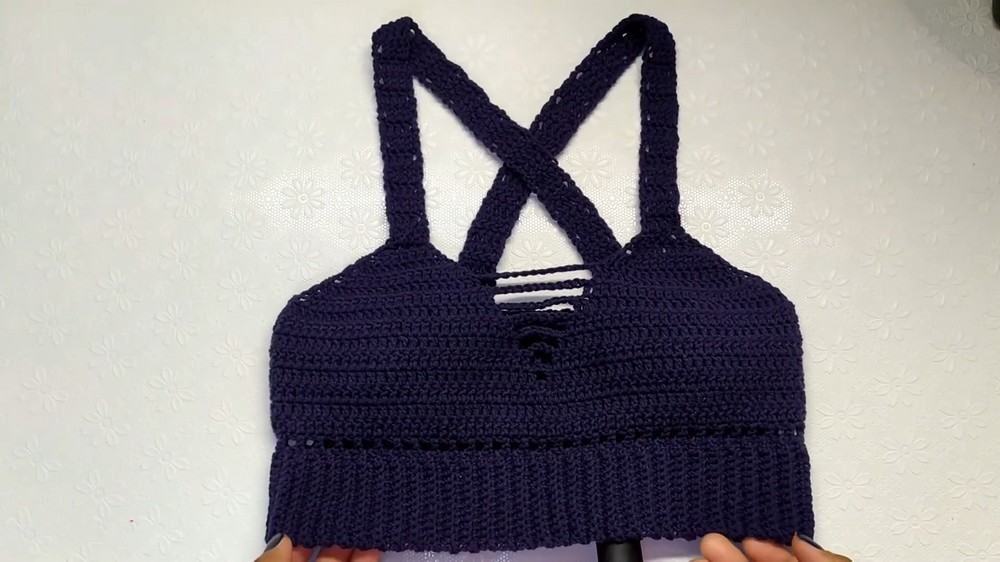
A handmade summer crop top can be a stylish and comfortable piece for hot days. This particular design stands out with its lightweight feel and trendy look. It features a front cutout detail that adds a playful touch, angled edges for a flattering shape, and a ribbed band at the bottom to ensure a perfect fit. The crisscross straps at the back add a bold yet elegant statement, making this top ideal for pairing with shorts, jeans, or even worn as a beach cover-up. It’s a versatile piece that works for casual outings or relaxing by the pool.
Free Crochet Summer Crop Top Pattern You’ll Want to Wear
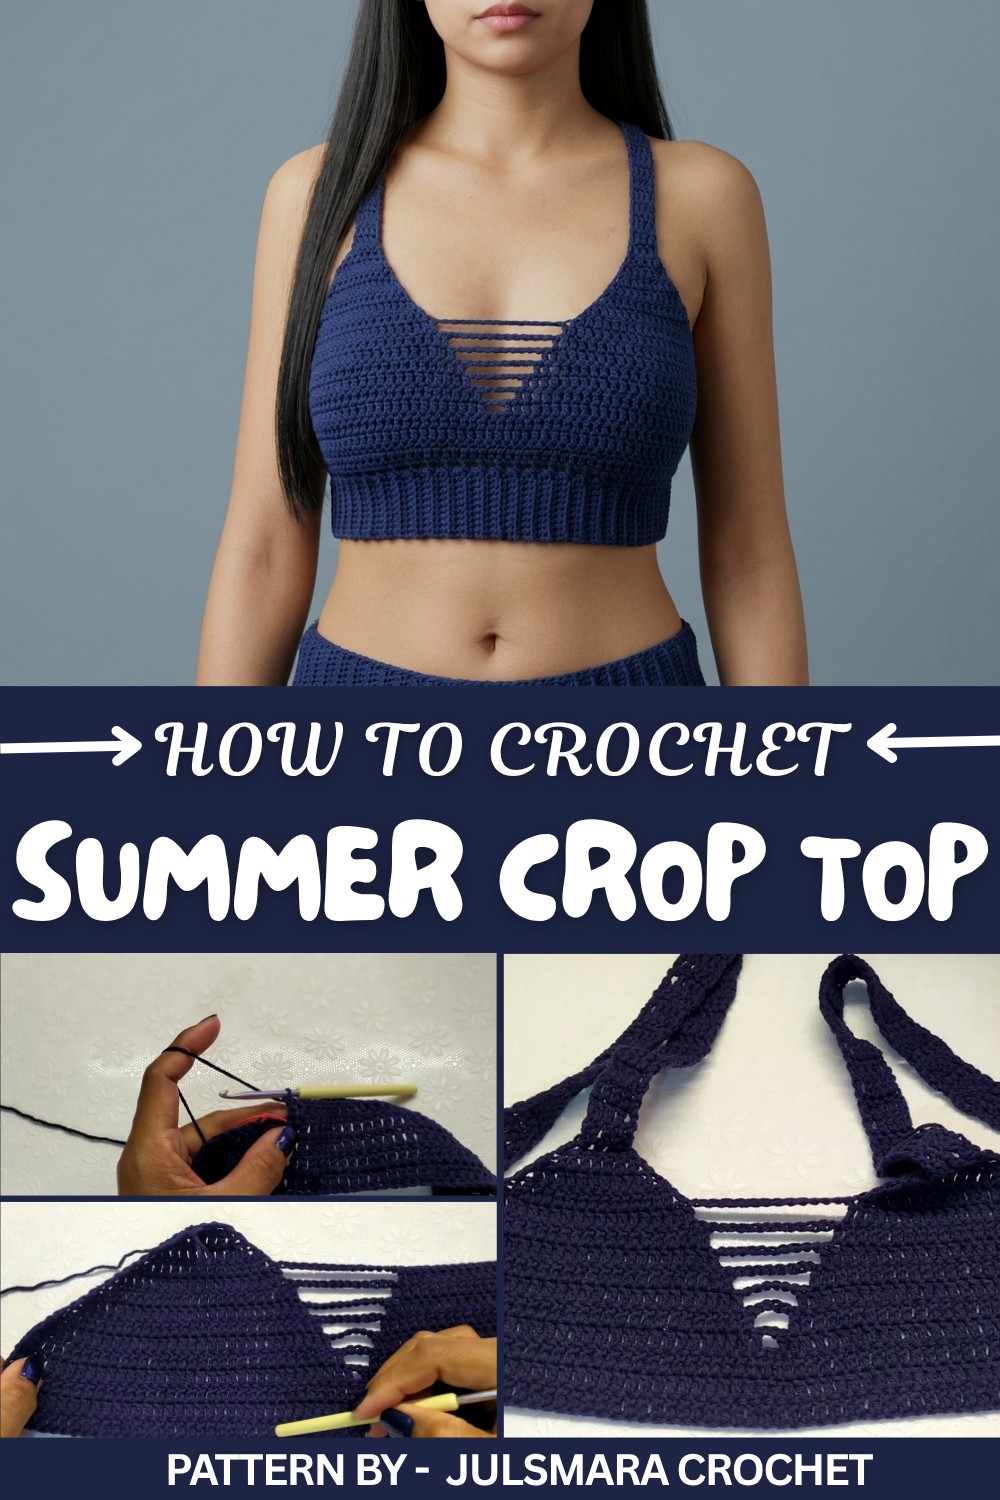
The design is simple yet full of thoughtful details, making it enjoyable to work on. The main structure is created using basic double crochet stitches, offering a smooth, consistent pattern that’s easy to follow. The front cutout takes shape through a combination of skipped stitches and chain spaces, adding a modern and airy vibe. The straps, made separately, can be adjusted for your perfect fit. Meanwhile, the ribbed edging at the bottom gives it a neat, stretchy finish that enhances both style and comfort.
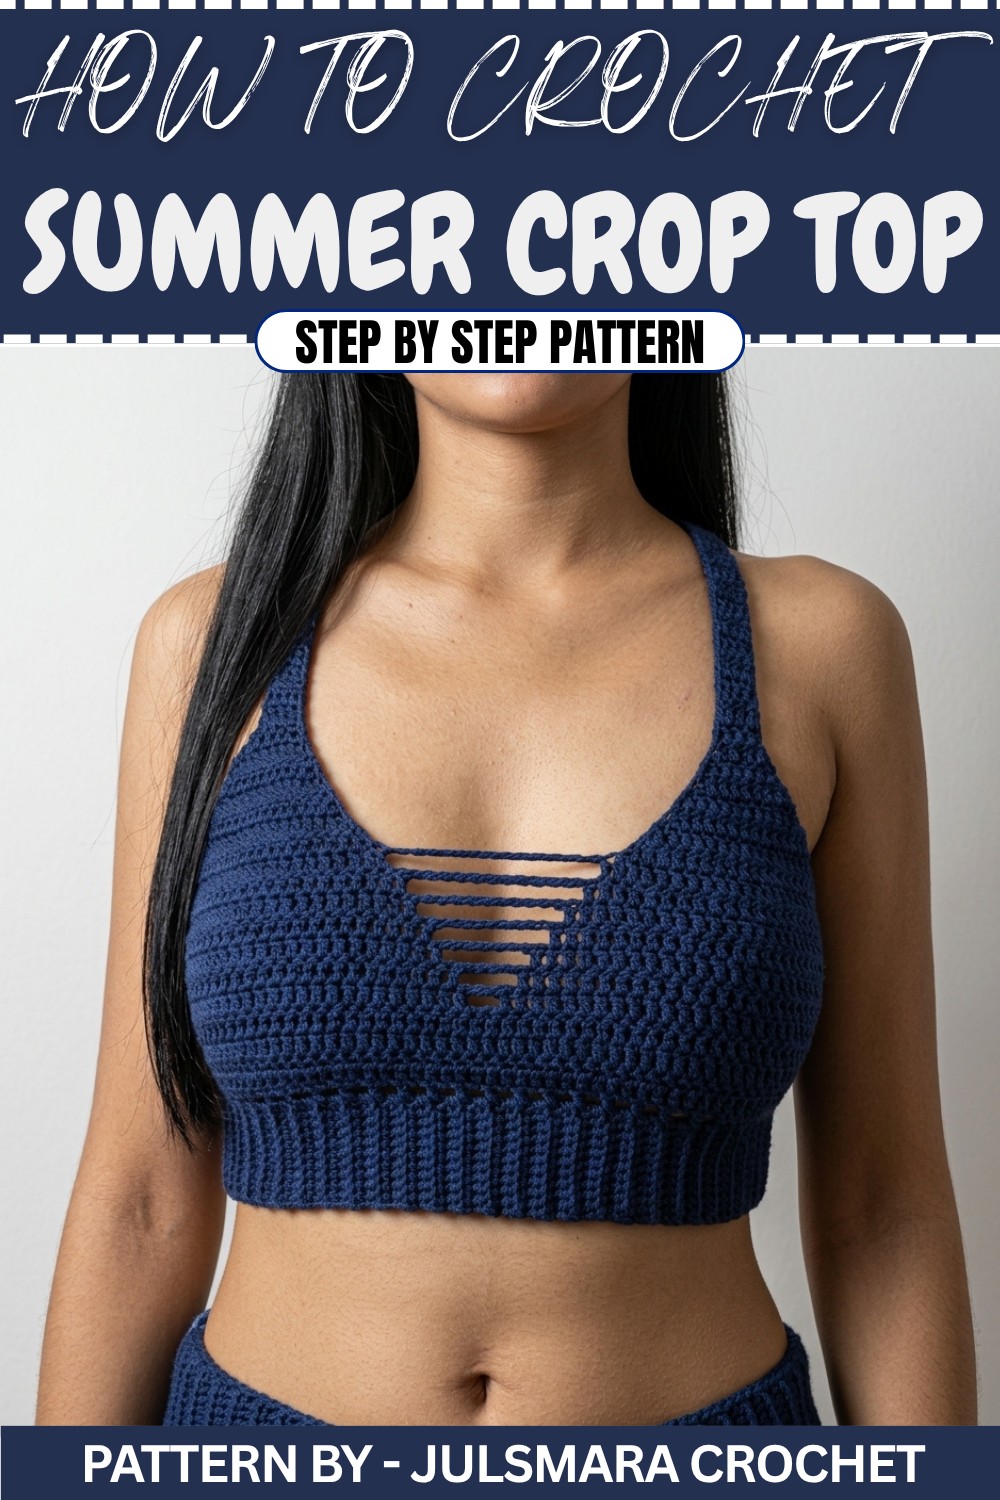
This crop top is perfect for anyone who loves fashionable, handmade clothing that’s unique yet functional. The brilliant mind behind this design is Julie from Julsmara Crochet, whose tutorials break down each step with care and precision, ensuring even beginners feel confident. With this design, you can create a trendy, stunning top that’s perfect for summertime fun while learning at your own pace.
Crochet Summer Crop Top Pattern
This crochet crop top is perfect for the warmer months, offering a comfortable yet stylish look. Featuring rib stitch on the front and back panels, a criss-cross strap detail, and small decorative accents, this design combines functionality and aesthetic appeal. It is customizable for your preferred fit and length.
Skill Level
This pattern is ideal for Intermediate crocheters, as it involves stitch reductions, rib stitch construction, and strap assembly techniques. Familiarity with double crochet, single crochet, and half double crochet is required.
Materials
To complete this project, you will need:
- Yarn:
- Alize Cotton Gold in Color 58 (or a similar lightweight yarn).
- Hook: 4mm crochet hook.
- Tools:
- Stitch markers
- Yarn cutter or scissors
- Yarn needle
Special Stitches
Half Double Crochet (HDC)
- Yarn over, insert your hook into the stitch, yarn over again, and pull through (3 loops on the hook).
- Yarn over again and pull through all 3 loops.
Double Crochet (DC)
- Yarn over, insert your hook into the stitch, yarn over, and pull through (3 loops on the hook).
- Yarn over, pull through the first 2 loops (2 loops remain).
- Yarn over, pull through the last 2 loops.
Rib Stitch (Back Loop SC)
- Insert your hook into the back loop only of the designated stitch.
- Yarn over and pull through (2 loops on the hook).
- Yarn over and pull through both loops on the hook.
Stitch Abbreviations
- CH – Chain
- SC – Single Crochet
- DC – Double Crochet
- HDC – Half Double Crochet
- SL ST – Slip Stitch
Useful Tips
- Measurement: Regularly check the foundation chain and panels against your own measurements to ensure your crop top fits perfectly.
- Stitch Markers: Utilize stitch markers to mark center points or edges, particularly when reducing stitches.
- Adjustable Length: The strap length and number of rows for the rib stitch can be adjusted based on desired fit and coverage.
The Crochet Pattern
1. Create the Base Panel
Foundation Chain
- Chain 72 stitches. This measurement is adaptable based on your preferred crop top width.
Row 1: Double Crochet
- CH 2 (this counts as the first DC). Skip the first 2 chains and work 1 DC in the fourth chain from the hook.
- Continue working DC into each chain across for a total of 72 DC.
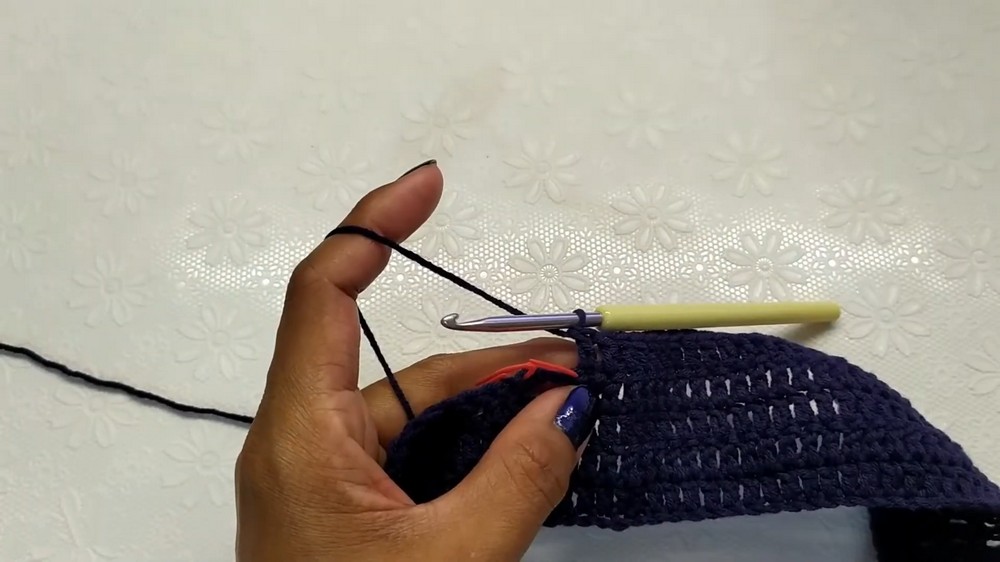
Rows 2-3: Full Double Crochet
- CH 2, turn your work, and work 1 DC in each stitch for the next two rows, maintaining 72 DC in total.
2. Center Opening Detail
Mark Center Stitches
- After completing the third row, place stitch markers on the 36th and 37th stitches for accurate positioning.
- Each side of the panel should have 35 stitches, leaving the center open for the required design detail.
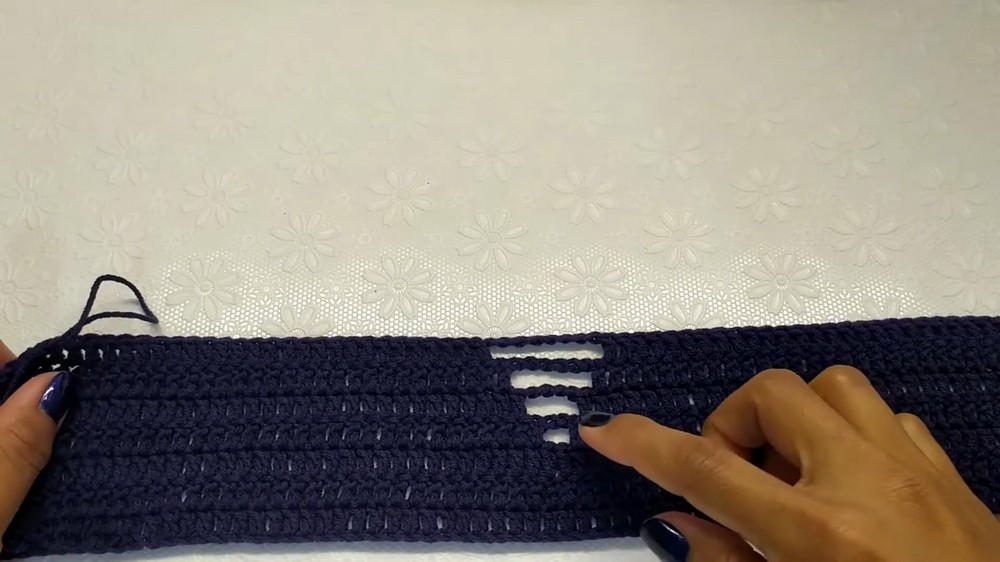
Row 4: Create a Small Opening
- CH 1, turn your work, and begin the row with 35 DC.
- At the marked stitches, CH 2, skip 2 stitches, and then work DC into the stitch after the marker.
- Continue with 35 DC to complete the row.
Rows 5-6: Expansion
- For Row 5: CH 1, turn your work, and work 34 DC. At the center, CH 4, skip 4 stitches, and continue with DC across the remainder of the stitches.
- For Row 6: Begin reducing stitches at both sides. Skip the first stitch, and work HDC into the third stitch. Continue with 32 DC, chain 6 at the center, skip 6 stitches, and complete the row with reductions at the end.
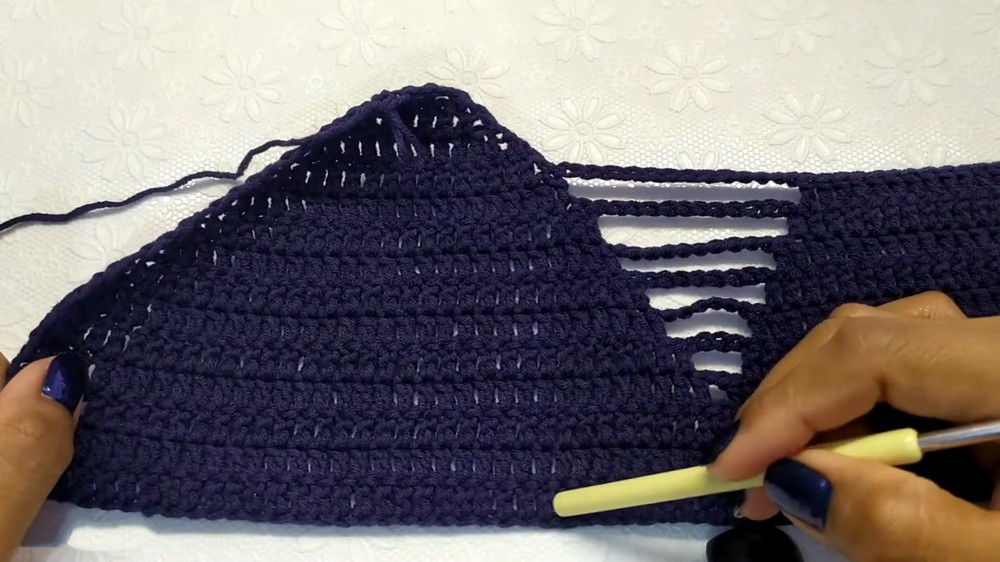
3. Creating the Center Details
Rows 7-10: Mesh Expansion
- Repeat the reduction method as described in Row 6, increasing the chain size at the center:
- Row 7: CH 8 and skip 8 stitches at the center.
- Continue reducing stitches on the sides of the panel as you progress.
Rows 11-14: Begin Rib Stitch Construction
- After completing the center mesh area, stop working with chains and continue working only on the sides. Reduce stitches at the beginning and end of the row.
- Transition into rib stitch rows, working back loop SC for texture.
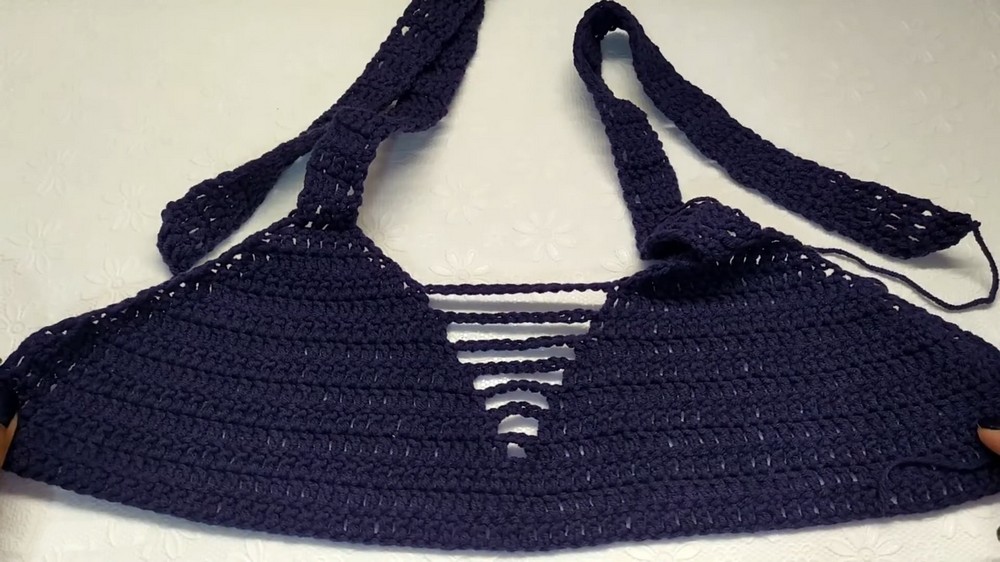
4. Strap Creation
Foundation
- Begin the straps after completing the final rows (Row 14) of the base panel.
- For the strap, CH 3, turn your work, and work 5 DC into the designated stitches in each row.
Build Strap
- Work the strap by repeating CH 3 and 5 DC rows until the desired length is reached.
- The tutorial suggests 39 rows for the straps, but you can adjust this length as needed.
- Leave a long yarn tail for sewing the strap at the back.
5. Assembly
Bottom Rib Stitch
- Connect yarn to the bottom edge of the panel.
- Work back loop SC, alternating between single stitches and clusters of 2 SC in larger gaps, to create the bottom rib stitch.
- You will complete this pattern around the bottom edges of the entire crop top.
Strap Attachment
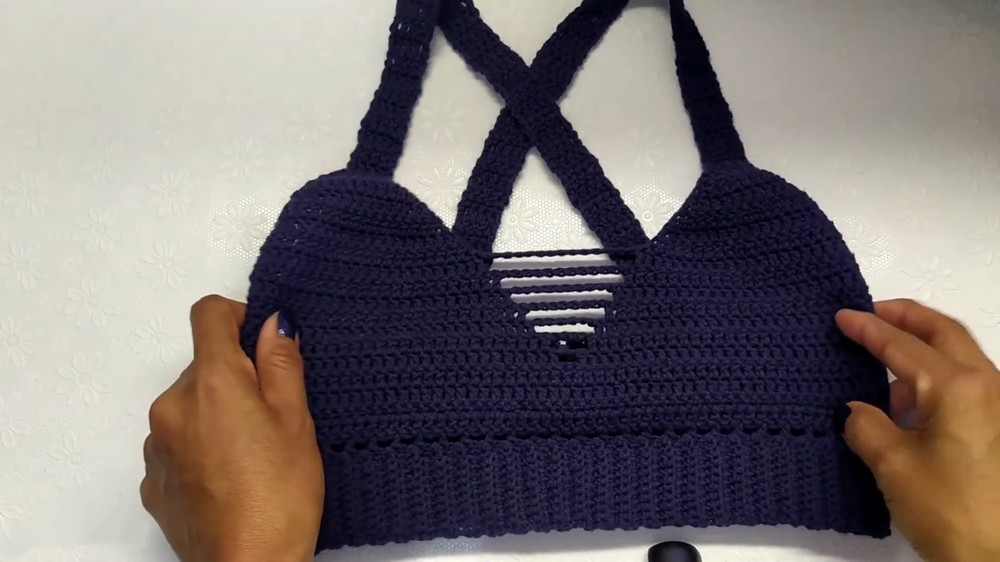
- Criss-cross the straps at the back of the crop top.
- Use stitch markers to align the straps with the rib stitch rows on the back panel (e.g., mark every 8 rows).
- Secure the straps with a yarn needle, ensuring even placement.
Side Panel Closure
- Sew the side panels together with a yarn needle, working on the inside of the crop top for seamless stitching.
Assembly and Sizing
After sewing the crop top panels and straps together, ensure that the straps are positioned symmetrically for the criss-cross design. The ribbed bottom edge provides both stretch and style, making the top comfortable to wear. Adjust the strap length and rib stitch width as needed for a personalized fit.
Conclusion
This summer crop top combines decorative front details, ribbed edges, and a flattering criss-cross strap design. Its customizable features make it suitable for a variety of outfits and occasions. Pair it with high-waisted pants or skirts for a trendy, handmade look.