
Easy Crochet Top with Choker Pattern: Free Tutorial
Turn heads with a stylish crochet top with choker using this free pattern that brings edgy elegance and homemade charm together in one project.
Having a handmade crochet top that not only fits perfectly but also adds a bold, stylish element to your wardrobe. This pattern brings that vision to life with its modern design, featuring a striking front opening, crisscross string details, elegant bead accents, and a built-in choker. The deep neckline is designed to turn heads, while the buttons and adjustable choker make it easy to wear and customize. This top is not just a garment, but a statement piece—perfect for casual outings, date nights, or any occasion where you want to stand out.
Free Crochet Choker Top Pattern for a Beautiful Look
Good Words For Designer & Channel!
The talented Julie, from the YouTube channel Julsmara Crochet, is the creative mind who makes this look achievable for everyone. Known for her ability to simplify intricate patterns, Julie patiently walks you through every step of the process, so even beginners can create gorgeous, wearable pieces with ease.
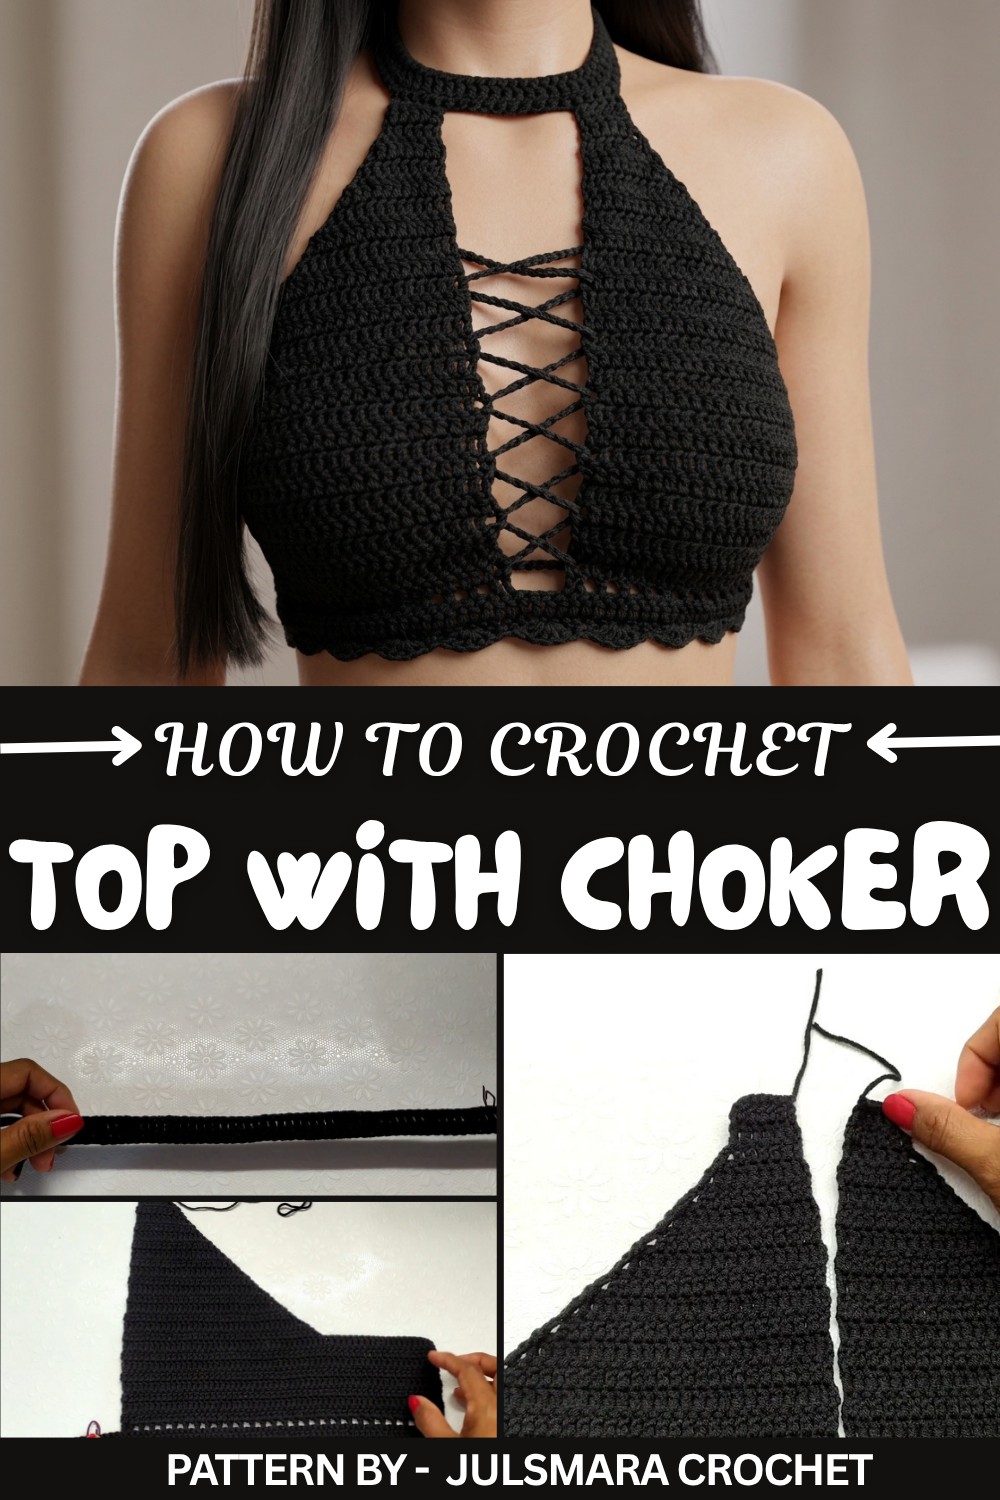
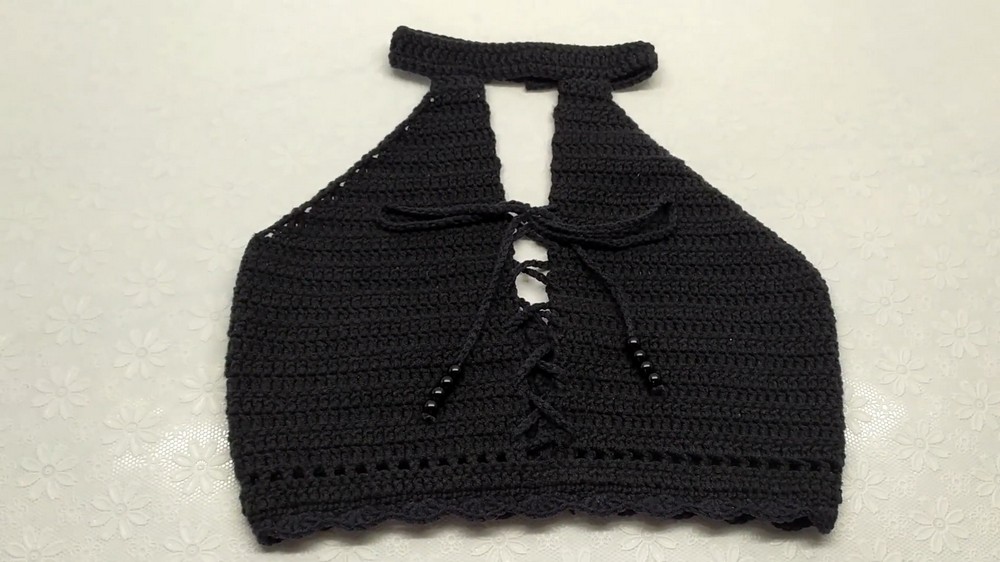
The top is crocheted by working two panels and shaping them to fit beautifully, using a combination of simple yet elegant double crochet stitches. The built-in choker is one of its most striking features, designed to perfectly fit the neck with a buttoned closure for comfort and convenience. What makes this design most attractive is the captivating front string with beads and the decorative shell-stitch edging at the bottom, which adds a delicate and feminine touch.
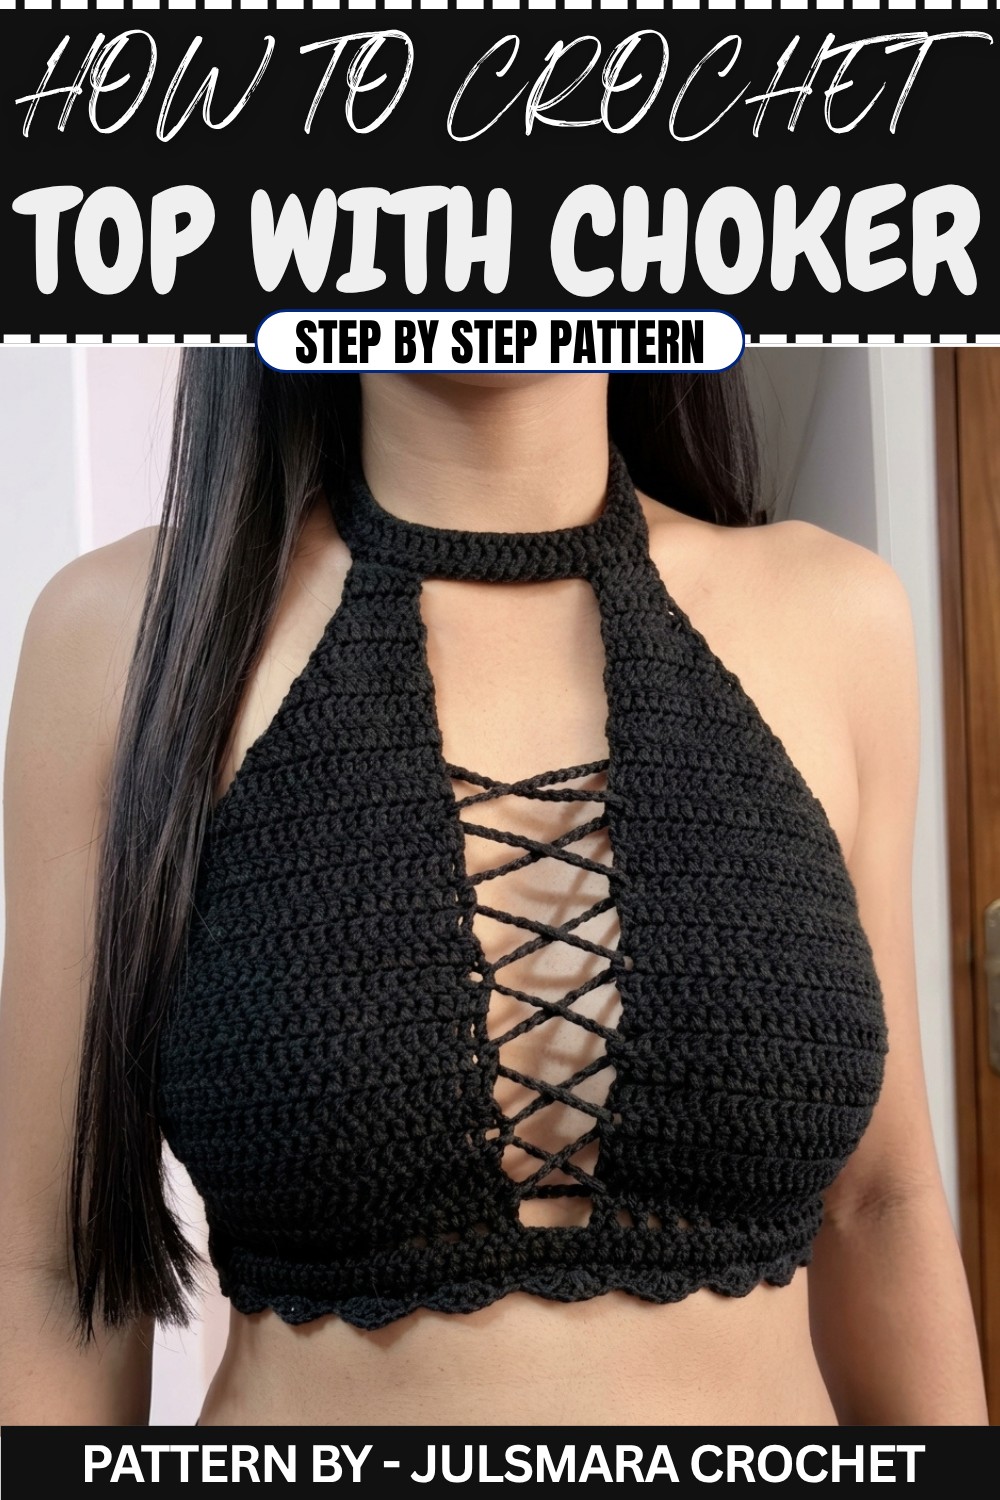
Sexy Crochet Top Pattern
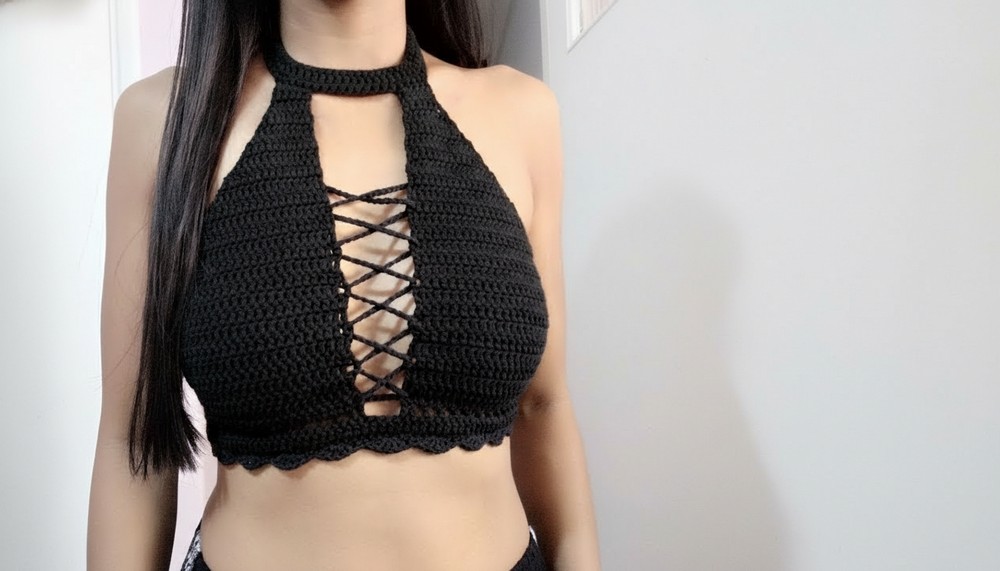
This elegant and stylish crochet top is designed with a deep V-neck, an adjustable front lace-up string with bead accents, and a choker-style neckline for added flair. It features a button-back closure and adaptability for a comfortable and fashionable fit. This project is great for special occasions, casual wear, or adding a unique handmade piece to your wardrobe.
Skill Level
This pattern is suitable for Intermediate crocheters due to its simple shaping, edging, and bead detailing. Basic understanding of crochet terms and techniques is required.
Materials
To complete this project, you will need the following:
- Yarn: Madame Cotton in black (or any lightweight cotton yarn of your choice).
- Hook: 3mm crochet hook.
- Tools:
- Yarn cutter or scissors.
- Stitch markers (recommended for accuracy).
- Yarn needle (for seaming and weaving ends).
- Tape measure for sizing.
- Accessories:
- Buttons (1 small for the choker and 1 larger for the back closure).
- Beads (optional but recommended for the lace-up string).
Special Stitches
Single Crochet (SC)
- Insert the hook into the desired stitch.
- Yarn over and pull through (2 loops on the hook).
- Yarn over and pull through both loops.
Double Crochet (DC)
- Yarn over, insert the hook into the next stitch, yarn over again and pull through (3 loops on the hook).
- Yarn over and pull through the first 2 loops (2 loops on the hook).
- Yarn over and pull through the last 2 loops.
Slip Stitch (SL ST)
- Insert the hook into the desired stitch, yarn over, and draw through both the stitch and the loop on your hook in one motion.
Stitch Abbreviations
- CH – Chain
- SC – Single Crochet
- DC – Double Crochet
- SL ST – Slip Stitch
Useful Tips
- Yarn Tension: Maintain an even tension for consistent stitch sizes.
- Sizing: Reduce your foundation chain length by a few centimeters from your rib gauge measurement to account for the stretchy nature of crochet.
- Stitch Markers: Use stitch markers to ensure accurate placement when working on symmetrical designs or reductions.
The Crochet Pattern
1. Create the Base (Main Body)
Foundation Chain
- Chain 121 stitches (120 + 1 for turning), which measures approximately 50 cm with a 3mm hook. Adjust the chain count for larger or smaller sizes.
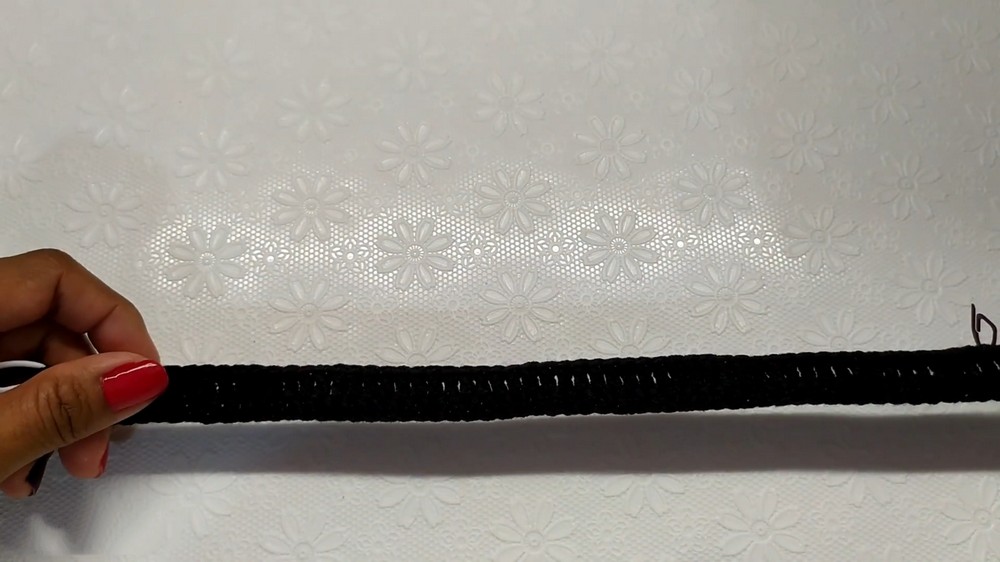
Row 1: Single Crochet
- Skip the first CH. Work 1 SC in the second chain from the hook.
- Continue working SC in each chain until the end. You should have 120 SC at the end of this row.
Row 2: Full Double Crochet
- CH 1, turn. In the first stitch, work 1 DC (place a stitch marker to easily recognize the starting stitch).
- Work one DC in every stitch across for a total of 120 DC.
2. Adding Shaping and Design
Stitch Marker Placement
- After the second row of double crochet, place a stitch marker on the 58th stitch and another marker on the 63rd stitch. This will indicate the center point for shaping the V-neck.
Row 3: Chain-One-Skip-One Pattern
- CH 1, turn. Work 1 DC in the first stitch, CH 1, skip 1 stitch, and work 1 DC in the next stitch.
- Continue with this CH 1, skip 1, DC pattern across the row. Stop when there is 1 stitch remaining before the stitch marker.
- Remove the marker and work 1 DC into the marked stitch.
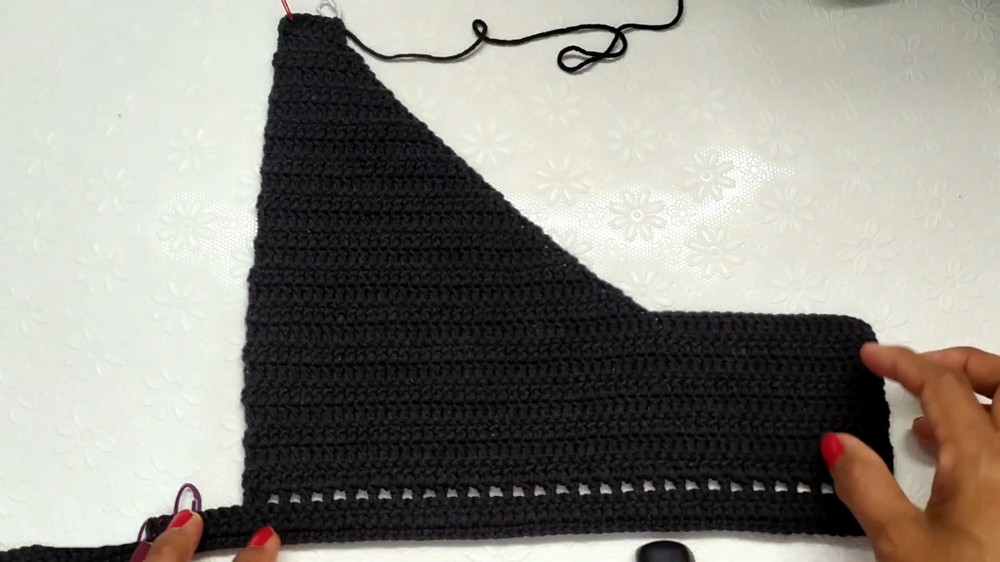
Row 4: Double Crochet
- CH 1, turn. Work 1 DC into every stitch across, including each chain-1 space from the previous row. Continue this pattern for several rows as indicated below.
Rows 5 to 11: Full Double Crochet Rows
- CH 1, turn. Work 1 DC into every stitch, completing 7 rows of DC for texture and shape development.
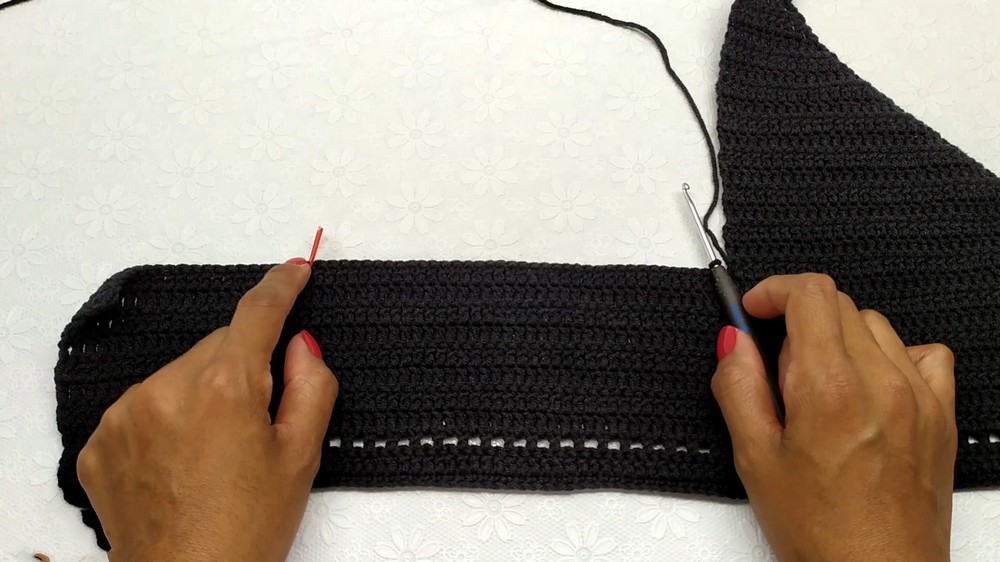
3. Begin Reductions
Row 12: Begin Reducing Stitches
- Count 38 stitches from the beginning of the row and mark the 38th stitch with a stitch marker. This marks where reductions begin.
- Work 35 DC across and stop 3 stitches before the stitch marker.
- To decrease:
- Yarn over, insert the hook into the next stitch, yarn over, and pull through (3 loops on the hook).
- Yarn over, pull through 2 loops.
- Skip the next stitch, remove the stitch marker, yarn over, insert the hook into the marked stitch, yarn over, and pull through. (4 loops are now on the hook).
- Yarn over, pull through 2 loops (3 loops remain).
- Yarn over again and pull through all 3 loops.
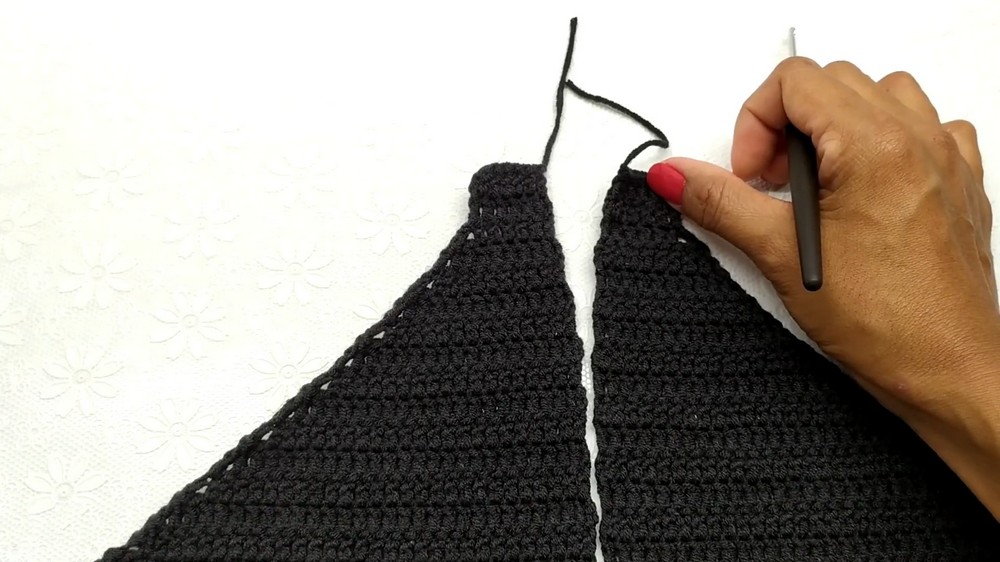
Row 13: More Reductions
- Chain 2, turn, and skip one stitch.
- Begin with HDC in the third stitch to start the next row of decreasing stitches.
- Repeat the reduction process on this side as directed.
Rows 15 to 27
- Continue to reduce stitches by following the same steps in each row.
4. Finishing the Main Shape
Row 28: Straight Rows
- For the next row, stop reducing stitches and begin working straight rows with DC in each stitch.
- Work 2 to 3 rows (or as much as needed to reach the collarbone or neck base).
5. Creating the Choker
Choker Foundation Chain
- Measure the circumference of your neck with a measuring tape. For a measurement of 33 cm, chain approximately 64 CH.
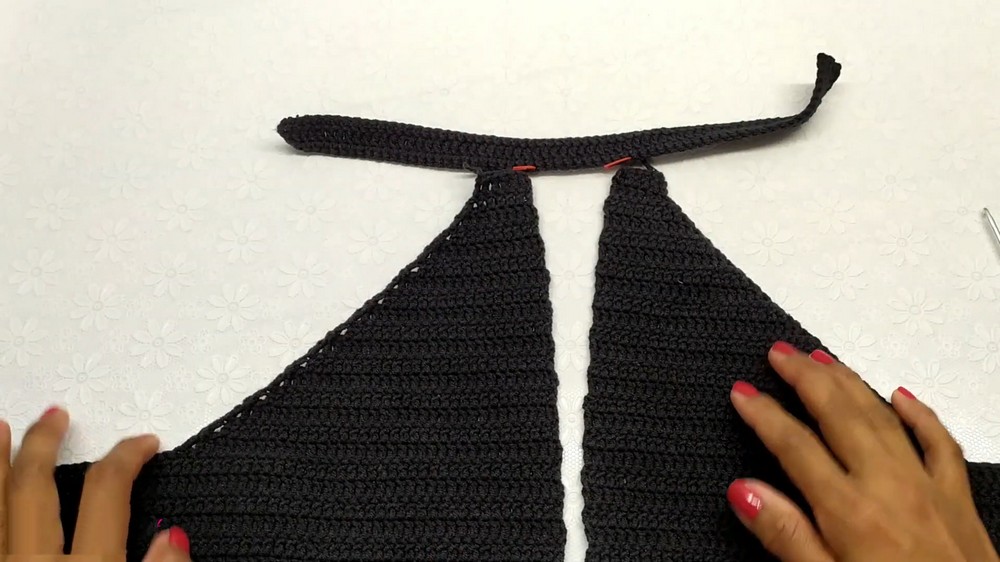
Row 1: Single Crochet
- CH 1, skip the first CH, and work 1 SC in the next CH and across for a row of SC stitches.
Rows 2-3: Complete Choker
- Row 2: CH 1, turn, and work DC in every stitch across.
- Row 3: CH 1, turn, and work SC in every stitch across to finish the row.
Add a CH 3 loop at the end for the small button closure on the choker.
6. Edging
After finishing the main body and choker, add a shell stitch edging to the bottom hem.
- Attach yarn to the bottom-right corner of the top.
- Skip 2 stitches, then work 5 DC into the next stitch to create the shell.
- Skip another 2 stitches and work 1 SC into the next stitch. Repeat across to create the shell design.
7. String with Bead Detail
- Create a long chain to serve as the front lace-up string. Leave a long tail on both ends for attaching beads if desired.
- Insert the string diagonally into the stitch spaces on the front of the top for a crisscross effect.
Assembly and Sizing
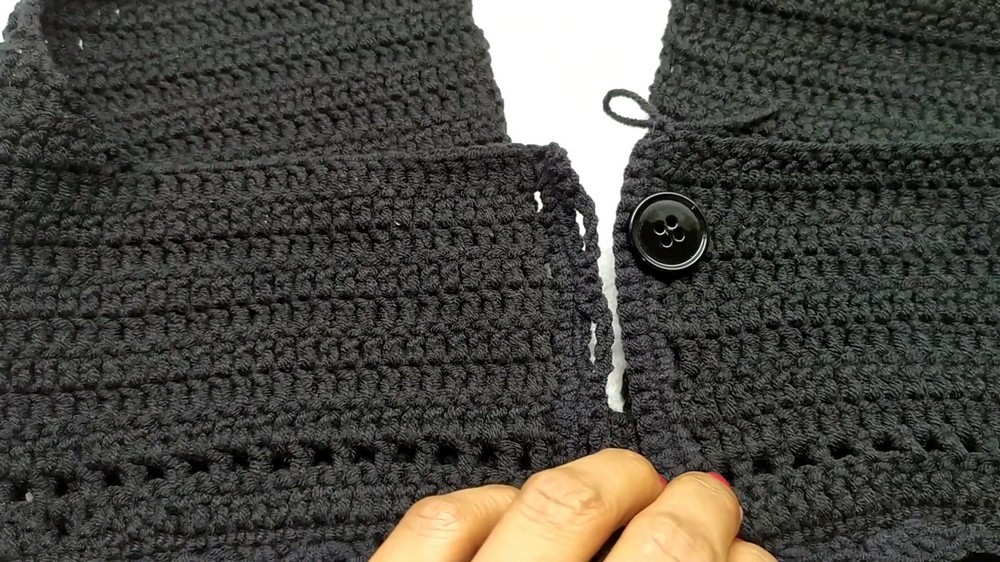
- Attach Buttons: Sew the large button to the back closure and the small button to the choker loop. Align the buttons to ensure proper placement.
- Use your yarn needle to neatly attach the choker to the top of the crop top. Place it evenly across the neckline for a seamless look.
- Adjust the lace-up string and headphones for customization.
Conclusion
This sexy crochet top combines comfort and elegance with its intricate detailing like front lacing, beads, chokers, and shell-stitch edges. The lightweight yarn, button closures, and stretchy design ensure wearability and style for small to medium sizes. Perfect for summer outings or as part of a layered outfit! Customize it with your favorite colors and accessories, and enjoy wearing this handcrafted piece.