
Simple Crochet Granny Square Top Pattern for Bold Looks
Elevate your summer wardrobe with a free crochet granny square top pattern that's stylish, customizable, and perfect for any occasion.
Creating a light and breezy top for summer can be wonderfully simple and satisfying. This crochet project uses classic granny squares, a timeless motif that brings a nostalgic yet fresh look to your wardrobe. The top is not only stylish but also versatile—perfect for casual outings, beach days, or layered looks. What makes this pattern special is its combination of double crochet stitches and chain spaces forming the granny square pattern, coupled with rows of single crochets that add neatness and structure. The pattern is designed to be easy and enjoyable, making it an excellent choice whether you’re just learning to crochet or looking for a fun, quick project.
Easy Crochet Granny Square Top Pattern for Flawless Everyday Looks
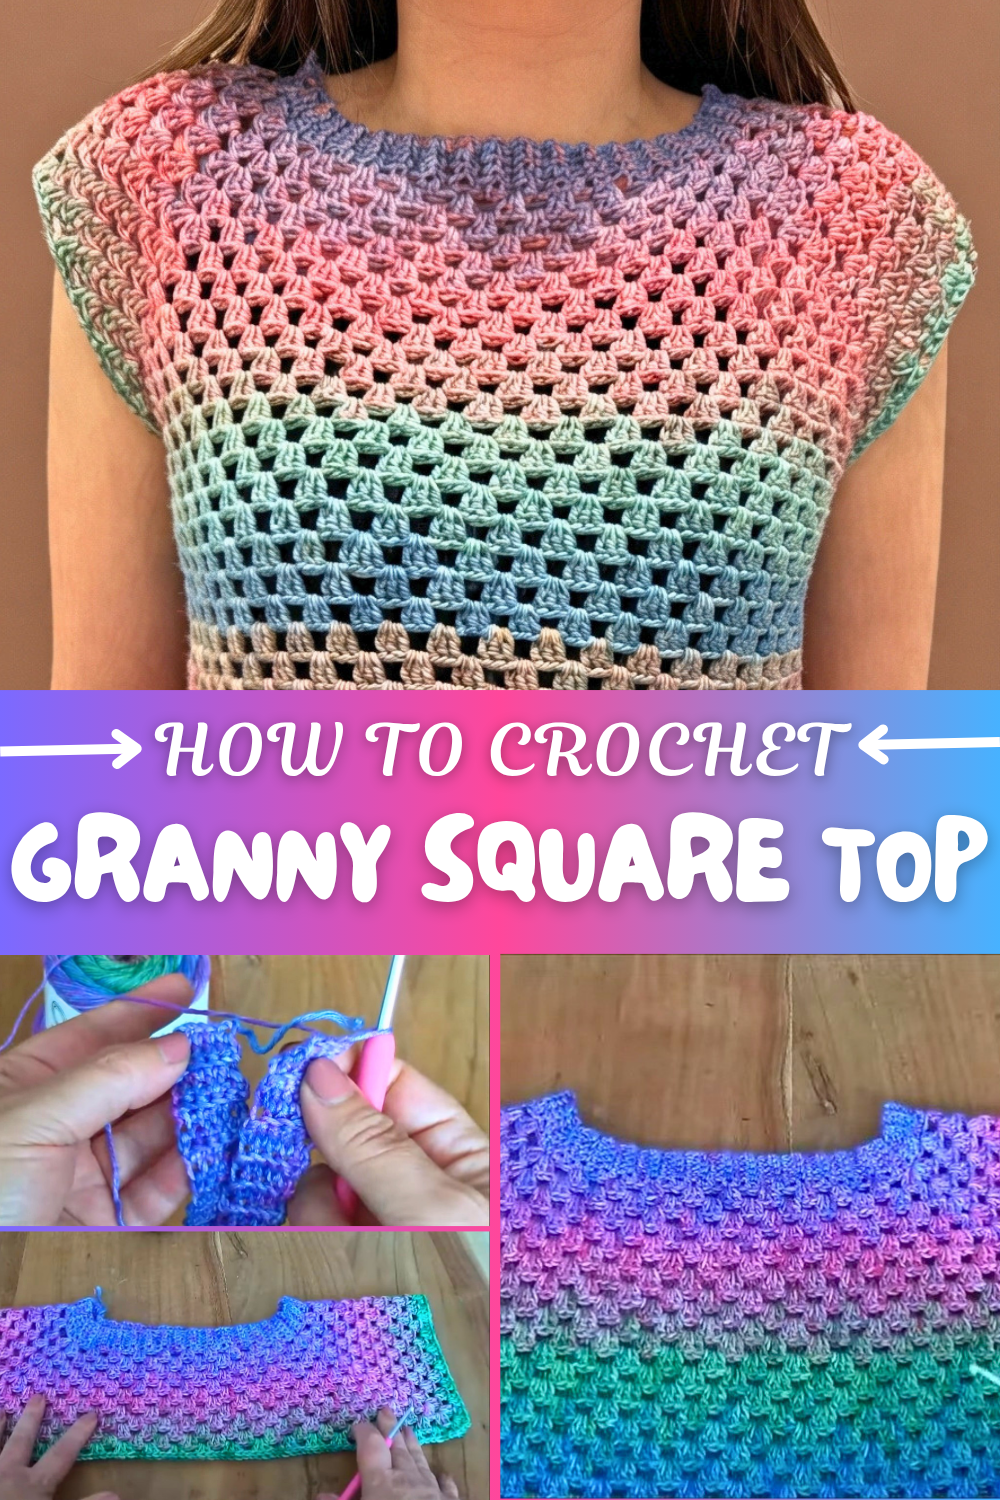
The beauty of working with granny squares is how adaptable the design is. You can customize the size easily by adding more squares or extending the length with additional rows. This particular top was made in a small size, about 46 cm wide and 40 cm long, but the instructions help you tailor it to your needs. Crocheting in rounds for the squares and joining parts seamlessly allows you to develop essential crochet skills. The back-loop single crochet technique used here gives the fabric a subtle ribbed effect, making the texture more interesting and flexible. Plus, the open spaces in the granny squares keep you cool when the temperatures rise.
More Creations From This Pattern
Once you’re comfortable with these stitches and square construction, you can expand your creativity beyond the top. The granny square motif works well for scarves, baby blankets, or even quirky shoulder bags. By changing yarn colors and arrangement, a world of elegant or playful projects opens up, all using the same foundational techniques. This pattern encourages you to experiment and grow your personal crochet style in fun and practical ways.

Summer Crochet Shirt Pattern
In this tutorial, we will crochet a lightweight summer shirt using the versatile granny square pattern. This project is easy, beginner-friendly, and customizable for different sizes and lengths. You can make a cropped summer shirt like the one demonstrated, extend it into a full-length shirt, or even turn it into a breezy summer dress. The entire pattern relies on double crochet (dc) and single crochet (sc) stitches, which makes it simple and fun to make. It’s a perfect project for summer fashion enthusiasts or those looking for a creative and wearable crochet design.
Uses of This Pattern
- Wearable Fashion: Great for casual summer outings, beachwear, or layering.
- Customizable Design: Expand the length to make a dress or reduce it for a top.
- Skill Builder: Practice working in rows, rounds, slip stitches, and granny square patterns.
Skill Level & Terminology
- Skill Level: Advanced Beginner
This is a relatively simple project, ideal for those familiar with basic crochet stitches like single crochet and double crochet. - Terminology: US Crochet Terms
Materials & Tools
- Yarn:
- Medium weight yarn (e.g., Sunrise yarn: 50% biocotton, 50% soybean fiber; 150g = 415m). You can use any lightweight yarn suitable for summer.
- Hook Size: 3.5 mm crochet hook.
- Extras:
- Stitch markers for precision when working in rounds.
- Tapestry needle for sewing ends and assembling.
- Scissors.
Gauge
6 single crochet × 6 rows = 1 inch.
Adjust hook size if your gauge is different.
Finished Size
This pattern creates a small size shirt with approximately:
- Width: 46 cm (18 inches).
- Length: 40 cm (15.7 inches).
You can easily adjust the size by adding rows/rounds or modifying the number of granny square sets.
Abbreviations List
| Abbreviation | Description |
|---|---|
| ch | Chain |
| sc | Single Crochet |
| sl st | Slip Stitch |
| dc | Double Crochet |
Special Stitch Instructions
Granny Square Shell (set):
- Work 3 dc into the same stitch/space, with ch 1 between sets.
- This forms a "granny square shell" that builds the shirt's texture.
What You Learn from This Pattern
- Starting projects with a foundation of single crochets for structure.
- Creating the classic granny square pattern with increases.
- Connecting rows/rounds with slip stitches and forming armholes seamlessly.
The Pattern
Part 1: Collar
- Foundation Row:
- Create a slip knot and ch 6.
- Starting from the second chain from the hook, sc across the foundation chain (5 sc total).
- Ribbing Rows:
- Turn your work, ch 1, and continue to sc in the back loop only across all 5 stitches.
- Repeat this for 84 rows (or more/less to achieve the desired collar length).
- The ribbing rows create a textured, stretchy collar.
- Joining the Collar:
- Use sl st to connect both ends of the collar together.
- Ensure the piece isn’t twisted before joining.
- Work sl st under the back loop of the first panel and the front loop of the second panel for a clean seam.
- Single Crochet Round:
- Once the collar is joined, ch 1 and work 1 sc in each row (1 sc per rib = 84 sc) to form a flat base for the granny square stitches.
- Join with a sl st to the first sc to complete the round.
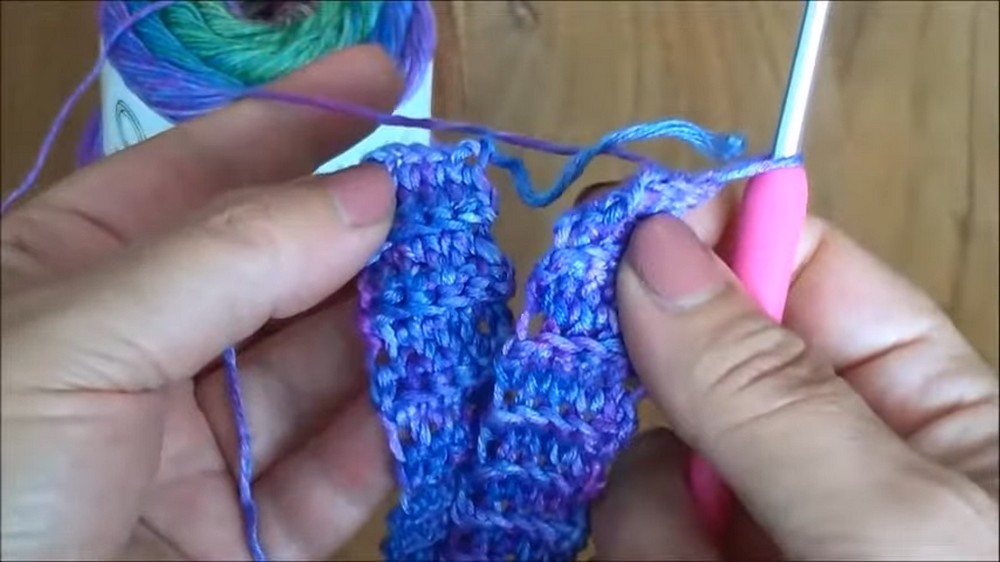
At this point, you have a ribbed collar with a flat edge for the shirt body.
Part 2: Dividing for Front, Back, and Sleeves
- Granny Square Foundation:
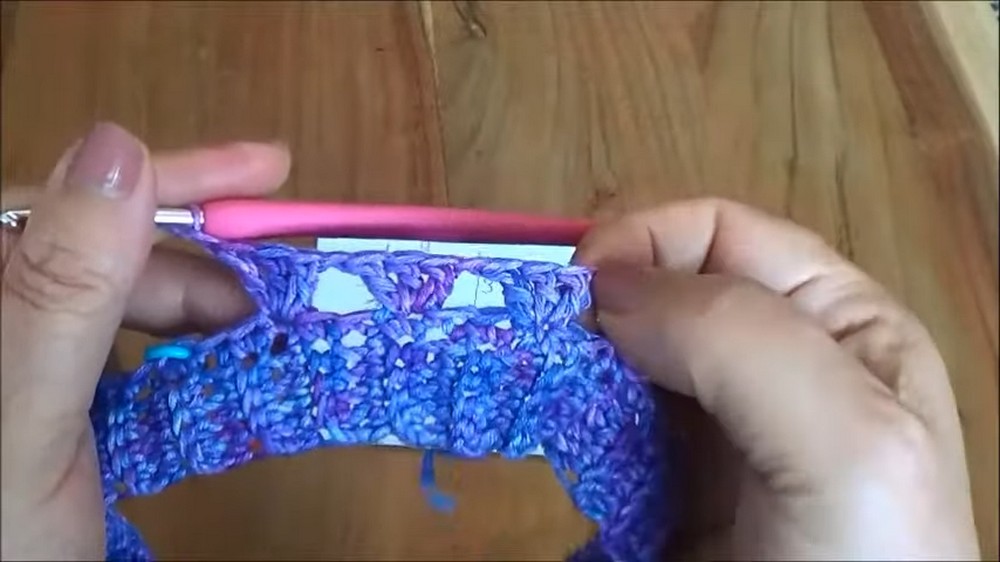
- Work 3 sets of dc clusters (3 dc in the same space) for each sleeve and 9 clusters for both the front and back pieces.
- Mark off corner edges with stitch markers; this will make it easier to create increases and distinguish sections.
- Corner Edges (Increases):
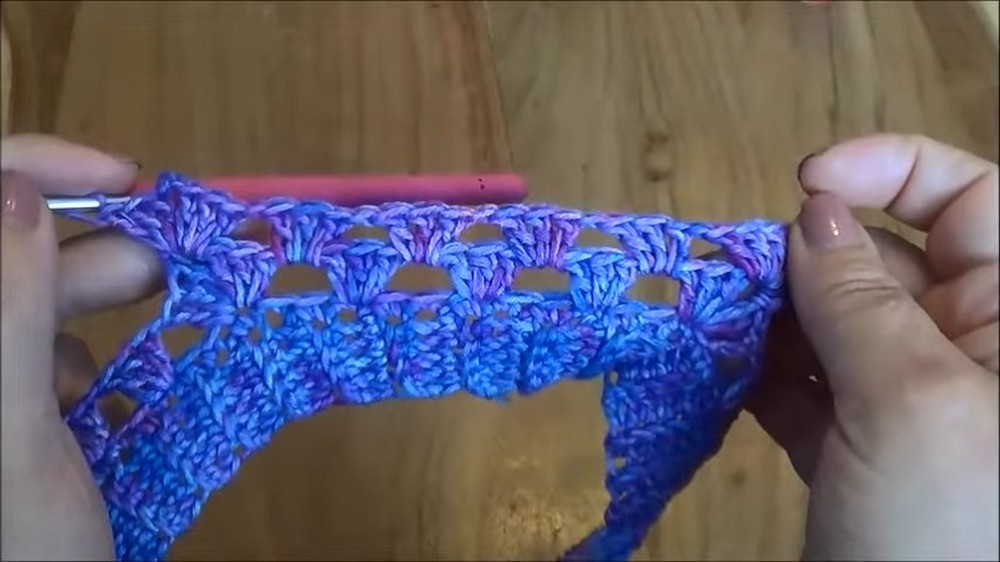
- In the marked corner spaces, crochet [3 dc, ch 2, 3 dc] to form a visible shell edge.
- Granny Square Sets:
- Between corner edges, work 3 dc clusters into each space from the previous round.
- Add ch 1 between each granny square set for separation.
Part 3: Building the Shirt Body
- Continue working in rounds using 3 dc clusters separated by chain 1, and always increase at each corner edge by adding [3 dc, ch 2, 3 dc].
- Repeat rounds until you achieve the desired width across the chest and shoulders.

Part 4: Creating Armholes
- After the desired width has been reached, stop increasing at the corners to form armholes.
- Instead of working increases at the corners, make chain bridges to skip sections where sleeves will form:
- Example: ch 3, skip the section for the sleeve, and continue working granny squares in the next space.
- Work 1-2 rounds without increases to stabilize the armholes.

Part 5: Shirt Length
- After finishing the armhole section, continue working rows of granny squares in the round to build the shirt body length.
- Always crochet 3 dc clusters with ch 1 between each set.
- End with a row of single crochet for a clean edge, or mirror the collar ribbing pattern for consistency.
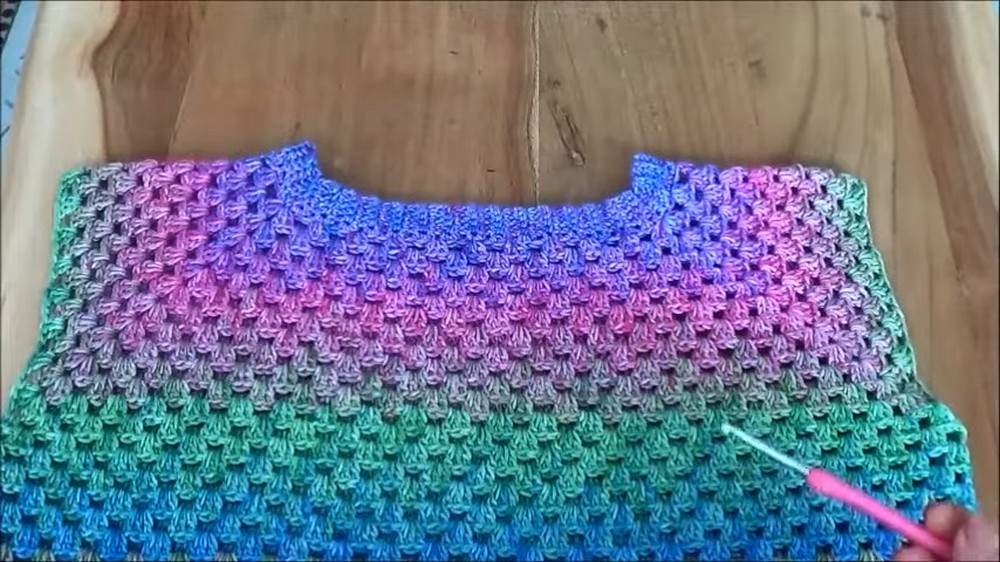
Assembly & Finishing
- Weave in loose ends using a tapestry needle.
- Block the shirt lightly to enhance the granny square pattern and improve the fit.
- Optional: Add single crochet edging to the sleeves or hem for added structure and design.
Conclusion
This cute and easy summer granny square shirt is a fun and rewarding project that anyone can crochet! With minimal materials and basic stitches, you can crochet a custom-fit top perfect for the warmer months. Whether you're making a gift or designing something special for yourself, this versatile pattern is a must-try.
Why You’ll Love This Pattern
This Summer Granny Square Shirt combines simplicity and elegance, making it the perfect handmade summer staple. The granny square style keeps the project exciting and offers endless customization for length, colors, and style preferences. The armhole creation and seamless pattern make it a beginner-friendly and heartwarming crocheting experience.
