
How to Crochet Granny Square Pattern for Vibrant Projects
Creating a simple shape that grows with every stitch is one of the most satisfying experiences in crocheting. This pattern guides you through making a wonderfully chunky and textured square using easy-to-learn double crochet stitches combined with chain spaces. These stitches create a balanced mix of solid fabric and airy gaps, making the square both warm and breathable.
Free Crochet Granny Square Pattern for Chic Projects
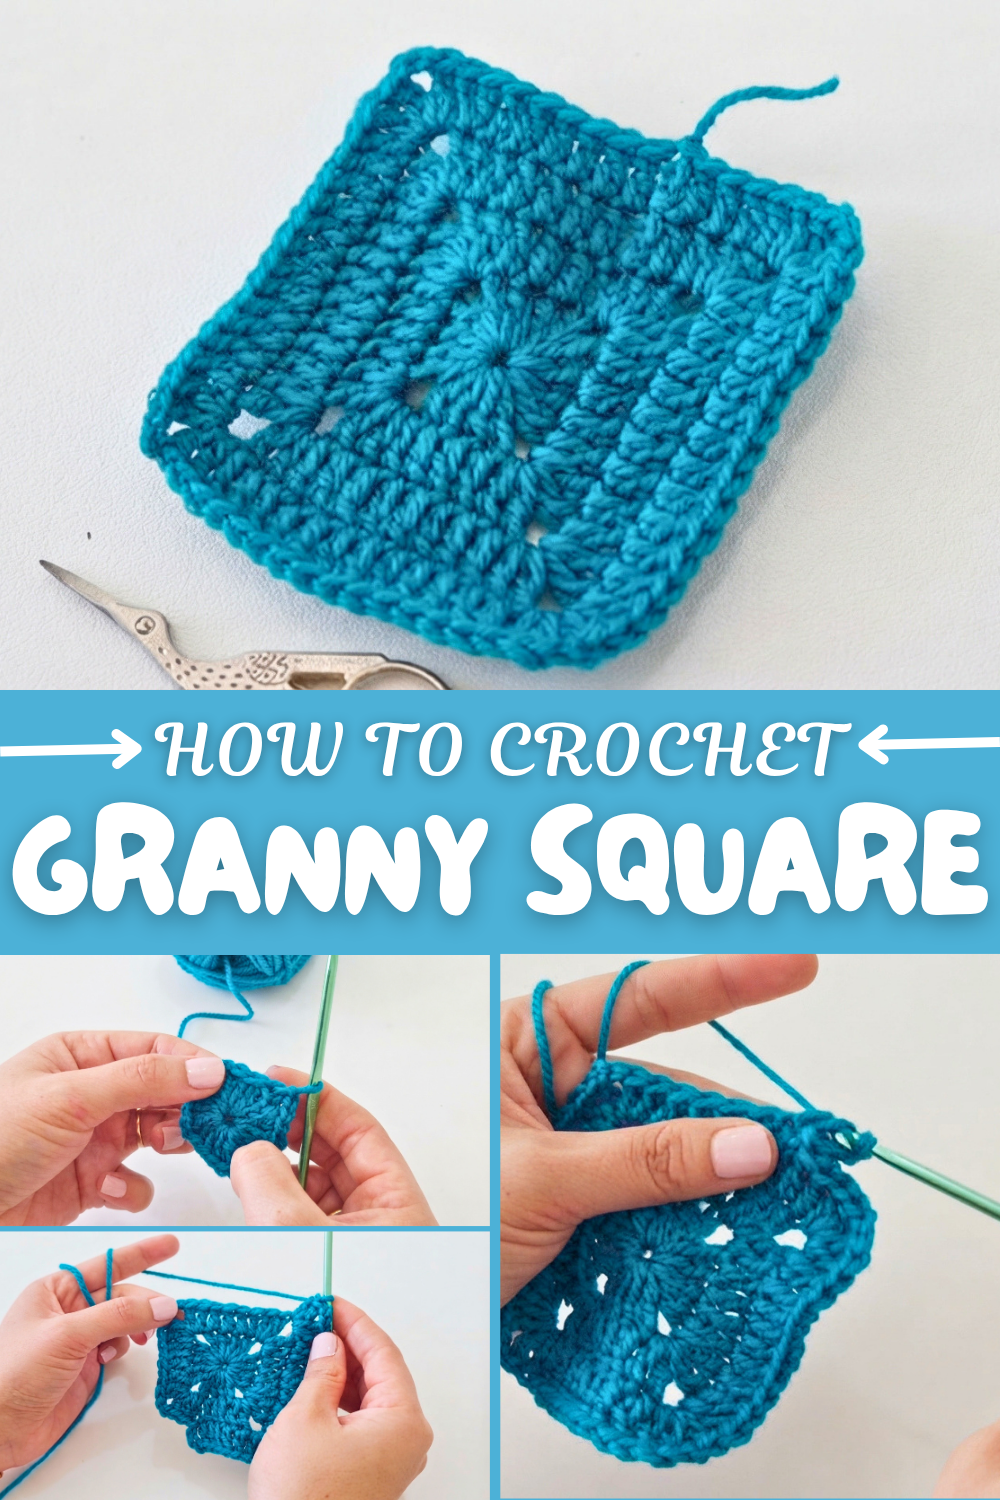
Round by round, you’ll add more stitches evenly to each side. Maintaining consistent stitch count and tension is the secret to a smooth square that looks polished and professional. The pattern also encourages hiding yarn tails as you go, so your final piece is clean and ready to use without extra finishing work.
This classic crochet square is incredibly versatile. By joining many of these squares, you can crochet colorful blankets, cozy cushions, stylish tote bags, or even patchwork garments. You can customize each square with your favorite color combinations or yarn textures to make your project truly unique. It’s a wonderful way to build new skills while creating something timeless and useful that you’ll treasure for years.
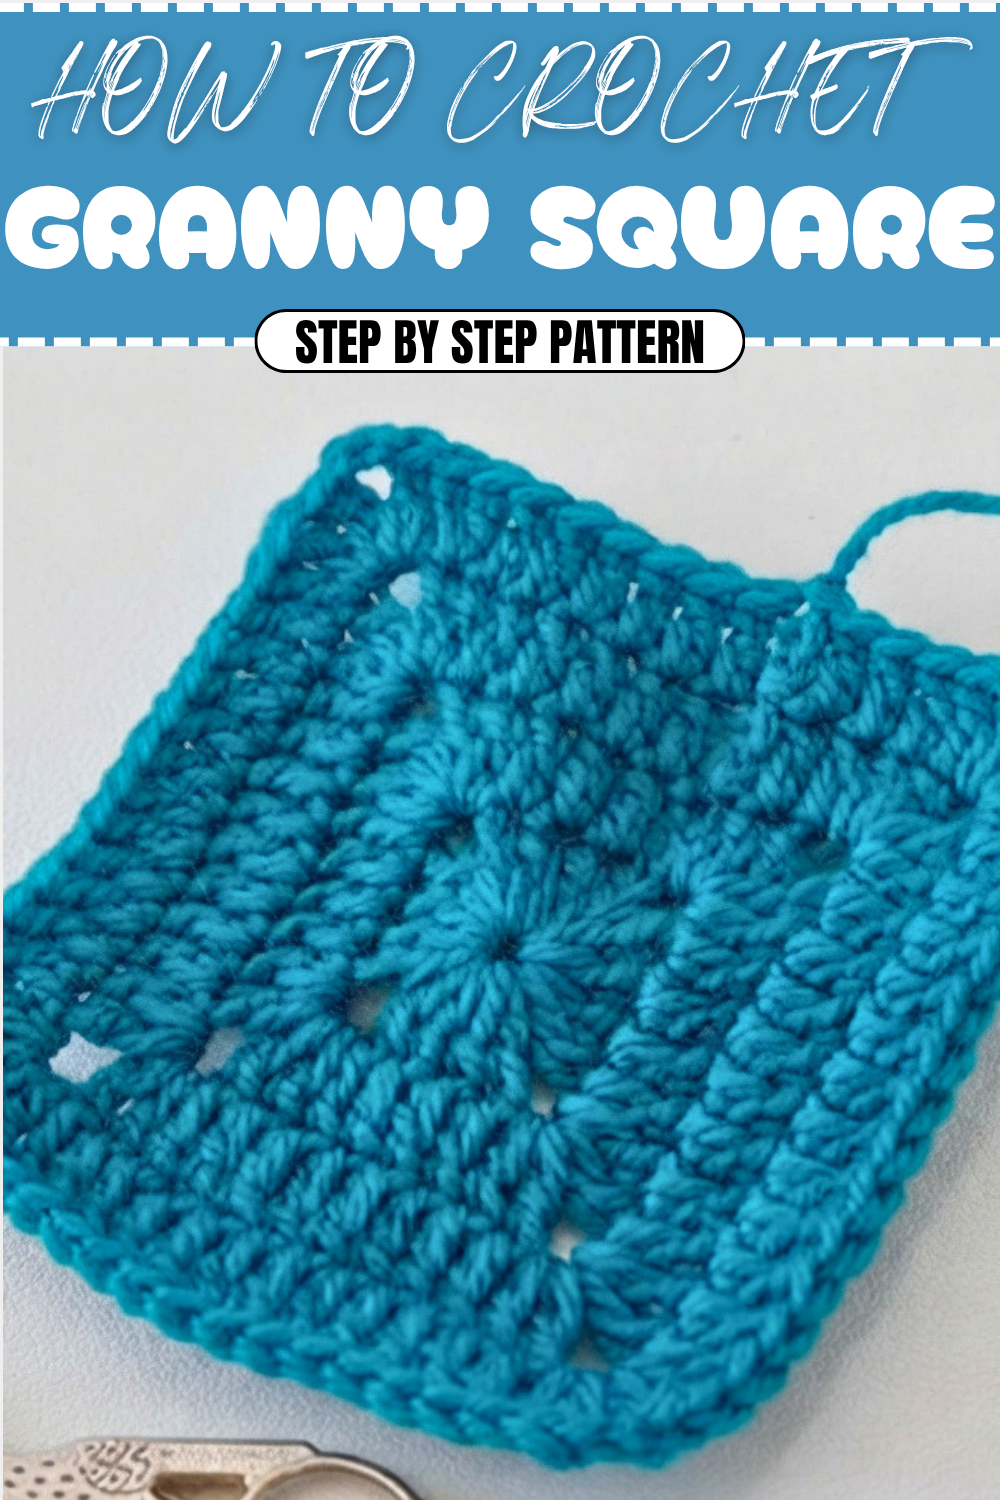
Crochet Pattern: Chubby Granny Square
The Chubby Granny Square is perfect for creating cozy, textured designs that can be assembled into various projects such as blankets, cushions, bags, or accessories. In this step-by-step tutorial, you'll learn a simple yet versatile granny square technique that allows you to make squares of any size using easy stitches. This pattern builds on the classic granny square by creating a chunky, textured appearance using rods (double crochets). It’s suitable for beginners and allows endless customizations with colors, thickness, and projects.
What You’ll Learn from This Pattern
- Starting with a Magic Ring: This flexible technique creates a tight center for your crochet designs.
- Symmetrical Square Growth: Learn how to maintain proper rod increases for perfect square shapes.
- Corner Work: Master spacing using chain stitches to create sharp corners.
Skill Level & Terminology
- Skill Level: Beginner
- Terminology: This pattern uses US crochet terms.
The pattern follows a classic round-by-round granny square with corner increases and rods (double crochets). If you’re new to magic rings and double crochets, this guide will walk you through these techniques.
Materials & Tools
- Yarn: Any yarn of your choice. Thicker yarns give a chunkier texture while thinner yarns provide a lighter appearance.
- Suggested Yarn: Medium-weight yarn with recommended hook size 3.5 mm or 4 mm.
- Hook Size: 4 mm crochet hook (or size suitable for your yarn).
- Notions:
- Scissors
Gauge
Gauge is not critical for this pattern. Granny squares are flexible, and the size depends on the yarn and hook used.
Abbreviations
Here is a quick reference guide of abbreviations used in the pattern:
- ch: Chain
- dc: Double crochet (rod)
- st: Stitch(es)
- sl st: Slip stitch
Special Stitch Instructions
Magic Ring:
The magic ring allows you to create a tight, adjustable center for your granny square.
- Wrap the yarn around your fingers to form a loop.
- Insert the hook into the loop, yarn over, and pull up a loop.
- Yarn over again and pull through to secure the ring.
Finished Size
The final size depends on the number of rounds worked:
- Small Granny Square: Approx. 4 inches across (2 rounds).
- Large Granny Square: Approx. 8-10 inches (4 rounds).
What You’ll Learn & Why You’ll Love This Pattern
From this tutorial, you’ll learn:
- How to start a granny square using the magic ring technique.
- How to add rounds and increase the square size.
- Techniques for corner spacing to maintain a square shape.
This pattern is versatile and fun. Choose your favorite colors or yarn weights and create something unique like blankets, bags, or garments. Granny squares are satisfying for both beginners and seasoned crocheters because of their possibilities in creating designs.
The Pattern Itself
Step 1: Start with the Magic Ring
- Create a magic ring by wrapping the yarn around your fingers as described in the instructions.
- Ch 3 (counts as the first double crochet).
- Work 3 dc into the magic ring, followed by 2 ch.
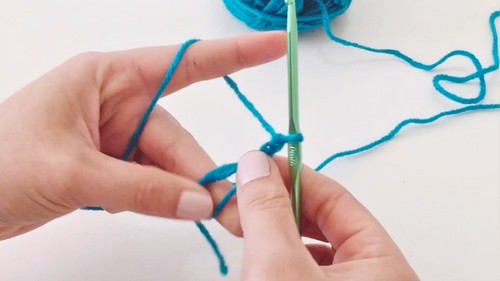
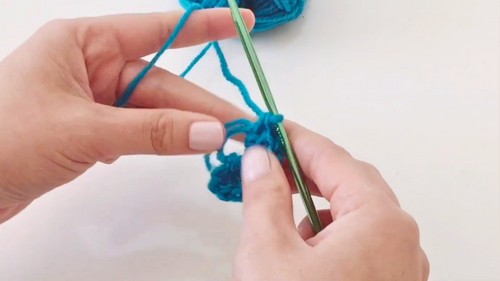
- Continue working 4 dc into the magic ring, followed by 2 ch. Repeat this two more times, creating four sets of double crochets separated by chains.
Close the Round:
- Pull the tail of the magic ring tightly to close it into a loop.
- Join with a sl st into the top of the first ch-3.
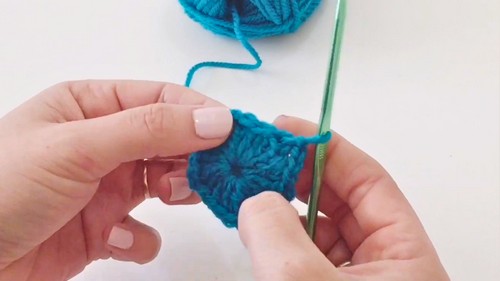
At the end of this round, you should have 4 clusters of rods separated by chain spaces, forming the corners of the square.
Beginners: Focus on forming an even square by tightening the magic ring securely and placing the chain spaces in each corner.
Step 2: Add the Second Round
- Ch 3 (counts as the first rod).
- Work 1 dc into each of the previous rods on the side (total of 3 dc to complete the side).
- For the corner spaces, work:
- 2 dc, 2 ch, 2 dc into the corner space from the previous round.
- Continue working 1 dc into each rod of the side, then repeat the corner sequence (2 dc, 2 ch, 2 dc) in each corner.
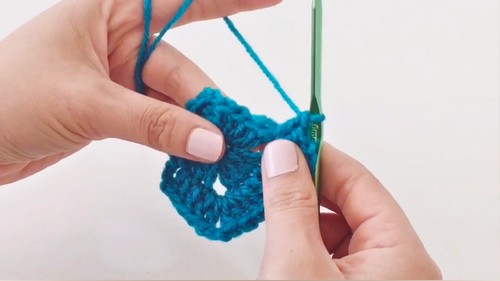
Finish the second round by joining with a sl st into the top of the first ch-3.
At this stage, the square becomes larger, and its corners maintain their distinct shape. Be sure to count your rods to prevent uneven sides.
Step 3: Continue Adding Rounds
Follow the same instructions from the second round to continue growing the square:
- For Sides: Work 1 dc into the top of each rod from the previous round.
- For Corners: Always work 2 dc, 2 ch, 2 dc into the chain space created on the previous round.
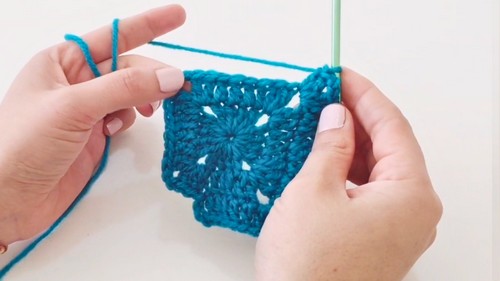
Each round adds another set of rods to the sides, increasing by four rods per side for every round (2 per corner).
Example for Round 3:
- Each side will have 7 dc (4 from Round 2 plus the new ones), while corners remain constant with 2 dc, 2 ch, 2 dc.
Example for Round 4:
- Each side will have 11 dc (7 from Round 3 plus 4 new ones).
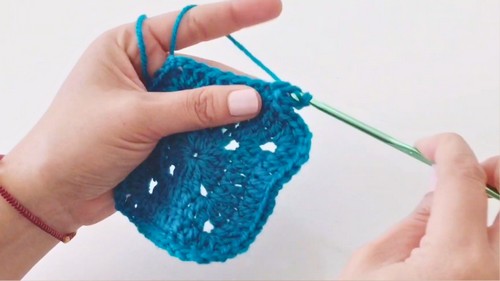
As you proceed, the square will expand symmetrically, creating a larger granny square suitable for various projects.
Step 4: Finishing the Square
When the square reaches the desired size, fasten off the yarn:
- After completing the last round, join with a sl st into the top of the first ch-3 and secure.
- Cut the yarn and weave the tail into the back of the square using a yarn needle.
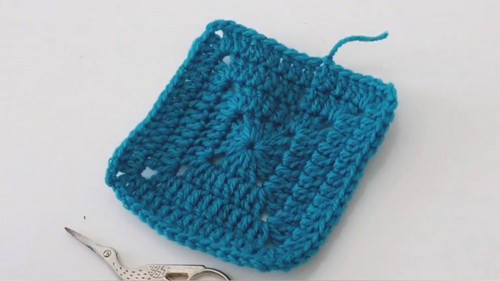
Your granny square is complete and ready for assembly.
At this point, you can make more squares and sew or join them together to form larger projects like blankets or cushions.
Assembly & Finishing
Granny squares can be joined using various methods, including:
- Slip Stitch Join: Insert the hook through corresponding stitches of adjacent squares and sl st them together.
- Single Crochet Join: Work sc stitches along the edges to connect each pair of squares.
Why You’ll Love This Pattern
The Chubby Granny Square is a highly versatile crochet piece. It’s quick to make and adaptable to countless projects like blankets, bags, and home décor items. You can enjoy experimenting with vibrant colors and yarn styles, using this cozy square as a base for your creativity. The repetitive nature of the pattern is meditative, making it great for beginners and experienced crocheters alike.