
Simple Steps to Crochet Doily Pattern for Decorative Perfection
A delicate and lasting addition to any décor, handmade crochet doilies offer both charm and practicality. Each intricate pattern can effortlessly enhance the beauty of dining tables, coffee tables, or even shelves. Its lightweight, airy pattern makes it perfect for layering under centerpieces, protecting surfaces, or giving a touch of vintage elegance to modern spaces. Despite its delicate appearance, this is surprisingly durable and customizable, allowing you to match colors and a pattern to your unique style.
Eco-Friendly Crochet Doily Pattern to Add Charm to Your Space
Not just limited to home decoration, a crochet doily can also be a thoughtful, handmade gift that carries a personal touch, making it ideal for special occasions like weddings, holidays, or housewarmings. One of the standout benefits of a crochet pattern is its versatility.
From small coasters and placemats to large table runners, you can modify the size and complexity according to your preferences. Whether you prefer classic floral motifs or bold geometric shapes, the pattern comes together in a way that feels timeless yet fresh. Sure to brighten any space, a crochet pattern combines artistry with utility in the most charming way possible.
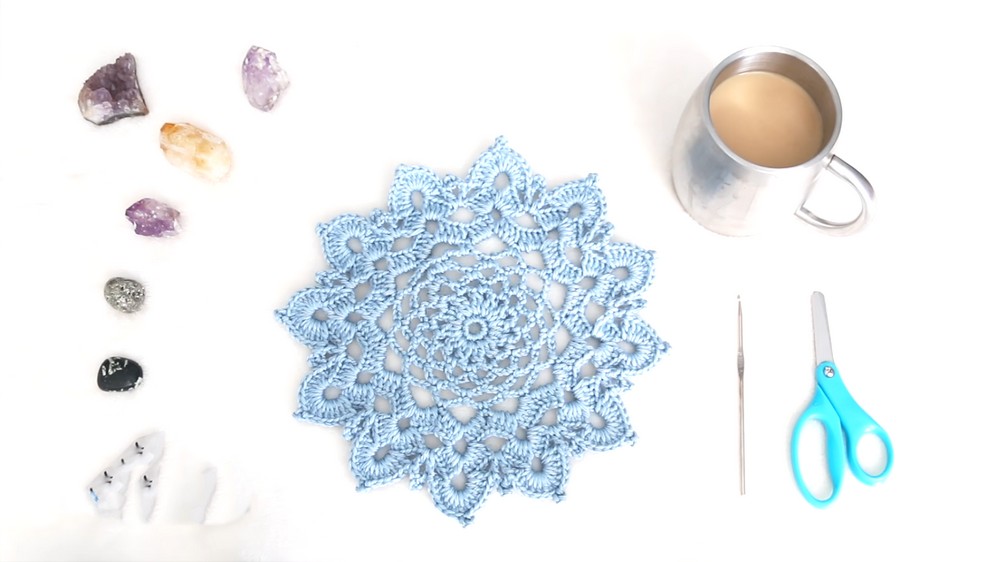
Materials Needed
- Yarn: A lightweight or thread yarn is suggested to maintain the delicate design.
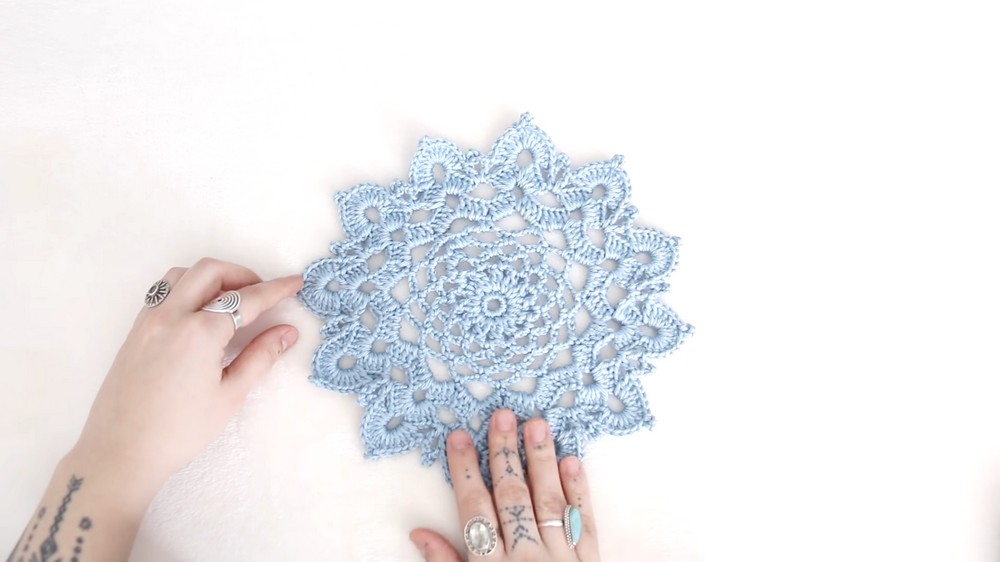
- Hook: Select a crochet hook compatible with the weight of your yarn (as seen in the tutorial).
- Scissors: For trimming loose ends.
- Optional: Coffee, for a relaxing crocheting session!
Special Features
- Quick Project: With just nine rows, this doily is a fast and satisfying pattern for crocheters short on time.
- Beginner-Friendly Design: The pattern uses straightforward stitches, including single crochet, double crochet, and the picot stitch, making it ideal for novice crocheters looking to build confidence.
- Elegant Look: The flowery pattern creates a delicate and timeless design, suitable for home décor or special handcrafted gifts.
Level of Difficulty
This pattern is easy to intermediate due to its reliance on basic stitches with some attention required in the later rows for the picot and post-stitch detailing. The tutor emphasizes repetition, making it easier to follow after the first few rows.
Step-By-Step Details
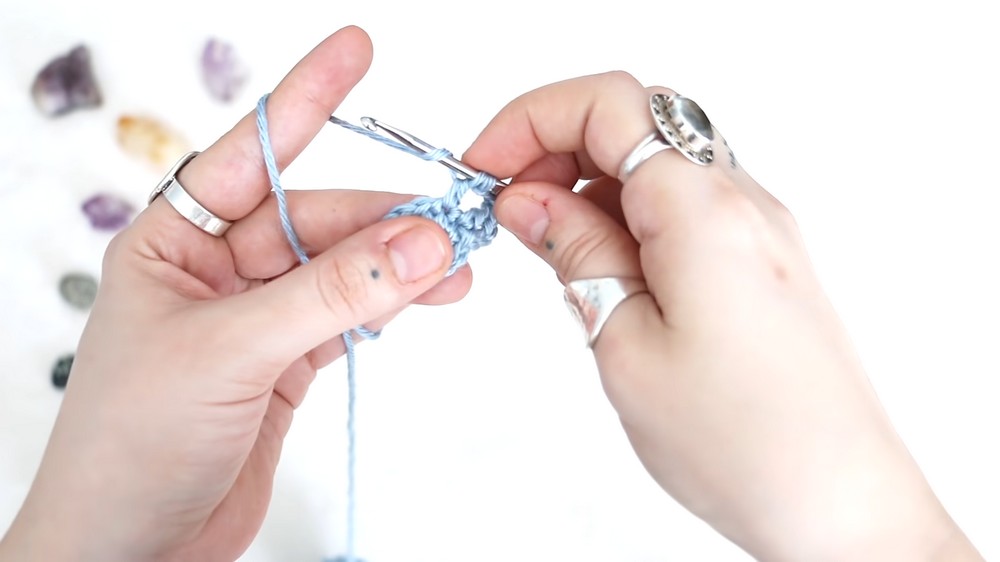
1. Row 1: Starting with a Magic Ring
- Begin with a magic ring. If you're unfamiliar with this, the tutor demonstrates it step by step.
- Chain 1, then work 12 single crochets (SC) into the magic ring.
- Tighten the ring by pulling the tail and slip stitch (SS) into the first chain to close the row.
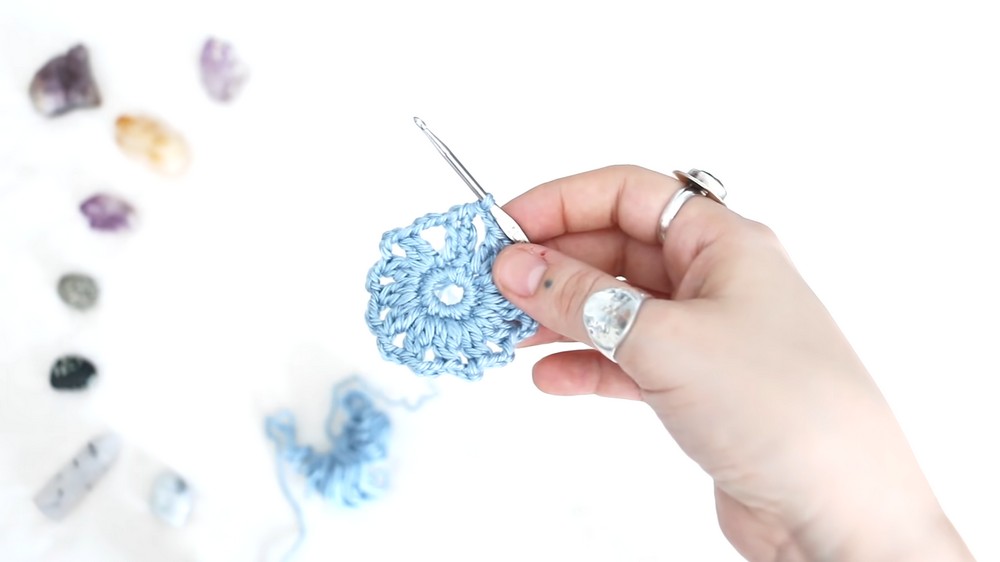
2. Row 2: Double Crochet Work
- Chain 3 (counts as the first double crochet).
- Work a double crochet two together (DC2TOG) into the same stitch, then chain 3.
- Repeat DC2TOG and chain 3 in each of the remaining stitches for a total of 12 groups.
- End with a half-double crochet (HDC) into the top of the first DC2TOG.
3. Row 3: Chain Loops
- Chain 1, then single crochet (SC) into the next chain-3 space.
- Chain 5 and repeat SC into the next chain-3 space and chain 5 all the way around.
- To finish, chain 2 and make a treble crochet (TR) into the first SC.
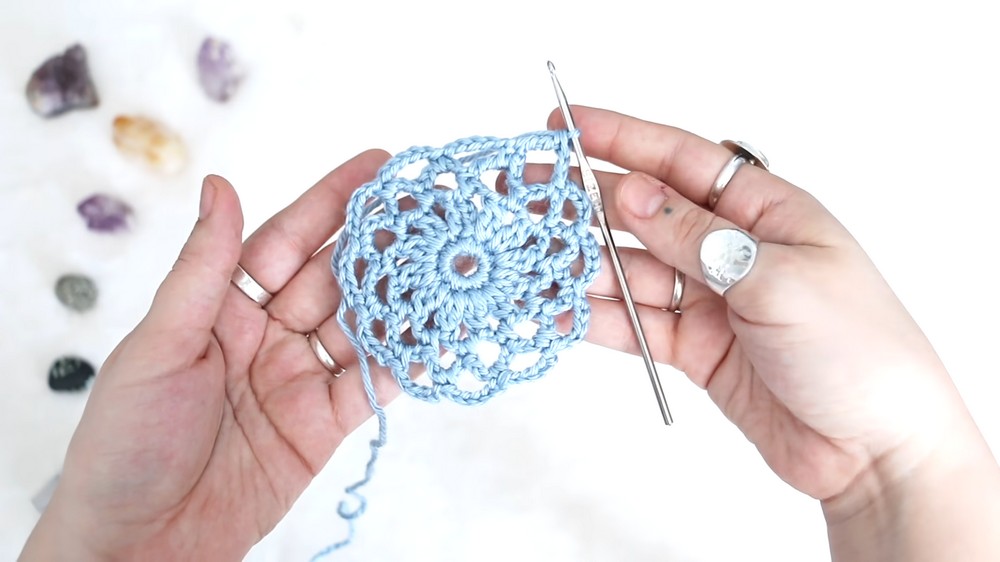
4. Rows 4–6: Expanding the Loops
- Row 4: Work in the same way as Row 3, but use chain 5 loops.
- Row 5: Increase the chain length to chain 6 loops.
- Row 6: Extend to chain 7 loops.
- At the end of each row, finish with a chain 3 and a treble crochet into the first SC of the row.
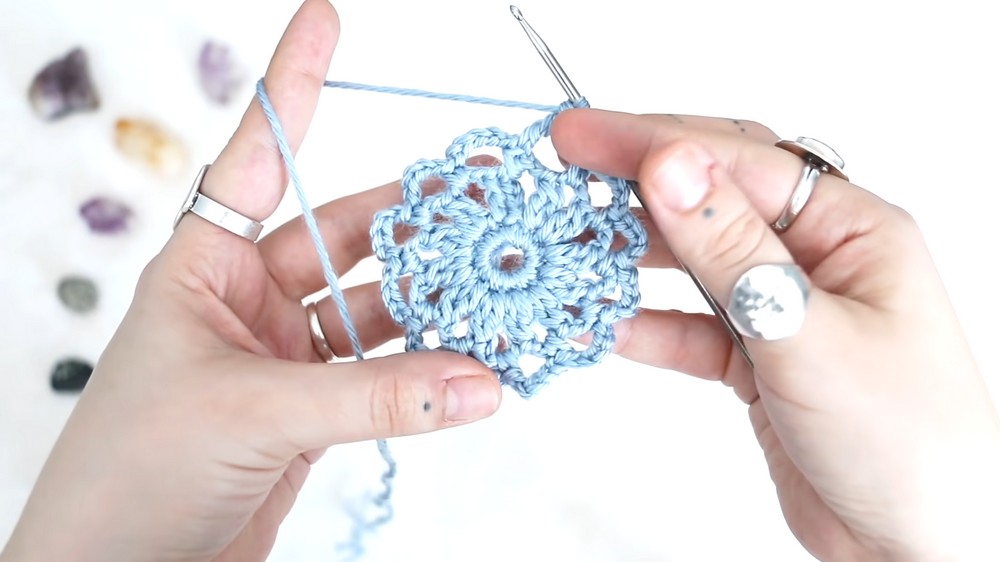
5. Row 7: Adding Petal Designs
- Start with chain 3, then work 3 double crochets (DC) into the same loop.
- Move to the next loop and crochet 4 DCs again.
- After completing 4 DCs in one loop, chain 5, and work 4 more DCs into the same loop.
- Repeat this pattern around and finish with a chain 2 and DC into the first chain-3 space.
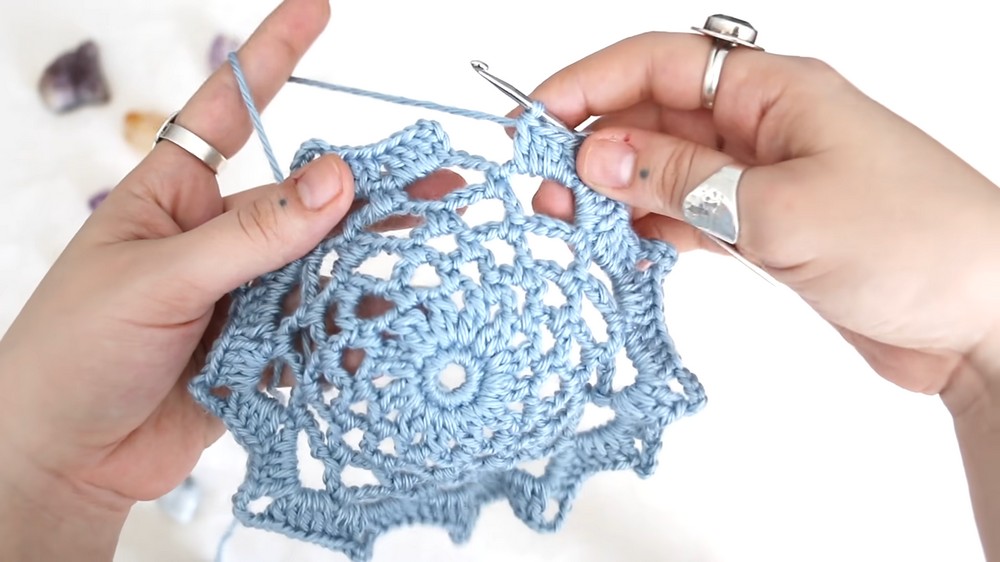
6. Row 8: Intricate Layering
- In the first loop, crochet 5 DCs. Chain 1 and move to the next chain space.
- Crochet 5 DCs, chain 6, and add another set of 5 DCs into the same chain space.
- Continue alternating between loops and complete the row with a chain 3 and a treble crochet.
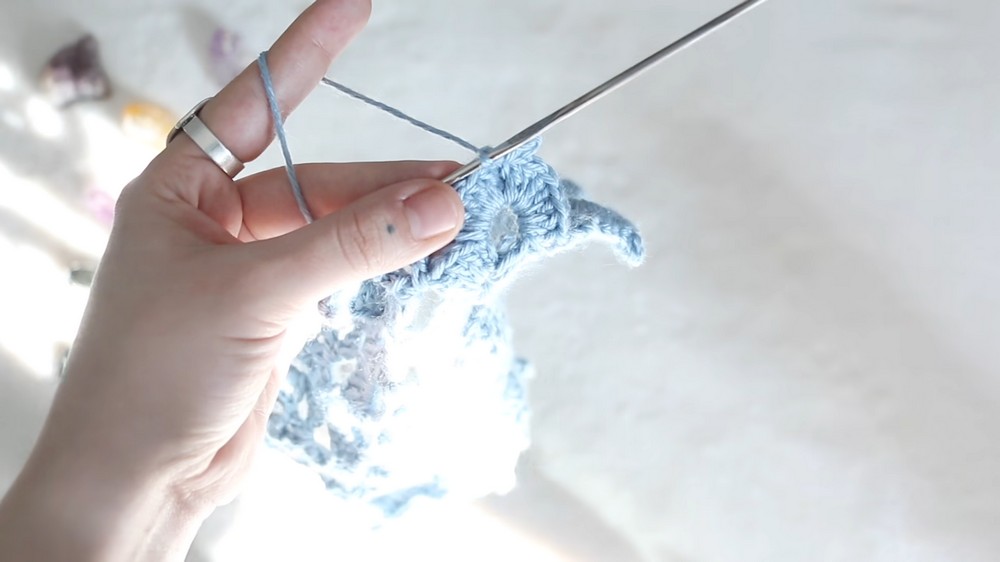
7. Row 9: Final Details with Picot Stitches
- Chain 3, then crochet 5 DC into the same loop (now you have 6).
- Move to the next space, work 1 DC, chain 2, then add a picot stitch by chaining 3 and slip stitching into the second chain.
- Add 7 DCs into the next loop, make another picot, and continue alternating between these details all around the edge.
- Finish with a slip stitch into the first chain-3 space, trim the thread, and fasten off. For finishing, weave in the loose ends with a tapestry needle or tuck them securely using slip stitches.
Tutor’s Suggestions
- Count Your Stitches: To avoid mistakes, count the number of loops, chains, or picots as you move through each row. This ensures symmetry in the final pattern.
- Rewind the Tutorial: If a section seems tricky, the tutor encourages crocheters to double-tap and replay sections as needed.
- Keep Hands Relaxed: For smoother yarn movement, avoid tensioning your hands too tightly, especially during intricate rows.
Uses
- Home Décor: Use as a table centerpiece, or place beneath vases, lamps, or candles for a decorative touch.
- Gift Idea: A handmade doily is a meaningful and thoughtful gift for holidays, weddings, or housewarmings.
- Layering: Stack or overlay multiple doilies for an elegant look on larger surfaces.
Tip for Better Results
To achieve polished picot stitches and evenly shaped loops, ensure your chain tension remains consistent across all rows. Using stitch markers in the first few rows can also help maintain stitch alignment.
Conclusion
This flowery doily pattern is a charming and beginner-friendly project, perfect for expanding your crochet skills or creating a stunning handmade décor piece. With just nine rows of basic stitches, coupled with the tutor’s simple instructions, this pattern achieves a sophisticated, floral-inspired design. Be patient while working on the final few rows for a perfect finish.