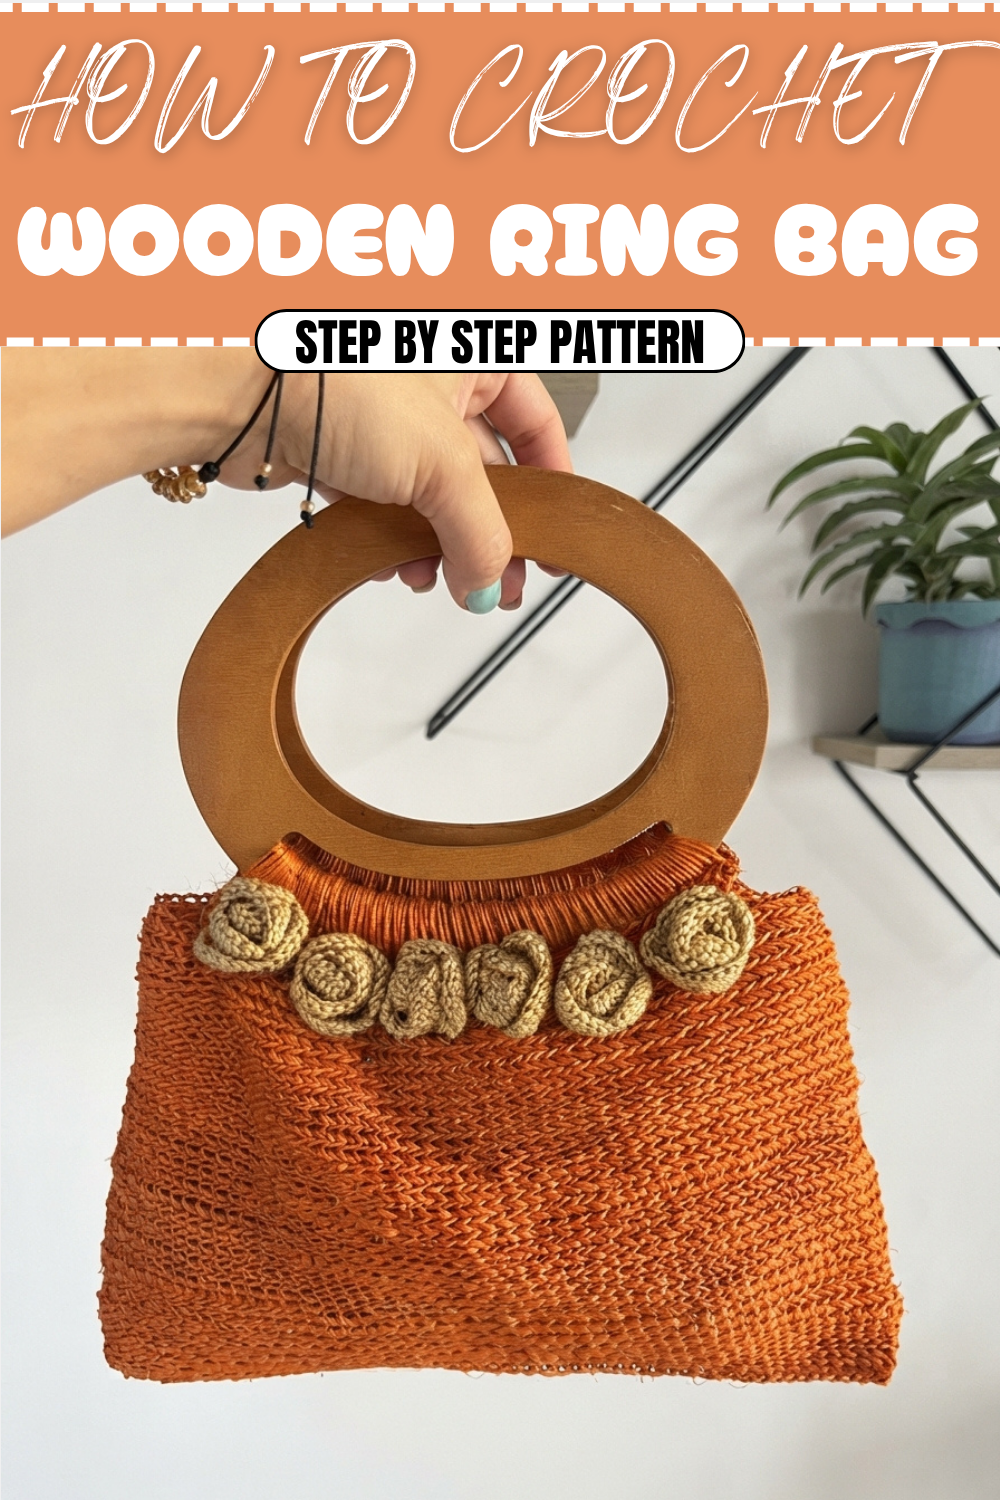
How To Crochet Wooden Ring Bag Pattern For Boutique Looks
Upgrade casual outings by opting for a free crochet wooden ring bag pattern, merging handmade charm with raw wooden accents.
Have you ever wanted a stylish bag that feels both natural and unique at the same time? This lovely project uses wooden rings to give a rustic and handmade feel, making the bag stand out while staying practical. Using single crochet stitches worked through the front and back loops, it creates a strong and even fabric that holds its shape around the wooden frame. The rough texture of the yarn paired with the smooth wooden rings gives the bag a beautiful contrast, making it perfect for casual outings, markets, or gift-giving.
Crochet A Unique Wooden Ring Bag Free Pattern For Fashion Lovers
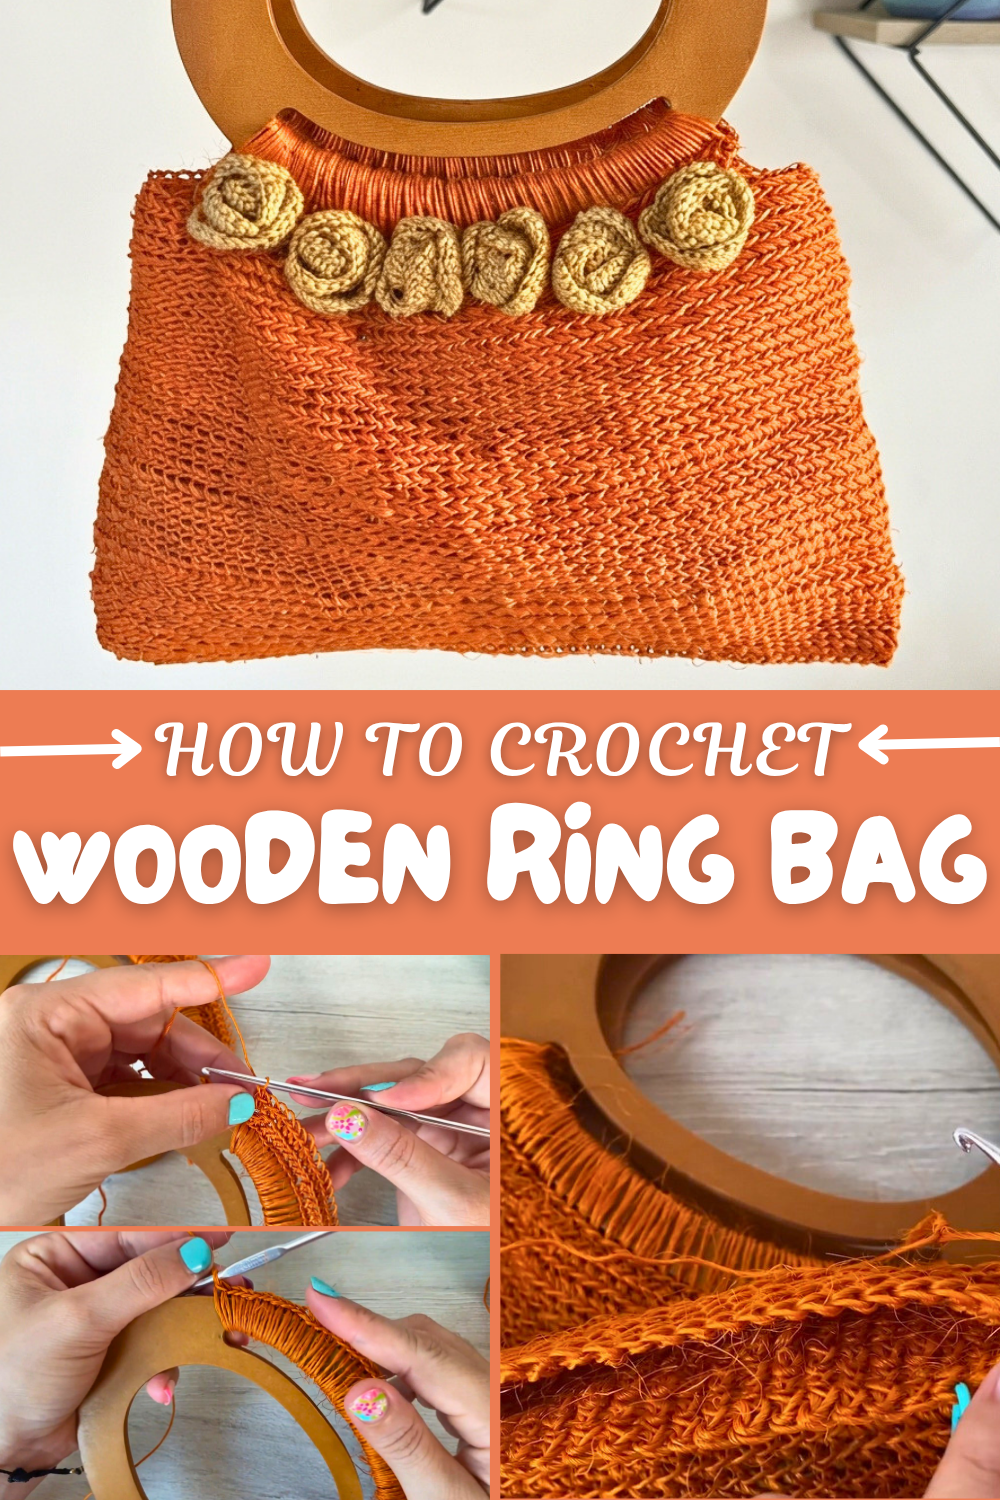
The making process begins by attaching the yarn to the wooden rings and crocheting a sturdy base. Then, working mostly in spirals, you crochet single crochet stitches through specific loops to create an even mesh that surrounds the rings neatly. This pattern encourages patience and pays off with a charming, lightweight bag that you can customize by changing yarn type or ring size. It’s a wonderful way to recycle old materials and transform them into something both decorative and useful. Plus, the clear instructions and repetitive stitches make it very beginner-friendly.
Ideas for Other Projects Using This Pattern
This technique with wooden rings and single crochet stitches can inspire many other projects besides bags. You could try making woven wall hangings or plant hangers using the same base idea with different shapes and sizes. Another option is crocheting unique baskets or storage containers that combine crochet and wood for an organic look. The combination of textures and the simple stitch pattern make it versatile and fun to experiment with for a variety of home decor and accessory projects.
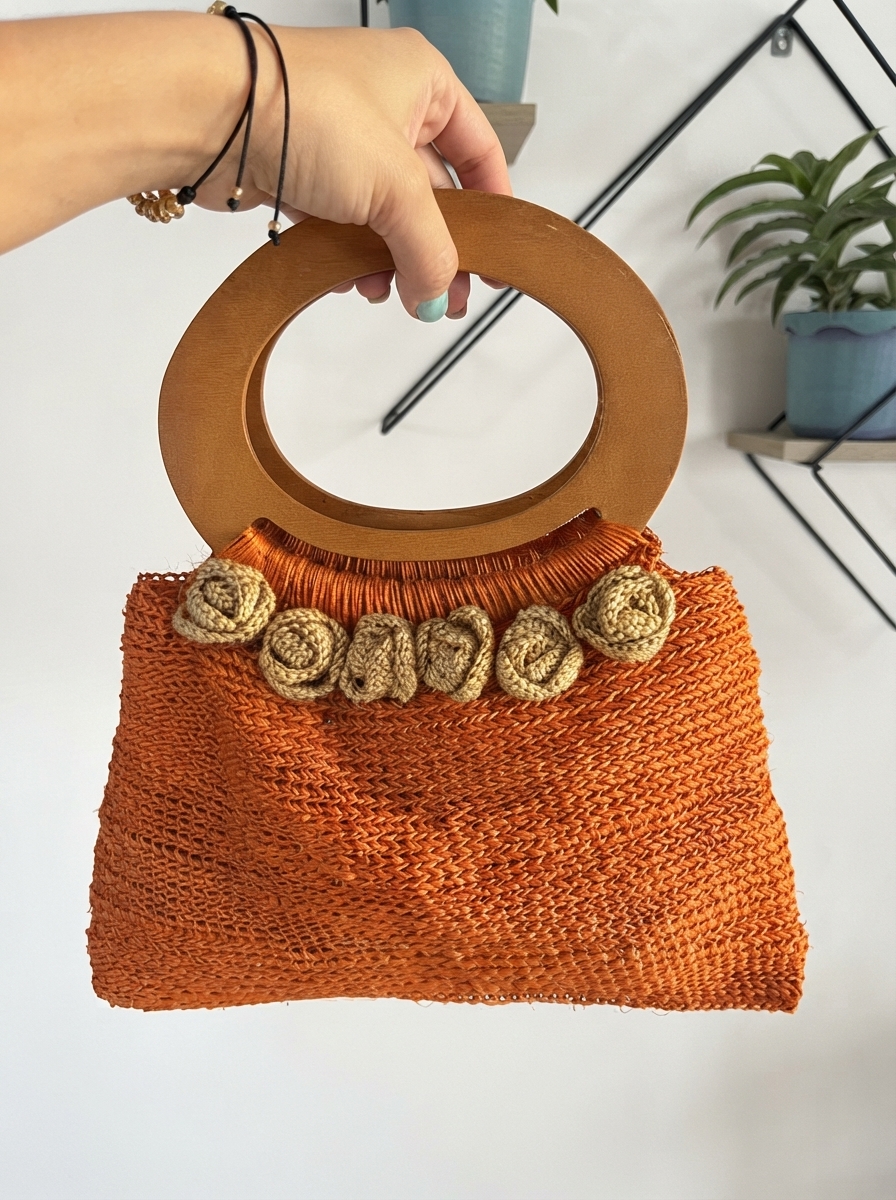
Crochet Wooden Ring Bag with Floral Accents
This small yet charming crochet bag made from fique fiber is an ideal eco-friendly accessory. Perfect for casual outings or as a stylish carry-along, this beautiful crochet pattern is both functional and decorative. Enhance it with handmade floral embellishments for a unique touch. This detailed tutorial will guide you through every step of creating the bag, from weaving around wooden hoops to sewing on the dainty flowers.
Uses of This Pattern
- Everyday Accessory: A sturdy, lightweight, and fashionable bag for daily use.
- Decorative Gift: A customizable handmade gift for special occasions.
- Skill-Building Project: Practice working with natural fibers, spirals, and adding embellishments.
Skill Level & Terminology
- Skill Level: Beginner to Intermediate
This pattern is accessible to beginners who understand basic crochet stitches. However, working with fique fiber and creating floral embellishments offers a fun challenge for intermediate crocheters. - Terminology: US Crochet Terms
Materials & Tools
- Yarn: Fique fiber (or any sturdy yarn you prefer).
- Crochet Hook: 3 mm.
- Wooden Hoops: Two hoops for the bag’s structure (can recycle old hoops or find new ones).
- Needle: Tapestry needle or black sewing needle for assembly.
- Scissors.
Gauge
Gauge is not critical for this pattern. Ensure the stitches around the hoops are evenly distributed for a neat appearance.
Finished Size
This bag is small, meant as a casual accessory or decorative piece:
- Diameter of Hoops: ~8 inches.
- Height of Bag: ~10 inches (excluding embellishments).
Abbreviations List
| Abbreviation | Description |
|---|---|
| ch | Chain |
| sc | Single Crochet |
| sl st | Slip Stitch |
| dc | Double Crochet |
Special Stitch Instructions
Single Crochet (sc):
- Insert hook into the stitch or space.
- Yarn over and pull up a loop (2 loops on hook).
- Yarn over and pull through both loops on the hook.
Double Crochet (dc):
- Yarn over and insert hook into the stitch or space.
- Yarn over and pull up a loop (3 loops on hook).
- Yarn over and pull through the first 2 loops.
- Yarn over and pull through the remaining 2 loops.
What You’ll Learn from This Pattern
- How to crochet around wooden hoops and securely join components.
- Working in the round, including crocheting in spirals.
- Crocheting floral embellishments and attaching them.
The Pattern
Part 1: Creating the Base Around Hoops
Step 1: Preparing the First Hoop
- Begin with a slip knot on your hook and adjust it slightly larger for ease.
- Insert the hoop into the loop.
- Bring the yarn around the hoop, securing it by creating a ch 1.
Step 2: Adding Single Crochets Around the Hoop
- Insert the hook under the hoop, yarn over, pull through, then complete a sc.
- Repeat sc stitches evenly around the hoop until it is completely covered (approx. 42 sc).
- At the end, ch 1 and turn your work.
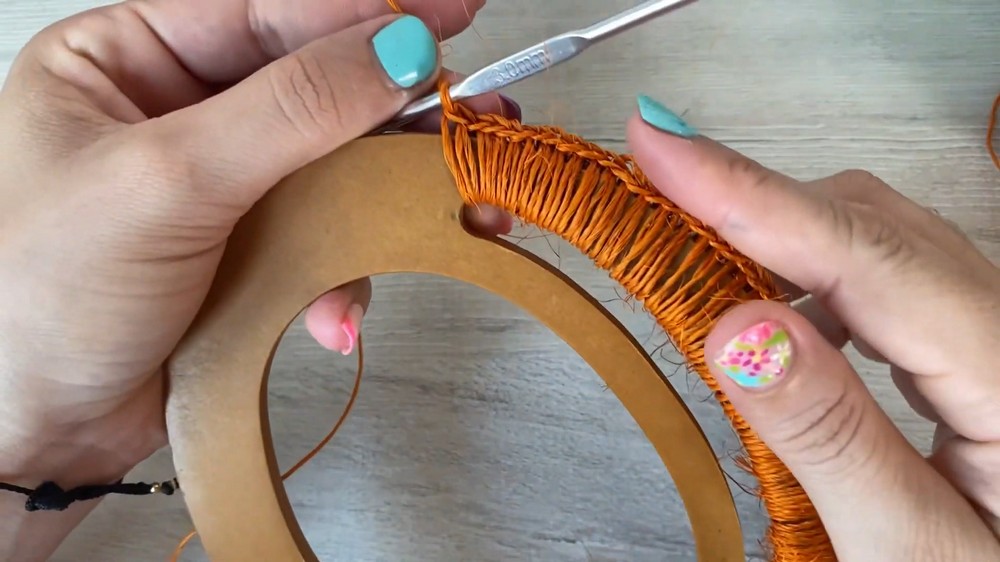
Crocheting consistently around the hoop will create a solid, uniform first ring for the bag base.
Step 3: Working Rows on the First Hoop
- For the next row, sc in the front loop only (FLO) of each stitch around.
- At the end of the row, ch 1, turn your work, and repeat by sc in the back loop only (BLO) for the following row.
Alternating between FLO and BLO creates textured ridges for extra stability and visual interest.
Part 2: Preparing the Second Hoop and Joining the Rings
Step 1: Crochet the Second Hoop
- Repeat Steps 1–3 for the second hoop. Ensure the number of stitches matches the first hoop.
- On the second hoop, do not cut the yarn after finishing the last round.
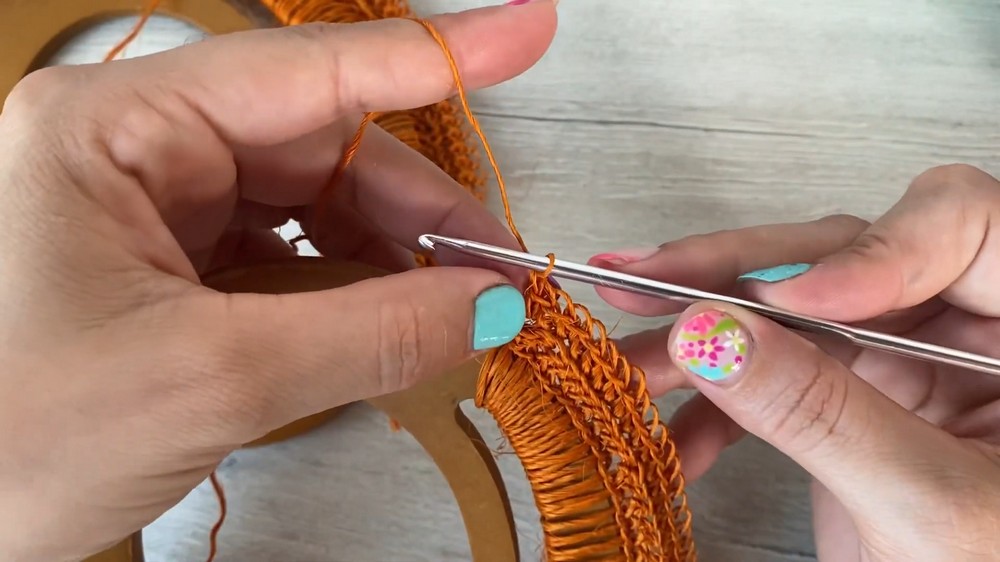
Having identical stitches on both hoops ensures they line up neatly for assembly.
Step 2: Chain Connection Between Hoops
- From the second hoop, create 10 chains to connect the two rings.
- Align the two hoops so their right sides face outwards (the textured ridges should face the outside).
- Attach the chain to the first hoop by creating a sl st through the back loop of the first stitch.
These chains form the sides of the bag and give it shape.
Step 3: Joining Hoops
- Continue joining the hoops by sc in the back loop only (BLO) of each stitch around both hoops.
- Mark the first stitch of this round for reference, as you will now be working in a spiral (without joining rounds).
- When you reach the other connection point, repeat the 10 chains for the other side and continue crocheting both hoops together.
The seamless spiral technique creates a sturdy and polished look for the bag.
Part 3: Building the Bag Body
- Continue working in sc in the BLO around in a spiral until the bag reaches the desired height (e.g., 10 inches).
- To finish, stop when you reach a corner, ensuring the sides are even.
The spiral method creates a stretchy and uniform body for the bag. Adjust the height to suit your needs.
Part 4: Closing the Bag Bottom
- Align the sides of the bag evenly.
- Insert the hook through the back loops of the first stitch of both sides, yarn over, and pull through both stitches to make a sc.
- Continue working sc through both loops of each side until the bottom is closed.
- Fasten off and weave in the ends.
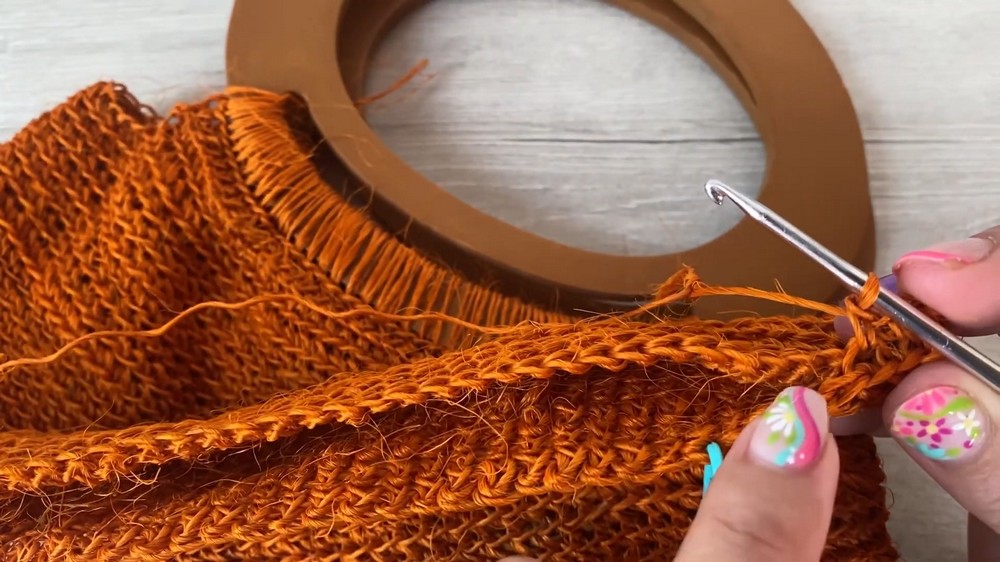
This step completes the main bag structure. The result is a durable and seamless bag base.
Part 5: Adding Decorative Flowers
Step 1: Crochet Flower Base
- With beige thread, start with a slip knot and chain 34 chains.
- Ch 2, then work a dc in the third chain from your hook.
- Ch 2, skip 2 stitches, then work a dc in the next stitch. Repeat this pattern until the end.
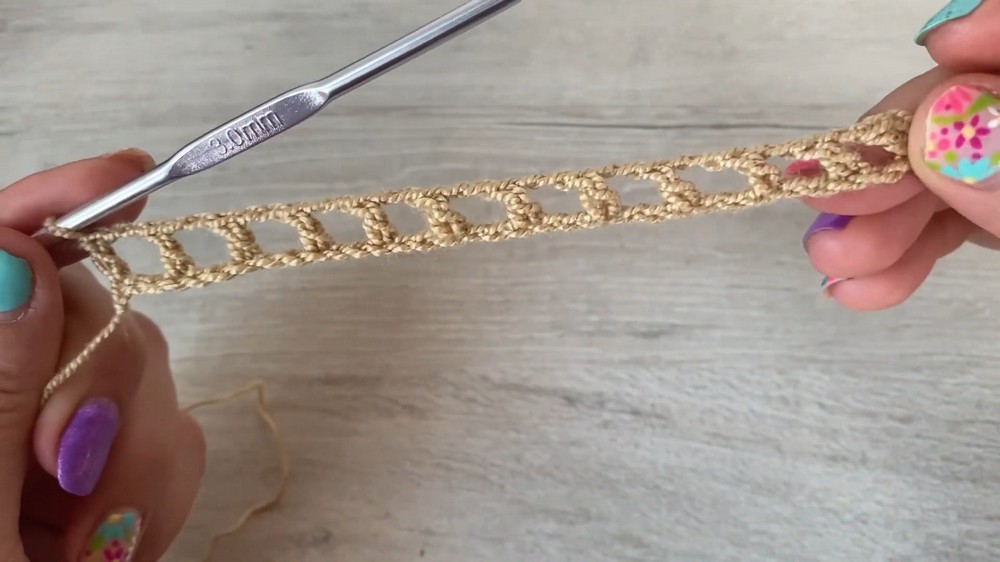
Step 2: Forming Petals
- Turn your work. In each chain space:
- Work 7 dc, then secure with a sc in the next space.
- Repeat this for every chain space to form petals.
Step 3: Shaping the Flower
- At the end, leave a long tail for sewing, then roll the flower into a circular shape to resemble a rose.
- Stitch the base securely to hold the shape.
The floral embellishments add a feminine touch and elevate the overall design.
Step 4: Attaching Flowers
- Place the flowers at even intervals along the top edge of the bag under the hoops.
- Secure each flower with a needle and thread by sewing through the back of the petals and the bag body.
The flowers give the bag a unique decorative element that can be customized with different colors or yarns.
Assembly and Finishing
Once the flowers are attached and the ends are woven in, you can trim any loose fibers from the fique material for a polished look.
Why You’ll Love This Pattern
The Fique Crochet Bag is a sustainable, stylish project you can customize with any material. By using recycled hoops and embellishments, you’re also crocheting with intention and creativity. You’ll learn techniques like crocheting with natural fibers, working in spirals, and making functional decor—all while creating a bag that’s uniquely yours.