
Simple Free Crochet Mini Net Bag Pattern to Customize
Learn how to make a cute and practical mini net bag with this free crochet pattern, great for everyday use or pair with casual outfits.
Inspiration From AngelKnots
Have you ever wanted a cute little bag that’s not only handy but also totally personalized by you? This mini net bag crochet pattern is just the project you’ve been looking for. With its simple and airy design, this bag is perfect for carrying small items like a phone, keys, or even a few snacks for a quick outing. It’s lightweight, compact, and oh so trendy. You can make it in your favorite colors and adjust the strap length to fit just right. Whether you want a cross body style or a tiny tote, this pattern lets you decide.
Your Go To Free Crochet Pattern for a Perfect Mini Net Bag
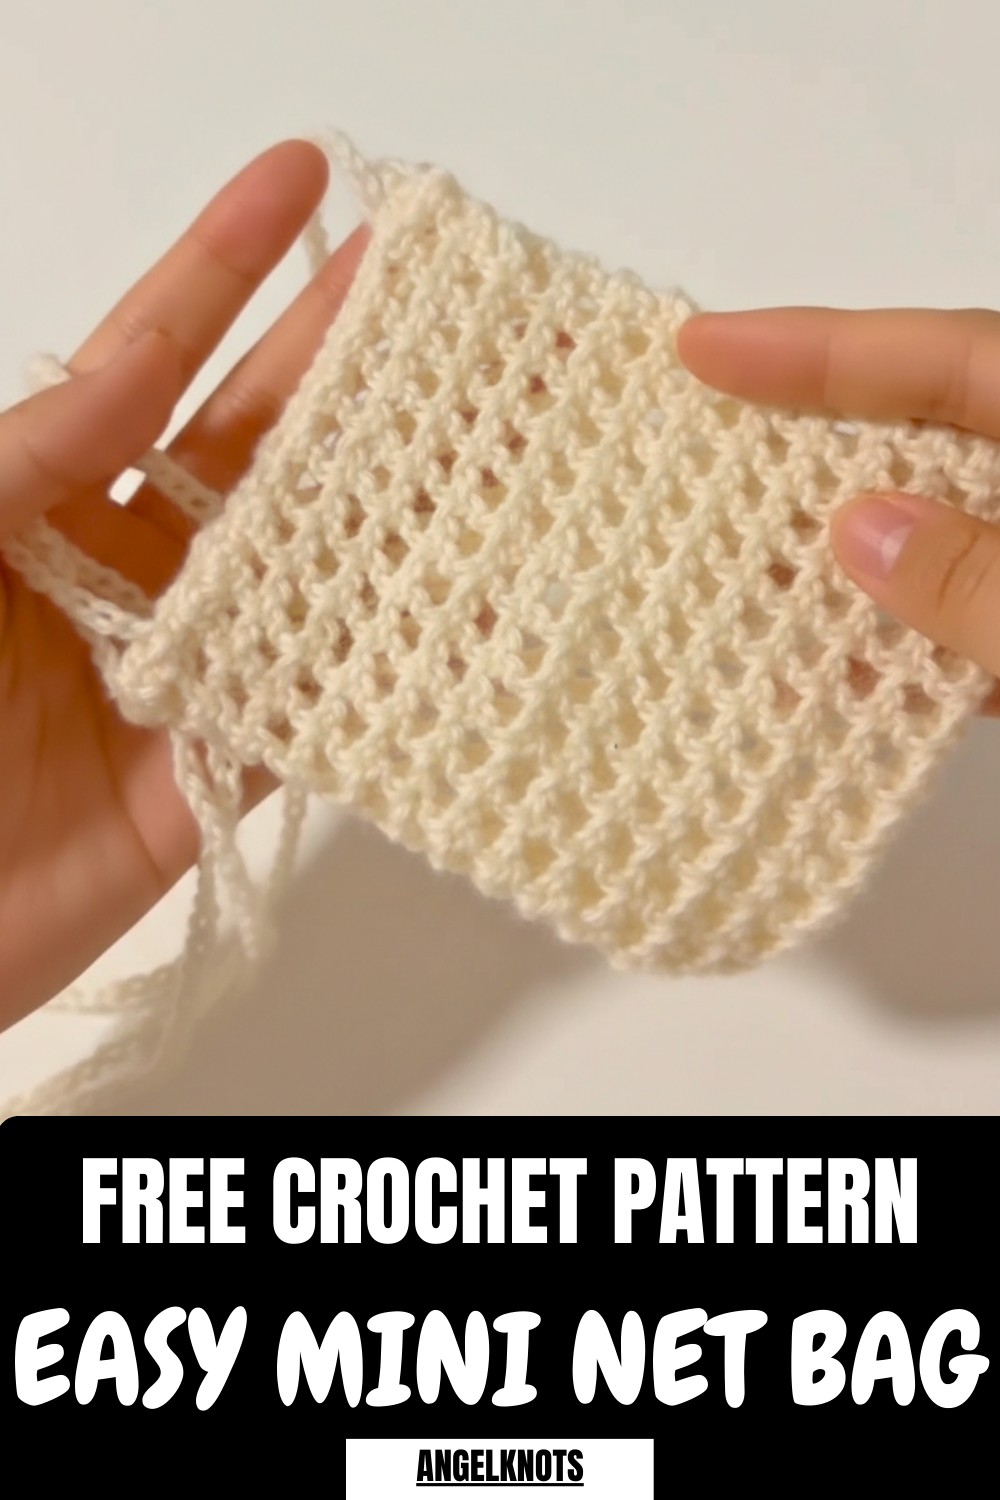
This pattern uses basic stitches like chains, single crochet, and double crochet, forming a neat and stylish net design. These are beginner friendly stitches that can be used to make not only this bag but also things like market bags, plant holders, or even airy summer wraps. By following this pattern, you’ll learn how to crochet a wonderful bag step by step. You’ll master creating a sturdy base, using stitch markers for neatness, and working in rounds to form that lovely net pattern. You’ll even learn how to make a double strap design and finish your project with polished edges.
While crocheting, you might find the strap making process a bit lengthy or attaching the straps tricky. But don’t worry, if you use stitch markers to map out your bag’s symmetry and take it stitch by stitch, you’ll breeze through it. Just remember, the joy is in the process, and if you make a mistake, you can always undo it and try again.
Mini Crochet Net Bag Pattern
Quick Overview of Pattern
- Type: Mini Crochet Net Bag
- Purpose: Multipurpose lightweight bag for carrying small items
- Design: Cross body strap with a netted texture
- Difficulty: Beginner friendly
Notes
- The stitch count is crucial for creating a proportional body and straps. Double check your counting before moving to the next steps.
- Use soft yarn for flexibility but strong enough to maintain the bag’s durability.
Skill Level
Beginner to Intermediate
This project uses foundational crochet techniques including single crochet (sc), double crochet (dc), slip stitch (sl st), and chain stitches (ch).
Materials
- Hook: Crochet hook suited to your yarn (recommended size: 3.5mm or 4mm)
- Yarn: Lightweight yarn (cotton works great)
- Accessories:
- Stitch markers
- Scissors
- Yarn needle
Measurements / Sizing
- Bag dimensions: Approximately 15cm x 20cm (6 inches x 8 inches), depending on hook and yarn size
- Straps: Adjustable based on your preference (tutorial suggests chaining 180 for a cross body strap)
Gauge
Gauge isn’t vital but ensure tight net stitching for durability. Bag dimensions will vary slightly based on the yarn and hook used.
Stitch Abbreviations
- ch: Chain
- sl st: Slip Stitch
- sc: Single Crochet
- dc: Double Crochet
Special Stitches
Slip Knot
A method of attaching yarn to the crochet hook for starting the chain.
Net Stitch
The combination of double crochets and chain spaces creates the mesh texture of the bag.
The Crochet Pattern
The mini crochet net bag is worked in four main parts: foundation chain, base, body, and strap assembly.
Step 1: Foundation Chain
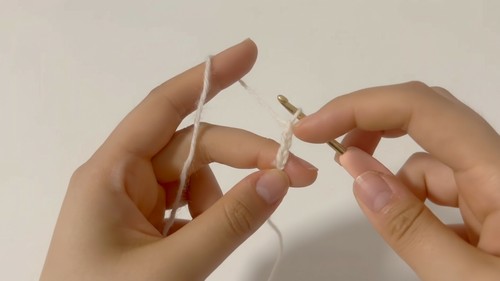
- Create a slip knot:
- Wrap yarn around your fingers, loop the tail end to the back, and insert your crochet hook through the loop.
- Pull the yarn snugly and secure the slip knot around the hook.
- Chain 23:
- Loop the yarn over your hook and pull through the loop to create your first chain. Repeat until you have 23 chains.
- This will serve as the foundation for your net bag.
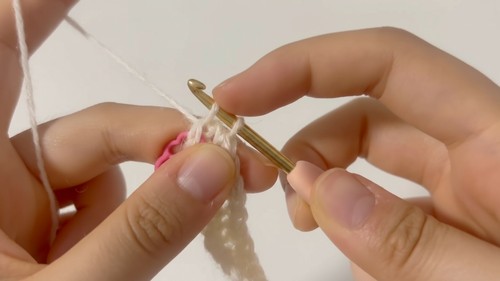
Step 2: Base (Round 1)
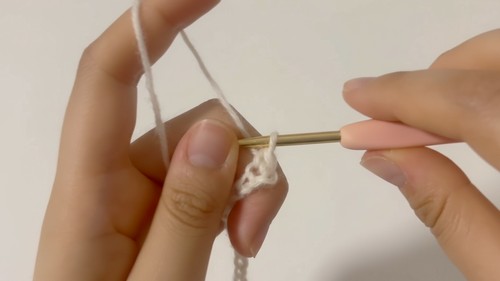
- Add one chain: Chain one more to prepare for round one.
- Ignore the most recent chain and insert your hook into the second chain from the hook:
- Work 2 single crochets into that chain.
- Work single crochets across the entire row:
- Insert your hook into each chain along the row and create single crochets.
- Stop at the last chain before the knot at the end of the foundation chain.
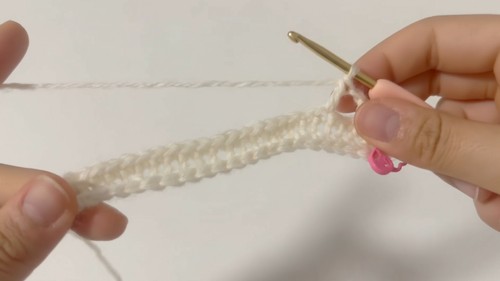
- At the final chain:
- Work 3 single crochets into the last chain. This creates a rounded corner to work along the other side of the chain row.
- Turn the piece to work the other side:
- Skip the knot section and crochet into the loops along the other side of the chain row.
- Finish round one:
- When you reach the end, skip the stitch with the tail and insert your hook into the loops containing the stitch marker.
- Work a slip stitch by pulling the first loop through the second.
Step 3: Body (Rounds 2–13)
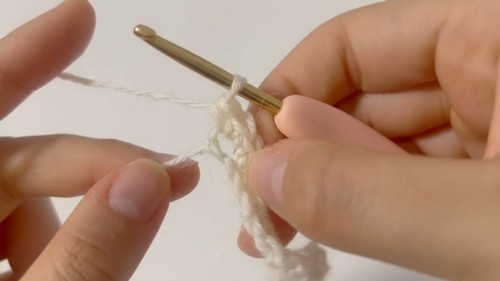
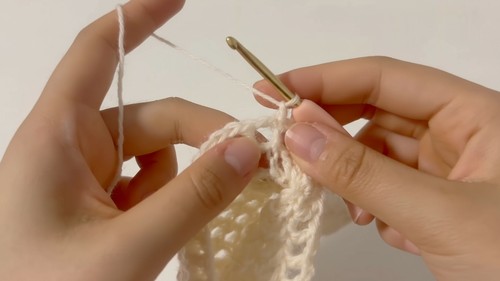
- Start round two:
- Chain two and mark your most recent chain with a stitch marker.
- Chain one more after marking the stitch.
- Work double crochets:
- Skip the next stitch from the previous row and work double crochet into the following stitch:
- Wrap yarn around your hook, insert it into the stitch, wrap yarn again, and pull through.
- Wrap yarn and pull through the first two loops, then wrap yarn and pull through the remaining two loops.
- Skip the next stitch from the previous row and work double crochet into the following stitch:
- Create net squares:
- Chain one to bridge horizontal gaps and repeat the double crochet process into the next stitch after skipping one stitch.
- This creates the mesh square pattern.
- Continue across the row:
- Repeat the net stitch all the way to the other side.
- Finish the round:
- Chain one and connect the ends using a slip stitch back into the loop containing the stitch marker.
- Repeat this process for rounds 2–13:
- Each new round mirrors the same stitch pattern. Add chain gaps and double crochets above previous rows’ stitch points to extend the netting vertically.
Step 4: Reinforcing the Top Edge (Round 14)
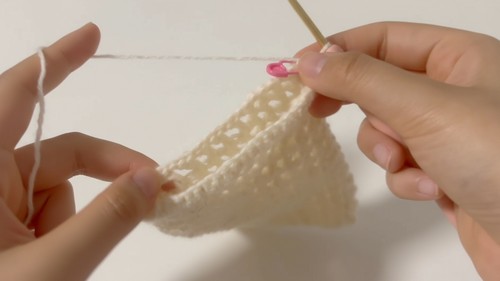
- Add definition:
- Chain one at the start of round 14 and then work single crochets across the netting.
- Alternate placement:
- Work single crochets into each square gap and on top of previous double crochets.
- Finish Round 14:
- Finish with a slip stitch into the stitch marker and secure the top edge.
Step 5: Straps
- Create first strap:
- Determine the midpoint of the bag by counting stitches across and marking the opposite ends.
- Chain 180 stitches (or adjust according to preferred strap length).
- Connect the end of the chain to the marked point on the opposite side using a slip stitch.
- Create second strap:
- Chain another 180 stitches and attach it slightly off-center from the first strap's connection point.
Step 6: Finishing Off
- Cut the yarn:
- Leave a tail, pull through the last loop, and secure tightly with your fingers.
- Weave ends:
- Use a yarn needle or crochet hook to weave loose tails through nearby stitches. Work back and forth until tails are hidden securely.
Assembly & Finished Size
Final dimensions: Approximately 15cm x 20cm (6 inches x 8 inches) bag body, with adjustable cross-body straps based on your chain length.
Conclusion
This mini crochet net bag pattern combines simplicity and functionality while allowing room for creativity. Perfect for beginners and skilled crocheters alike, the project makes a charming addition to your handmade collection.