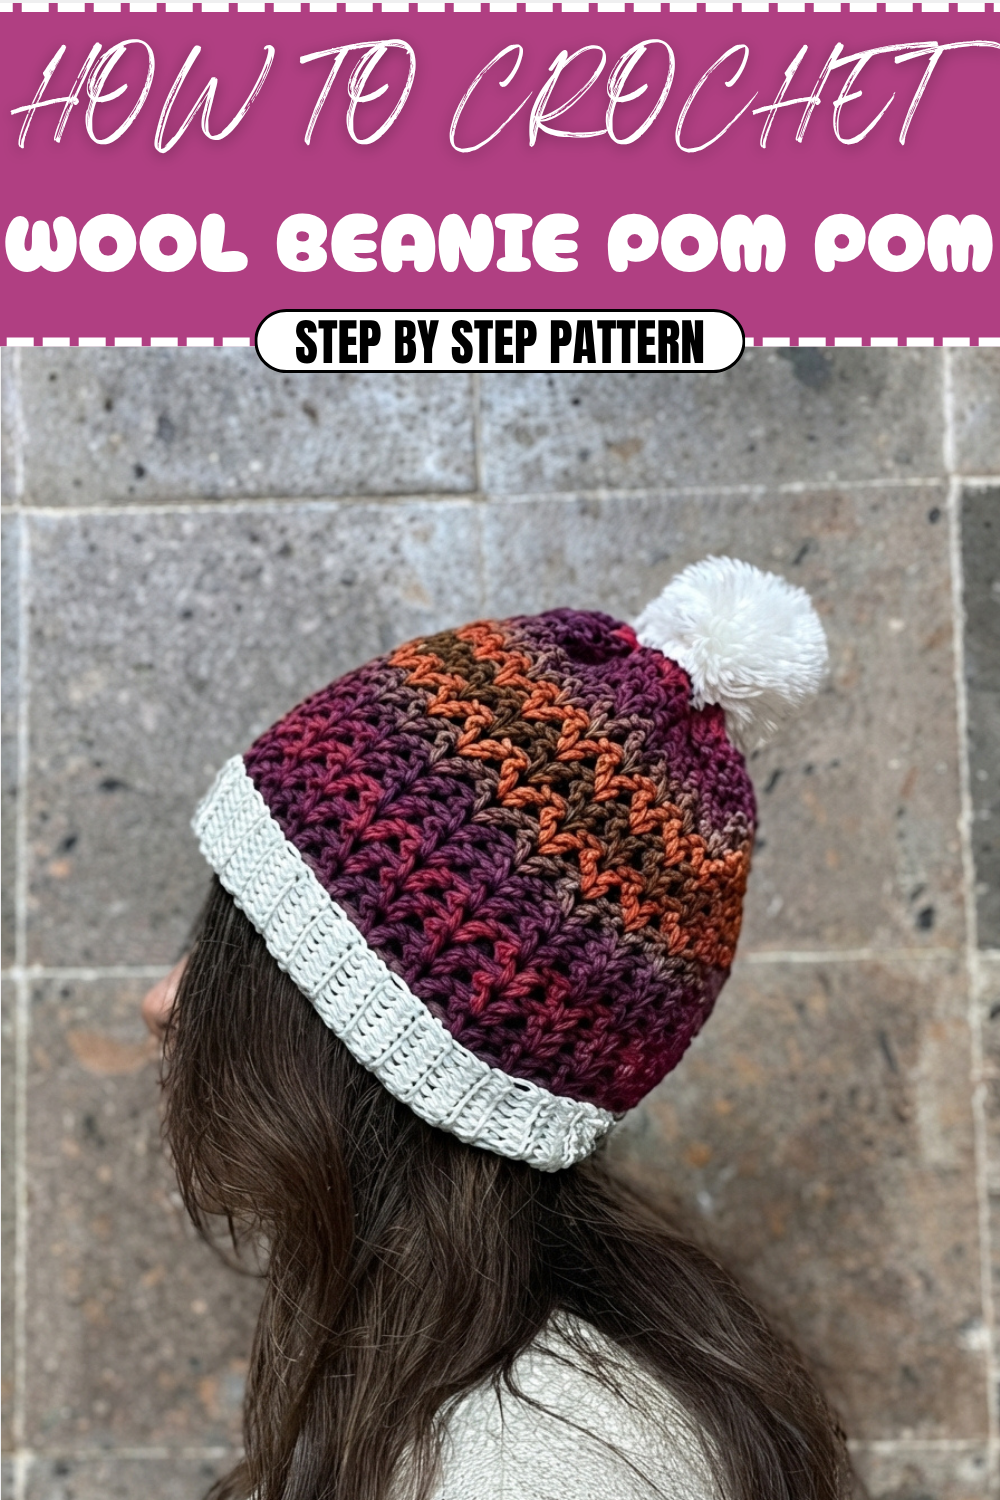
Stylish Crochet Wool Beanie Pom Pom Pattern For Cozy Looks
Use a free crochet wool beanie pom pom pattern for comfy, stylish headwear topped with a fun pom pom, perfect for chilly adventures.
On chilly days, there's nothing quite like wrapping your head in a warm, handmade hat that feels soft and cozy. This beanie pattern stands out with its lovely ribbed texture created by half double crochet stitches worked in the back loops only, giving it a thick, stretchy fabric that hugs your head just right. The addition of a fluffy pom-pom on top brings a playful and charming touch, making it perfect for anyone who wants to stay warm while looking cute.
More Adorable Projects Using This Pattern
The techniques learned in this pattern open up a world of warm and stylish possibilities. You can use the same ribbed stitch to create matching scarves, mittens, or even cozy headbands to complete a winter set. Exploring different yarn colors or sizes can help you design personalized accessories, while the back loop stitch adds a beautiful texture to blankets or cushion covers as well. This pattern is a wonderful way to build your crochet skills and create lovely handmade items to cherish or share.
Chic Crochet Wool Beanie Pom Pom Pattern For Winter Vibes
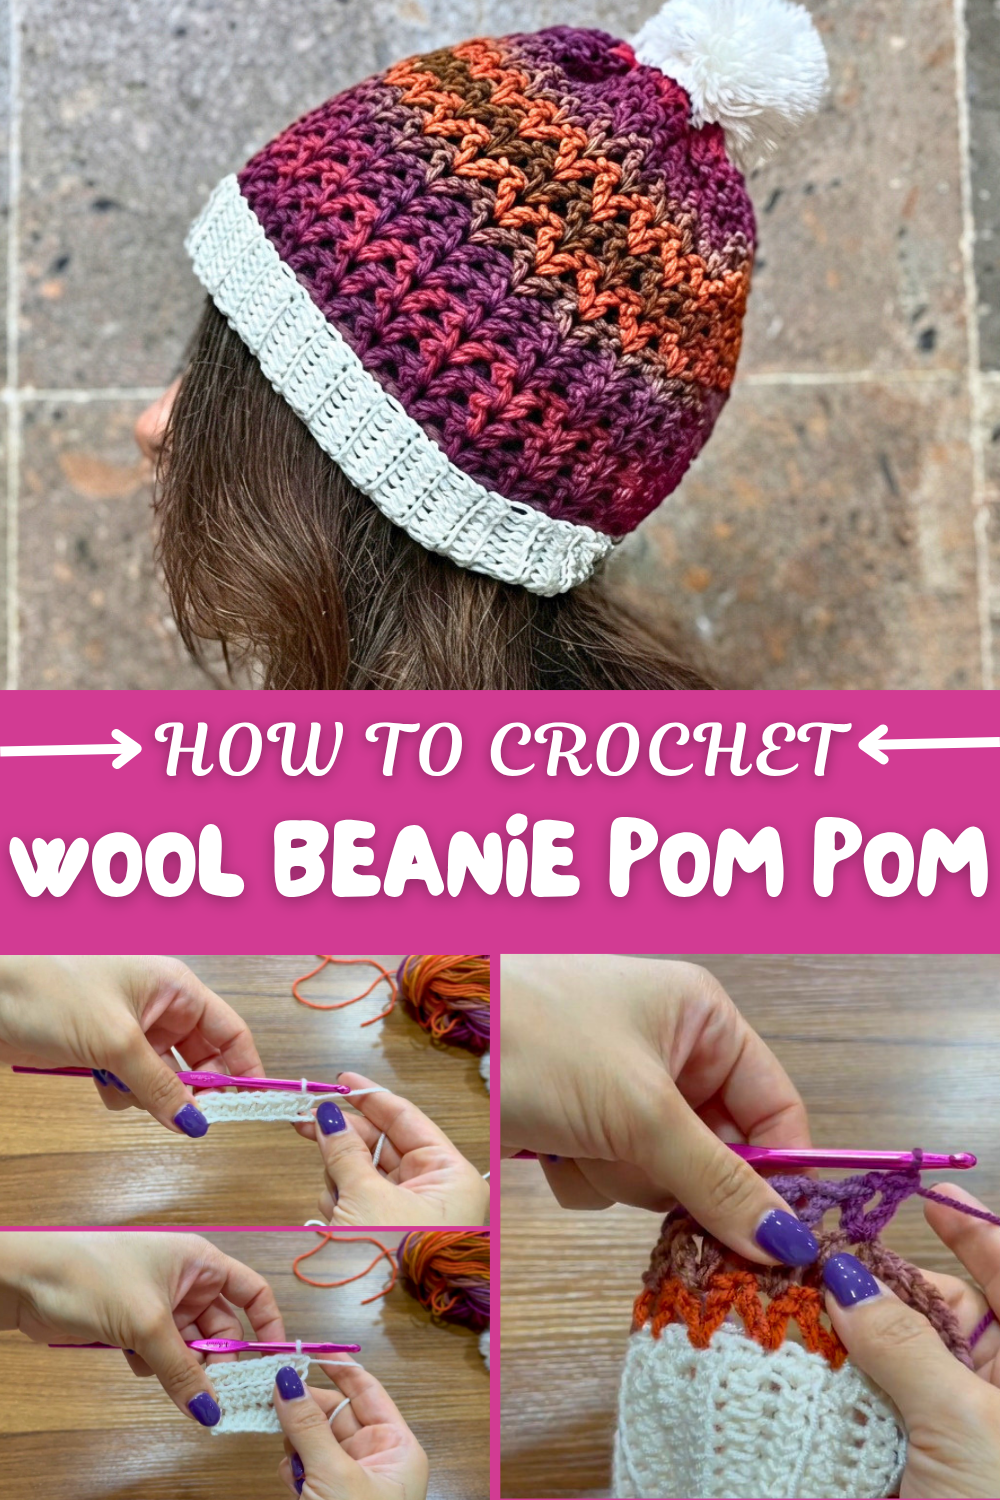
Starting with a simple chain to form the width of the hat, the pattern grows by working many rows of back loop half double crochets. This special stitch creates neat vertical ribs that add both style and extra insulation. Once the desired length is reached, the band is carefully sewn together to form a snug beanie shape. The pom-pom not only adds fun but also gives a classic finish that brightens up any winter outfit. Whether you're making this for yourself or as a heartfelt gift, it’s a fun and satisfying project that’s beginner-friendly and quick to complete.
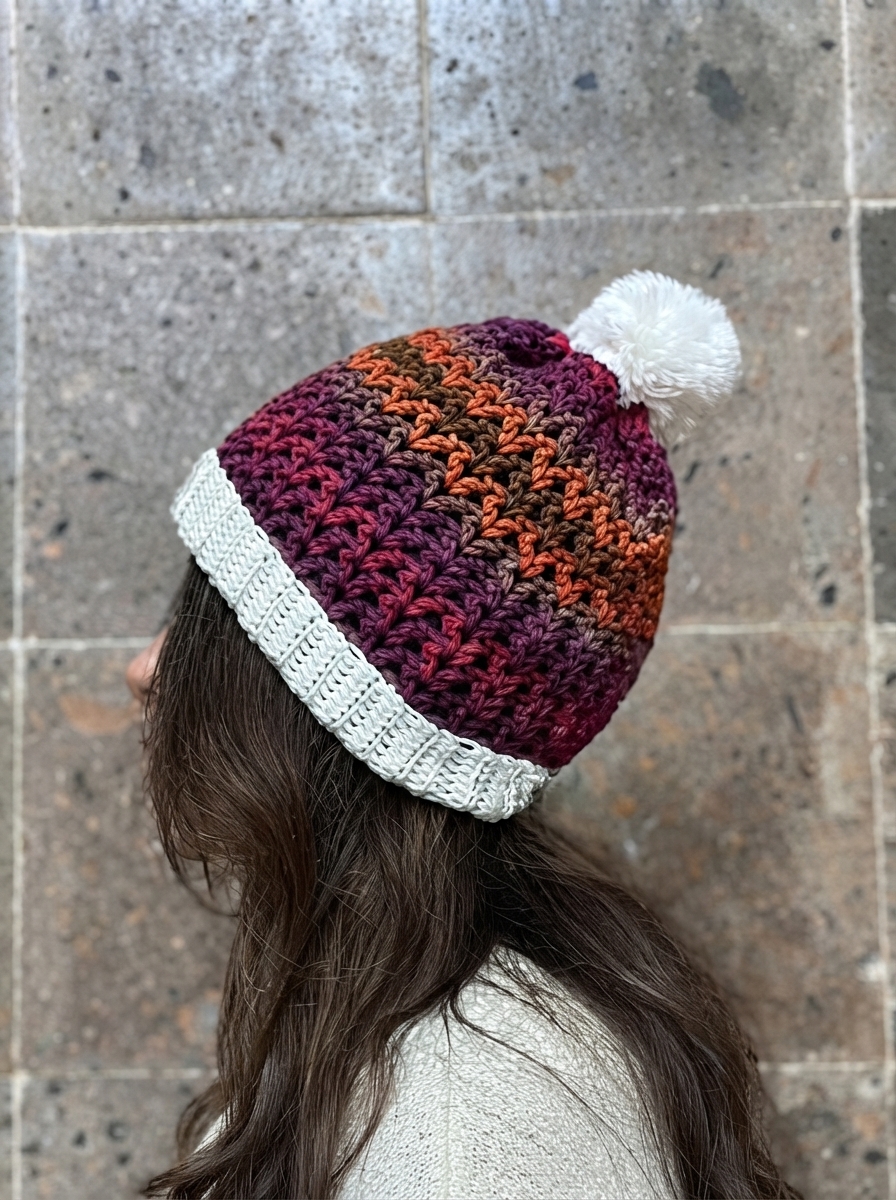
Crochet Hat with “B” Stitch and Ribbed Brim Pattern
This crochet hat features a beautifully textured “B” stitch for the body, paired with a ribbed brim for added warmth and flexibility. The pattern allows for customization in sizing and color, making it the perfect accessory for chilly weather. Whether styled with or without a pom-pom, this project is both practical and visually striking. With its simple yet elegant construction, it’s a fantastic pattern for all crochet enthusiasts to try!
Skill Level & Terminology
Skill Level: Advanced Beginner
Terminology: Using US crochet terms
This pattern incorporates foundational crochet stitches such as half double crochet (hdc) and double crochet (dc), along with some simple increases and slip stitch joins.
Materials & Tools
- Yarn: Approximately 100 g of worsted-weight crochet yarn. You may use a bone-colored or neutral-toned yarn for a minimalist effect or experiment with colors.
- Crochet Hook: 4.5 mm hook (or the size recommended for your yarn).
- Tapestry Needle: For seaming and weaving in the ends.
- Scissors: For trimming yarn ends.
- Pom-Pom (Optional): You can attach a pom-pom with an elastic band or sew it in place.
Gauge
Gauge for the ribbed brim:
- 8 rows of hdc BLO (half double crochet in back loop only) = 5 cm (2 inches) in height.
Gauge is essential to ensure proper sizing, so adjust the hook size if needed to match measurements.
Abbreviations List
- ch = Chain
- hdc = Half Double Crochet
- dc = Double Crochet
- BLO = Back Loop Only
- st(s) = Stitch(es)
- sl st = Slip Stitch
Special Stitch Instructions
- Half Double Crochet (hdc):
- Yarn over (YO), insert hook into indicated stitch.
- YO and pull up a loop (3 loops on hook).
- YO and pull through all three loops on the hook.
- Double Crochet (dc):
- YO, insert hook into indicated stitch.
- YO and pull up a loop (3 loops on hook).
- YO, pull through the first two loops. YO again and pull through the remaining two loops.
- B Stitch:
A double crochet, chain 1, and another double crochet, all worked into the same stitch. The B stitch creates a “V” shape that forms the signature repeating pattern on this hat. - Back Loop Only (BLO):
Work your stitch in the back loop of the stitch rather than through both loops. This technique creates the ribbed effect on the brim.
Finished Size
- Brim circumference (unstretched): 50 cm (approx. 19.5 inches)
- Hat length: 30 cm (approx. 12 inches)
Adjustable for smaller or larger sizes with additional rows/changes to stitch counts.
What You'll Learn
- How to create a flexible ribbed brim.
- How to crochet the “B” stitch and build textured rounds.
- How to assemble the hat and seamlessly close the top.
The Pattern
Step 1: Crochet the Ribbed Brim
- Ch 8.
- This creates the ribbed brim with a width of 5 cm (adjust the number of chains for a thicker or thinner brim).
- Row 1:
- Hdc in the third ch from the hook and in each of the remaining chs across. (7 hdc).
- Turn.
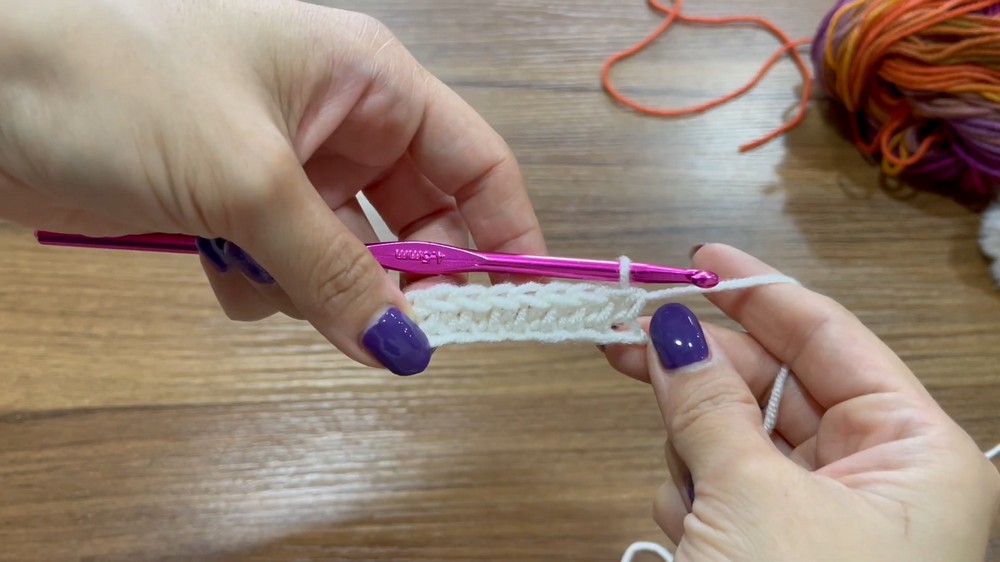
Note: The chains at the beginning of each row do not count as a stitch.
- Row 2:
- Ch 2, skip the first st (counts for height, not a stitch). Hdc in BLO of the next st and each st across. (7 hdc in BLO).
- Turn.
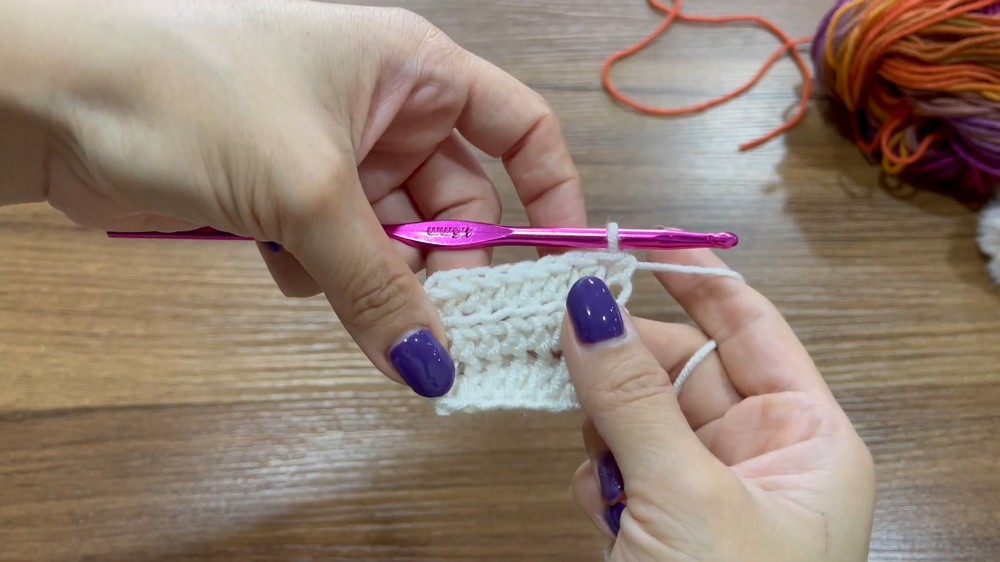
- Repeat Row 2 until the brim length is a multiple of 3 and fits snugly around the head. For an adult-size hat, aim for 39 rows or approx. 50 cm (19.5 inches) in length when slightly stretched. Adjust the number of rows based on your head measurement.
Check Fit: Wrap the brim around the head to ensure the fit before continuing. The ribbed texture makes the brim stretchable and comfortable.
Step 2: Form the Brim into a Loop
- Ch 1, fold the brim so the short edges touch.
- Sl st through the loops of both short edges to seam them together into a circle.
- Turn the brim inside out so the seam is on the inside.
Explanation: This step creates the stretchy brim and prepares the foundation for the body of the hat.
Step 3: Start the Hat Body
- Round 1:
- With the brim positioned flat, ch 1, then sc evenly around the brim to establish a foundation for the hat body.
- Work 2 sc in each row of the brim. A brim with 39 rows should result in 78 sc.
- Join with a sl st to the first sc.
Tip: Ensure evenly spaced stitches along the brim to avoid puckering or tightness. Adjust the number of stitches if needed to suit your stitch tension.
- Change to your hat body yarn color if desired.
Step 4: Work the “B” Stitch Hat Body
- Round 2:
- Ch 4 (counts as one dc + ch-1), then work dc in the same st.
- Skip the next 2 sts. In the third st, work (dc, ch 1, dc).
- Repeat (dc, ch 1, dc) in every third st around.
- Join to the third ch of the beginning ch-4 with a sl st.
- Round 3 (and subsequent rounds):
- Sl st into the ch-1 space of the first “B” stitch.
- Ch 4 (counts as dc + ch-1), then dc into the same ch-1 space.
- In each ch-1 space around, work (dc, ch 1, dc).
- Join to the third ch of the beginning ch-4 with a sl st.
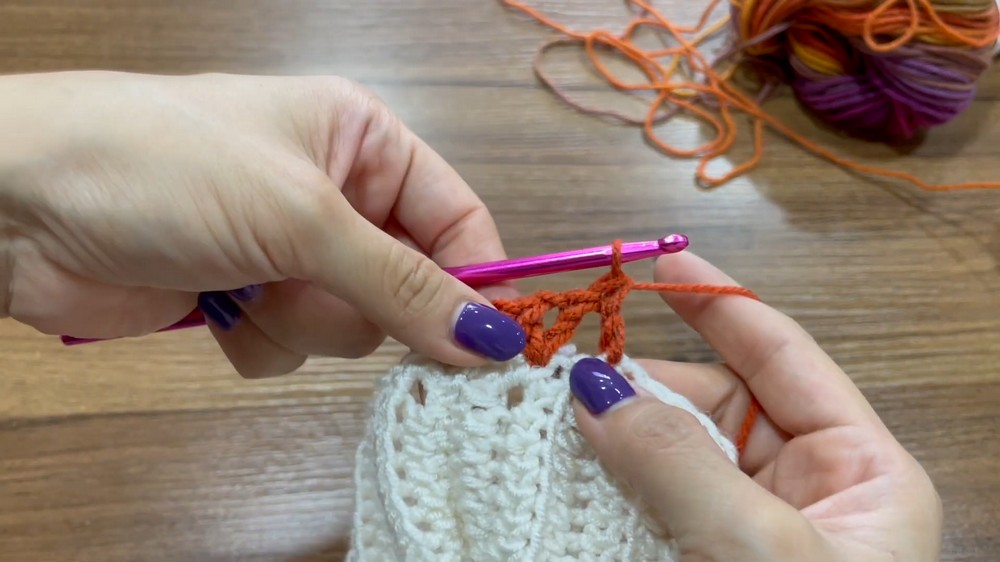
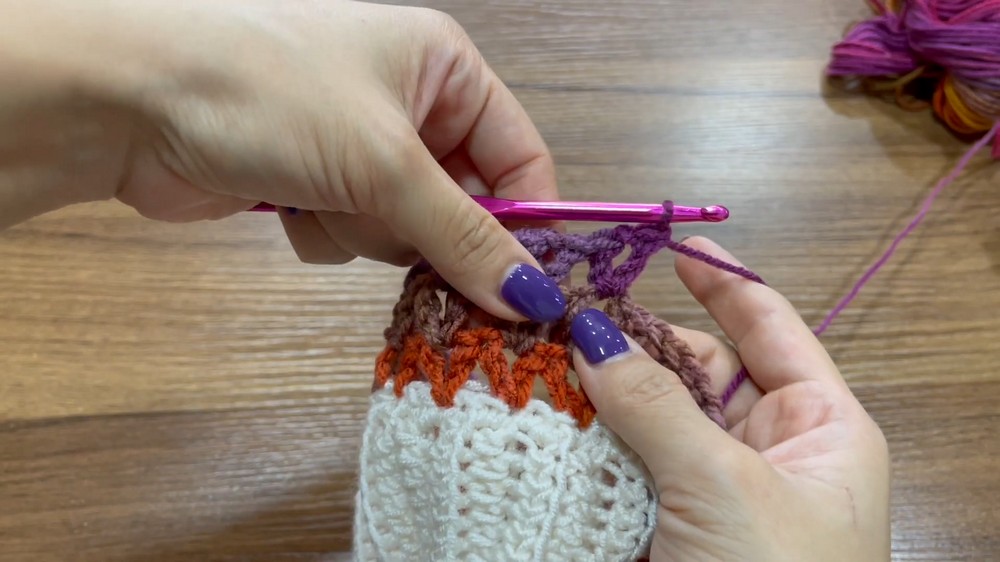
Tip: You can experiment with color changes by switching yarn at the end of a round, adding a pop of color or texture to the pattern. To change colors, finish the last yarn-over of a dc with the new color and continue the round.
- Continue repeating Round 3 instructions until the hat height reaches your desired length.
- For an adult-sized hat, work about 16 rounds of the B stitch for a total hat height of 30 cm (12 inches).
Step 5: Close the Top of the Hat
- Cut the yarn, leaving a long tail for sewing.
- Thread the tail through a tapestry needle.
- Insert the needle into each ch-1 space around the last round (like a drawstring).
- Pull the tail tightly to gather the top and close the opening. Secure with several knots.
Tip: For extra durability, make additional stitches across the opening before sewing in the yarn tail.
Assembly & Finishing
- Once the hat body is complete, weave in all loose ends using the tapestry needle.
- Turn the hat inside out to check the seam is hidden. If there are any remaining visible gaps at the brim or top of the hat, secure them with quick stitches.
Optional:
- Attach a pom-pom to the top of the hat using its elastic band or by sewing it securely with a needle and yarn.
- Alternatively, you can leave the hat plain for a sleek, minimalist look.
Why I Love This Pattern
This crochet hat strikes the ideal balance between style and warmth. The stretchy ribbed brim ensures a snug fit, while the textured “B” stitch creates a stunning visual appeal. The versatile design allows for endless customization—the addition of colorful stripes, textured yarns, or embellishments makes every piece one of a kind. With just a single skein of yarn and a few hours of work, you can create a stylish hat suitable for gifting or to keep yourself cozy in style!