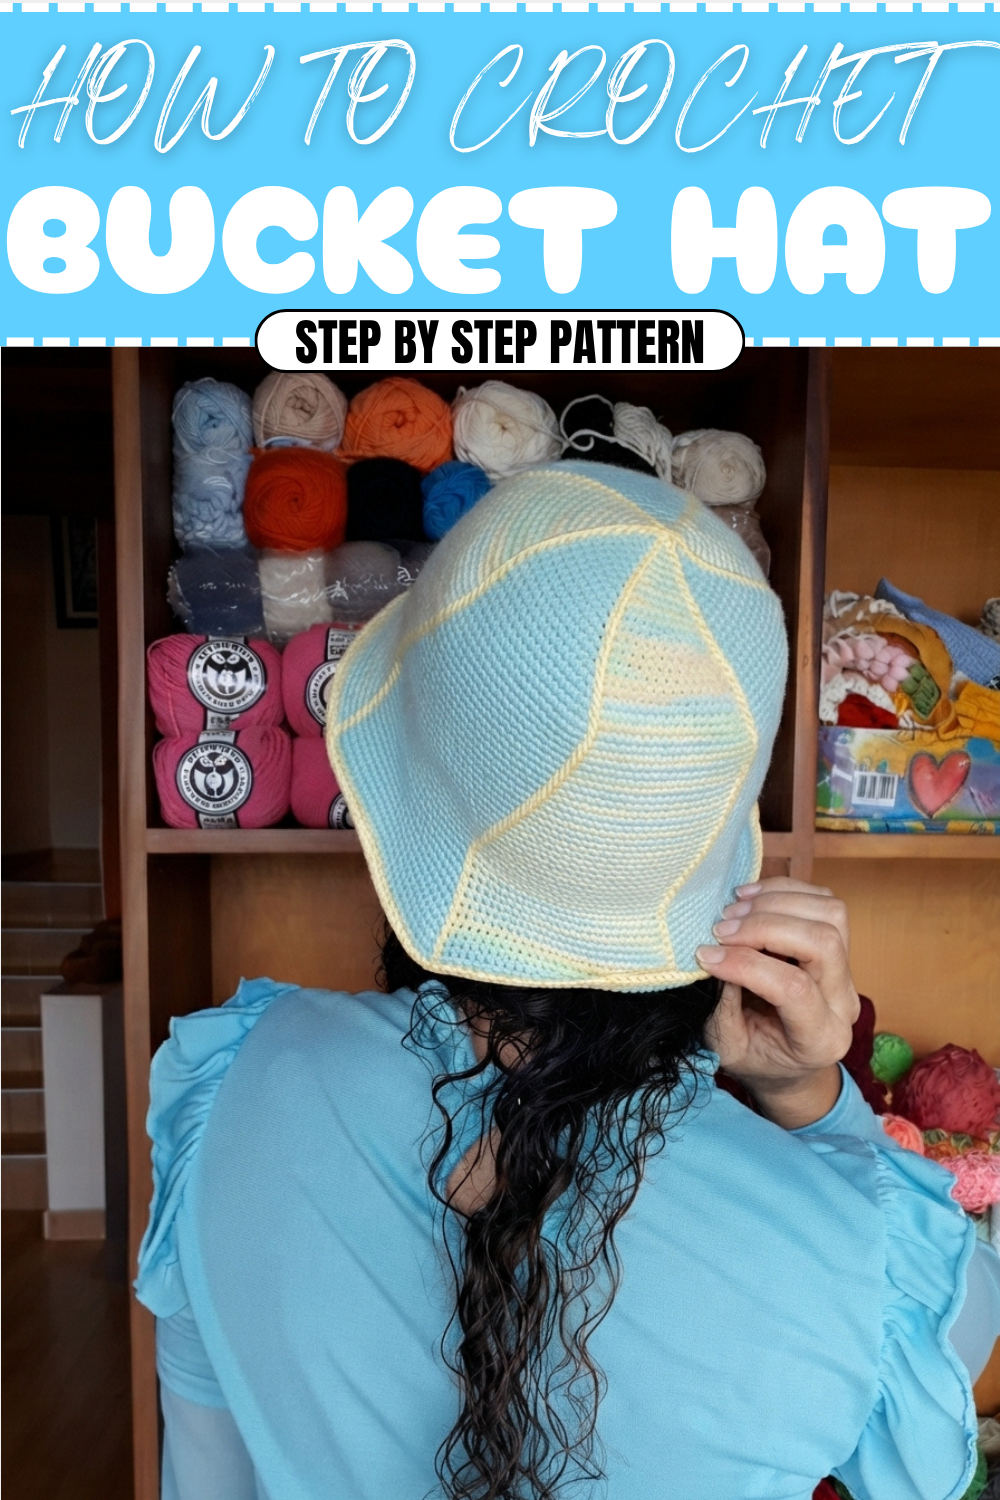
How To Crochet A Bucket Hat Pattern For Effortless Summer Style
Try a free crochet bucket hat pattern for cute sun protection that keeps you cool and stylish, perfect for playdays and outdoor adventures.
Under bright sunny skies or gentle spring breezes, nothing feels quite as cheerful as a colorful, handmade hat that fits just right. Combining playful stripes with a cozy texture, this crochet bucket hat pattern is a delightful accessory that brings warmth and style wherever you go. Perfect for shielding from the sun during outdoor strolls or adding a pop of color to a casual outfit, its charm lies in both its practicality and eye-catching design.
Classic Free Crochet Bucket Hat Pattern For Outdoor Adventures

Made using single crochet stitches worked in rounds, the hat gradually expands with careful increases that form a smooth, rounded crown and a gently flared brim. This stitch choice creates a soft, dense fabric that’s comfortable to wear and sturdy enough to hold its shape day after day. The alternating colors and neat stripes add fun and personality, letting you mix and match yarns to suit your mood or wardrobe.
What Else Can You Create Using This Pattern?
Once you’re comfortable with working in rounds and changing yarn colors, similar techniques can be used to craft a variety of accessories. Try making striped headbands, small tote bags, or even colorful home decor items like coasters or baskets. Playing with different yarn textures and color combos expands your crochet skills, helping you design unique projects that keep your creativity flowing. This approachable hat pattern makes a perfect starting point for exploring the vibrant world of crochet.
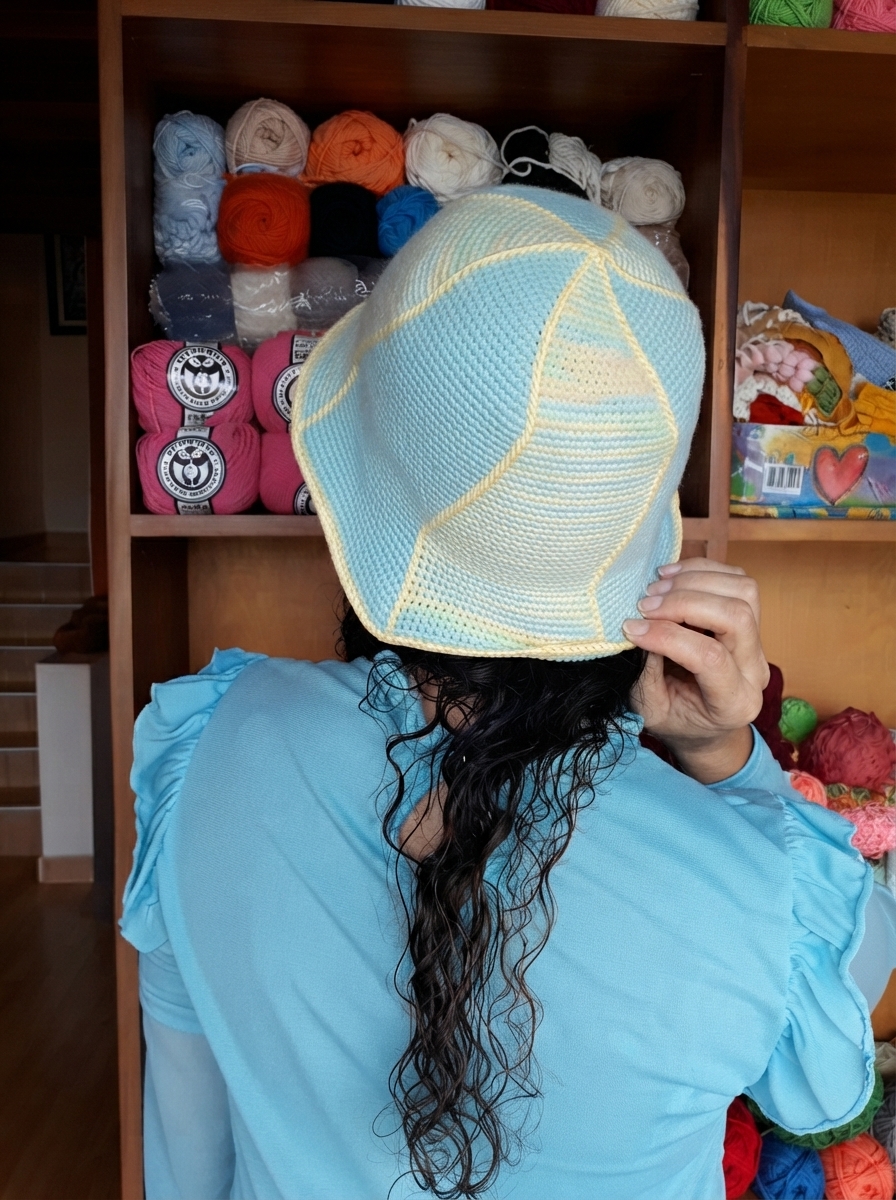
Crochet Fisherman Hat Pattern
This chic and colorful fisherman’s hat is the perfect crochet project for anyone looking to create a stylish, handmade accessory. Featuring alternating color stripes and intricate embroidery, the hat can be customized with various colors, making it a versatile piece for any outfit. Whether you're crocheting for yourself or creating a thoughtful gift, this pattern is beginner-friendly and super fun to make!
Skill Level & Terminology
Skill Level: Advanced Beginner to Intermediate
Terminology: Using US crochet terms
The pattern combines basic single crochet (sc) stitches, increases, and color changes, making it a great opportunity to practice colorwork and embroidery.
Materials & Tools
- Yarn:
- Variegated yarn: One color.
- Solid-colored yarn: Another color for the hat’s base.
- Both yarns should be 3.5 mm-weight (medium-weight) yarn.
- Crochet Hook: A 3.5 mm crochet hook.
- Embroidery Thread: Contrasting color for decorative embroidery.
- Tapestry Needle: For weaving in ends and adding embroidery stitches.
- Scissors: For cutting yarn.
- Stitch Marker: To mark rounds and keep track of your progress.
Gauge
Gauge is approximately 6 single crochet stitches and 6.5 rows = 1 inch. Adjust your hook size to achieve the correct gauge for the best results.
Abbreviations List
- MR: Magic Ring
- sc: Single Crochet
- inc: Increase (2 sc in one stitch)
- sl st: Slip Stitch
- ch: Chain
Special Stitch Instructions
- Magic Ring (MR): Wrap the yarn around your fingers to create a loop. Insert the hook under the loop, pull up the working yarn, and secure it with a single chain. Work your required stitches into the loop. Pull the tail to close the ring.
- Color Change: For seamless changes, on the last yarn-over of the stitch, drop the current color and pick up the next color to complete the stitch. Pull the new color to tighten and continue working.
- Increase (inc): Crochet two single crochet stitches in the next stitch.
Finished Size
The finished fisherman hat has a top diameter of 16 cm (6.3 inches) and a total height of 17 cm (6.7 inches) from the top of the crown to the brim.
What You'll Learn
- How to crochet a fisherman hat using the magic ring technique.
- How to seamlessly change yarn colors in each round.
- Adding unique decorative embroidery at the base.
- Building the brim with circular increases.
The Pattern
Step 1: Create the Magic Ring
- Begin with both the solid and variegated yarns held together. Create a magic ring (MR).
- Pull the strands to create a loop and secure with a starting chain.
Step 2: Crown Increases
The fisherman's hat begins with a flat circle for the crown, where each round increases in increments. Follow the instructions below to work this section, ensuring to make smooth color transitions as described.
Round 1:
- Work 6 sc into the MR.
- Pull the tail to close the ring and join with a sl st to the first sc.
Round 2:
- Work 1 inc in each stitch around (6 inc) to achieve 12 sc.
- Always change colors on the second “yarn-over” of the last stitch.
Round 3:
- Work 1 sc, 1 inc around (6 repeats) to increase to 18 sc. Remember to maintain the color changes.

Round 4:
- Work 2 sc, 1 inc around (6 repeats) for 24 sc.
At this stage, your hat begins to take shape, showing crisp stripes of alternating colors. If you’re new to color changes, take your time to adjust to the rhythm of the alternating strands.
Step 3: Continue Increasing Until the Crown Measures 16 cm
- Continue increasing the size of the circle by following this sequence:
- Round 5: 3 sc, 1 inc (total 30 sc)
- Round 6: 4 sc, 1 inc (total 36 sc)
- Round 7: 5 sc, 1 inc (total 42 sc)
- Continue this sequence until the flat circle reaches a diameter of 16 cm. This is the crown of your hat.
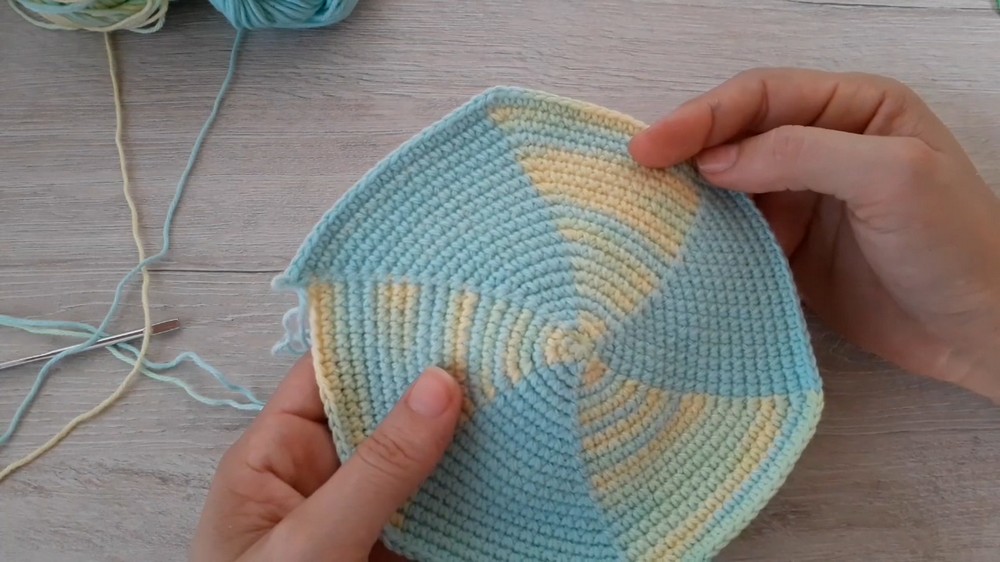
Pro Tip: Use a measuring tape or ruler to check the diameter of your work at the end of each round. Adjust as needed based on your yarn weight and tension.
Step 4: Build the Height Without Increases
- Once the diameter is complete, stop making increases.
- Begin working one sc into each stitch around without any increases, while maintaining the color changes.
- Continue crochet rounds until the height of the hat reaches 9–10 cm.
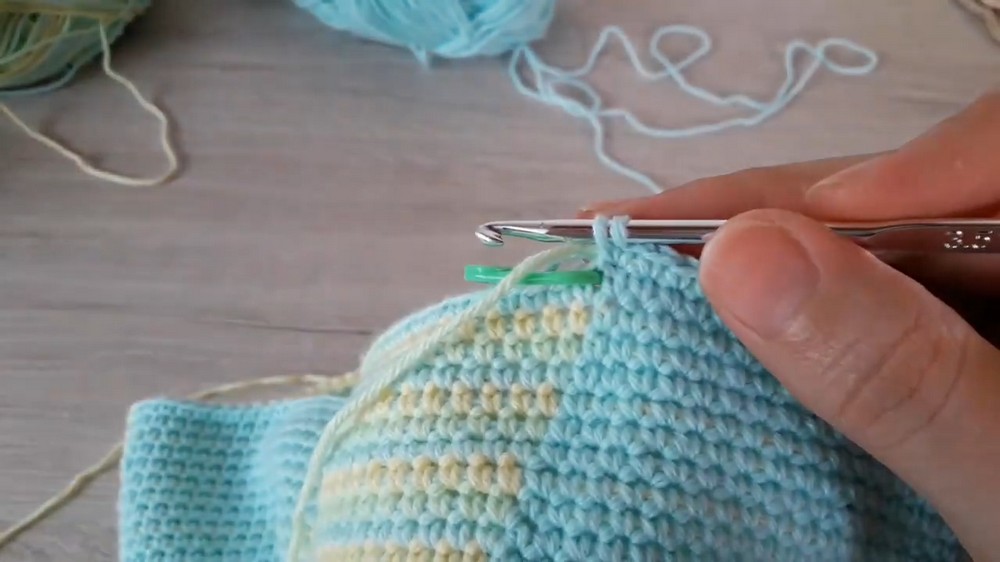
Explanation: This will create the vertical sides of your fisherman hat, giving it the perfect height and structure for the next part.
Step 5: Create the Brim (Adding Final Increases)
- Resume increasing rounds, starting from the last increase you left off. For example, if the crown ended on 18 sc, 1 inc, start the next round with 19 sc, 1 inc.
- Continue with this sequence:
- Round 1: 19 sc, 1 inc
- Round 2: 20 sc, 1 inc
- Round 3: 21 sc, 1 inc
- Stop increasing when the brim reaches your desired length. It is recommended to crochet about 11 additional rounds with increases.
Explanation: This part widens the hat and begins creating the fisherman hat style with the brim that flares outward. Adjust the number of rounds to your preference.
Step 6: Color Trim
- After completing the hat, switch to a single color (variegated or solid).
- Work one final round of sc around the edge of the brim to create a clean, polished look.
Pro Tip: Securely weave in all loose ends to ensure the hat remains tidy and durable.
Embroidery
Add a decorative element to your hat by embroidering a simple line design along the edge of the hat's crown.
- Use a contrasting yellow or brightly colored yarn and thread a tapestry needle.
- Begin at any color change point along the last row of increases. Insert the needle from the inside of the hat. Leave a small yarn tail inside, and secure it with a knot.
- Work with running stitches around the hat, forming loops along the edge. Insert your needle into every other stitch, exiting out at the next stitch. Pass the thread over the top of the needle when pulling through.

Explanation: This embroidered trim adds a stylish and textured detail to the fisherman hat. Feel free to experiment with colors or try different embroidery patterns!
Why I Love This Pattern
This fisherman hat pattern combines functionality with a pop of personality. The ability to use a mix of yarn colors—with eye-catching embroidery—makes it a truly standout project. Additionally, the shape is timeless and effortless but leaves plenty of room for creative flair. It’s a beautiful combo of modern style and traditional crochet.