
Beautiful Crochet Shorts Pattern Perfect for Summer Fun
Learn the art of crochet step by step with this free pattern for beautiful and comfy shorts that are perfect for summer outfits and lazy afternoons.
Inspiration From Los hilos de Elena
Creating stylish, high waisted shorts has never been more exciting than with this beautiful crochet shorts pattern. These shorts are perfect for summer days, beach outings, or as cozy loungewear during warmer months. Their flattering design makes them a versatile addition to your handcrocheted wardrobe, combining both comfort and charm. Whether you’re aiming for a casual daytime look or something chic for warmer evenings, these shorts are designed to complement your unique style.
With a high waist fit that’s both trendy and comfortable, these shorts are ideal for pairing with crop tops, flowy blouses, or even an oversized sweater for a more laid back vibe. The customizable fit ensures that they suit any body shape, while the openwork pattern adds just the right amount of elegance and breathability.
Unique and Easy Free Crochet Shorts Pattern to Try
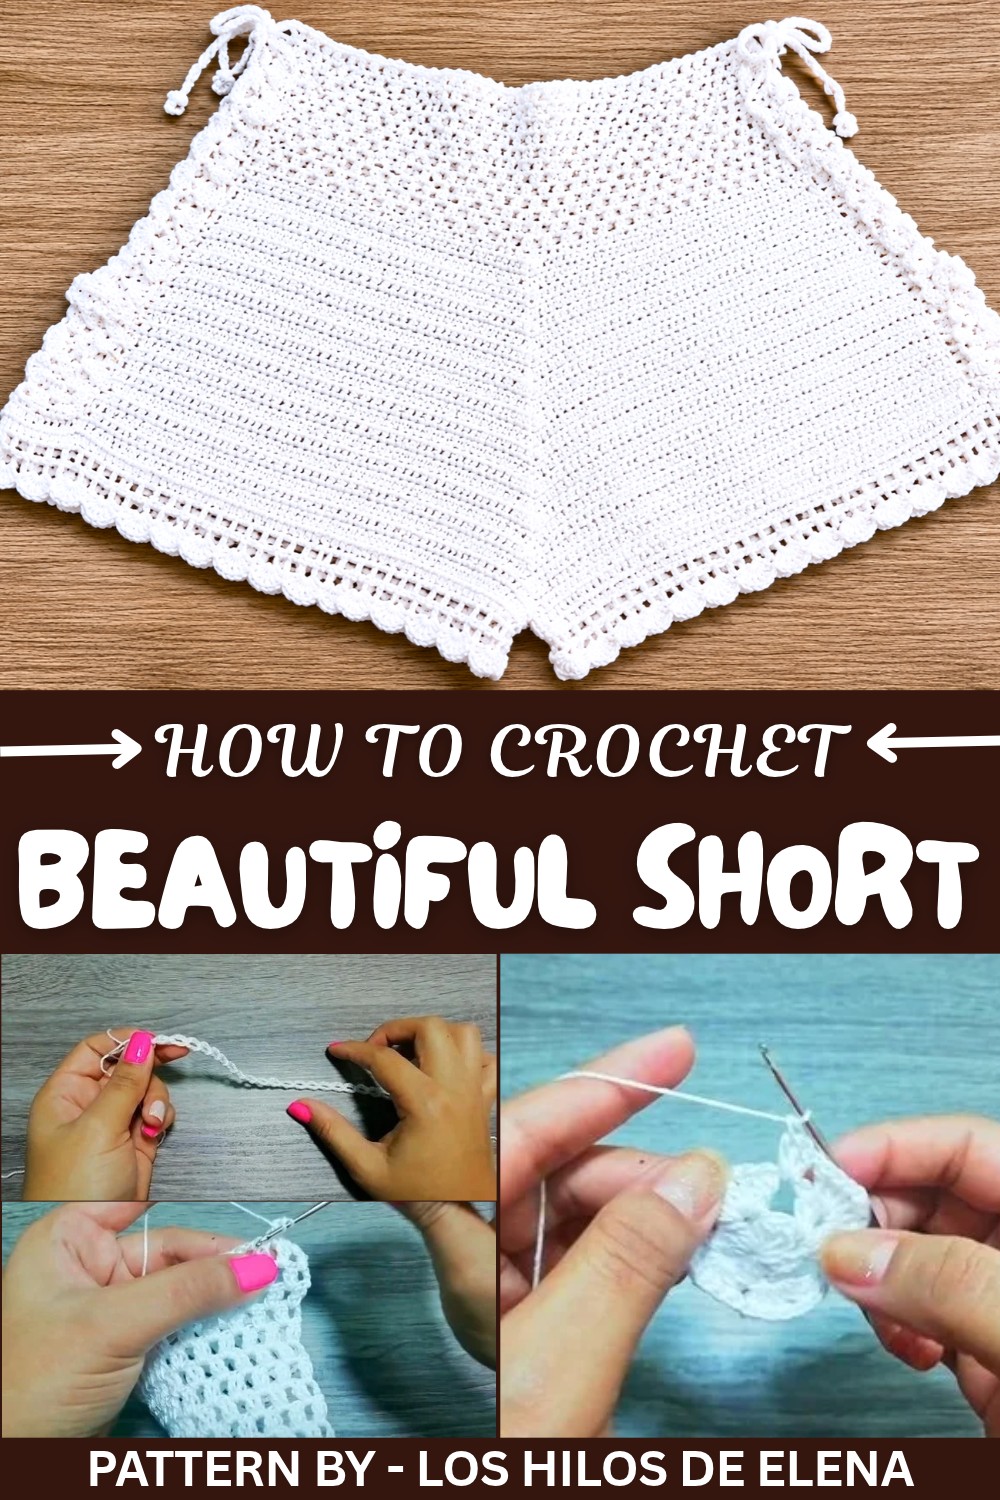
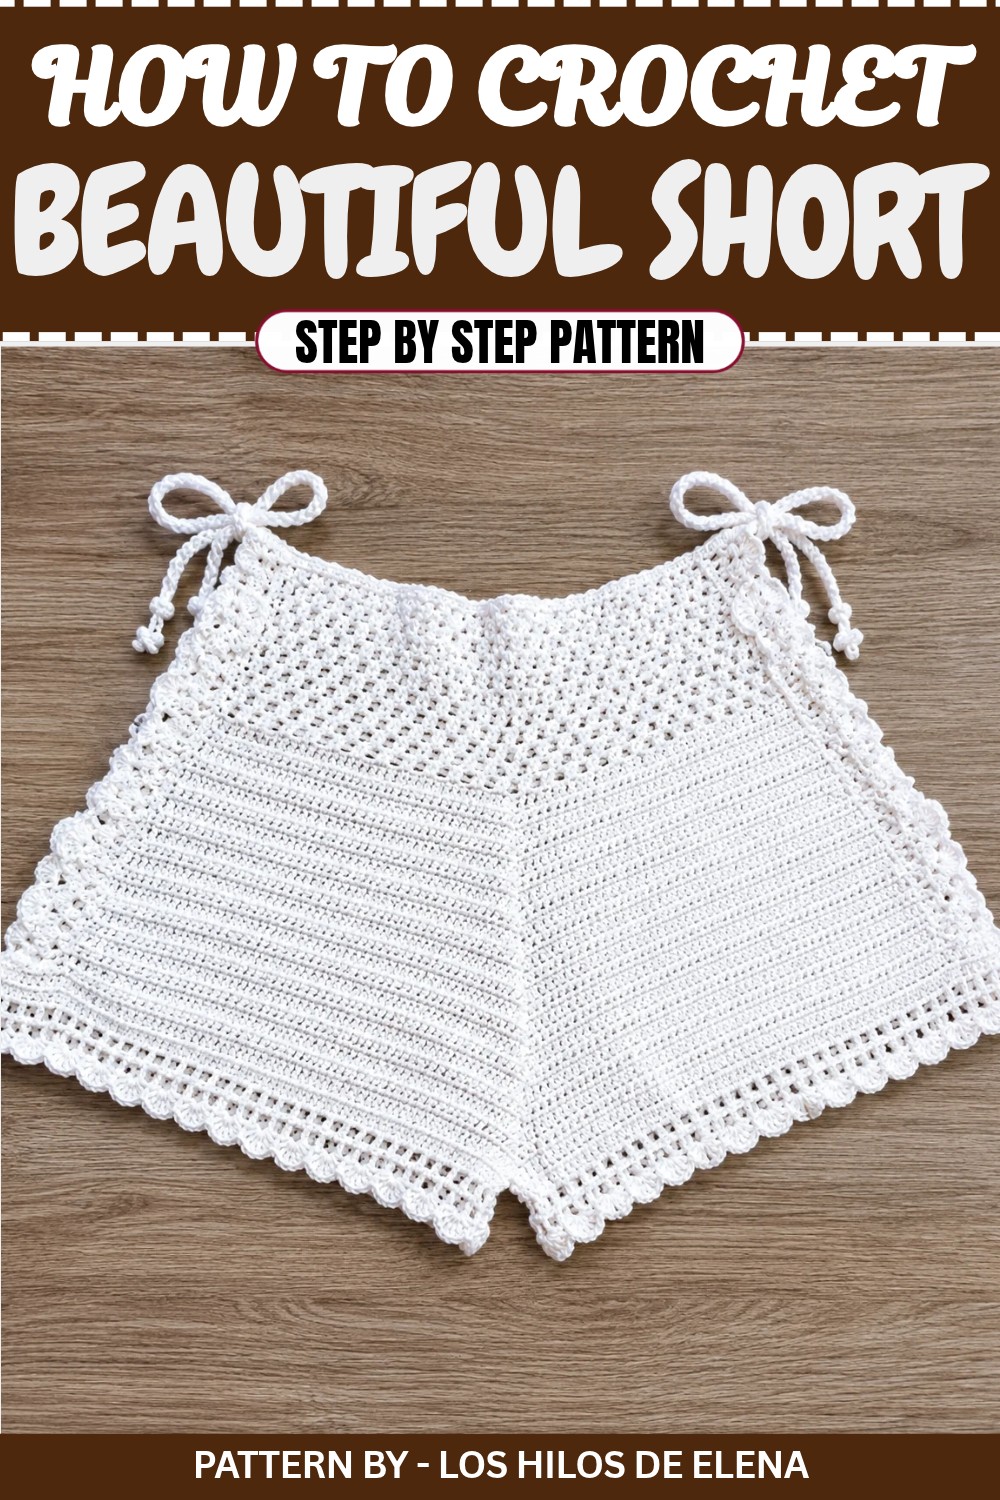
Crocheted with soft and durable cotton yarn, the texture of these crochet shorts is nothing short of delightful. The intricate looped design across the waistband, combined with delicately placed patterns, gives these shorts a standout character. What's more, the decorative edging on the legs and adjustable waistband tie add a finishing touch of sophistication and practicality.
This pattern is perfect for beginners and seasoned crocheters alike, offering a fun and straightforward way to create a stunning, handmade piece. Ready to get started? Follow the step by step tutorial, and bring your own pair of dreamy crochet shorts to life.
High Waisted Crochet Shorts Pattern
This project is perfect for beginners and experienced crocheters alike. The step by step instructions will help you create a comfortable and stylish garment that can easily be customized for different sizes.
Quick Overview of the Pattern
- Construct high waisted shorts in two parts (front and back).
- Work the waistband with standard measurements or customize it with personal sizing.
- Add attractive side ties for a perfect fit.
- Finish with decorative stitches for a polished look.
Notes
- Work in two separate parts: the front and back panels.
- Use customized or standard sizing for the waistband (provided in the sizing section).
- The shorts can be made longer or shorter by adjusting the number of rounds.
- Always verify your gauge before starting the project.
Skill Level
Beginner to Intermediate
Materials
- Yarn: Mercerized cotton yarn, approximately 200g. For the tutorial, "YarnArt Mercerized Cotton" is used.
- Hook: Size 3.5mm crochet hook (or hook recommended for your yarn).
- Scissors
- Stitch markers (or safety pins)
- Measuring Tape
Measurements / Sizing
Standard Waistband Measurements:
- XS: 68–75 cm
- S: 75–82 cm
- M: 82–89 cm
- L: 89–96 cm
- XL: 96–105 cm
For customization: Measure your waist circumference and divide by 2 to create the front and back panels accordingly.
Final Short Length: Approximately 28 cm.
Gauge
Gauge swatch in single crochet (sc): 10 cm x 10 cm = 22 stitches x 30 rows. Ensure that your gauge matches the instructions for accurate sizing.
Stitch Abbreviations
- ch – chain
- sc – single crochet
- dc – double crochet
- ch sp – chain space
- sl st – slip stitch
- st(s) – stitch(es)
- yo – yarn over
Special Stitches
- Cluster Stitch (used in decorative trim):
- Step 1: Yarn over, insert hook into the designated space or stitch, and pull through.
- Step 2: Yarn over, pull through two loops, leaving one loop on hook. Repeat twice in the same space, leaving three loops on the hook.
- Step 3: Yarn over and pull through all three loops.
The Crochet Pattern
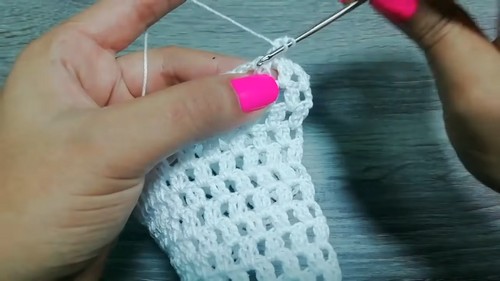
Part 1: Waistband
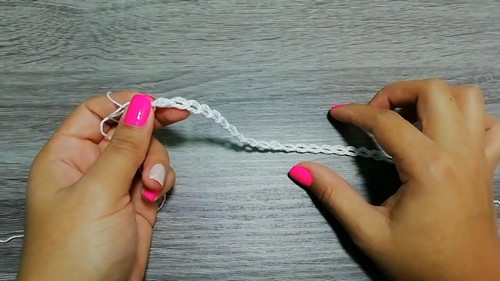
- Start with a foundation chain:
- Create a foundation chain equivalent to your waist circumference (e.g., for a size S, chain 75 cm or approximately 75 chains). Divide the chain number into two equal parts for the front and back panel.
- Reduce the total chains by 15 cm (to allow for stretch), e.g., 75–15 = 60 cm chain length.
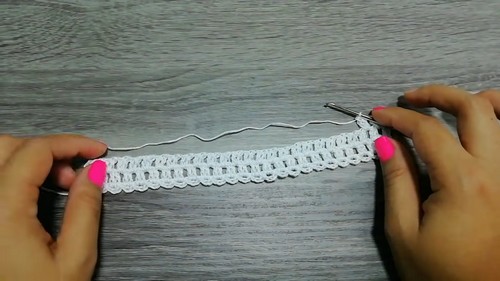
- Work the foundation row:
- Turn your chain and work dc stitches into each chain until the end.
- Work the mesh rows:
- For row 2, ch 3, then work (1 dc, ch 1) into each space across (skip 1 st each time).
- Repeat the mesh pattern:
- Continue until you’ve reached a total of 9–11 cm depending on size:
- XS: ~8 rows
- S-M: ~9 rows
- L-XL: ~10–11 rows
- Continue until you’ve reached a total of 9–11 cm depending on size:
Part 2: Front and Back Panels
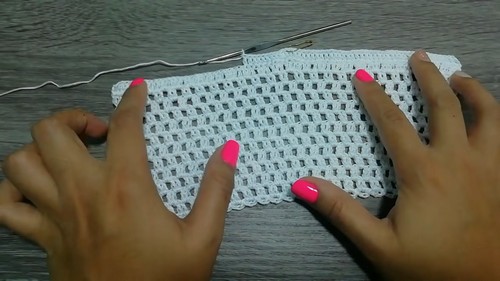
- Divide work into front and back panels:
- Fold the waistband and mark the center. The front panel will be smaller than the back panel to account for shaping.
- For the front, use standard sizing: e.g., for a size S, 25 loops (divide total evenly).
- Work the front panel:
- Use your marked section and continue with rows of (1 dc, 1 ch) until the desired length of 19–21 cm is reached, depending on the size.
- Work the back panel:
- Begin from the marked back section but add 4 or more loops to ensure the back is slightly wider for comfort.
- Work rows of (1 dc, 1 ch) until the length matches the front panel.
Part 3: Join the Panels
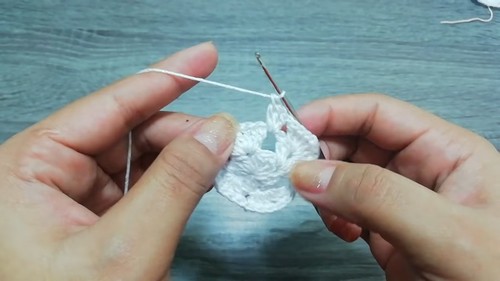
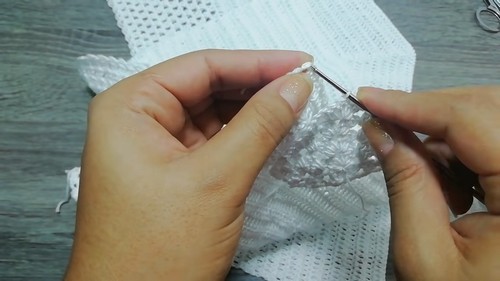
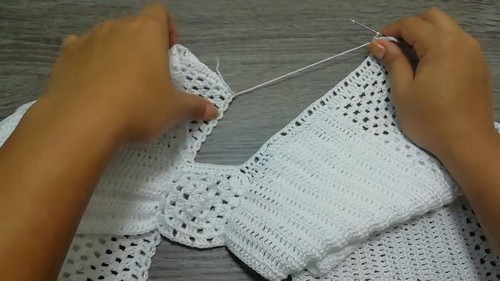
- Assemble the pieces:
- Use slip stitches or a tapestry needle to sew or crochet the sides of the front and back panels together. Leave space for the leg openings.
- Work carefully to ensure the seams are neat and even.
- Create side ties:
- Chain a long strip (e.g., 200–215 chains) and thread this through the waistband loops. Adjust as needed for a snug fit.
Part 4: Leg Openings
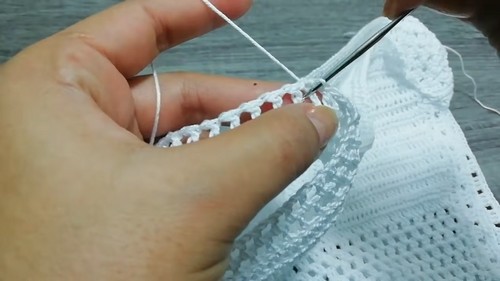
- Start the leg edging:
- Attach yarn to the base of the leg openings and work evenly around using dc stitches.
- Work the decorative edge:
- Row 1: (3 dc in same space, ch 1, 3 dc in next ch-sp). Repeat around.
- Row 2: Add a finishing row of sc stitches for a polished edge.
- Repeat for the second leg.
Assembly & Finished Size
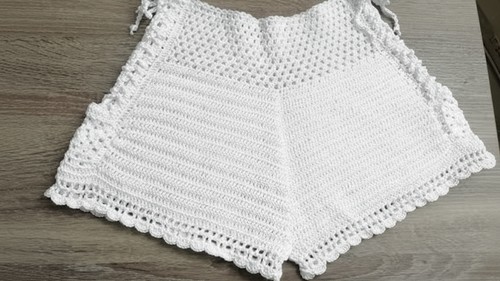
- After completing the shorts, weave in all loose ends.
- Attach the side ties, ensuring they are even and snug.
- Adjust fit as necessary. The completed shorts should measure approximately 28–30 cm from waistband to hem.
Conclusion
Congratulations on completing your crochet shorts. This pattern allows for full customization, so feel free to experiment with colors, yarn types, and decorative trims to make it your own. These shorts are not just stylish but also incredibly comfortable, perfect for lounging or outings.