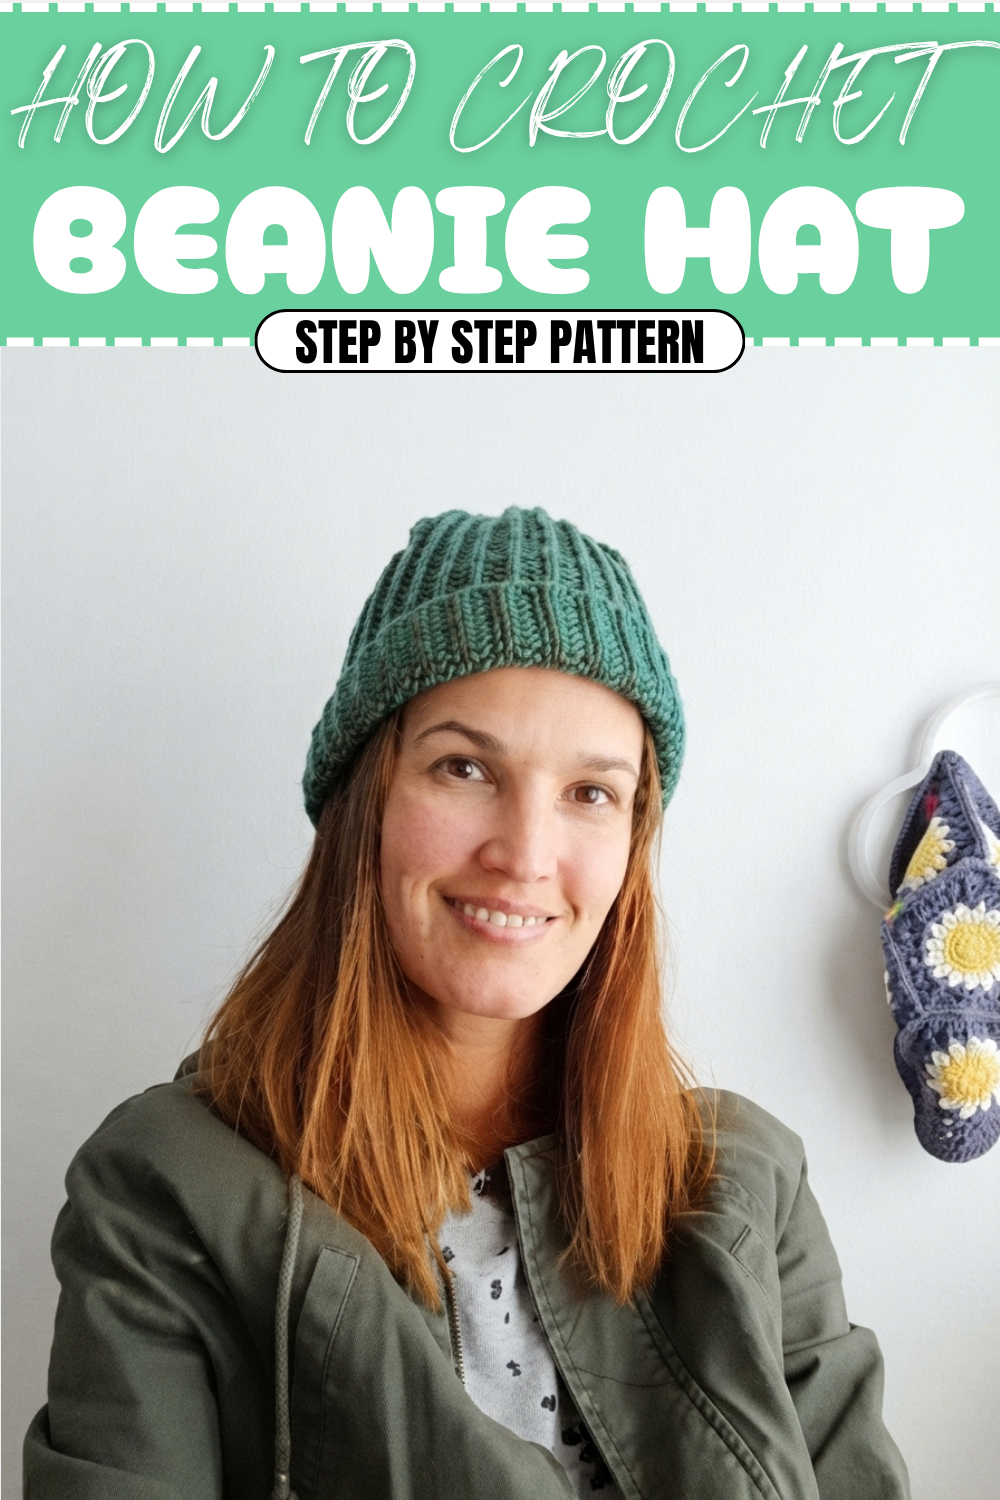
Beginner-Firendly Crochet Beanie Hat Pattern For Trendy Outfits
Find a free crochet beanie hat pattern to make soft and snug hats, adding instant charm and comfort to any outfit for all ages.
There’s a special kind of comfort that comes from wearing a hat handmade just for you, especially during chilly days. This particular beanie pattern is lovely because it mimics the look of knitting done with two needles but is crocheted in a very simple way. The magic lies in using the half double crochet stitch worked only through the back loops, which creates a beautiful ribbed texture that feels stretchy yet snug. It’s perfect for keeping warm without feeling too tight or bulky.
What Else Can You Crochet Using This Stitch?
The ribbed half double crochet stitch is quite versatile. After mastering this beanie, you can create matching accessories like scarves, headbands, or wrist warmers that share the same cozy texture. This stitch also works wonderfully for blankets and cushion covers, adding warmth and a comfy feel to your home. Exploring this stitch opens up many creative and practical projects perfect for any season.
Learn This Free Crochet Beanie Hat Pattern For Seasonal Fashion
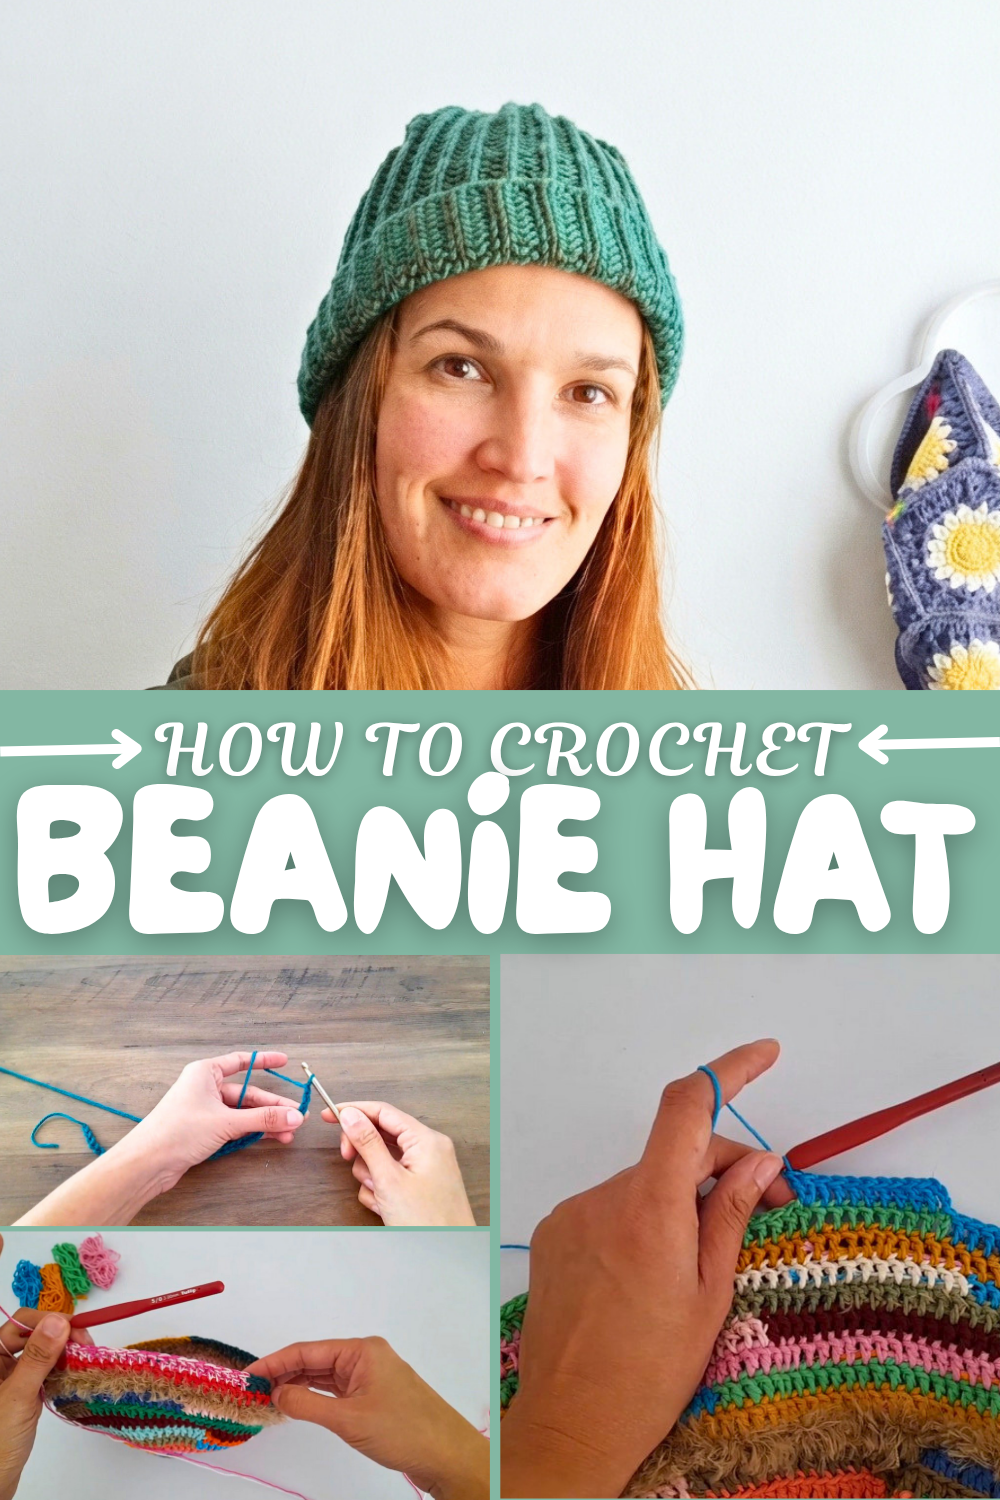
Starting with a chain foundation to fit your head size, you work back and forth in rows using the back loop only half double crochet stitch. This technique gives the fabric a unique “knitted” look, making it both stylish and comfy. Once the rows reach the desired length, the edges are joined with slip stitches to form the hat shape, completing it with a neat finish that hides any joins smoothly. It’s an easy-to-follow pattern ideal for beginners and even young crafters who want to create something cozy and fashionable. Plus, you can add a pom-pom on top to give it a fun and playful look!
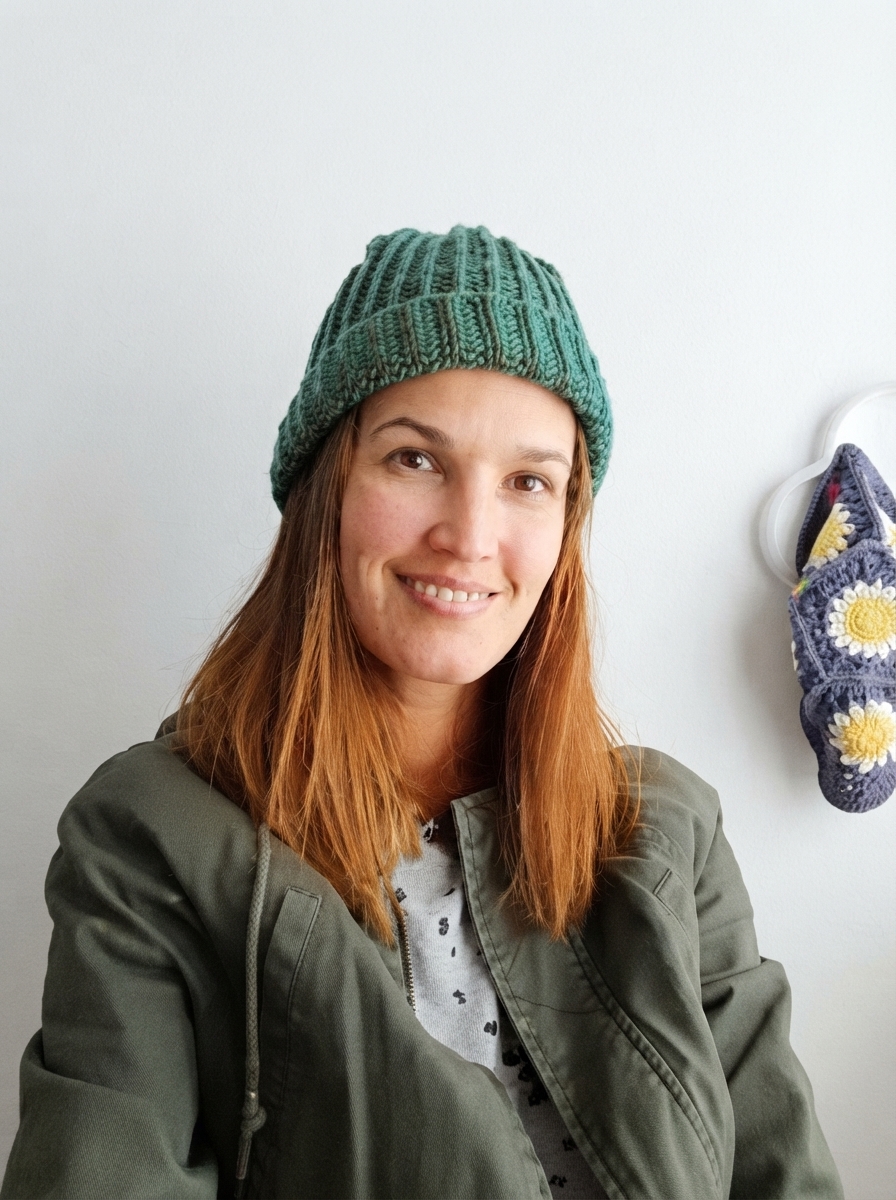
Crocheted Hat Pattern (Simulates Two-Needle Stitching)
This easy crochet hat pattern mimics the appearance of a knitted hat made using two needles, yet it's completely crocheted! It’s ideal for beginners who want to create a quick and simple winter hat for themselves or for gifting. The unique texture formed by the alternating stitches ensures a cozy and stylish result. Add a pom-pom at the top or leave it plain—the versatility is endless!
Skill Level & Terminology
Skill Level: Beginner
Terminology: Using US crochet terms
This pattern combines half double crochet (hdc) and slip stitch (sl st) techniques to form alternating rows, creating the texture that imitates knitting.
Materials & Tools
- Yarn: Medium-weight (worsted) yarn, suitable for 5 mm–6 mm crochet hook.
- Crochet Hook: 5 mm crochet hook (or size appropriate for your yarn).
- Scissors: For cleanly cutting yarn ends.
- Tapestry Needle: For weaving in loose ends and closing the hat at the top.
- Pom-pom Maker (Optional): To add a decorative pom-pom on top.
Gauge
Approx. 7 stitches and 6 rows = 2 inches (5 cm). Adjust hook size as needed based on your tension and yarn choice.
Abbreviations List
- ch: Chain
- hdc: Half Double Crochet
- sl st: Slip Stitch
- YO: Yarn Over
Special Stitch Instructions
- Half Double Crochet (hdc):
- Yarn over (YO), insert hook into stitch, YO again, pull through (3 loops on hook).
- YO and pull through all 3 loops on hook.
- Slip Stitch (sl st):
- Insert hook into stitch, YO and pull through both the stitch and the loop on the hook.
- Back Loop Only (BLO):
- Insert hook under the back loop of each stitch instead of going through both loops.
Finished Size
When completed, the hat measures approximately:
- Circumference: 21-23 inches (fully stretchable).
- Height: 10-11 inches.
For smaller or larger sizes, adjust the number of rows to fit the head circumference.
What You'll Learn
- How to create knitting-like textures using crochet techniques.
- Working with back loop stitches for ribbed effects.
- Tips for assembling, finishing, and customizing your hat with pom-poms.
The Pattern
Step 1: Start the Foundation
- Ch 45:
- This will form the base chain. Adjust the length by adding or removing chains to suit your size.
- Row 1 (Midpoint/hdc):
- Ch 2 (counts as the first hdc).
- Hdc into the 4th ch from the hook.
- Work 1 hdc into each ch across.
- At the end of the row, you should have 46 hdc (including the turning chains).
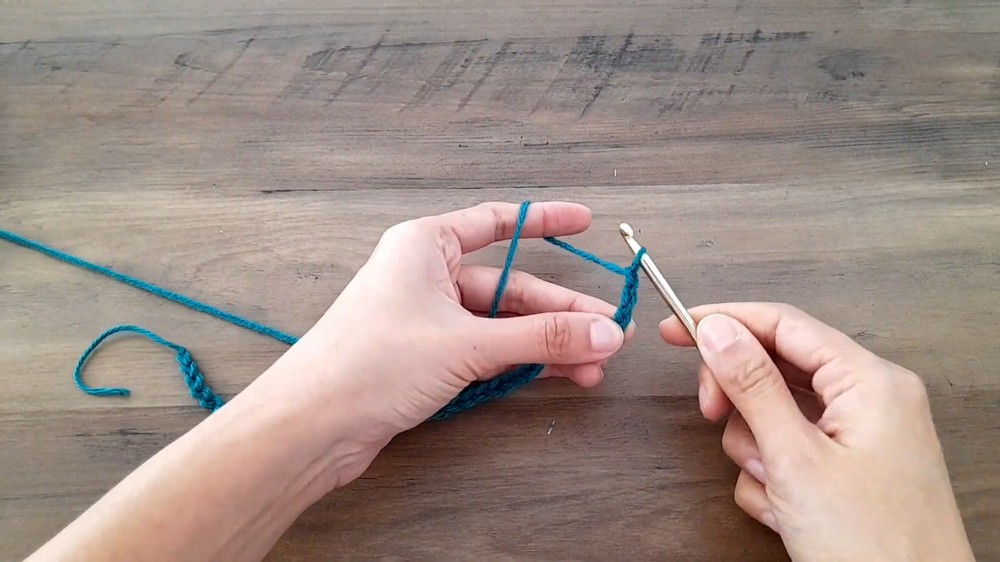
Tip: Count your stitches at the end of each row to ensure consistency—this guarantees the structure of the hat remains even!
Step 2: Slip Stitch Row
- Row 2:
- Ch 1, turn your work.
- Sl st into the back loop only (BLO) of each stitch across the row.
- At the end of Row 2, there will be 46 sl st.
Explanation: Working slip stitches in the back loop creates the characteristic ridged texture that mimics knitting. Don’t pull the slip stitches too tightly to maintain proper stretch and elasticity.
Step 3: Alternating Rows
Keep alternating between Row 1 (hdc in BLO) and Row 2 (sl st in BLO) as follows:
- Row 3:
- Ch 2, hdc in BLO across. (46 hdc)
- Row 4:
- Ch 1, sl st in BLO across. (46 sl st)

Repeat this sequence until the hat reaches the desired width and can fully wrap around the circumference of the wearer’s head.
Pro Tip: For a standard adult size, you’ll need approximately 66 rows (33 rows of hdc and 33 rows of sl st). Measure the fabric across the head to ensure a proper fit before proceeding!
Step 4: Close the Hat
Step 4.1: Seam the Edges
- Fold the hat so the first row and the last row align perfectly.
- Using the yarn tail and your crochet hook, join rows with a sl st seam:
- Insert hook into the back loop of the final row’s st and into the corresponding stitch of the foundation chain.
- Sl st all the way across to join.

Explanation: This seam will blend naturally with the textured fabric, creating a clean and nearly invisible closure.
Step 4.2: Close the Top of the Hat
- Use a tapestry needle and a long yarn strand.
- Weave the yarn through the top edge of the hat, passing it through every row edge (like creating a drawstring).
- Pull the yarn tight to gather the top into a closed circle.
- Secure with several stitches, tie a knot, and weave in the remaining end.

Tip: If the gathering at the top is uneven, work additional stitches to secure gaps before weaving in the tail.
Optional Pom-Pom
- Create a pom-pom using a pom-pom maker or by wrapping yarn around cardboard.
- Secure the pom-pom to the gathered top of the hat. Tie it securely with a few stitches using the tapestry needle.
Assembly & Finishing
- Weave in all the loose ends across the fabric for a neat finish.
- Stretch and shape the fabric gently—this allows the ridges to settle evenly.
Why I Love This Pattern
It’s fascinating how simple crochet stitches can replicate complex knitting textures, making them accessible to crocheters of all skill levels. I also love how customizable this pattern is, from its size to potential decorative finishes like pom-poms.