
Free Crochet Granny Heart Bag Pattern to Carry in Style
Enjoy making a cute granny square heart bag with this free crochet pattern, perfect for carrying your items with style and charm.
Think about: you're strolling through a quaint neighborhood with a charming crochet bag on your arm, and everyone you pass can't help but notice. This isn't any ordinary bag, it's a handmade treasure. Each heart shaped square is filled with stories and colors that pop vividly under the sun. It's more than just a stylish accessory; it's an expression of creativity and effort spun into a beautiful form.
Beyond looks, this bag is incredibly practical. Perfect for holding daily essentials, whether you're heading to the market, catching up with friends, or simply enjoying a walk in the park. The heart motifs add a playful yet elegant touch, while the structured form ensures it stays as functional as it is lovely. You can keep your items secure with its lining, and the comfy handles make it easy to carry anywhere with ease.
Free Crochet Granny Heart Bag Pattern to Match Your Style
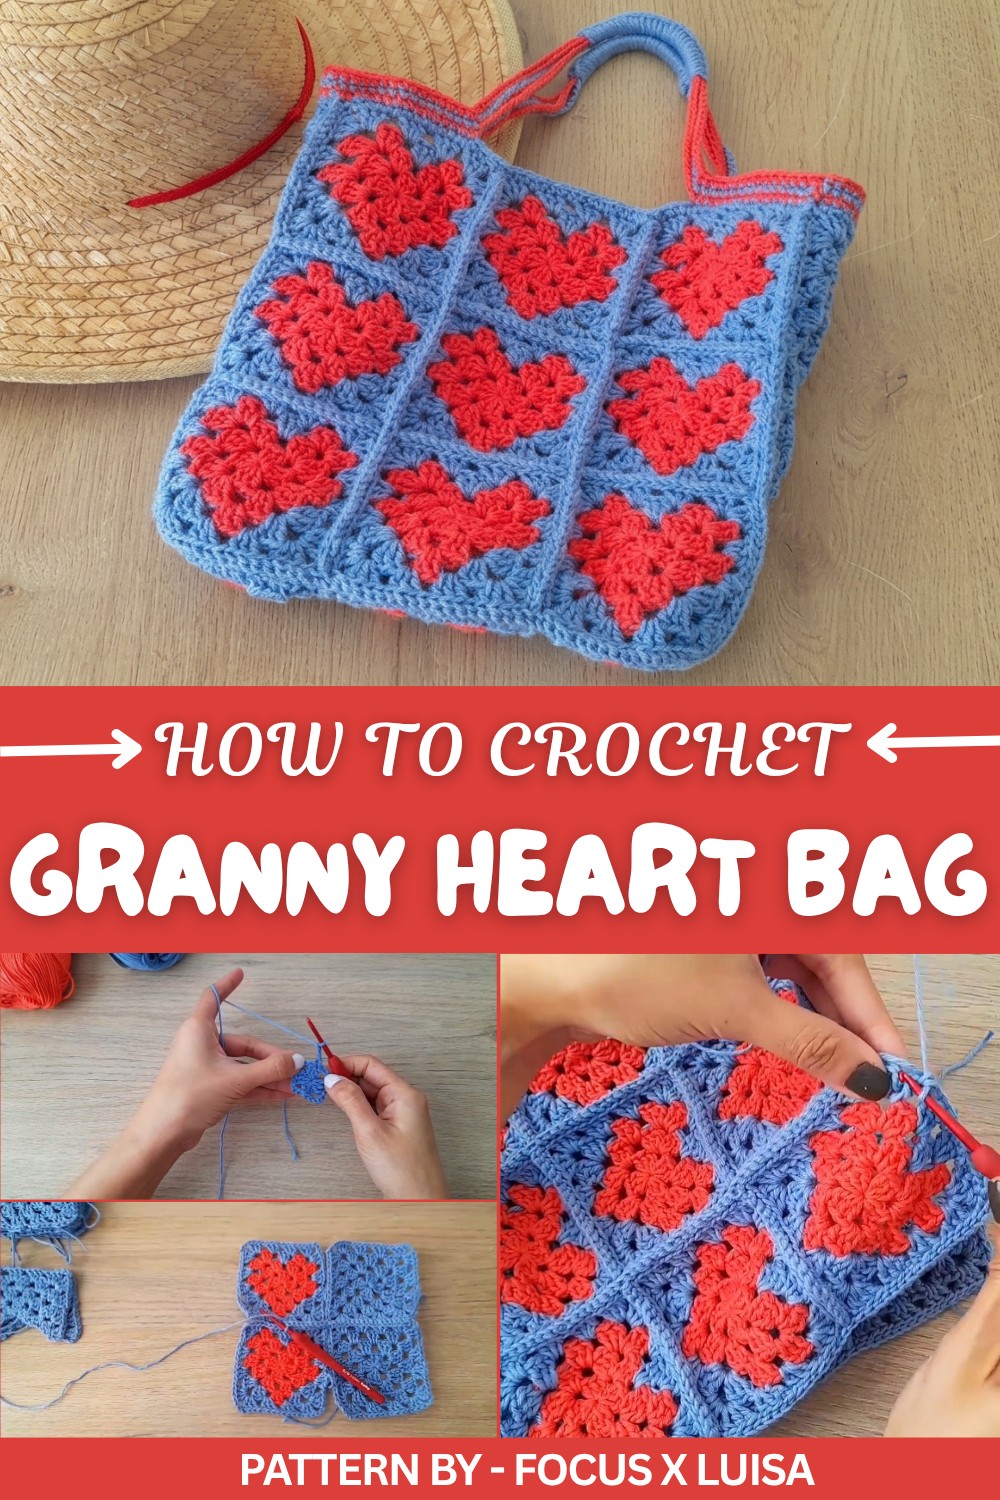
Pattern by Focus x Luisa
This beautiful granny heart bag tutorial is brought to you by Luisa, the talented mind behind the YouTube channel Focus x Luisa. In her detailed walkthrough, she covers everything from crocheting the initial heart squares to piecing them together and finishing it off with professional touches like handles and a lining.
So, for those wanting a blend of charm and practicality, this granny heart bag is your go to project. Its vibrant yet timeless appeal makes it customizable and fashionable, giving you a delightful accessory that you'll be eager to show off, thanks to Luisa's inspiring guidance.
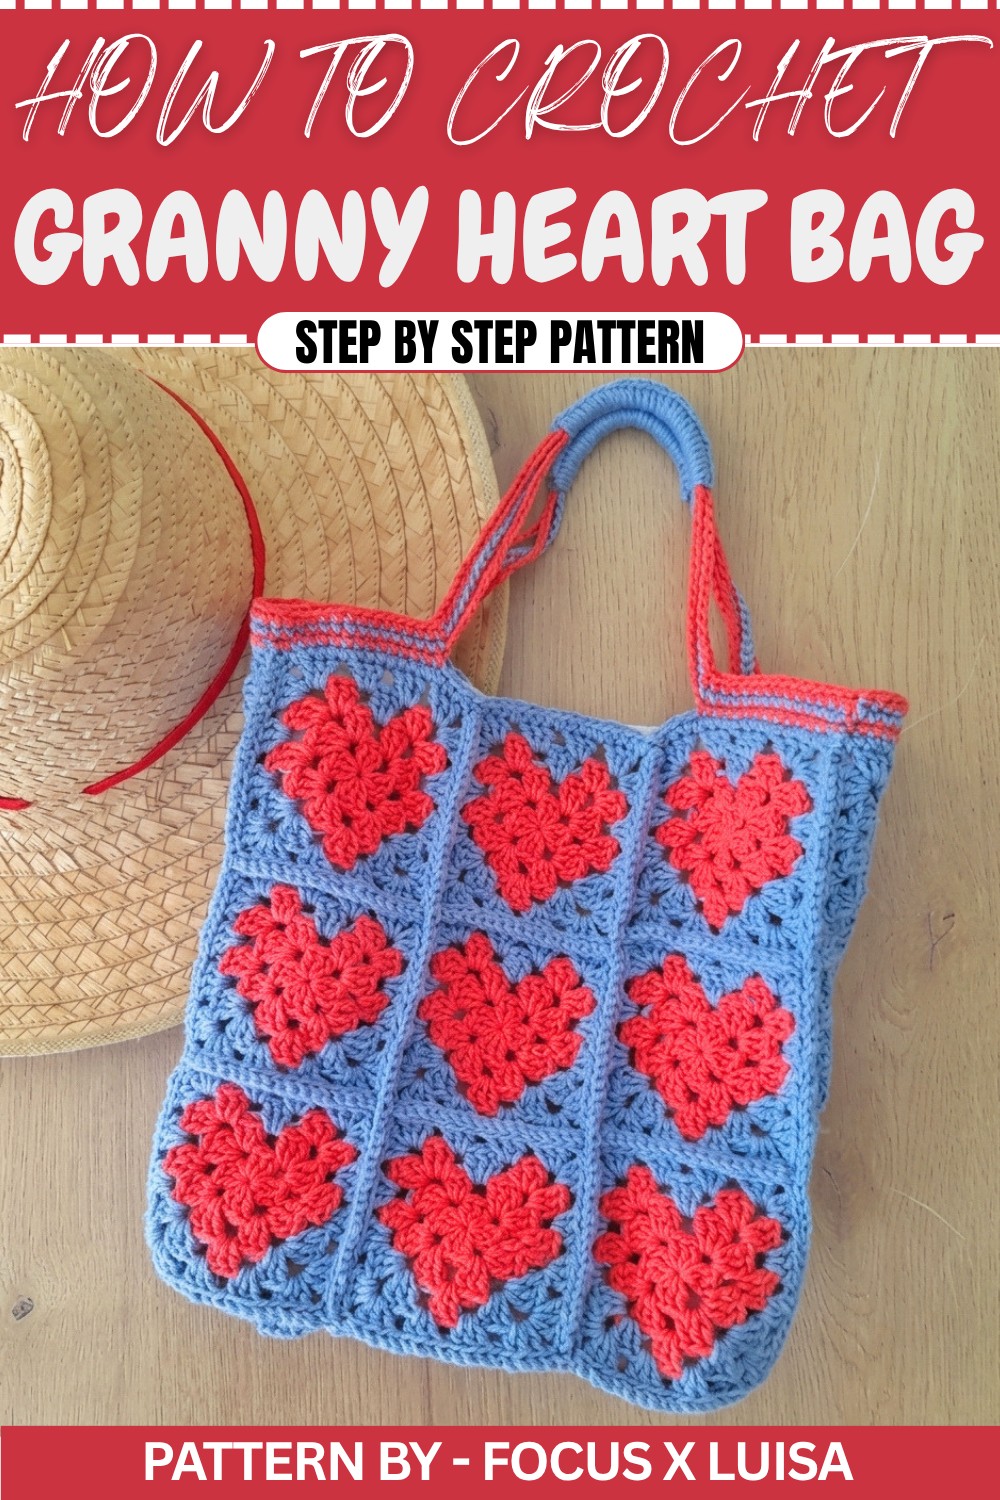
Crochet Granny Heart Bag Pattern
This bag combines the charm of traditional granny squares with a unique heart pattern, making it perfect as a stylish accessory or a thoughtful gift. The bag is easy to assemble and includes a secure fabric lining for practicality. Follow the instructions carefully, and let’s bring this beautiful project to life.
Quick Overview of the Pattern
- Type of Project: Granny Square Bag with heart motifs and lining
- Techniques Used: Magic ring, double crochet clusters, color changes, joining granny squares, and creating fabric lining.
- Key Features:
- Squares with heart motifs
- Unique base for the bag corners
- Sturdy straps
- Neat fabric lining
Notes
- This project uses basic crochet stitches combined with straightforward color changes for the heart design.
- Make all granny squares identical in terms of size and shape to ensure proper assembly.
- Join the granny squares with slip stitches (or any preferred joining method).
Skill Level
Easy to Intermediate – Suitable for those with basic knowledge of crochet techniques, such as creating granny squares and changing colors.
Materials
- Yarn:
- 120g base color yarn (e.g., blue)
- 80g accent color yarn for the hearts (e.g., red)
- Crochet Hook: 3 mm
- Additional Materials:
- Scissors
- Tapestry needle for weaving in ends and sewing squares.
- Fabric for lining
- Sewing thread and needle or sewing machine
Measurements
Finished bag dimensions:
- Roughly 20 cm x 25 cm.
- Handle length is adjustable (guide included below).
Gauge
Gauge is not critical, but ensure consistency across granny squares by maintaining even stitch tension.
Stitch Abbreviations
- ch: Chain
- st: Stitch
- sc: Single Crochet
- dc: Double Crochet
- sl st: Slip Stitch
- MR: Magic Ring
Special Stitches
- Magic Ring (MR): Create an adjustable loop to start granny squares.
- Color Changes: Change yarn by pulling the new color through the last loops of a stitch. Keep unused yarn carried along the stitches to keep edges clean.
The Crochet Pattern
Step 1: Solid Granny Squares
You need 7 solid granny squares. Each has 4 rounds.
Round Instructions:
- Round 1:
- Create a magic ring (MR), secure with a ch 1.
- Ch 3 (counts as the first dc).
- Work 2 dc into the MR.
- Ch 3, 3 dc, repeat this pattern three more times.
- Close the round with a sl st into the top of the starting ch 3. (Total: 4 clusters of 3 dc)
- Round 2:
- Ch 3 (counts as the first dc), 2 dc into the next ch 3 space.
- Ch 3, 3 dc into the same space (corner cluster made).
- Move to the next ch 3 space and repeat: (3 dc, ch 3, 3 dc) for each corner.
- Close the round with a sl st into the starting ch 3.
- Rounds 3 & 4:
- Ch 3 to start each round.
- Continue working clusters of 3 dc separated by ch 1 on the sides, and (3 dc, ch 3, 3 dc) in the corners.
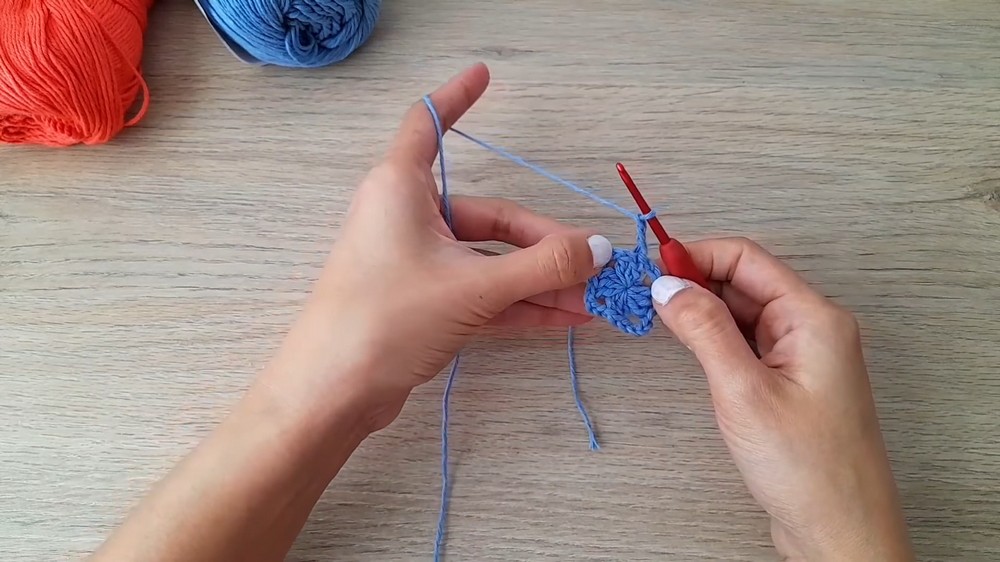
Repeat this process until you have seven 4 row granny squares in your base color.
Step 2: Heart Granny Squares
You need 18 heart granny squares. Each square consists of 4 rounds, with color changes to form the heart design.
Instructions for Heart Granny Squares:
- Rounds 1 & 2:
- Follow the instructions for a basic granny square from Step 1, using red yarn for the first two rounds.
- Round 3 (Color Change for Heart Shape):
- Start the round using red for the first corner.
- Work 1 side of the square, using red (3 dc).
- Before completing the last stitch of the second corner, drop the red yarn and pick up the blue yarn.
- Work 3 dc into the next side space with blue. This forms the "top" of the heart.
- Continue with Color Alternations:
- Switch back to red for the next corner and work 3 dc clusters as usual.
- Alternate between red for the heart and blue for the background, using the carry along technique to keep yarn contained in your stitches.
- Round 4:
- Use the blue color for the final round to frame the heart.
- Work as a normal granny square by placing (3 dc, ch 1) on the sides, and (3 dc, ch 3, 3 dc) at corners.
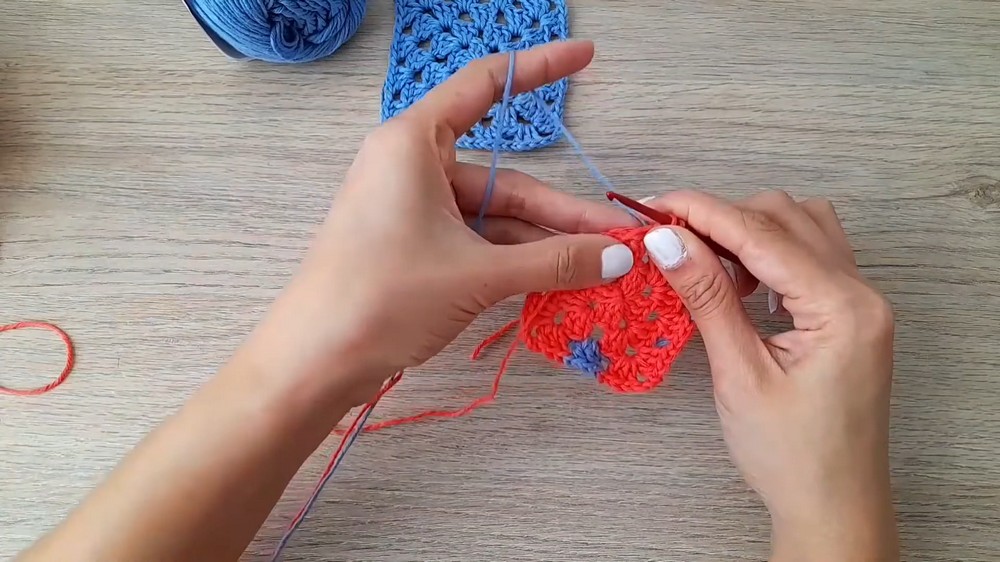
Step 3: Corner Granny Squares (Base Corners)
These unique corner squares form the angled base of the bag. Make 2 corner squares.
Instructions for Corner Squares:
- Start as a basic granny square, but make only three groups of 3 dc instead of the usual four.
- Pull the magic ring tight to form a triangle shape.
- Turn the work after every row so the square grows symmetrically.
- Add a total of 4 rows, ensuring the corners remain at 90° angles, and the shape looks like a triangle with a flat base.
Step 4: Assembling the Bag
- Lay Out the Squares:
- Arrange the squares with 7 solid colored squares for the base, 18 heart motifs for the main sides, and 2 corner squares for the bottom edges.
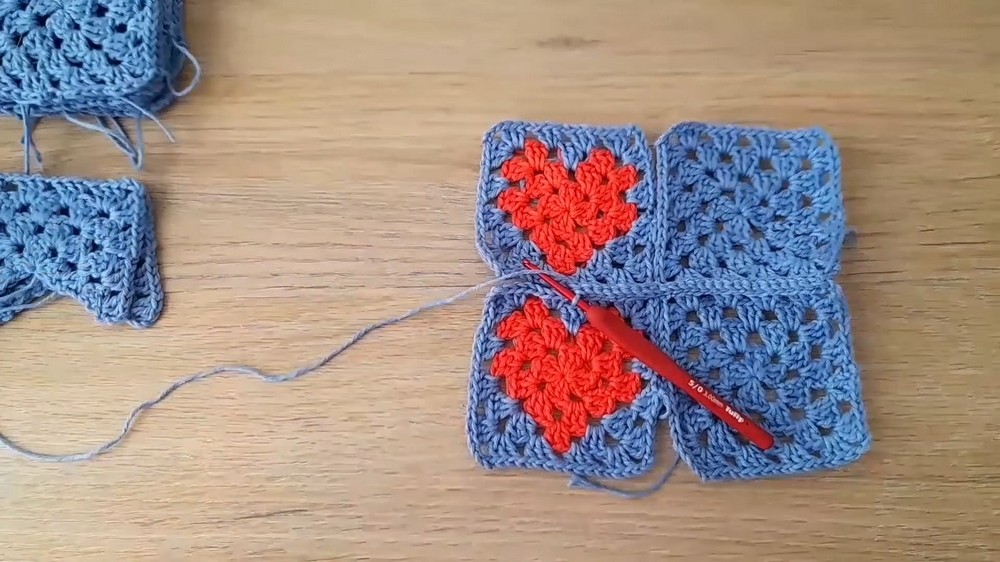
- Joining the Squares:
- Hold two squares with wrong sides facing each other.
- Insert the hook into the back loop of each stitch of the two squares.
- Work sl st across the edge to join.
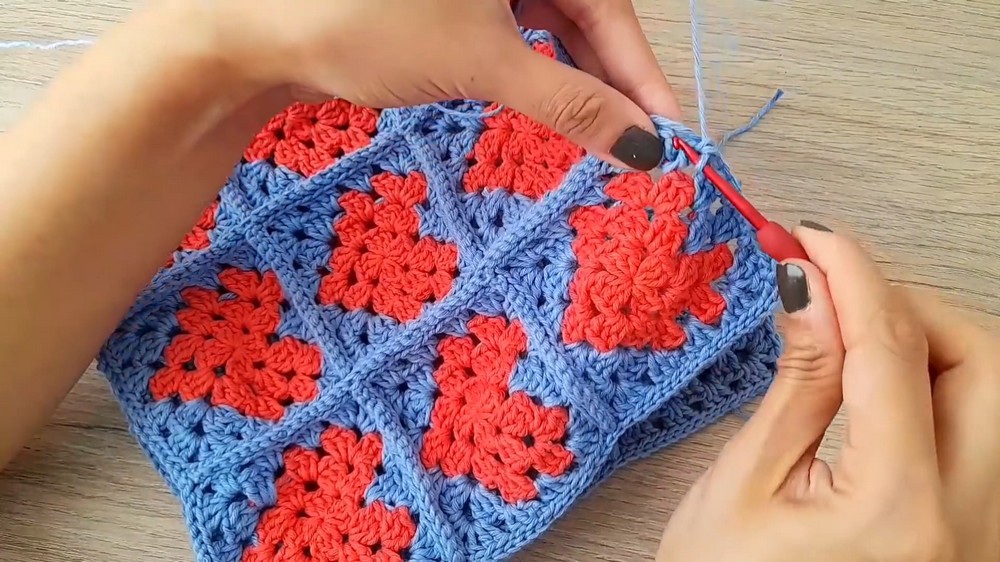
- Repeat this process for all horizontal and vertical seams until the body and base of the bag are fully assembled.
- Attach Base to Bag:
- Use the same slip stitch method to attach the square base and corners seamlessly.
Step 5: Adding Handles
- Attaching the Yarn:
- Attach red yarn in the middle of one side of the bag’s opening.
- Work sc across evenly until the center of the side panel is reached.
- Creating the Handle:
- Ch 50 for the handle. Skip a section of the bag’s side and reconnect with an sc.
- Continue sc around the remaining edge of the bag.
- Add Second Layer:
- Use blue yarn to repeat the sc row, creating a second handle for extra sturdiness.
- Final Touch:
- Unite all three straps (red blue red) by working sc around them, giving the handle structure.
Step 6: Add the Lining
- Cut fabric to the size of your bag.
- Sew pieces together to form a fabric insert that fits inside.
- Attach the lining to the inside of the bag by sewing it to the inner edge of the granny squares with a needle and thread.
Finished Size
- Bag Dimensions: Approximately 20 cm x 25 cm.
- Handles: Adjustable, about 50 chains long.
Conclusion
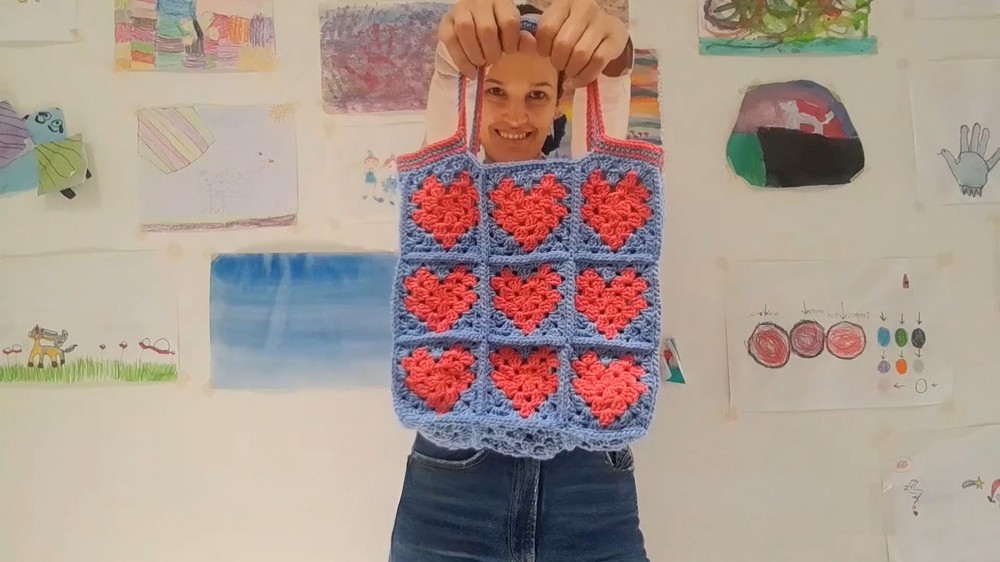
Your stylish Heart Granny Square Bag is now finished. This bag is not only fun to make but also a beautiful handmade accessory. Add your personal touches with more colors or even embellishments.