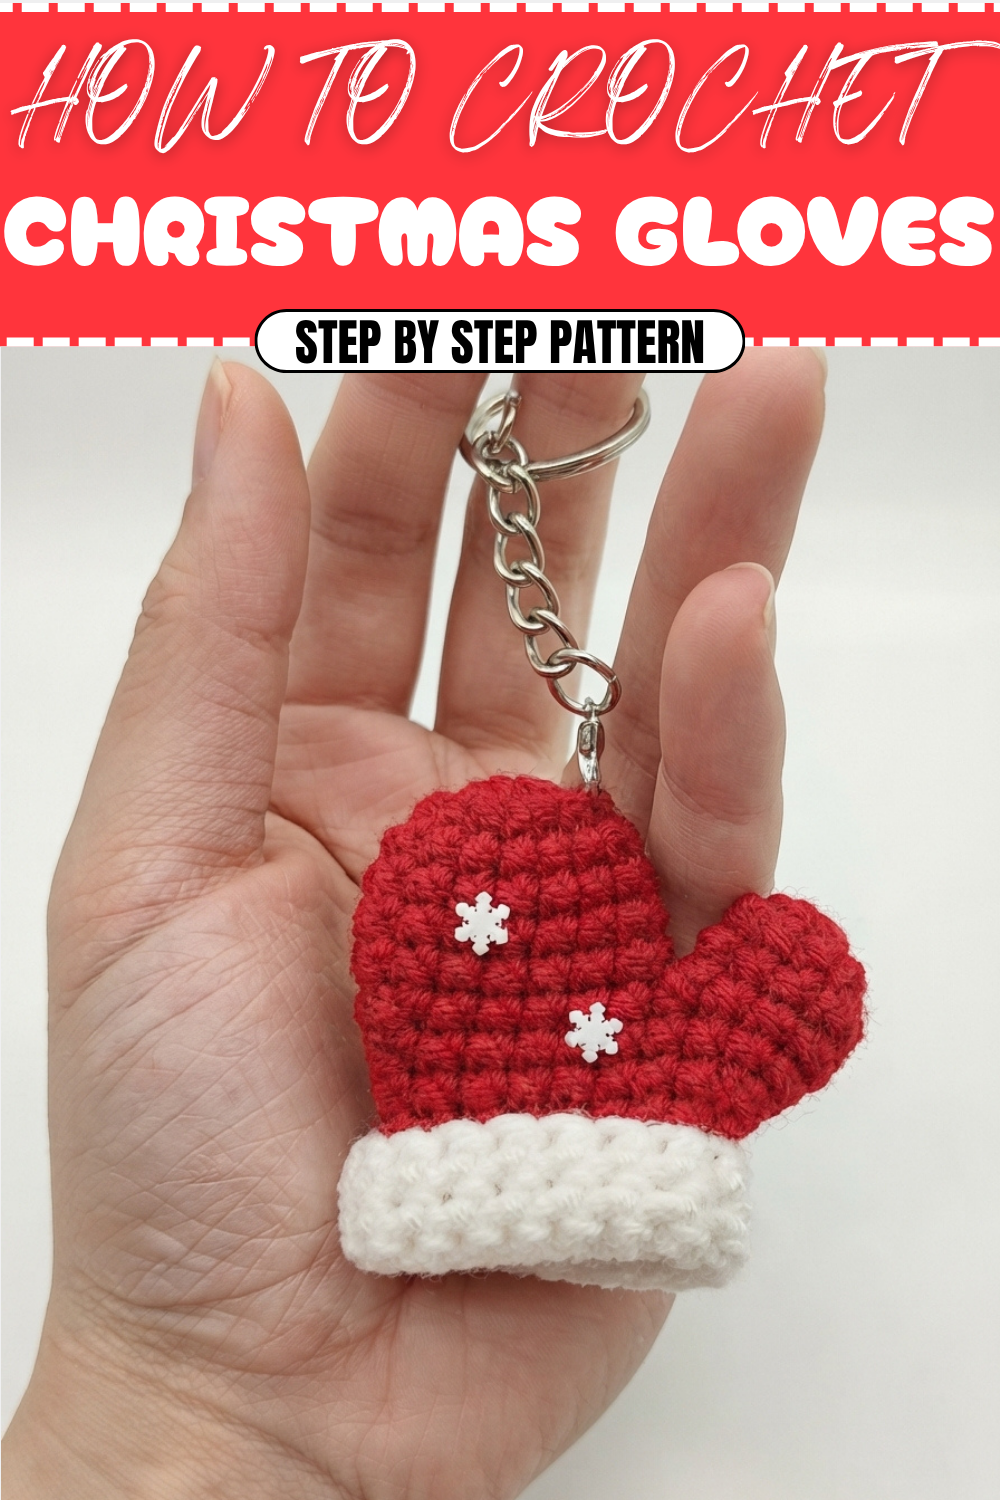
Beginners Crochet Christmas Gloves Pattern For Winter Cheer
Festive ideas bring a free crochet Christmas glove pattern to add holiday cheer and warmth to your winter accessories collection.
Adding a cozy and festive touch to your winter wardrobe can be both fun and rewarding, especially when you create a pair of charming crochet gloves yourself. These Christmas gloves are not only adorable with their classic red and white colors but also practical, keeping your hands warm during chilly holiday days. The pattern uses single crochet stitches, making it accessible for beginners while providing a nice, tight fabric that holds its shape well. The careful shaping of the gloves, including the fingers and wrist, gives a comfortable fit that’s perfect for everyday wear or as a delightful handmade gift.
Fun Crochet Christmas Glove Pattern For Snowy Celebrations
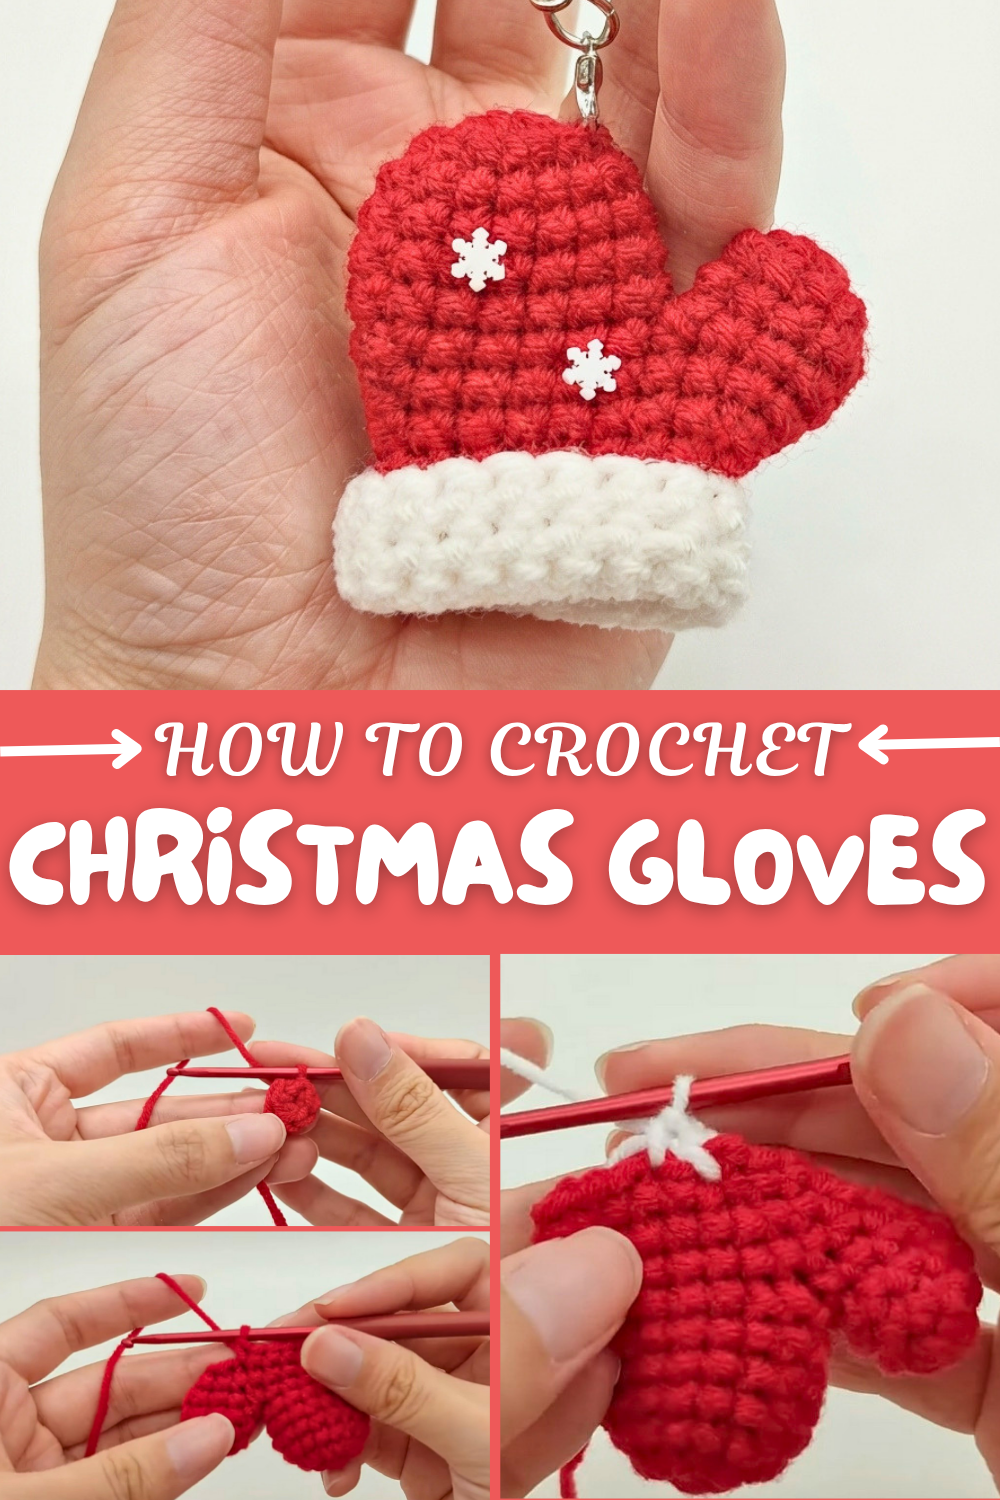
The project begins with a magic ring and works in rounds, gradually increasing to form the palm and then shaping the fingers with stitches and decreases. The use of contrasting red and white yarn colors captures the spirit of Christmas beautifully. Adding snowflake appliques and attaching a keychain loop turns the gloves into cute accessories that can also double as festive charms for bags or keys. The process is straightforward but also introduces important techniques like making decreases and changing colors, which help build confidence in new crocheters.
Exploring More Treasures with This Pattern
Once you’ve mastered the glove shape and color work, you can easily adapt this pattern to create other holiday-themed accessories such as crochet mittens, festive wrist warmers, or even matching hats. The skills of working in rounds and managing color changes translate well into many cozy winter projects. Personalize them with additional decorations like pom poms, buttons, or embroidery to make your winter collection unique and heartwarming.
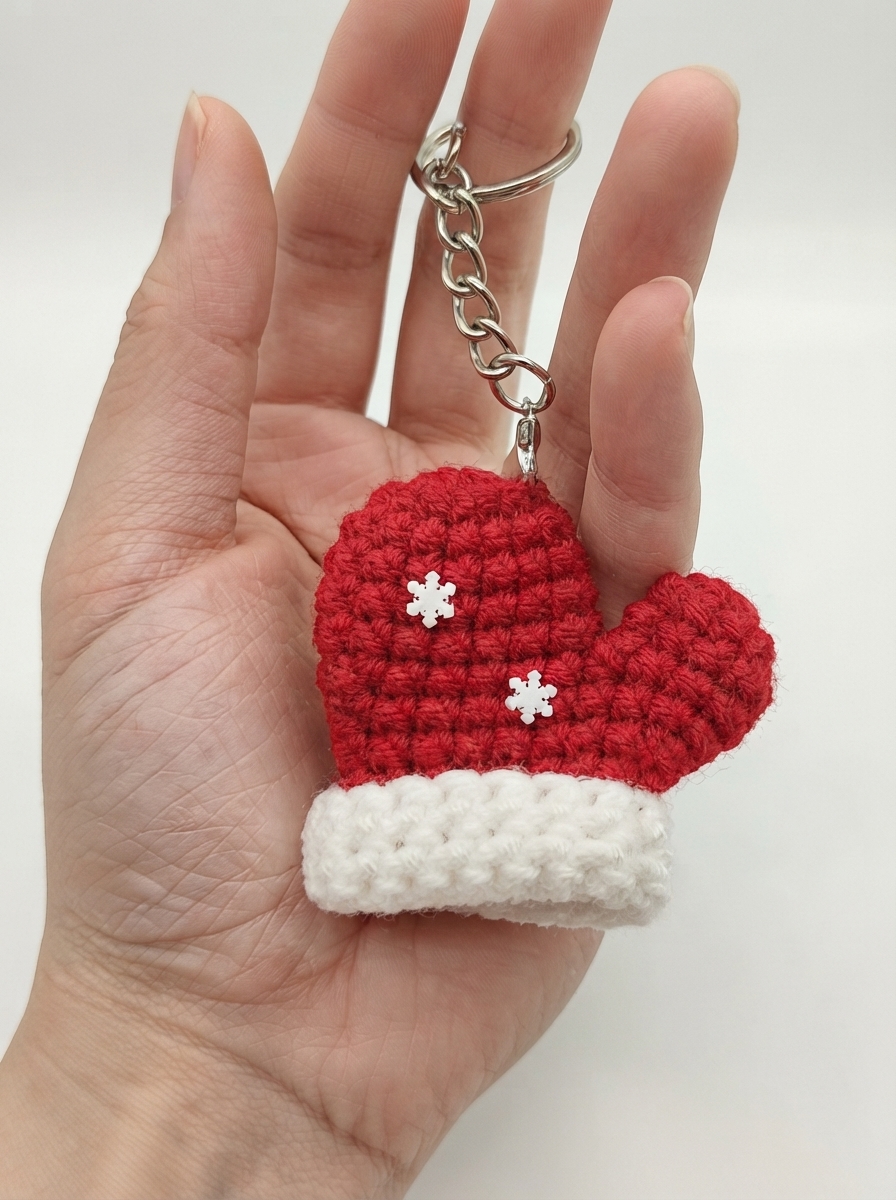
Crochet Pattern: Christmas Glove Keychain
Perfect as a holiday decoration, gift tag, or accessory, this glove combines festive charm with simplicity. Designed for beginners, this project teaches basic stitches and shaping techniques while keeping the process enjoyable and stress-free.
Uses of This Pattern
- Holiday Decorations: Use as an ornament for your Christmas tree or as part of festive décor.
- Gift Accessory: Attach it to holiday gift wraps for a personal touch.
- Keychain: A cheerful accessory for your bag or keys.
Skill Level & Terminology
- Skill Level: Beginner. This project incorporates basic techniques such as single crochet, increases, decreases, and color changes.
- Terminology: The pattern uses US crochet terms.
Materials & Tools
You’ll need the following to complete this Christmas glove keychain:
- Yarn:
- Red yarn for the glove body.
- White yarn for the glove’s cuffs.
- Crochet Hook: Size 3.5 mm (E) or suitable for your yarn weight.
- Darning Needle: For sewing and weaving in loose ends.
- Scissors: For cutting yarn tidily.
- Keychain Ring: For attaching the glove and making it functional.
- Optional: Small decorative items like snowflake appliques or buttons for embellishment.
Gauge
This is a small decorative item, so gauge is not critical. However, tight stitches are recommended to ensure the glove holds its shape.
Abbreviations List
Here’s a quick reference for the abbreviations used:
- ch: Chain
- sc: Single Crochet
- sl st: Slip Stitch
- inc: Increase (2 sc in the same stitch)
- dec: Decrease (single crochet decrease)
Special Stitch Instructions
Single Crochet (sc):
Insert hook into the stitch, yarn over, and pull up a loop. Yarn over again and pull through both loops on the hook.
Single Crochet Increase (inc):
Work 2 single crochet stitches into the same stitch to widen the piece.
Single Crochet Decrease (dec):
Insert hook into the front loop of the next stitch, then insert hook into the front loop of the following stitch. Yarn over, pull through two loops, yarn over again, and pull through the remaining two loops.
Finished Size
The completed glove will measure approximately 3 inches tall and 2 inches wide.
What You’ll Learn From This Pattern
- Magic Ring Start: Create seamless, closed circles for small projects.
- Increases and Decreases: Shape your crochet pieces effectively for 3D designs.
- Adding Color: Learn to transition between yarn colors smoothly.
- Assembly Techniques: Practice sewing and assembling parts into a cohesive piece.
The Pattern
Step 1: Finger of the Glove
Start with the red yarn to create the "finger" portion of the glove.
- Create a Magic Ring:
- Wrap the yarn around your fingers to form a ring, insert the hook into the ring, yarn over, and pull through.
- Chain 1 to lock the ring in place.
- Row 1:
- Work 6 sc into the magic ring.
- Pull the yarn tail to tighten the ring and join with a slip stitch (sl st) into the first sc.
- Row 2:
- Ch 1. Work 2 sc in each stitch (a total of 12 sc).
- Join with sl st into the first sc.
- Row 3:
- Ch 1. Work 1 sc in each stitch for a total of 12 sc.
- Join with sl st into the first sc.
- Fasten Off: Leave a tail to sew this piece later.
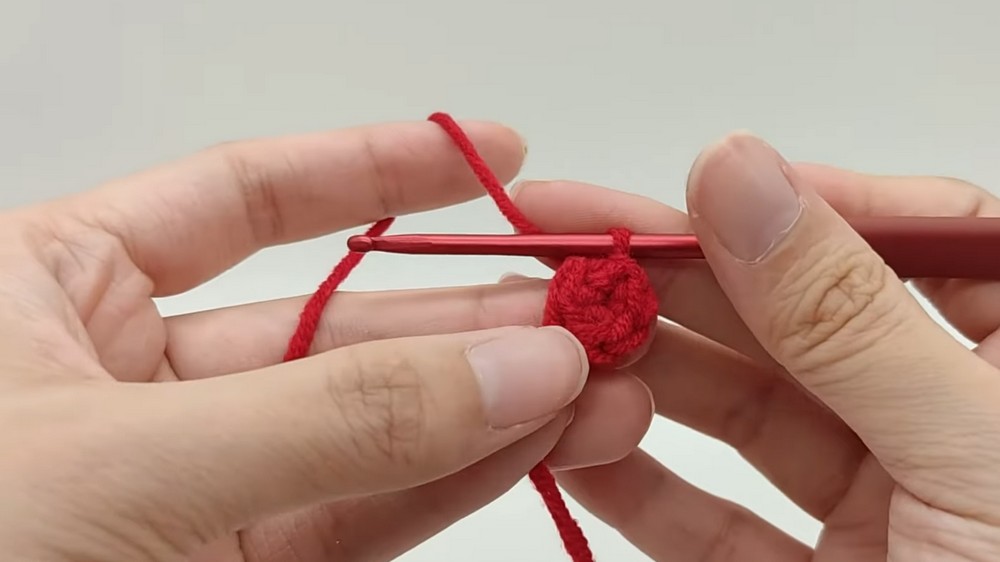
For Beginners: The finger is the first part of the glove. Remember to count your stitches as you work through each row to avoid errors.
Step 2: Main Body of the Glove
Begin the glove's main body using red yarn.
6. Create a Magic Ring: As done previously, form a magic ring and chain 1 to secure.
- Row 1:
- Work 8 sc into the magic ring.
- Pull the tail to tighten the ring and join with a sl st into the first sc.
- Row 2:
- Ch 1. Work 8 sc in total (no increases in this round).
- Join with sl st into the first sc.
- Rows 3–6:
- Ch 1. Work 1 sc in each stitch around for 16 sc in each round.
- Join with sl st at the end of each round.
For Beginners: As you work through these rounds, your piece will stop lying flat and start forming a bowl-like shape.
Step 3: Attaching the Finger
Now connect the finger piece to the glove body.
10. Row 7:
- Ch 1. Work 7 sc, then make 1 dec.
- Work 6 more sc around the glove body.
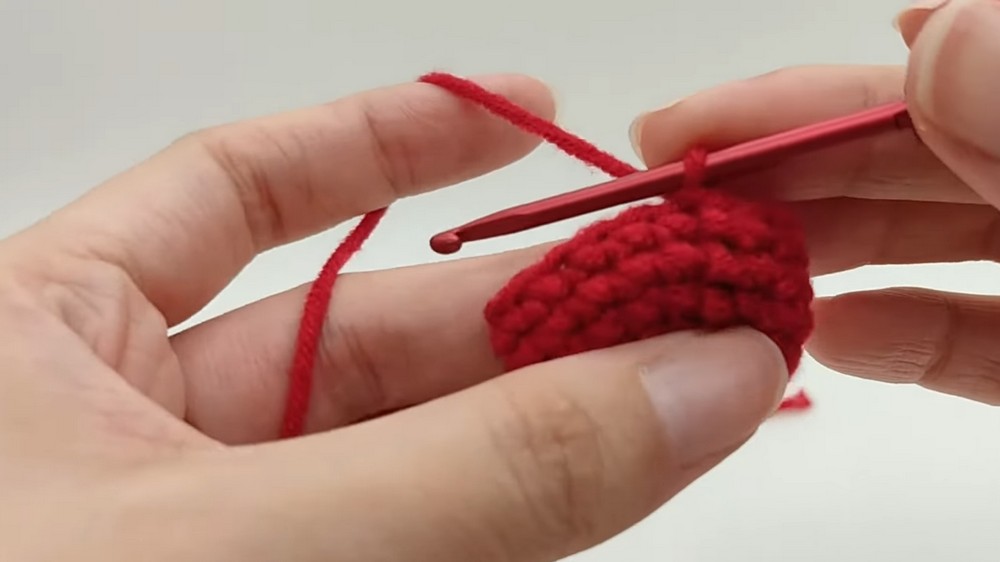
- Attach the finger: Insert your hook into the first stitch of the finger and make a sc to attach it.
- Continue working 2 sc around the finger, followed by 1 dec.
- Work another 3 sc around the finger, completing the attachment.
- Slip stitch to join the round (total 18 stitches).
Note: The glove now looks like a mitten, and the finger is fully attached to the main body.
Step 4: Shaping the Glove
Shape the glove by decreasing stitches gradually.
14. Row 8:
- Ch 1. Work 6 sc, 1 dec, and 9 sc.
- Finish with 1 dec in the last round (16 sc total).
- Row 9:
- Ch 1. Work 14 sc, followed by 2 decreases (12 sc total).
- Row 10:
- Ch 1. Work 14 sc, 1 dec, and 2 sc in the remaining stitches.
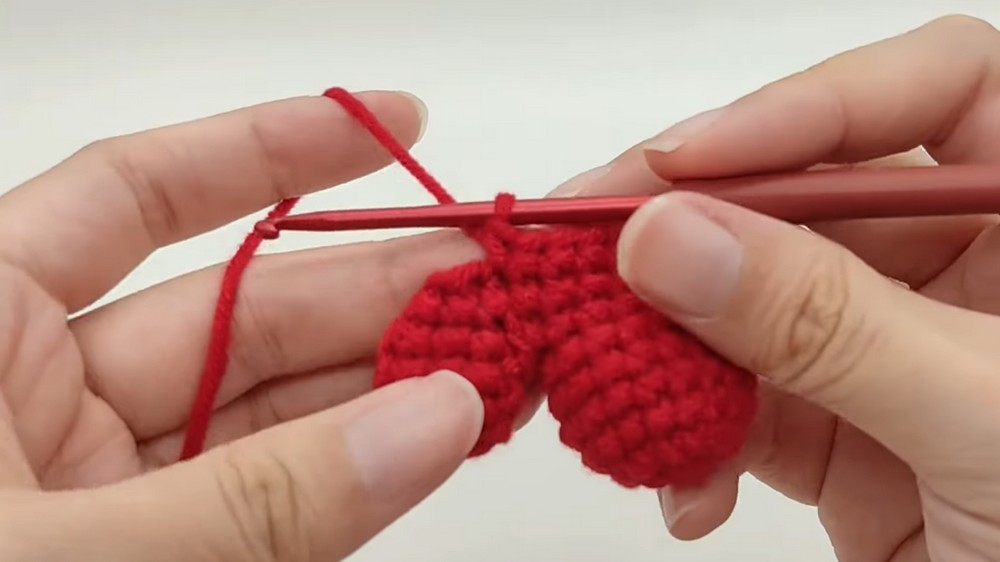
For Beginners: Focus on the placement of your decreases, as they shape the top of the glove.
Step 5: Adding the Cuff
- Attach white yarn to begin the fluffy cuff.
- Rows 11–15:
- Work 1 sc in each stitch around (17 sc per row).
- Fasten off and leave a long tail.
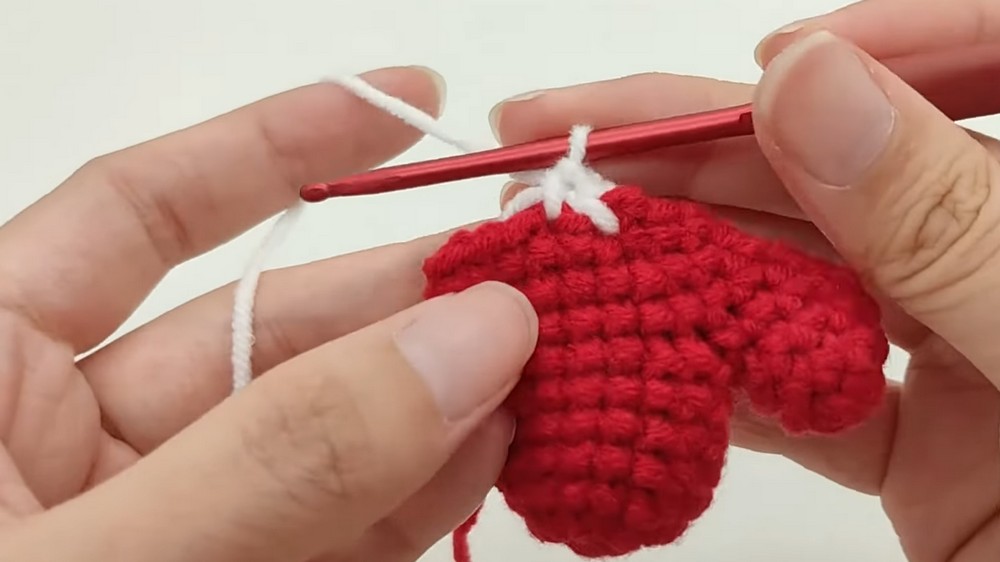
Pro Tip: As you work the cuff, crochet the loose yarn ends into your stitches for added stability.
Step 6: Final Assembly
- Weave in all loose ends using a darning needle.
- Turn the glove inside out so the seams are hidden. Stuff the glove lightly with fiberfill.
- Embellishments: Glue or sew optional snowflakes or small embroidered patterns onto the glove’s surface.
Step 7: Attach the Keychain
- Use white yarn or a darning needle to attach the keychain ring securely to the top of the glove.
Difficulties You May Encounter
Difficulty: Unclear Stitch Placement
It may be hard to identify stitches when attaching the finger to the glove.
- Solution: Use stitch markers to highlight the starting and ending points for secure and even attachment.
Difficulty: Stuffing Consistency
Overstuffing the glove can distort its shape.
- Solution: Add small amounts of fiberfill gradually and adjust the filling for symmetry.
Final Notes: Why You’ll Love This Project
This crochet Christmas glove keychain pattern is ideal for beginners wanting to create a festive, handmade keepsake. Its small size and simple crochet make it a quick yet rewarding project. You’ll learn versatile crochet techniques that can be applied to future designs, and the end product is as functional as it is charming.