
Free Crochet Tulip with Mini Hearts Pattern That Feels Special
Refresh your home with the charm of a handmade flower by using this Free Crochet Tulip with Mini Hearts pattern, an easy project that's ideal for thoughtful gifts and vibrant room decor.
Soft, vibrant tulips have a way of bringing warmth to any space, especially when paired with thoughtful details like mini hearts. The Free Crochet Tulip with Mini Hearts Pattern celebrates that same charm, combining gentle textures with colorful accents. The tulip’s rounded shape is reminiscent of springtime blooms, while the tiny hearts scattered across its petals give it a playful and personalized flair. Perfect as part of a bouquet or simply as a standalone piece, this crochet flower is both easy to customize and delightful to make.
Free Crochet Tulip with Mini Hearts Pattern to Make for Friends
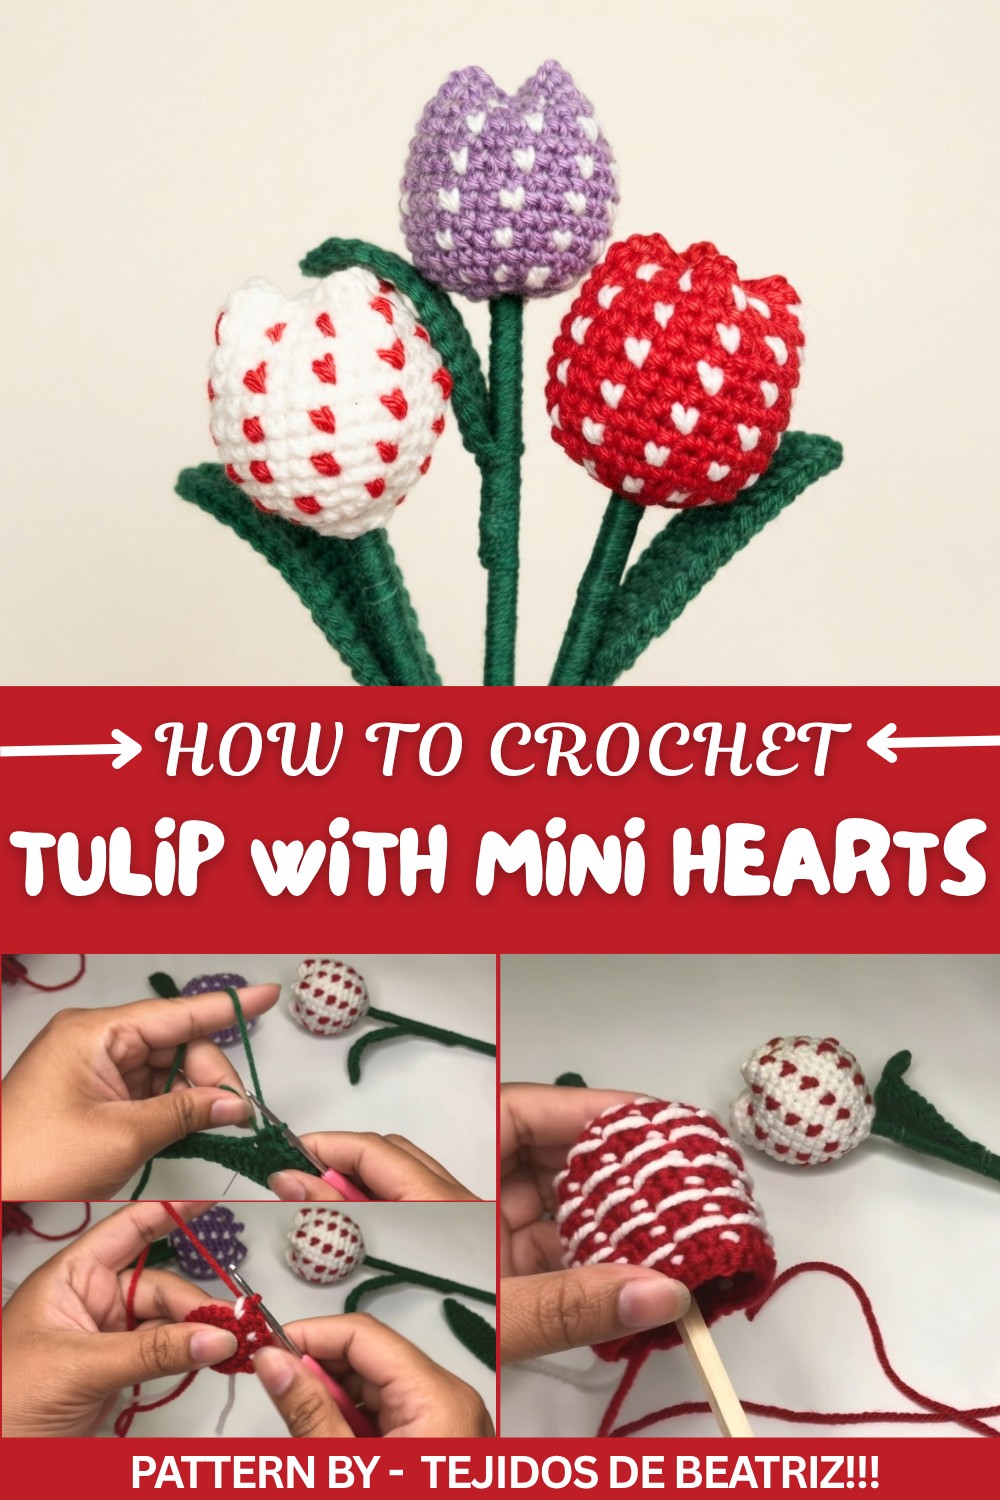
Pattern By Tejidos de Beatriz!!!
Starting with a sturdy magic ring base, the petals are worked in rounds to form the tulip’s natural shape. The heart motifs are added using basic color changes that are simple to master yet striking in effect. A flexible crochet leaf completes the look, crocheted with an optional wire insert to help shape and position it.
This tulip design was inspired by thoughtful gifting—an idea that can be expressed through handmade projects. The mini hearts symbolize care and affection, making this the perfect addition to celebrations like Mother’s Day or even a cheerful piece for your home. To bring out the beauty of this tulip, take your time with the heart motifs and choose colors that speak to the occasion or your personal style.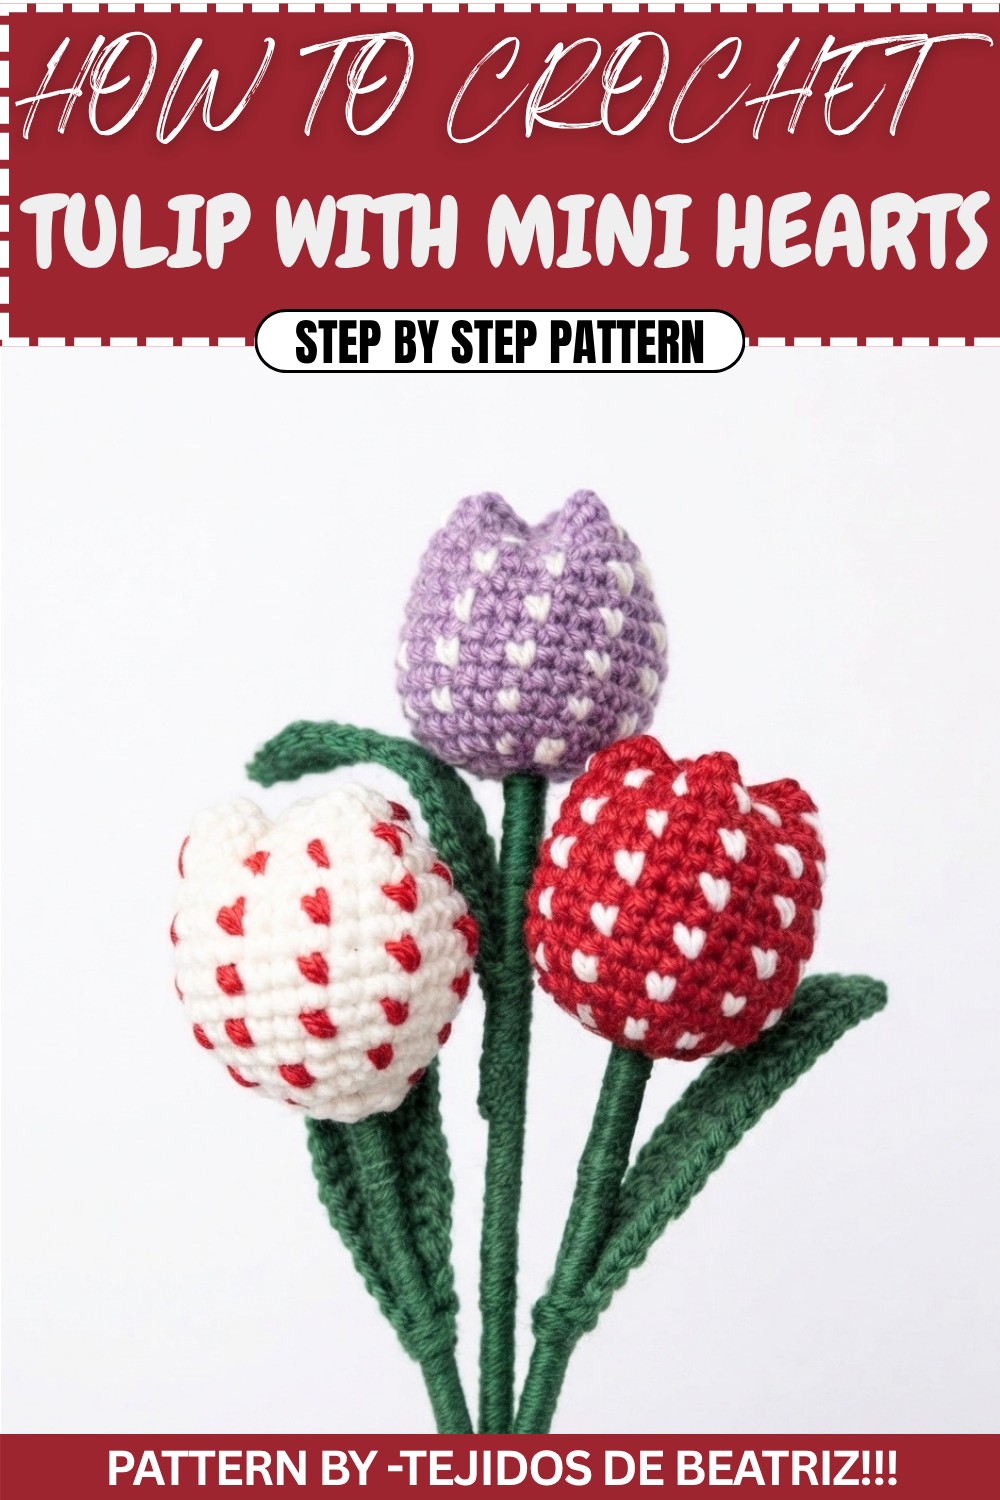
Beautiful Crochet Tulips (with Hearts) Tutorial
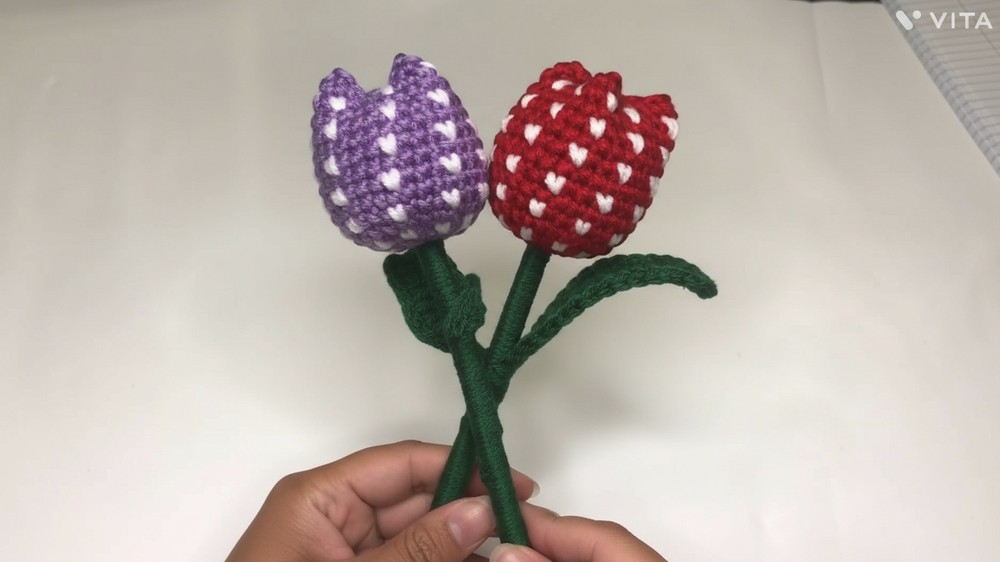
This crochet pattern make precious tulips, a thoughtful and charming gift perfect for occasions like Mother’s Day. This updated version includes delicate heart details added to the tulip, giving it a unique and heartfelt touch. The Crochet Inspiration channel has provided clear and simple steps for creating these tulips in your favorite colors, with flexible designs that allow you to arrange the leaves creatively. These tulips are quick, fun, and easy to make.
Quick Overview of the Pattern
Type of Project: Crochet tulips with heart details.
Structure: Multi-part construction including leaves, tulip petals, and stems.
Purpose: Decorative, gifting purposes (e.g., Mother’s Day) or elegant arrangements.
Working Method: In the round with added embellishments.
Notes
- For added stability, a thin wire can be used inside the leaves for firm shaping. This is optional but recommended.
- Tulips can be made in multiple colors to suit your preferences.
- Hearts are formed with the contrasting color detail and placed strategically within the tulip petals.
- Use consistent tension for a neat finish.
Skill Level
Beginner to Intermediate – Basic familiarity with stitches like slip stitch, single crochet, half double crochet, double crochet, and magic circle is needed, as well as working in rounds.
Materials
- Yarn:
- 2.5 mm thick yarn (50% acrylic and 50% cotton blend).
- Two colors: one for the tulip (e.g., red) and one for the heart detail (e.g., white).
- Hook: 2.5mm crochet hook.
- Wire: Thin wire for shaping the leaves (optional).
- Stuffing: Polyester fiberfill for shaping the tulip.
- Other Tools: Scissors, fabric glue, lighter or candle for finishing ends, and a stitch marker (optional).
Measurements/Sizing
Finished tulip measures approximately 6–7 inches tall, depending on the length of the stem and the size of the tulip head.
Gauge
Gauge is not crucial for this project.
Stitch Abbreviations
- ch: Chain
- sl st: Slip Stitch
- sc: Single Crochet
- hdc: Half Double Crochet
- dc: Double Crochet
- inc: Increase (two stitches in one base stitch)
Special Stitches
- Magic Circle: Create a small adjustable loop to begin crochet in the round.
Crochet Pattern
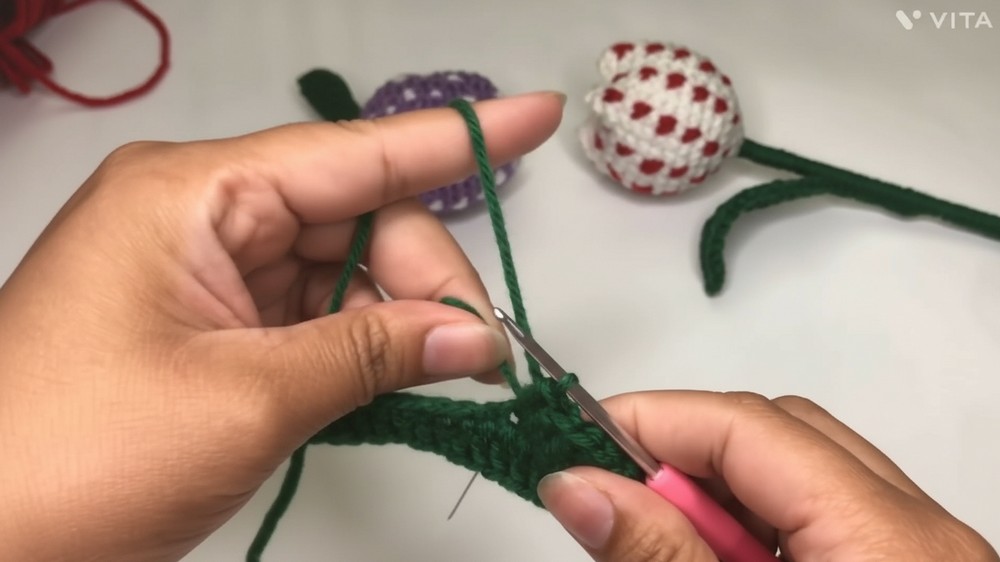
Part 1: Leaf
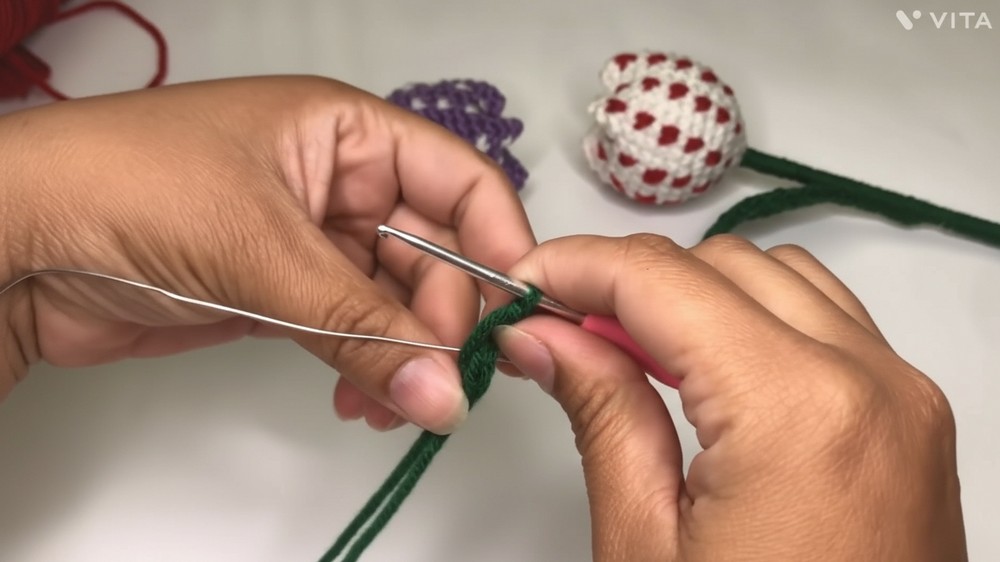
- Base of the Leaf:
- Begin with a slip knot.
- Chain 18.
- (Optional): Insert a thin wire into the chain for shaping stability.
- Working Down the Chain:
- In the second chain from the hook, place 1 sc.
- Work 1 sc into the next chain (total: 2 sc).
- In the next two chains, place 1 hdc in each (total: 2 hdc).
- Work 9 dc, one in each of the following chains (total: 9 dc).
- Work 2 hdc stitches in the next two chains (total: 2 hdc).
- Work 1 sc into the next chain.
- Turning the Leaf:
- In the final chain, work 3 sc to create a rounded turn.
- Rotate and work on the opposite side of the foundation chain:
- Start with 1 sc.
- Work 2 hdc stitches.
- Work 9 dc, one per chain.
- Work 2 hdc stitches.
- End with 1 sc.
- Securing the Leaf:
- Slip stitch to the first sc to close the round. Cut the yarn, leaving a long tail for wrapping around the wire stem.
- Secure the ends and shape the wire frame (if used).
Part 2: Tulip Petals with Hearts
- Base of the Tulip:
- Begin with a magic circle.
- Work 10 sc into the magic circle (do not pull tight to close yet).
- Slip stitch into the first sc to close the round.
- Round 2: Increases (Base Expansion):
- Chain 1.
- Work 2 sc into each stitch around (total: 20 sc). Slip stitch to close the round.
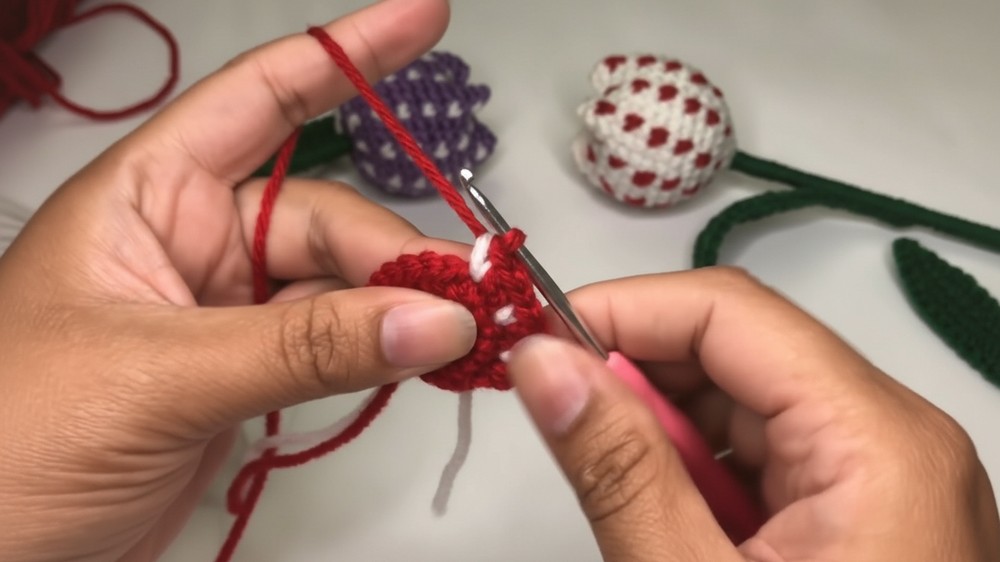
- Round 3: Adding Hearts:
- Begin with an increase (2 sc in one stitch).
- Work 1 sc into the next stitch, then begin the heart detail:
- Insert the hook and change to the contrasting yarn (e.g., white).
- Yarn over using the new color and pull through the loop.
- Finish the stitch with the main yarn (e.g., red), completing a heart.
- Alternate the sequence around: 1 increase, 1 heart stitch.
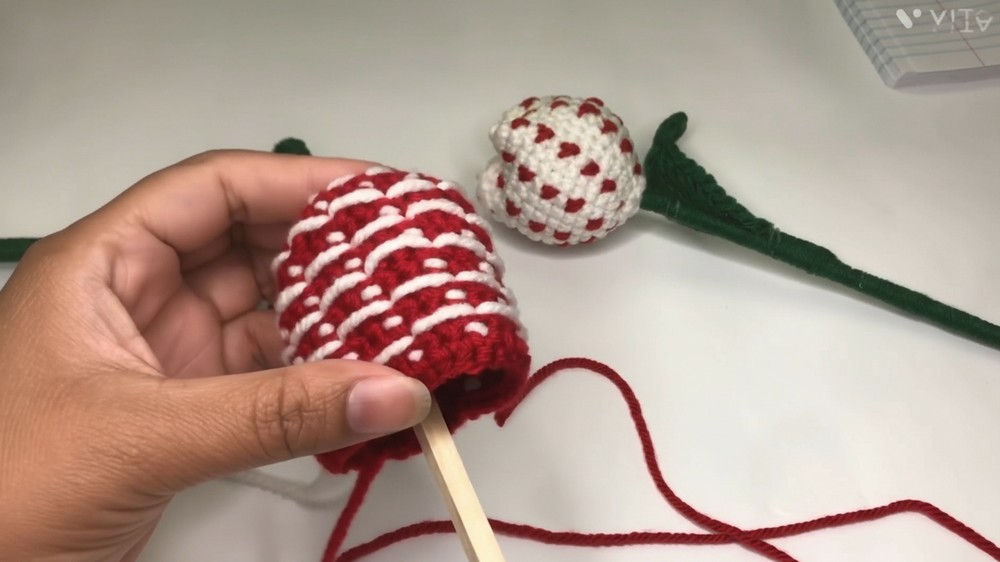
- Rounds 4–18: Alternating Rounds:
- Repeat alternating rounds: one round with hearts and the next without.
- Always maintain a stitch count of 30 per round, avoiding increases.
Part 3: Assembly and Stuffing
- Closing the Tulip:
- Once all rounds are complete, cut the yarn and secure the final stitch. Leave a long tail for sewing.
- Insert stuffing into the tulip carefully, ensuring it's evenly distributed.
- Attaching Stem:
- Insert the wooden stick or wire piece into the open base of the tulip. Apply glue to secure the rod inside the tulip.
- Use leftover yarn to tighten the magic circle around the stick/base.
- Final Touches:
- Wrap the green leaf around the stem, securing it in place with leftover yarn or glue. Adjust and position the leaf.
Finished Size
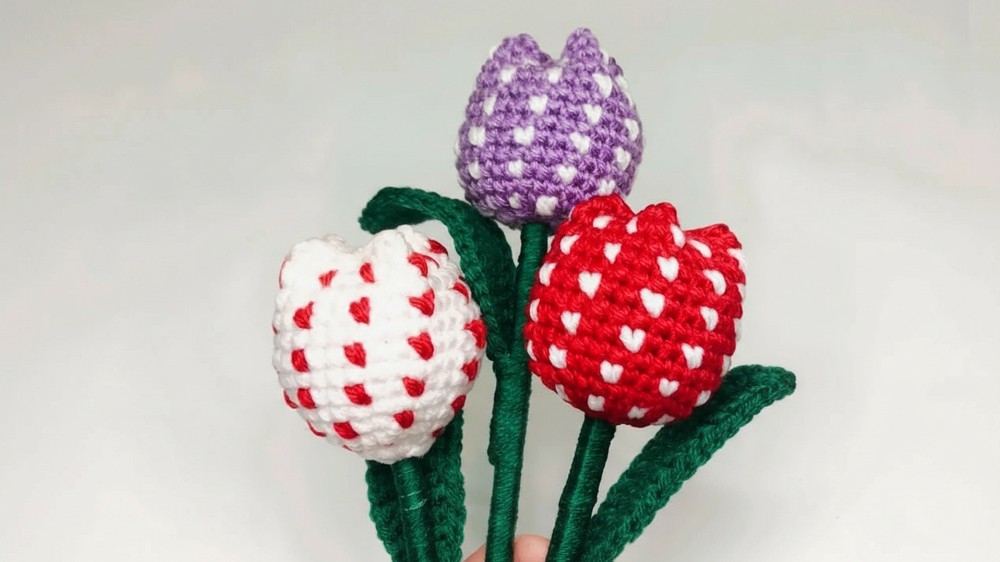
Your tulip, once assembled, will stand upright and can be placed in a vase, bouquet, or used as a standalone decoration. It’s lightweight yet sturdy, brightening any decorative space.
Conclusion & Ending Words
These crochet tulips are a delightful, handmade piece that showcases your creativity and thoughtfulness. Perfect for Mother’s Day or any celebratory event, they combine charm with an easy-to-follow process. Add your personal flair by experimenting with various colors or creating multiple tulips for a bouquet. Thank you for crocheting along.
https://www.youtube.com/watch?v=z3c-5IW_GzY