
Free Crochet Spring Flower Hat Pattern to Add Floral Charm
Wrap yourself in springtime joy by crocheting this lovely flower hat with this step by step free pattern that’s perfect for beginners.
Spring is the perfect time to add a cheerful touch to your wardrobe, and a bright crochet flower hat is just what you need to celebrate the season. With soft yarn and a playful floral accent, this hat brings a fresh and joyous feeling to sunny days.
Free Crochet Spring Flower Hat Pattern That You Need to Try
This pattern gets its inspiration from the tutorial by Atreyu Croche, where step by step instructions make the process simple and enjoyable for all skill levels. This crochet project celebrates the beauty of spring with its elegant and cheerful design. Made from soft medium weight yarn (recommended in a bright, sunny yellow), the hat begins with a simple circular base that gradually grows into a bowl like shape. The construction is done in seamless, continuous rounds using half double crochet stitches, giving the piece a polished and professional finish.
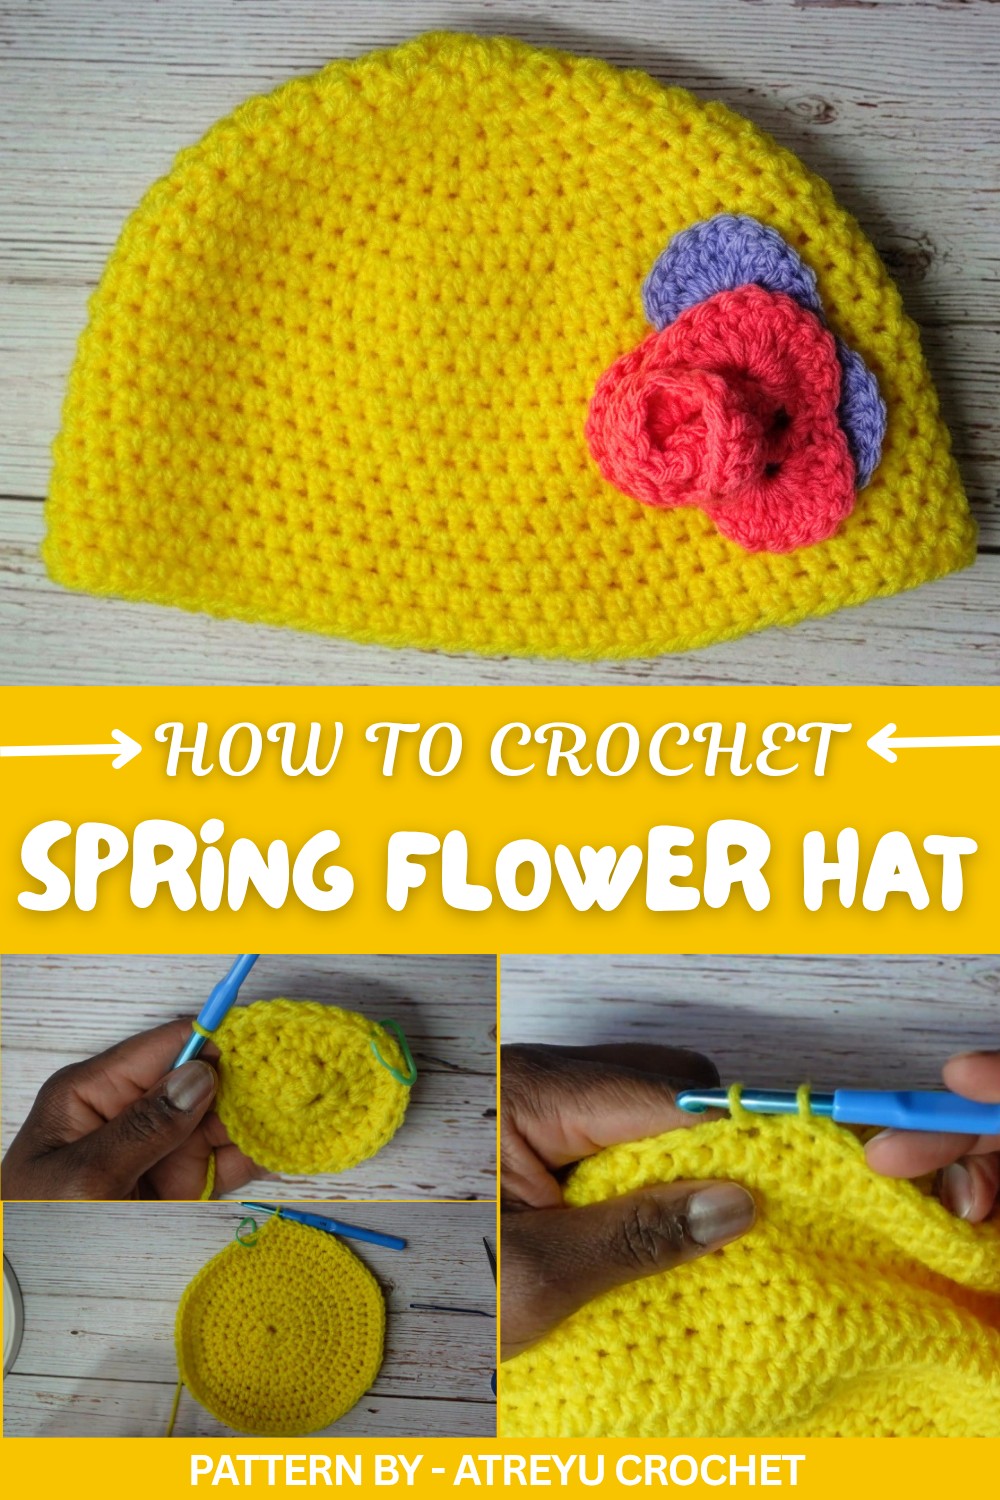
The addition of a lovely flower embellishment elevates the design, adding an eye catching element to the hat. It’s a wonderful handmade gift for loved ones, like mothers, sisters, or friends, and it’s equally charming as an accessory for your own outfits. The size can easily be adjusted to fit children or adults, and the flower embellishment allows for customization with different yarn colors.
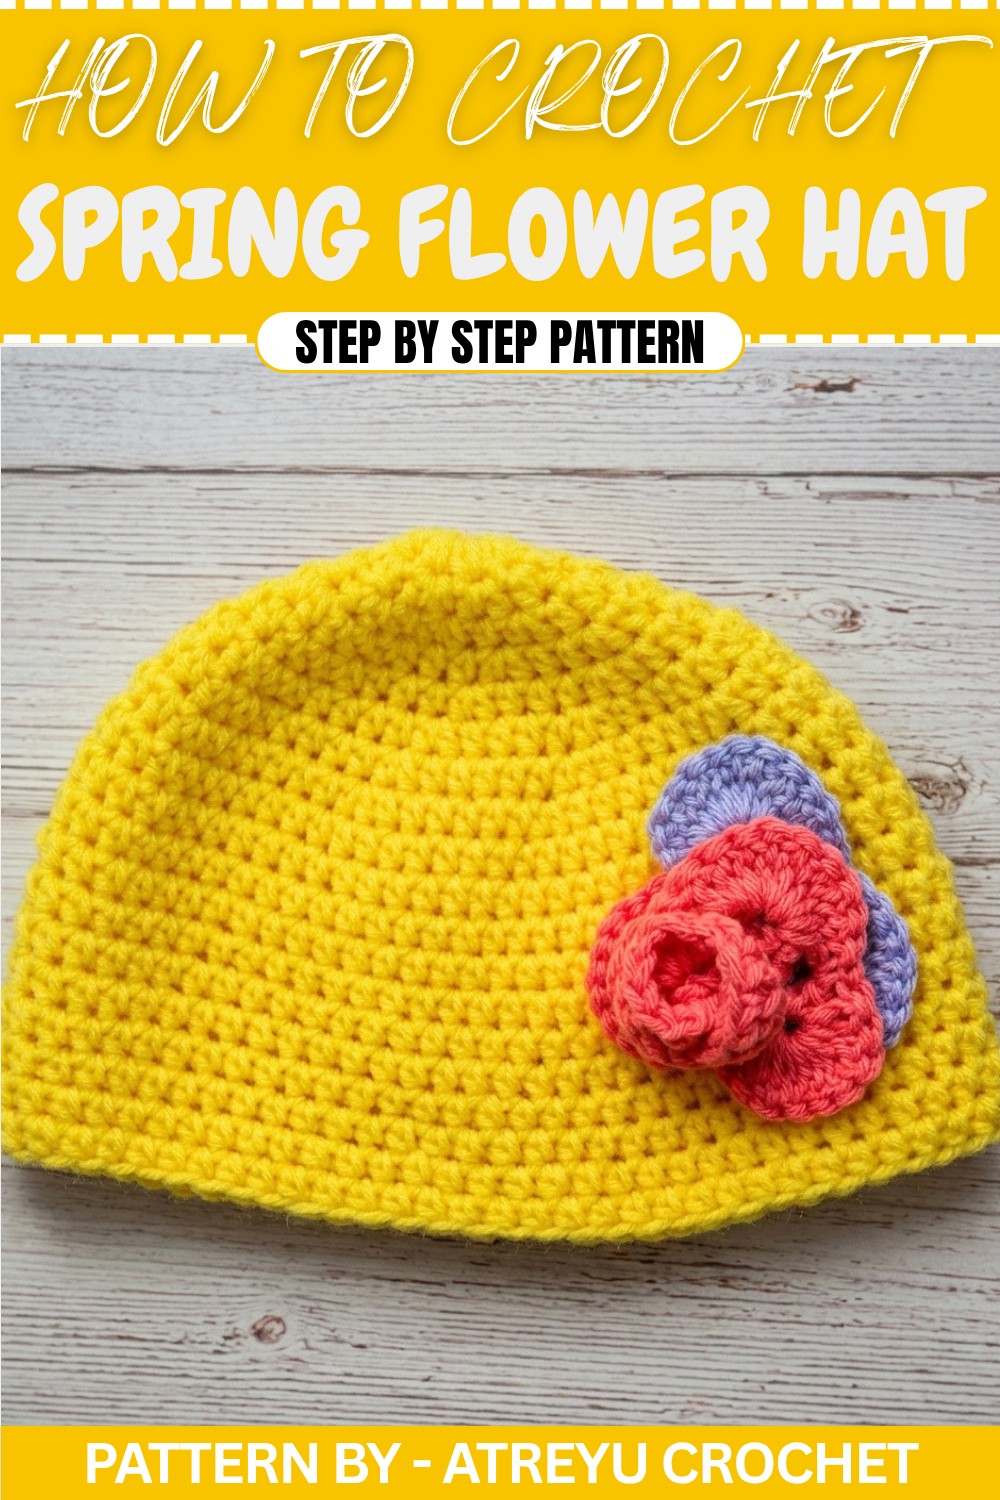
Whether you’re making this hat as a gift or simply to bring a touch of joy to your day, it’s a rewarding and practical project. The tutorial ensures clarity at every stage, helping you complete a piece that’s both beautiful and functional. Perfect for adding warmth and personality to your wardrobe, this flower hat embodies the uplifting spirit of spring.
Crochet Mini Flower Hat Pattern
Introduction
In today’s crochet project, we’ll be crocheting a charming and simple hat that is perfect for attaching flowers you’ve previously made. This beautiful and easy to make hat is an ideal last minute gift for Mother’s Day or any special occasion. With a little time and effort, you’ll create a thoughtful handmade piece that will delight whoever receives it.
Quick Overview of the Pattern
- Project: Crochet Hat With Flower Attachment
- Details: A simple crochet hat made with continuous rounds of half double crochet stitches.
- Customization: Easily adjust the size to make it suitable for small children or adults.
- Purpose: A quick and meaningful handmade gift, perfect for pairing with a crocheted flower.
Notes
- This pattern works in continuous rounds, so there will be no joining between rows to create a seamless look.
- A stitch marker is necessary to mark the beginning of each new round.
- The number of rows required depends on the size of the hat you want to create. Adjust the number of increase and regular rows accordingly.
Skill Level
Beginner to Intermediate – Basic crochet techniques, like slip stitch, chain, and half double crochet (HDC), are used in this project.
Materials
- Yarn: Medium weight (4) yarn in your preferred color (yellow is used in the example).
- Crochet Hook: 6 mm crochet hook (US size J). Adjust based on your tension.
- Notions:
- Scissors.
- Stitch marker (or substitute: safety pin, paper clip, or a piece of yarn in a contrasting color).
- Darning/weaving needle for finishing ends.
Measurements / Sizing
- Suggested Size: The pattern creates a hat suitable for adults, but can easily be adjusted for smaller or larger heads.
- Circle at Crown: For an adult hat, increase rounds until the circle fits comfortably over the crown of the head.
Gauge
10 half double crochet stitches = 4 cm (1.5 in).
Stitch Abbreviations
- ch: Chain
- sl st: Slip Stitch
- HDC: Half Double Crochet
- yo: Yarn Over
Special Stitches
- Half Double Crochet (HDC):
- Yarn over (yo),
- Insert the hook into the stitch,
- Yarn over and pull through (3 loops on the hook),
- Yarn over and pull through all 3 loops.
- Continuous Rounds: Work in spiral rounds without joining, ensuring a smooth and seamless construction.
Crochet Pattern
Step 1: Begin the Hat
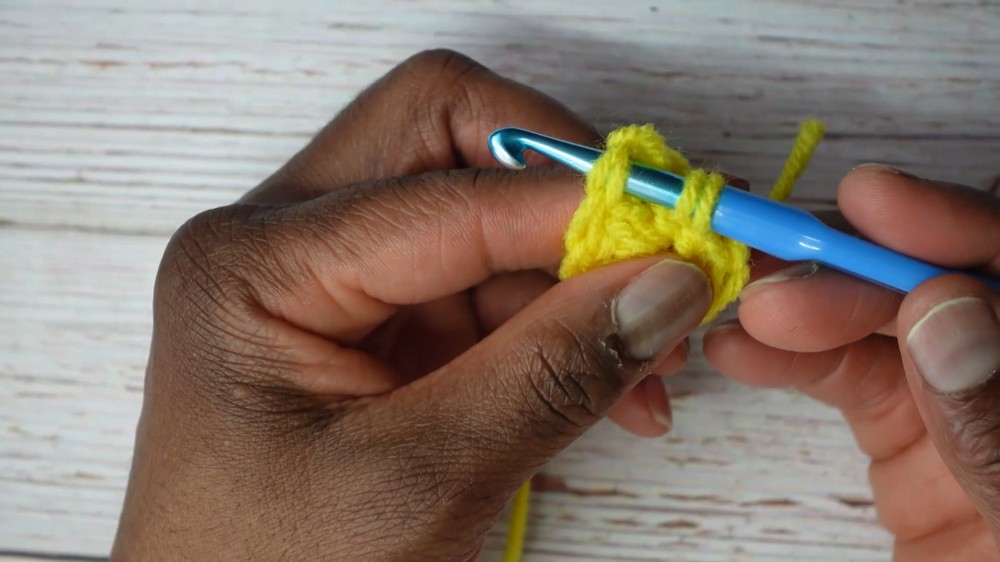
- Start with a slip knot: Twist the yarn to create a loop, place it on your hook, and tighten.
- Chain (ch) 4.
- Join the chain into a ring by slip stitching into the first chain.
Step 2: Create the Crown
Round 1: Half Double Crochet into the Ring
- Chain 2 (not counted as a stitch).
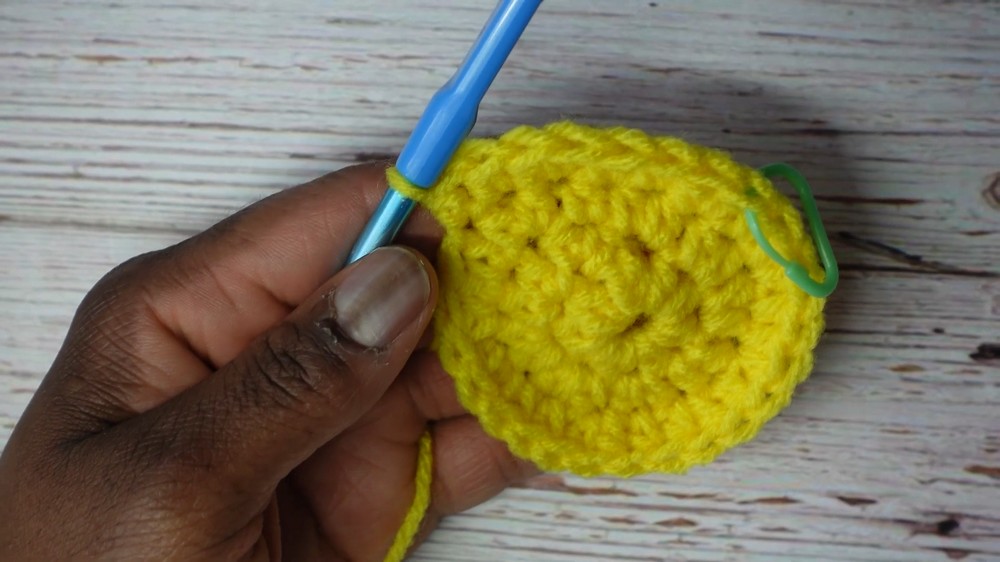
- Work 8 HDC into the center of the ring.
- Tighten the ring by pulling the yarn tail.
- Use a stitch marker to mark the first HDC of this round for reference.
- Total stitches in Round 1: 8 HDC.
Round 2: Increase in Each Stitch
- Work 2 HDC in every stitch around.
- Mark the first HDC of the round with a stitch marker.
- Total stitches in Round 2: 16 HDC.
Round 3: Add Alternating Increases
- Follow the sequence: 2 HDC in the first stitch, 1 HDC in the next stitch.
- Repeat this pattern (2 HDC, 1 HDC) around the circle.
- Mark the first stitch to keep track of the beginning of your round.
- Total stitches in Round 3: 24 HDC.
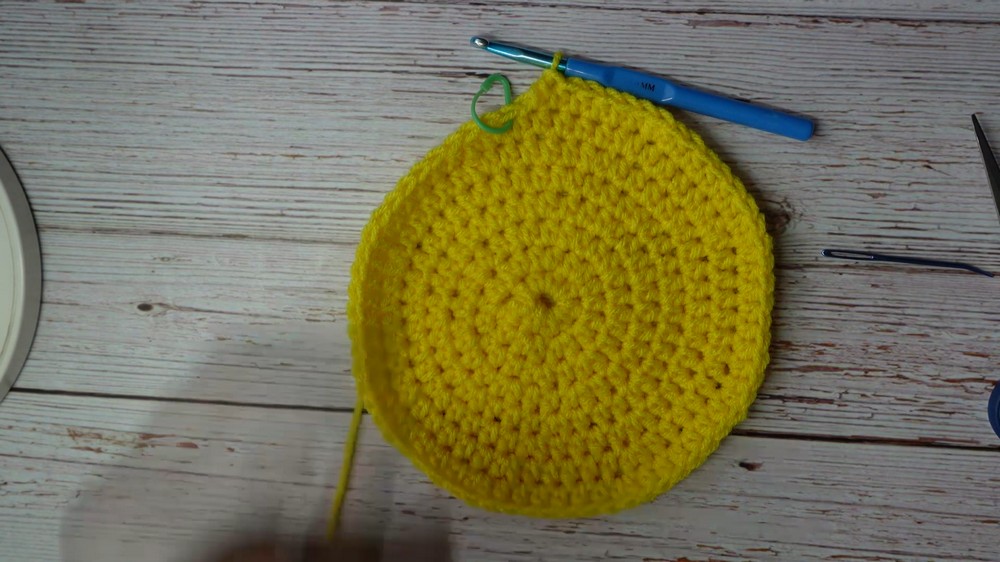
Round 4: Increase Gradually
- Follow the sequence: 2 HDC in the first stitch, 1 HDC in the next 2 stitches.
- Repeat this pattern (2 HDC, 1 HDC, 1 HDC) for the round.
- Total stitches in Round 4: 32 HDC.
Continue Increasing for the Crown
Expand the crown by continuing the established pattern, increasing the number of single HDCs between each 2 HDC cluster by 1 with each new round.
- Round 5: 2 HDC, 1 HDC, 1 HDC, 1 HDC (40 HDC).
- Round 6: 2 HDC, 1 HDC, 1 HDC, 1 HDC, 1 HDC (48 HDC).
- Continue until Round 8, where the pattern is 2 HDC, 1 HDC in the next 6 stitches (64 HDC).
Check the size: Ensure the crown circle fits the crown of the recipient's head.
Step 3: Build the Body of the Hat
- From Round 9 onward, stop increasing.
- Work 1 HDC in every stitch around for 10 rounds to form the body of the hat.
- The hat will begin curving into a bowl shape as the body grows deeper.
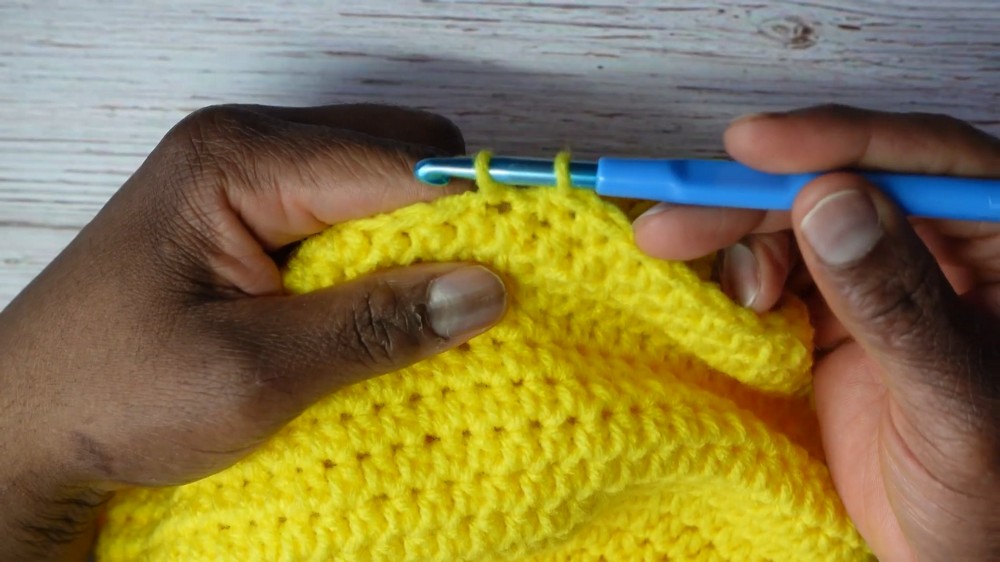
Step 4: Level the Edges
- Work a finishing single crochet round: Work 1 single crochet in each stitch around.
- In the last stitch, work 1 slip stitch to smooth the edge.
Assembly & Flower Attachment
Attaching the Flower
- Choose a crocheted flower (or create one).
- Thread the flower’s yarn tail through a darning needle.
- Position the flower on the side of the hat for a cute decorative style.
- Sew the flower in place by weaving the tail through both the flower and a few adjacent stitches on the hat.
- Repeat around the edges of the flower as needed to secure it without gaps.
- Tie off and weave in the loose ends inside the hat.
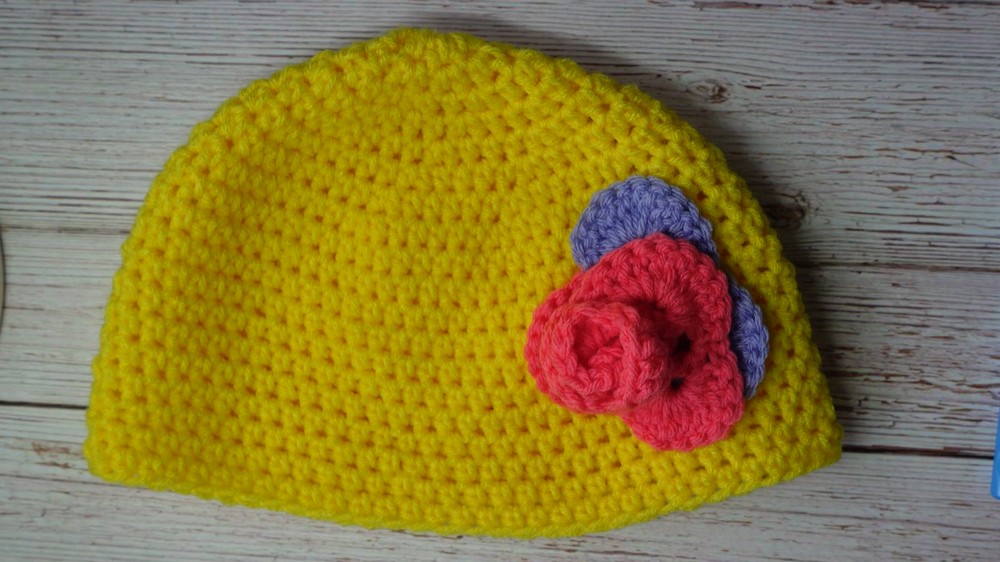
Finished Size
This hat is designed to fit an average adult woman’s head (approximately 22 to 23 inches in circumference). To adjust for different sizes, enlarge or reduce the crown size when making the increase rounds before proceeding to the body of the hat.
Conclusion
Congratulations, You’ve created a charming and practical crochet hat that’s perfect for gifting. The addition of the flower adds a thoughtful and personal touch, making this hat not only functional but also stylish for any recipient. Thank you for following along, and don’t hesitate to share your creations with friends and family.