
Free Pattern for Crocheting the Perfect Beanie Hat
Create your own handmade and cozy crochet beanie hat with this free and simple pattern that’s great for keeping warm and adding style.
A classic crochet beanie is the perfect go to project for combining style and comfort effortlessly. This free crochet beanie hat pattern is a beginner friendly and practical way to make something both fashionable and functional. With its sleek, rounded shape and a slightly textured surface, it gives off a timeless and cozy vibe.
Free Crochet Beanie Hat Pattern You’ll Love to Make
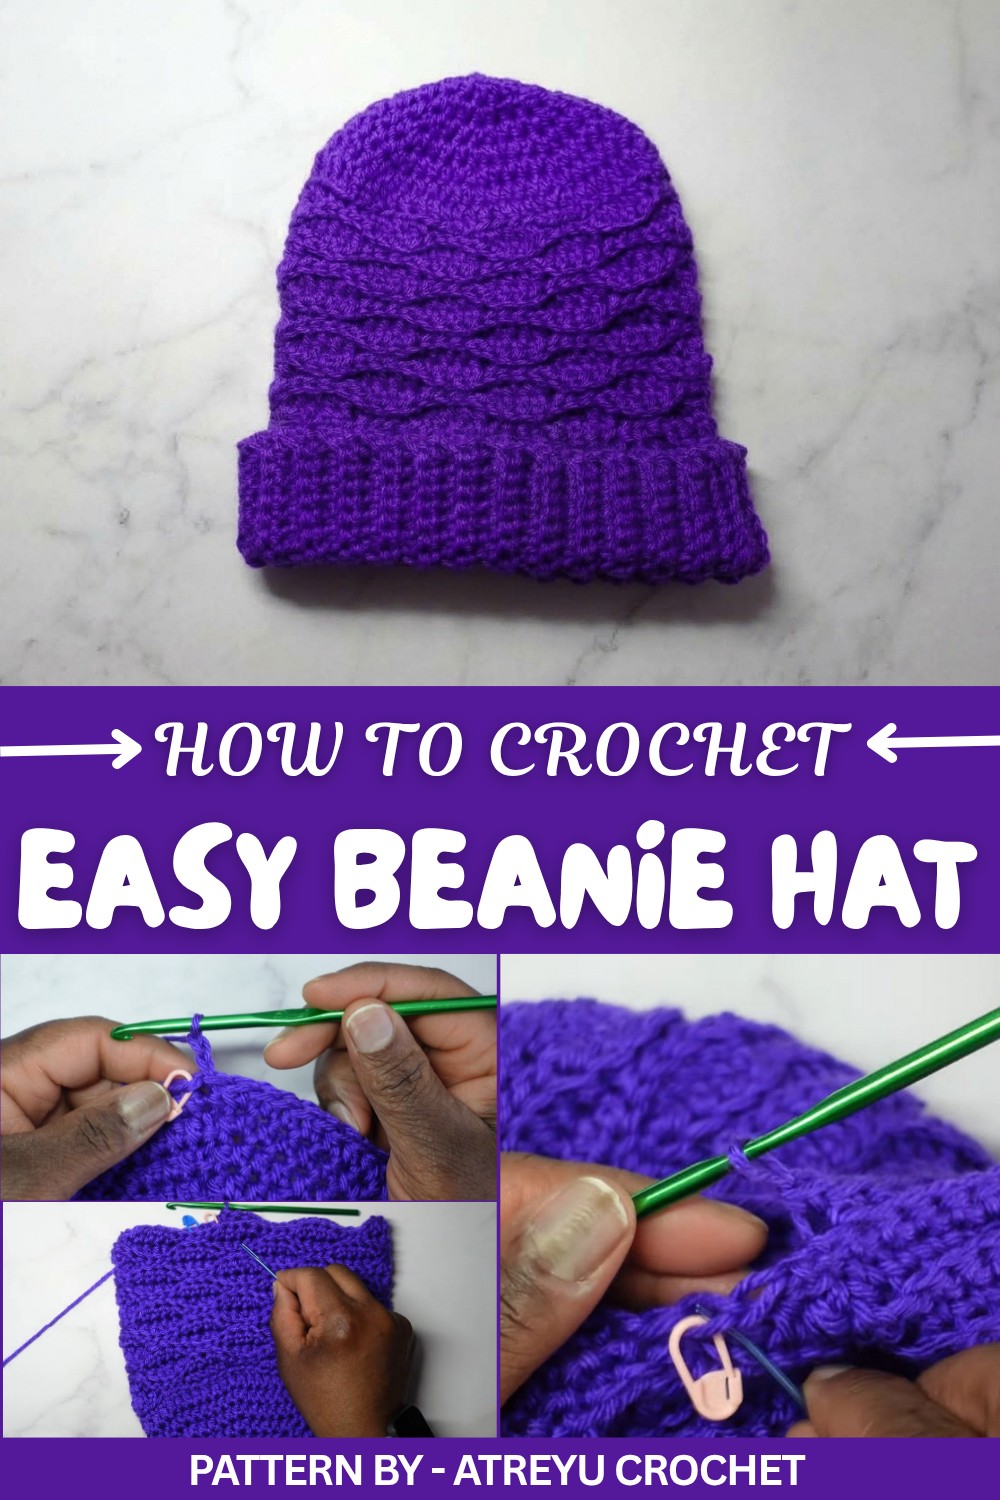
The construction follows a seamless technique, starting from the crown and working downward in consistent, smooth rounds. This method ensures a clean finish and a snug fit as the beanie takes form. Using worsted weight yarn allows the stitches to stand out beautifully, while also making the beanie wonderfully warm without being too bulky.
Featured By Atreyu Crochet
For added softness and stretch, yarns with a bit of wool or a wool acrylic blend work particularly well, though cotton yarn is a good choice for lighter, seasonal versions. This project works perfectly as a thoughtful, handmade gift for friends, family, or even charity donations. With countless ways to customize, such as adding stripes, switching up colors, or attaching a pom pom, it can reflect any style or personality.
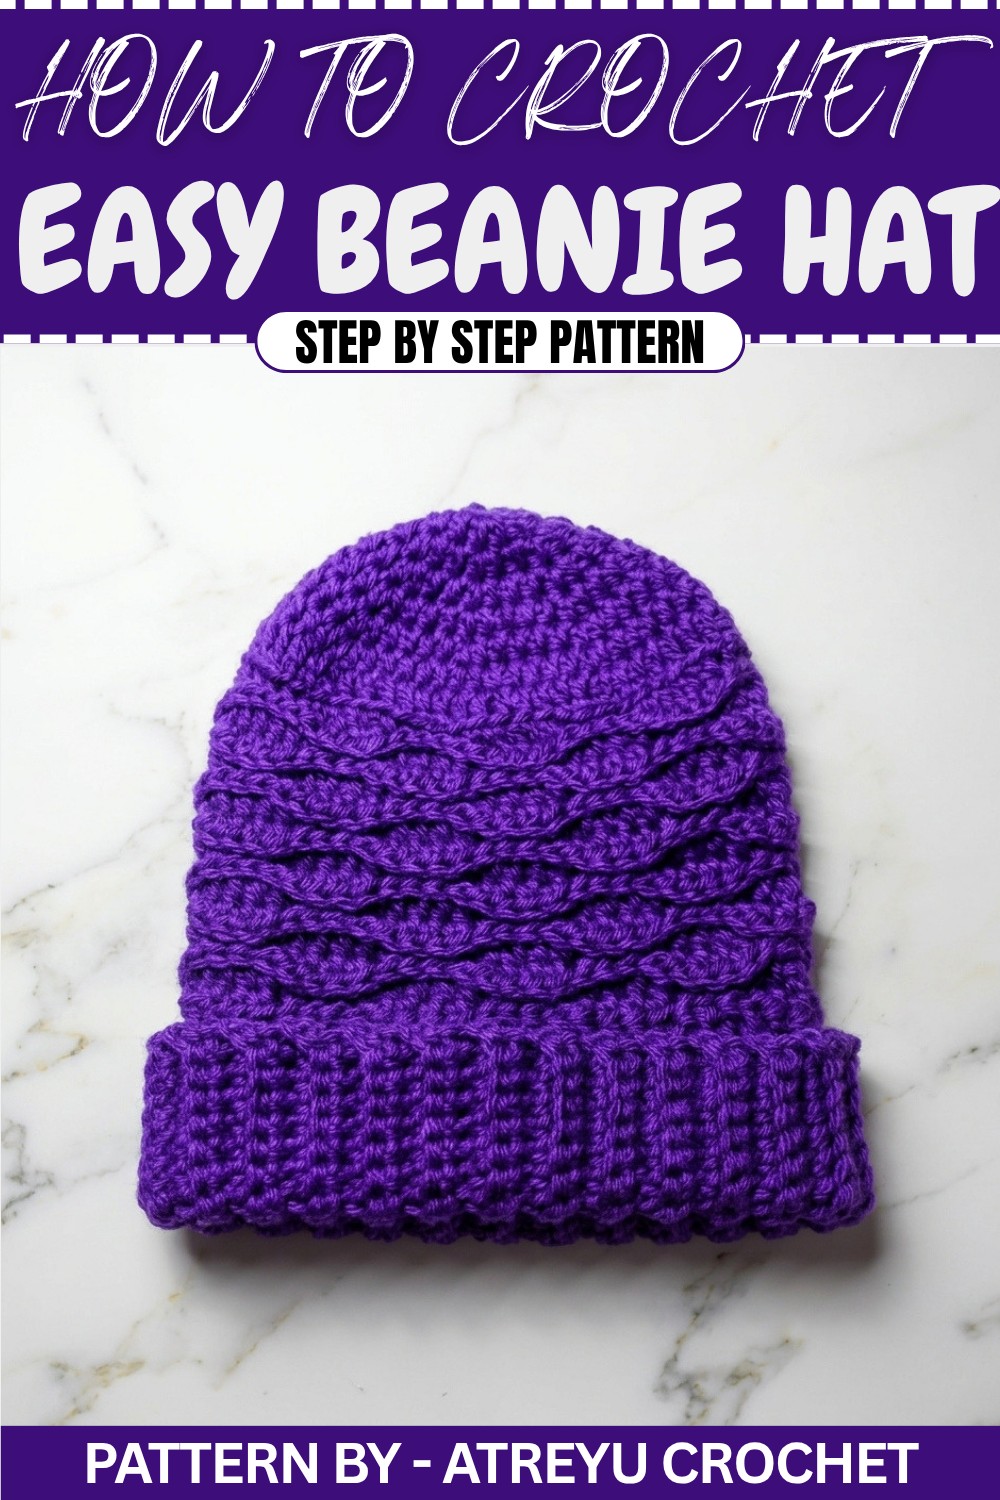
It’s small enough to finish in a couple of evenings yet versatile in its final look, making it ideal for personalizing as an accessory for fall or winter wear. Whether it's for daily use or a special handmade gift, this beanie is simple, stylish, and practical.
Crochet Beanie Hat Pattern
This hat is specifically designed to pair perfectly with an almond stitch scarf (link available at the end), allowing you to create a cohesive and stylish matching set. The pattern features textured waves created by combining slip stitches and half double crochet stitches, making it perfect for those who enjoy playing with texture in their crochet projects.
Quick Overview of Pattern
- Type of Project: Almond Stitch Crochet Hat
- Construction: Top down, crocheted in the round with a matching ribbed brim.
- Purpose: Stylish, warm, and textured hat to match an almond stitch scarf.
- Stitch Pattern: Alternating clusters of slip stitches and half double crochets create the signature almond stitch texture.
Notes
- Always mark the first stitch of each round with a stitch marker to keep track of your progress.
- Keep the slip stitches loose for easier crocheting in the following rows.
- Remember to turn your work after every round to mimic the row effect of the original almond stitch scarf.
- Chain 1 at the beginning of each row or round does not count as a stitch.
Skill Level
Advanced Beginner to Intermediate
- Understanding and execution of basic stitches like slip stitch, chain, single crochet, half double crochet, and double crochet are required.
Materials
- Yarn: One skein of medium weight (#4) yarn (315 yards or 6 oz was used in the example; adjust based on your desired size).
- Hook Size: 5.5 mm (US: I9).
- Other Supplies: Scissors, darning/weaving tapestry needle, stitch markers, and a tape measure.
Measurements & Sizing
- Hat depth: Approximately 12 inches (30 cm).
- Hat folded depth: About 9.25 inches (23.5 cm).
- Total brim width: Approximately 3 inches (7.5 cm).
Gauge
- Gauge is not critical for this hat design but aim for: 16 sts = 4 inches (10 cm) in almond stitch pattern after blocking.
Stitch Abbreviations
- ch: Chain
- sl st: Slip Stitch
- hdc: Half-Double Crochet
- sc: Single Crochet
- yo: Yarn Over
Special Stitches
- Magic Ring: A loop created with the yarn to begin working in the round without leaving a gap in the center.
- Half Double Crochet (hdc): Yarn over, insert hook into stitch, yo and pull through (3 loops on hook), yo and pull through all 3 loops on hook.
- Slip Stitch in Back Loop Only (sl st in BLO): Insert hook in the back loop of the indicated stitch, yo, and pull through both loops on hook.
- For the Almond Stitch effect: Alternate groups of 4 sl sts and 4 hdc, turning your work after every round.
The Crochet Pattern
Step 1: Crown of the Hat
Round 1 (Magic Circle):
- Start with a magic circle (or chain 4 and sl st into the first chain to form a ring).
- Ch 1 (does not count as a stitch).
- Work 8 hdc into the magic ring.
- Pull the tail of the magic circle to close the ring. Place a stitch marker in the first hdc made.
- Sl st to the first hdc to close the round (total: 8 hdc).
Round 2:
- Ch 1 (does not count as a stitch).
- Work 2 hdc in each stitch around, starting from the first marked stitch. Move the stitch marker to the first stitch of the round.
- Sl st to the first hdc to close the round (total: 16 hdc).
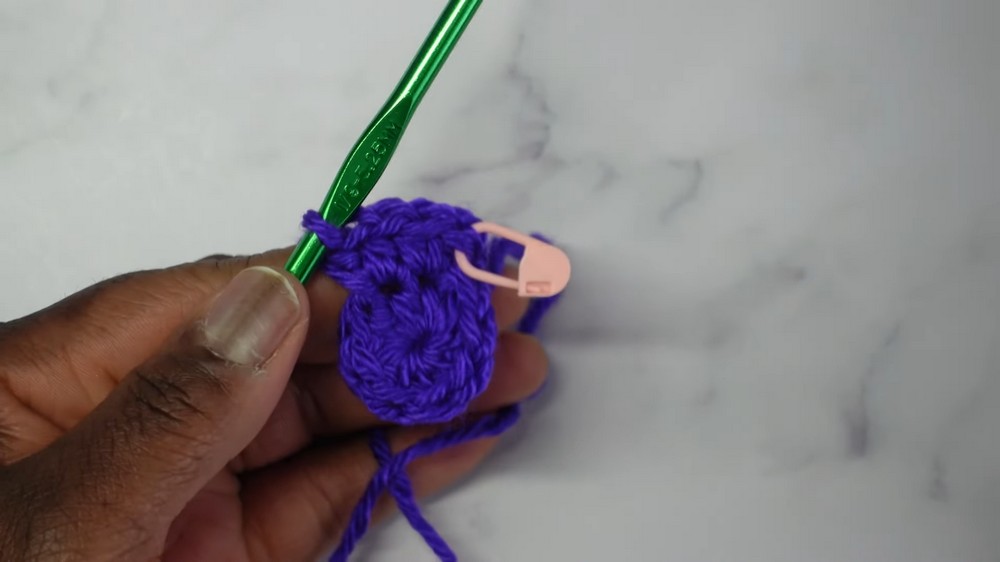
Round 3:
- Ch 1.
- Work the pattern 1 hdc in the first stitch, 2 hdc in the next repeat sequence (1,2) around. Move the stitch marker to the first stitch of the round.
- Sl st to the first hdc to close the round (total: 24 hdc).
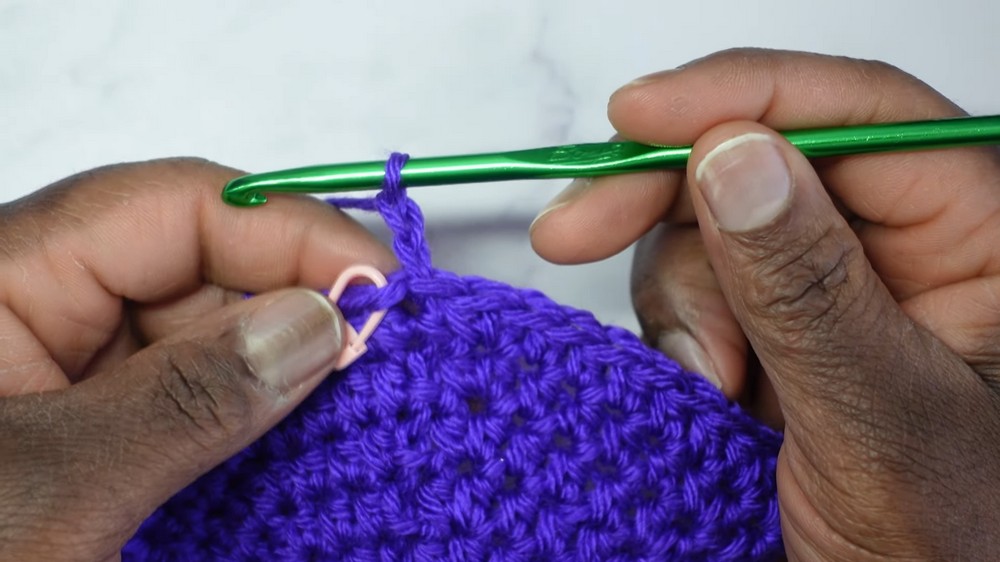
Round 4:
- Ch 1.
- Work the pattern 1 hdc in the next 2 stitches, 2 hdc in the next repeat sequence (1,1,2) around. Move the stitch marker to the first stitch of the round.
- Sl st to the first hdc to close (total: 32 hdc).
Round 5 to 7 (Increase Rounds):
- Continue to work additional rounds, adding an extra “1 hdc” before each “2 hdc” in the pattern. For example:
- Round 5: (1,1,1,2) (total: 40 hdc).
- Round 6: (1,1,1,1,2) (total: 48 hdc).
- Round 7: (1,1,1,1,1,2) (total: 56 hdc).
Stop increasing when the diameter of the crown fits the top of the head (approximately 6 inches or 15 cm).
Step 2: Body – Almond Stitch Section
Switch to the almond stitch pattern:
- Starting from Round 8, alternate between hdc and sl st in groups of 4 stitches each.
- First 4 sts: Slip stitches in BLO (keep them loose).
- Next 4 sts: Half double crochets in BLO.
- Repeat 4 sl sts, 4 hdc around. Mark the first stitch of the round.
- After each round, sl st to the first stitch and turn your work, then chain 1.
- Round 9: Match the previous stitches (work sl st in BLO over sl sts, and hdc in BLO over hdc).
- Round 10: Alternate the stitch type, starting with 4 hdc in BLO, followed by 4 sl st in BLO. Follow this pattern for the entire round.
- After each round, always turn your work to simulate the back and forth rows of the almond scarf.
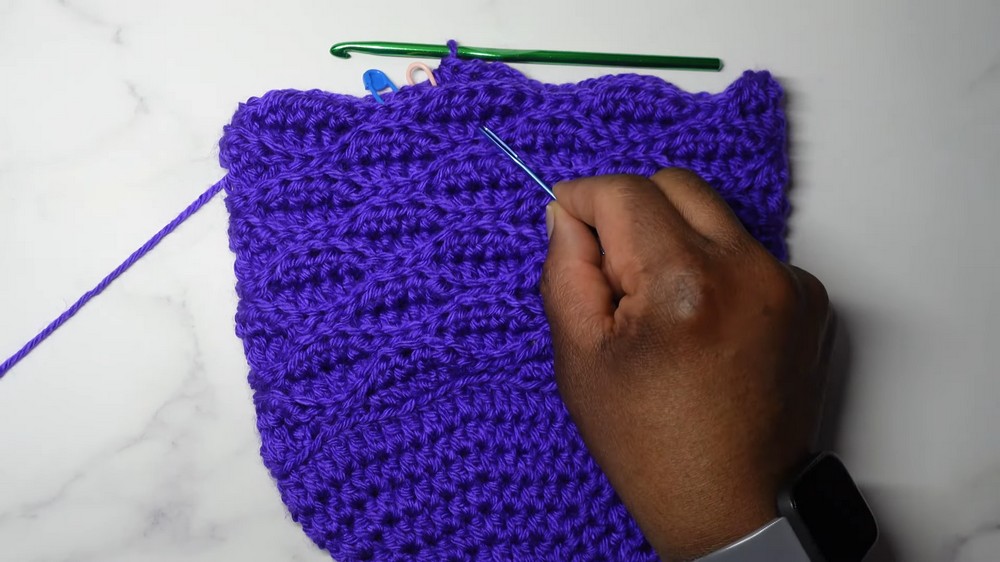
Continue this pattern for 16 total rounds or adjust to your desired hat depth (approximately 8 inches or 20 cm).
Step 3: Ribbed Brim (Optional)
- Attach yarn at the bottom rim. Chain 15 (or desired brim width).
- Work a sc into the second chain from the hook and in each chain down (total: 14 sc).
- Row 2: Ch 1, turn, work 1 sc in BLO in each stitch back down to the base.
- Slip stitch into the next 2 stitches along the brim to secure the row.
- Repeat Row 2 until the ribbing completes the circumference of the hat.
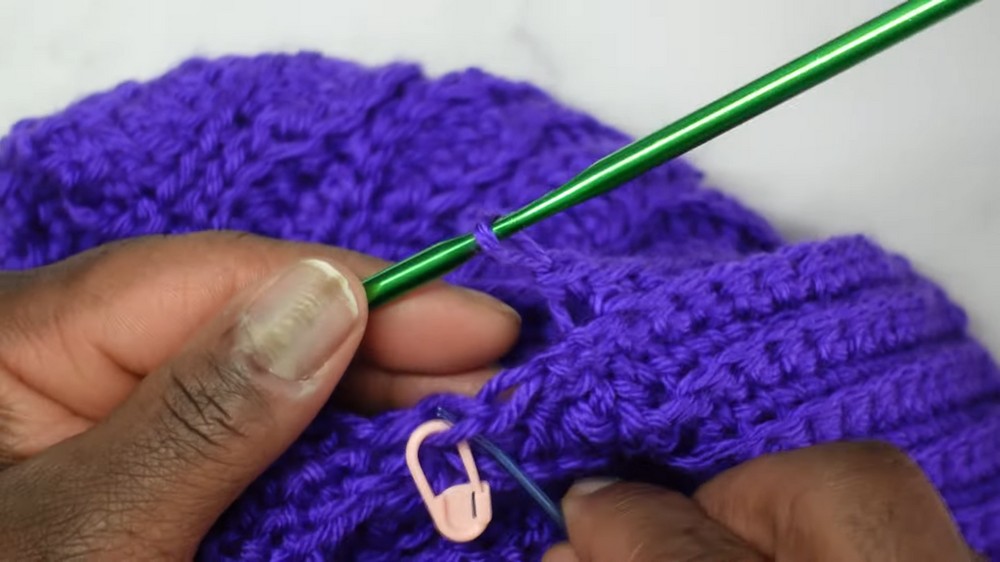
Join the ribbing:
- Fold the edges of the ribbing and sl st the last row to the first, weaving ends securely into the brim.
Assembly & Finished Size
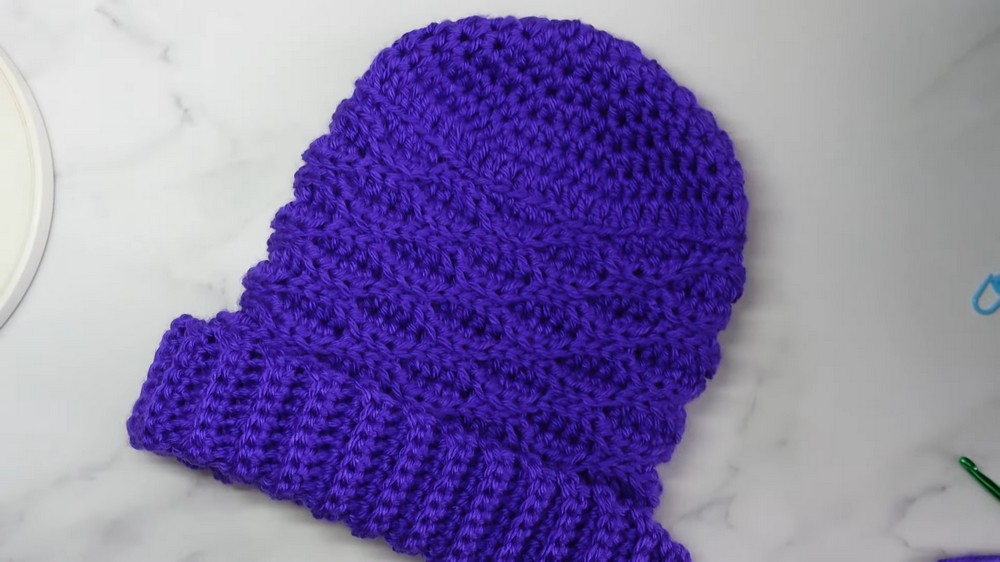
- Finished hat has a total depth of 12 inches (30 cm) and can be adjusted based on personal preference.
- Optional ribbed brim adds texture and a clean finish.
Conclusion and Ending Words
Congratulations, You’ve completed your Crochet Beanie Hat Pattern. Whether you choose to add a ribbed brim or leave it as-it-is, this hat is a stylish and unique accessory for the colder months. Pair it with the matching almond stitch scarf (linked below) to create a cozy and coordinated set.