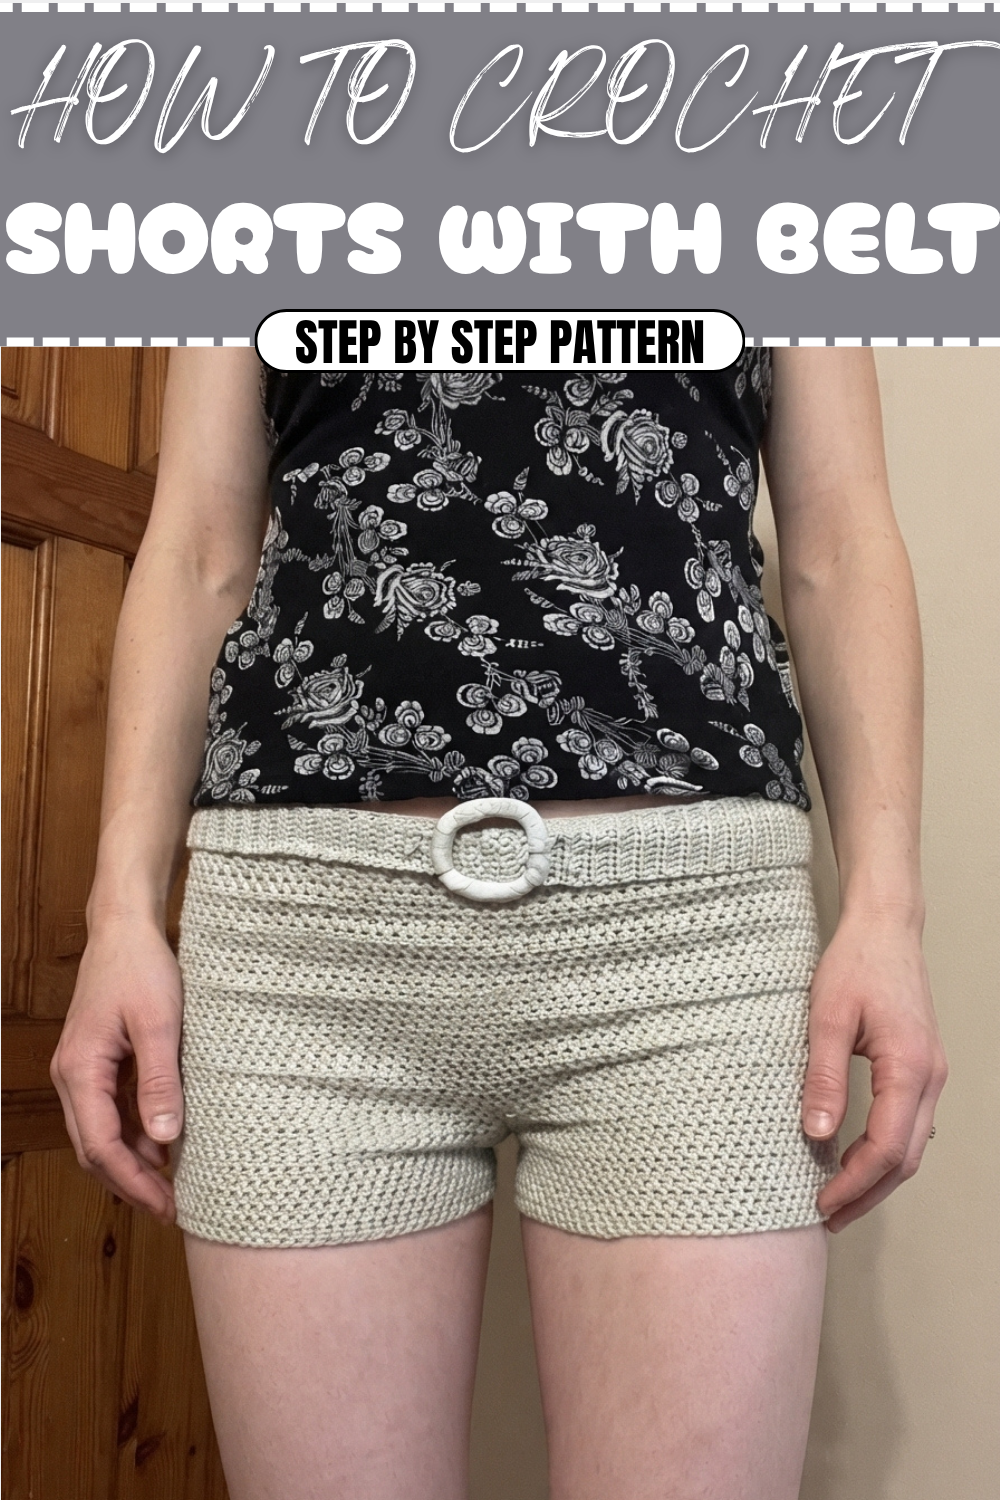
Lightweight Crochet Shorts With Belt Pattern for Beach Days
Comfortable summer style flows with the Crochet Shorts With Belt Pattern, offering neat fit, adjustable waist, and relaxed warm weather wear.
A flattering silhouette and comfortable fit define a stylish pair of shorts designed for warm-weather wear. The addition of a matching belt enhances shape and structure, creating a polished look that suits casual outings, vacations, and relaxed gatherings. This Crochet Shorts With Belt Pattern offer ease of movement while maintaining a neat, put-together appearance throughout the day.
Cute Crochet Shorts With Belt Pattern for Warm-Weather Looks
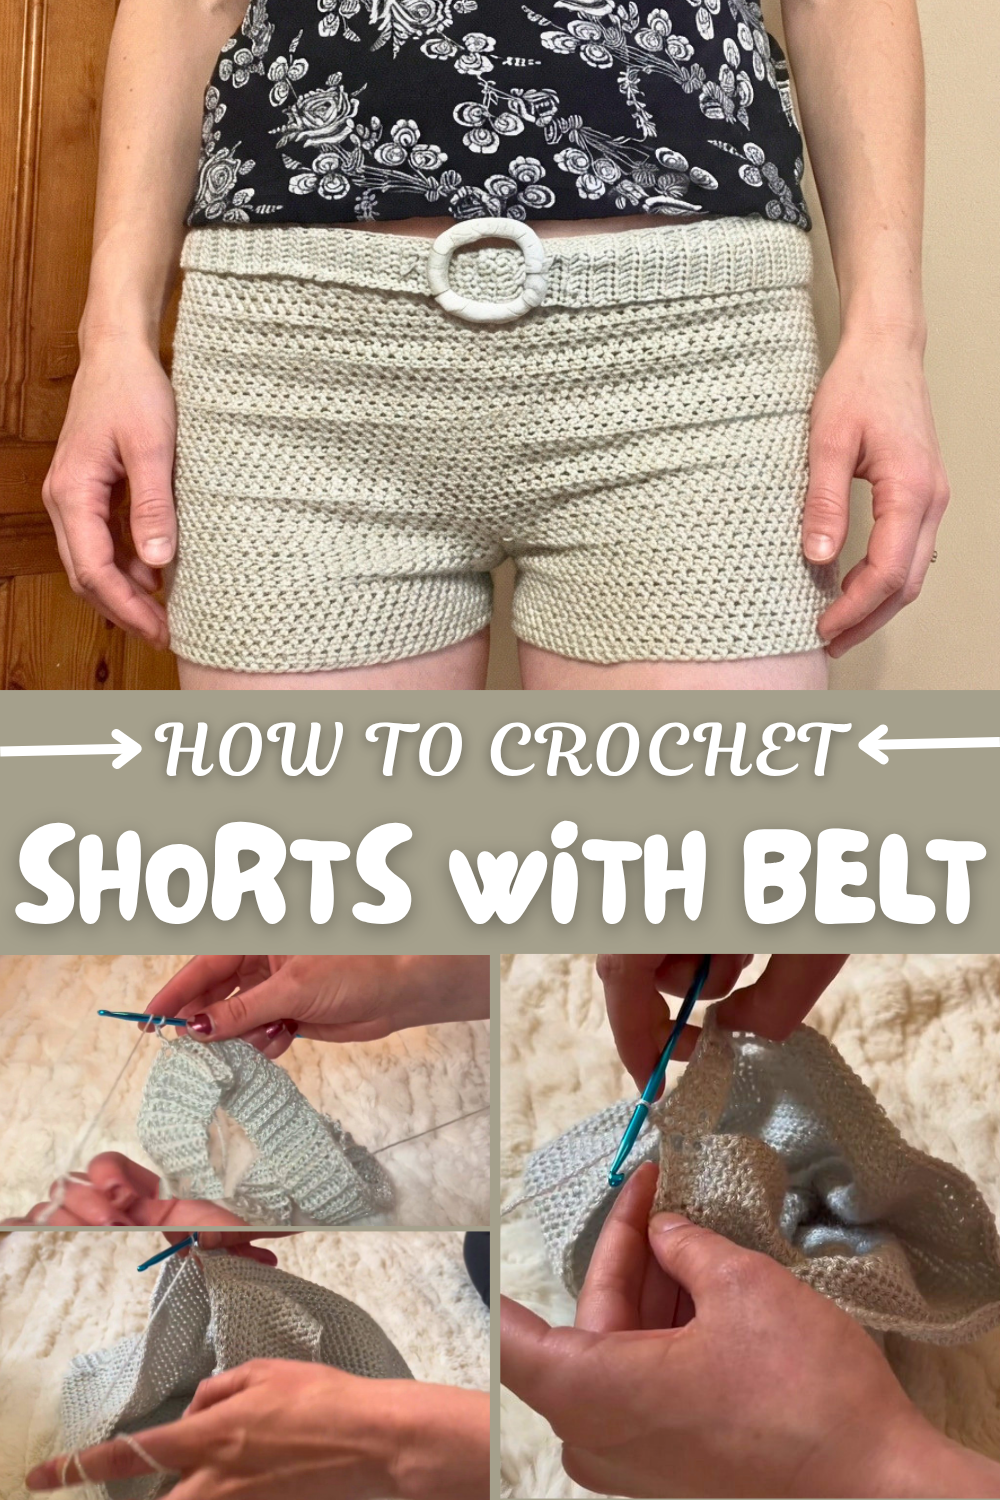
One of the key benefits of using a Crochet Shorts With Belt Pattern is the ability to adjust waist fit, length, and belt detail to match personal style preferences. The textured fabric adds visual interest while remaining breathable and lightweight for summer comfort.
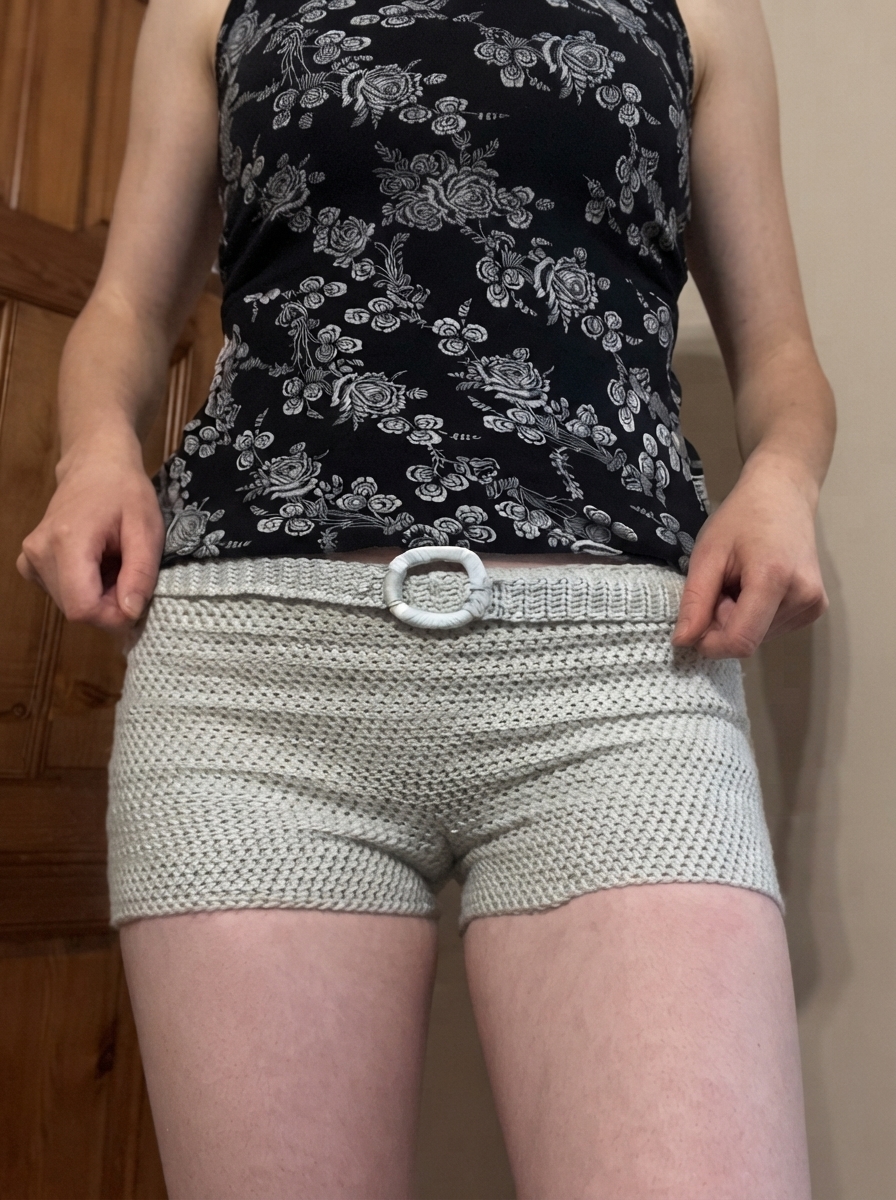
Paired with simple tops or layered pieces, they transition easily from daytime activities to laid-back evenings. Overall, this design presents a modern blend of style and function, delivering a versatile wardrobe piece that feels comfortable, stylish, and effortlessly chic for everyday seasonal fashion.
Step-by-Step Crochet Shorts With Belt Pattern
1. Gather Materials
- Yarn: 1.5 balls of 100g yarn (crochet-friendly, durable, and soft to touch)
- Crochet hook: 4.5 mm
- Measuring tape and scissors
- Additional material: Air-drying clay for the belt ring
2. Create the Waistband
- Foundation Chain:
- Make a slip knot and chain 9 (adjust if needed for desired waistband height).
- Yarn over and pull through the loop to complete each chain link.
- Single Crochet Rows:
- Start from the second chain, single crochet into each stitch across.
- Turn your work and create single crochets in the back loops only in each row.
- Continue this pattern of working in back loops, chaining 1 at the end of each row, and turning.
- Repeat for 64 rows (or customize to your waist size). The finished waistband should measure approximately 28 inches long.
- Join the Waistband:
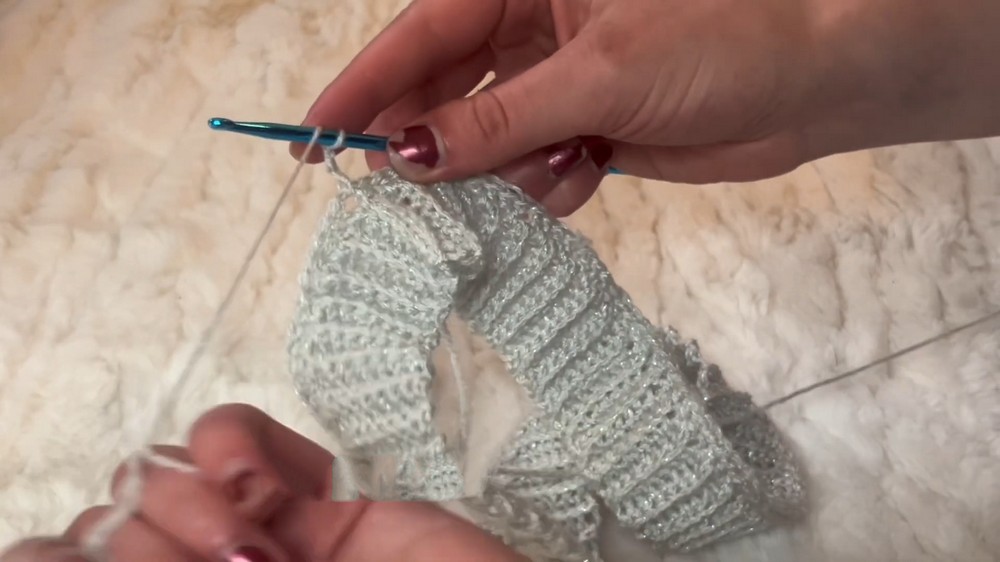
- Bring both ends of the waistband together to form a circle.
- Use a slip stitch to crochet and join the sides until a secure seam is formed.
3. Crochet the Body of the Shorts
- First Row:
- Chain 3 to start.
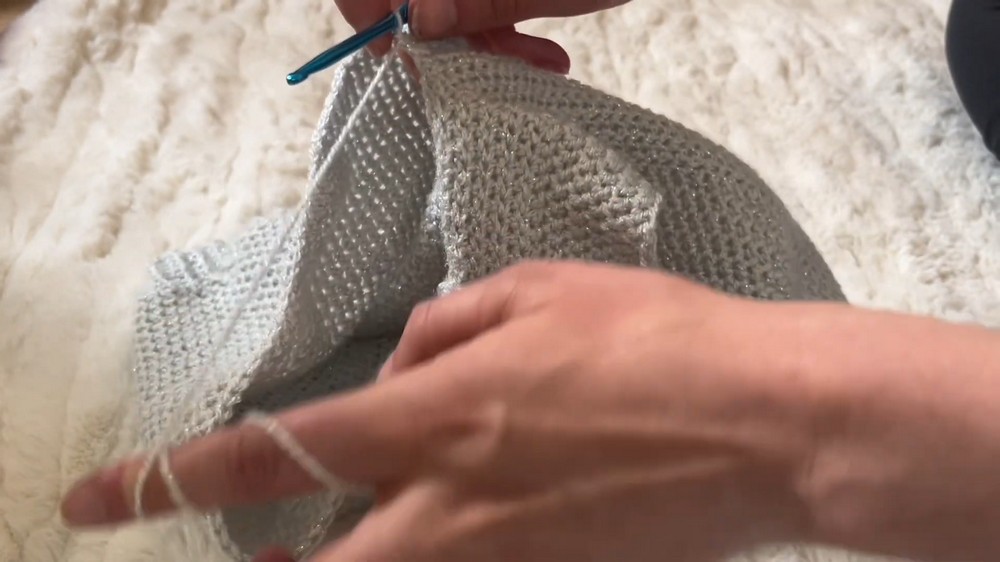
- Create double crochets (DC) evenly around the entire waistband (1 DC for each row of the waistband using the gaps/stitches).
- If you completed 64 rows for the waistband, you should have 64 double crochets.
- Subsequent Rows for the Panel:
- At the end of each row, make a slip stitch into the chain-3 space and chain 3 to begin the next row.
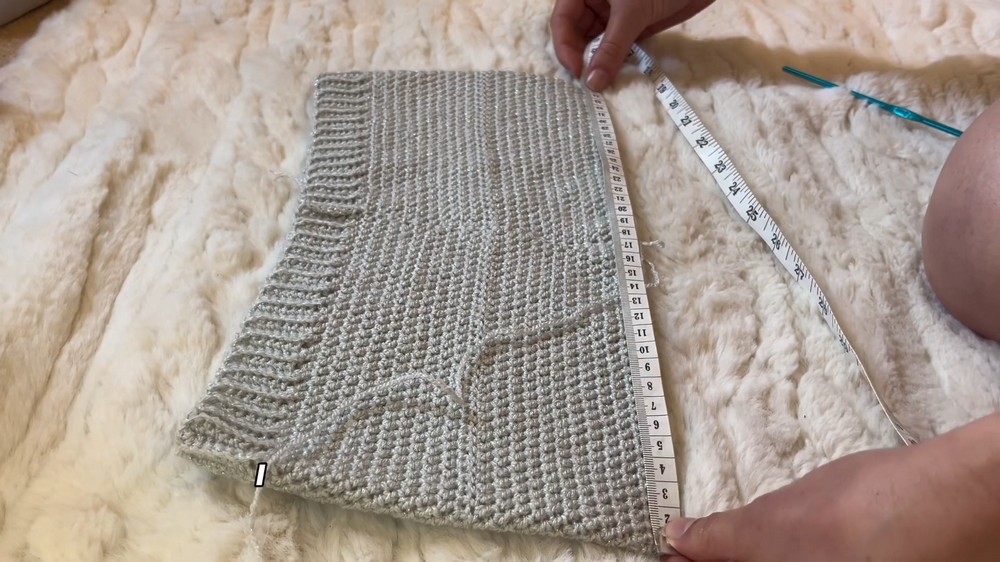
- Double crochet into every stitch of the previous row while also incorporating slight increases at the chain-3 seam for shape. Repeat for 26 rows (or until the panel measures 16 inches in length).
4. Divide the Panel for Leg Holes
- Finding the Center of the Panel:
- Measure the width of the panel (approximately 31 cm) and calculate half (15.5 cm). Mark the halfway point with a bobby pin or stitch marker.
- Create the Crotch Area:
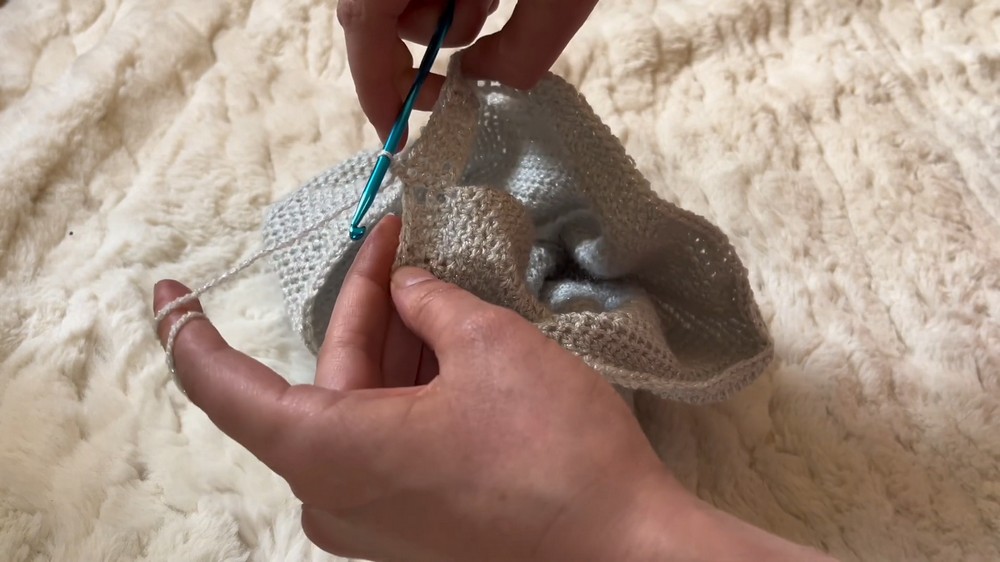
- From the stitch where you finished the panel, chain 15.
- Attach the chain to the center point you marked with the bobby pin using a single crochet, connecting the two sides to form the crotch. This creates two leg holes.
5. Crochet the Legs
- First Leg Hole:
- Begin double crocheting into the stitches around the first leg hole, including the stitches in the chain-15 segment.
- Repeat double crochets around the circumference for 20 rows (approximately 9 cm).
- After finishing, cut the yarn and start the next leg.
- Second Leg Hole:
- Follow the same process as the first leg hole to ensure both sides match in length (20 rows).
6. Craft the Belt
- Clay Circle for Buckle:
- Use a piece of air-drying clay, roll it into a cylinder, shape it into a circle, and leave it to dry.
- Paint and decorate as desired (the video used blue with green stripes).
- Crochet the Belt:
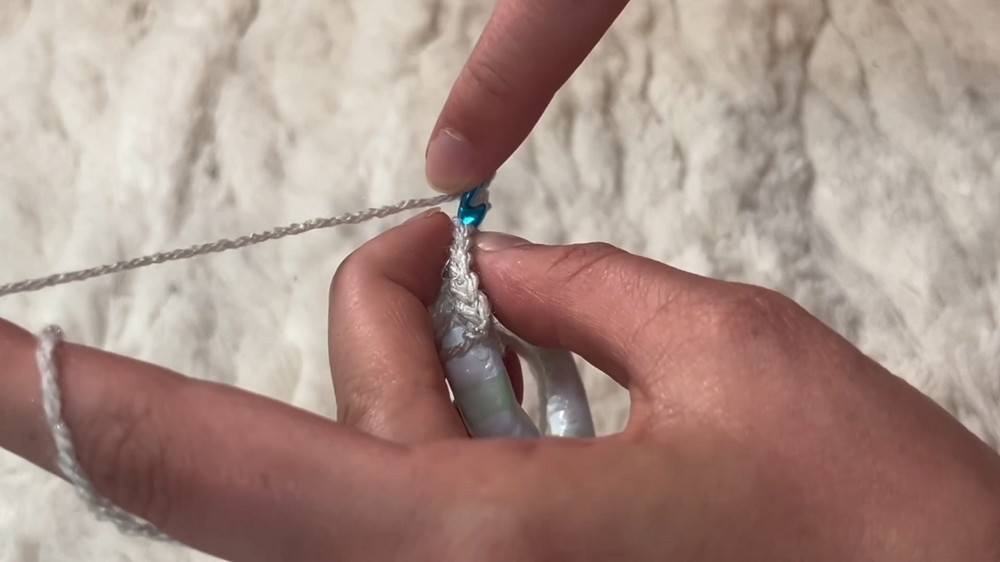
- Make a slip knot and crochet 8 single crochets directly into the clay ring.
- Begin rows of single crochets, working into back loops only for a ribbed texture.
- Continue for 71 rows (or until the belt measures 36 inches long).
- Attach the Belt to the Buckle:
- Crochet the end of the belt securely to the other side of the clay ring.
7. Finish the Shorts
- Secure the belt by crocheting small chains from the top of the waistband to the bottom on both sides, ensuring the belt doesn’t slide off.
- Weave in all loose ends for an even and professional finish.
Special Features
These crochet micro shorts stand out due to:
- Customizable Design: You can easily adjust the waistband length, leg length, or even the width of the leg holes to suit your preferences.
- Handmade Clay Belt Buckle: The inclusion of a DIY painted clay buckle adds a creative and personalized touch.
- Beginner-Friendly Techniques: The project uses basic stitches like single crochet (SC), double crochet (DC), and slip stitches, making it approachable for beginners.
- Fashionable and Functional: The shorts are ideal for summer wear, with a chic and unique appearance.
Level of Difficulty
- Beginner to Intermediate:
While the individual steps involve basic stitches, the project is long and requires attention to detail for symmetry (e.g., waistband fit, leg lengths). Understanding foundational crochet is recommended.
Tutor’s Suggestions
- Measure for Fit: Customize lengths at every step to ensure the shorts fit perfectly. For instance:
- Adjust waistband rows for your waist size.
- Use a hip-to-crotch measurement to determine panel length.
- Stay Consistent: Use even tension as you crochet each section. Particularly for increases, ensure the stitches don’t stretch unevenly.
- Plan Yarn Usage: Emma recommends 1.5 balls of 100g yarn, but always have extra in case of adjustments.
Uses and Materials
Uses:
- Summertime loungewear or an outdoor outfit paired with a cute top.
- A handmade gift, personalized for friends or loved ones.
Materials:
- 1.5 balls of 100g crochet yarn.
- 4.5 mm crochet hook.
- Measuring tape, scissors.
- Air-drying clay and paint for the belt buckle (optional).
Tip
When working on the leg holes, ensure consistency in stitch count for both sides. Use stitch markers if needed to keep track of the starting point for each row.
Conclusion
This crochet micro shorts project combines practicality and style, serving as a great way to enhances your summer wardrobe. The step-by-step process, incorporating a handmade belt buckle, encourages creativity and customization. While the techniques are beginner-friendly, the finished product looks polished and fashionable.