
Cute Crochet Tulips Free Pattern | Easy Instructions
Create beautiful crochet tulips with this free pattern that guides you step by step to make colorful flowers perfect for decoration or gifting.
tejiendo con elizabeth shared the original project through a tutorial that serves as the reference for this written pattern.The Crochet tulips are yarn flowers shaped with a crochet hook that add a cheerful touch to any space.
Lovely Crochet Tulips Free Pattern For Home Decor
The finished tulips usually measure about 6 to 8 inches tall, depending on the yarn and hook size used. These flowers feature pointed petals and long stems with leaves, resembling real tulips in a soft, colorful form
To work on crochet tulips, basic materials include yarn in colors like red, pink, yellow, or orange for the petals, green yarn for the stem and leaves, a crochet hook sized between 3.5 mm and 5 mm, and a yarn needle for finishing. This project suits beginners familiar with basic stitches such as single crochet, double crochet, and slip stitch.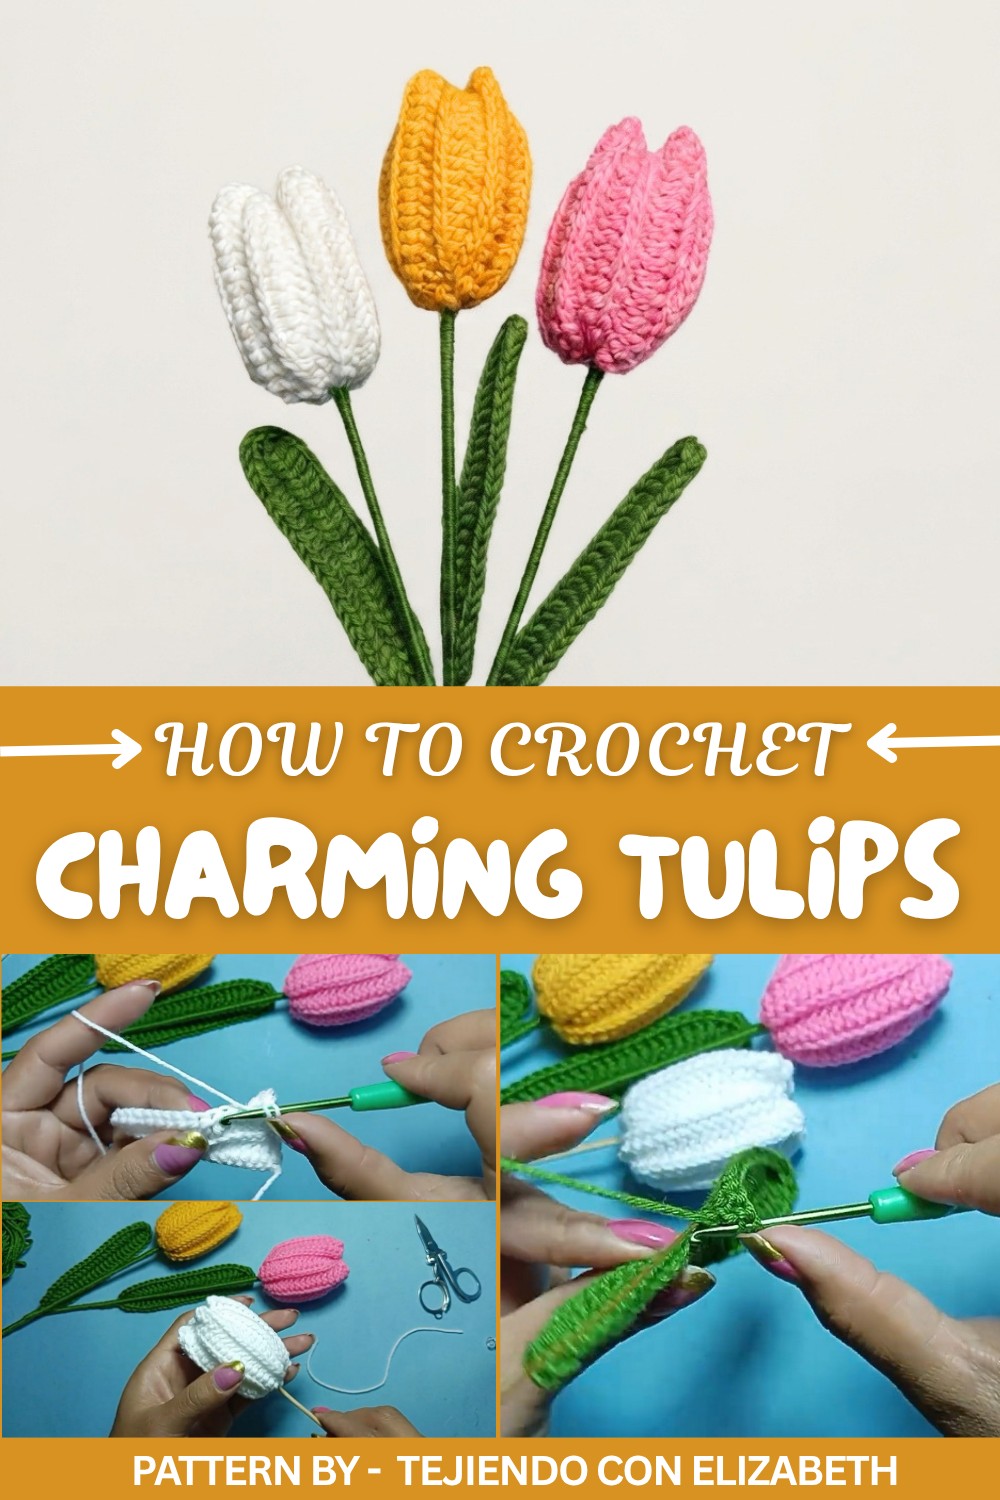
The steps involve crocheting the petals first, then the stem and leaves, and finally assembling the pieces by sewing or attaching them together. This approach helps develop skills in shaping and joining parts neatly.
Crochet tulips serve well as home decorations, thoughtful gifts, or reusable bouquets. This project is straightforward, quick to complete, and adds a bright, handmade touch to any room.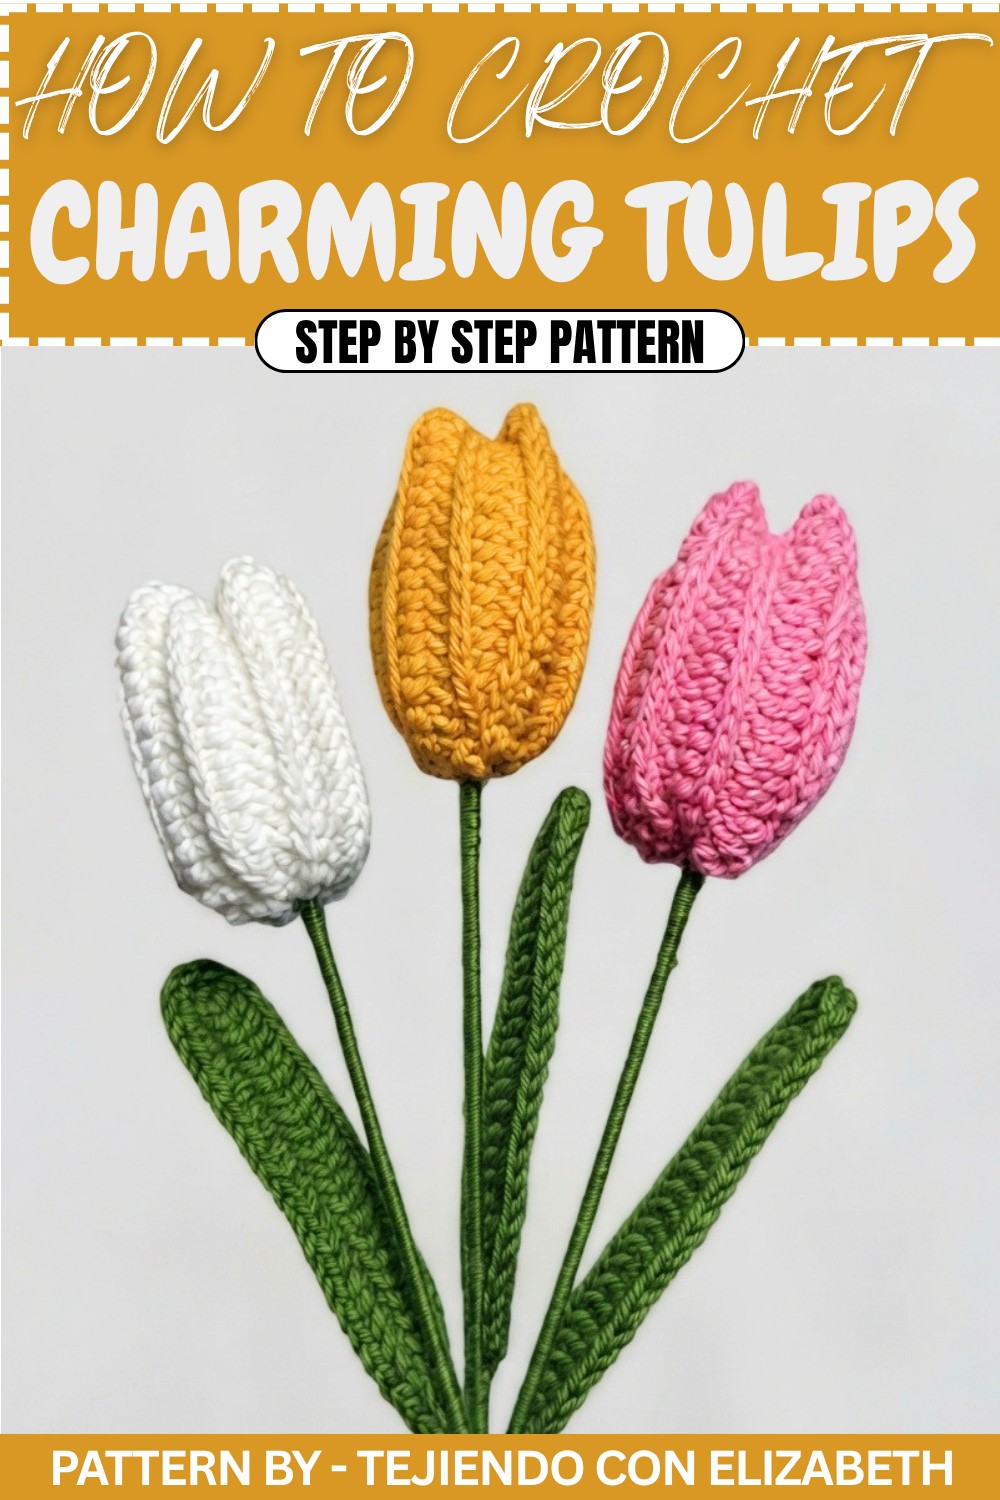
About the Crochet Tulip Pattern
This crochet tulip pattern produces a lifelike, textured floral design suitable for gifts, home decor, or bouquets. The main flower uses ribbed rows worked with half-double crochet (hdc) and is shaped through tubular assembly, filled for dimension, and carefully closed for a natural tulip formation. The leaf pattern’s integrated craft wire provides support and shaping versatility, while optional stem wrapping creates a cohesive, finished look. This project is ideal for crafters seeking to translation traditional floral beauty into lasting handmade decor.
Pattern Basic Points
- Flower petal piece created flat, then rolled and sewn into a tube.
- Ribbed texture achieved by consistently working into back loops/bottom lines.
- Sturdy structure: Leaf is worked directly onto craft wire for shaping.
- Assembly includes sewing, inserting a skewer for the stem, and strategic stuffing.
- Realistic details through sculpted closes and careful edge finishing.
Special Notes
- Consistent tension in the back-loop hdc rows is key for even petal ribbing.
- When crocheting around wire, take care to avoid splitting yarn or poking fingers.
- For best results, use invisible, ladder, or whip stitches when sewing petal edges.
- Stuff the flower only lightly for a natural outline.
- Hot glue is integral for stem stability and securing the leaf.
Skill Level
Beginner to Intermediate
Pattern assumes comfort with foundation chains, back-loop work, basic seaming, and working over wire. Ideal for confident beginners or intermediates wishing to expand their textured crochet and floral assembly skills.
Materials
- Yarn: Suitable cotton or acrylic, flower and leaf colors (light worsted or DK recommended)
- Hook: 2.5mm
- Craft wire: for shaping the leaf (approx. 30–35cm length)
- Skewer/stick: for flower stem
- Fiberfill: for gentle stuffing
- Hot glue gun and glue (for assembling stem and leaf)
- Scissors
- Yarn needle: for sewing seams and closing ends
Measurements & Gauge
- Finished tulip height: approx. 18–22cm (with skewer/stem)
- Flower diameter: approx. 4–5cm across
- Leaf length: approx. 17–20cm
- Gauge: Not crucial, but tight, uniform stitches are encouraged for structure.
- Stitch pattern: Ribbed rows created by working hdc in the back loop/bottom line
Stitch Abbreviations
| Abbreviation | Description |
|---|---|
| ch | Chain |
| sc | Single crochet |
| hdc | Half-double crochet |
| dc | Double crochet |
| sl st | Slip stitch |
| st(s) | Stitch(es) |
| BLO | Back loop only |
Special Stitches
Half-Double Crochet in Back Loop Only (hdc BLO):
Yarn over, insert hook in back loop only (or bottom bump if preferred), yarn over, pull up loop, yarn over, pull through all three loops.
Working Around Wire:
Hold wire along chain foundation, enclose it within stitches as you crochet, ensuring wire remains central and stitches are snug.
Pattern Instructions
Flower Petal Piece (Main Flower Body)
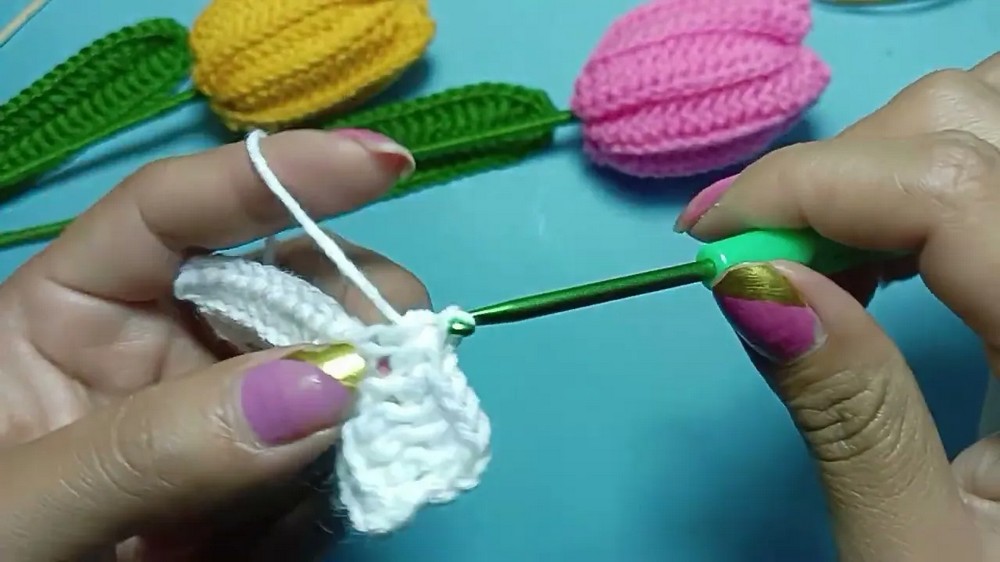
- Foundation Row:
- Ch 18
- Row 1:
- Skipping first ch from hook, work 17 hdc (1 hdc in each ch)
- Skipping first ch from hook, work 17 hdc (1 hdc in each ch)
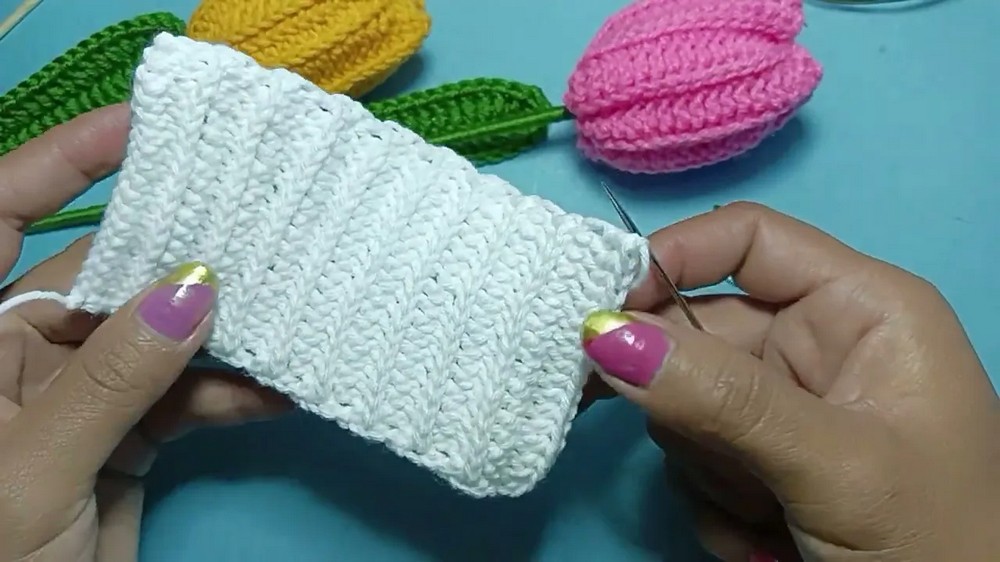
- Rows 2–17 (16 rows):
- Ch 1 and turn at the end of each row.
- 17 hdc per row, inserting hook into the back loop (and/or bottom line) for ribbed effect.
- Continue in this manner for each row, always working into the back loop/bottom line.
- Row 18:
- Ch 1, 17 hdc into back loops.
- Finishing:
- Fasten off, leaving a long yarn tail for sewing.
- Fasten off, leaving a long yarn tail for sewing.
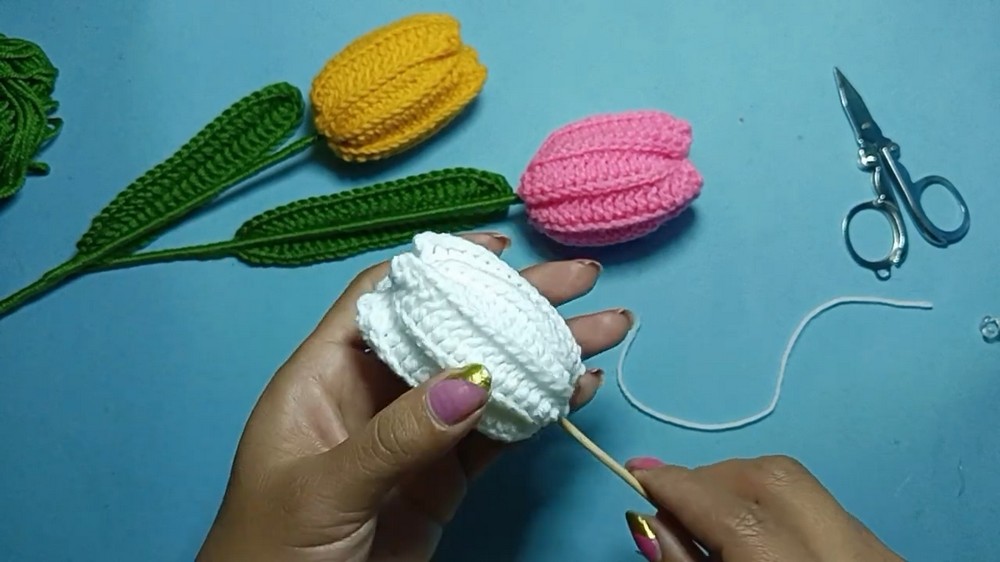
Flower Assembly
- Fold the finished rectangle so short ends meet to form a tube.
- Using the long tail and a yarn needle, sew the two short edges together with whip stitch or mattress stitch, working through every stitch for a seamless join.
- Gather the base of the tube with secure stitches, pulling tight to close the bottom of the flower.
- Insert the skewer or stick into the center through the base, anchoring with a bead of hot glue to keep in place.
- Lightly stuff the petal tube with fiberfill for gentle shaping, ensuring stuffing is even and not over-packed.
- Using the yarn tail and needle, sew the top edge closed with a running stitch, pulling gently to shape and sculpt the tulip’s top. Weave in all ends securely.
Tulip Leaf
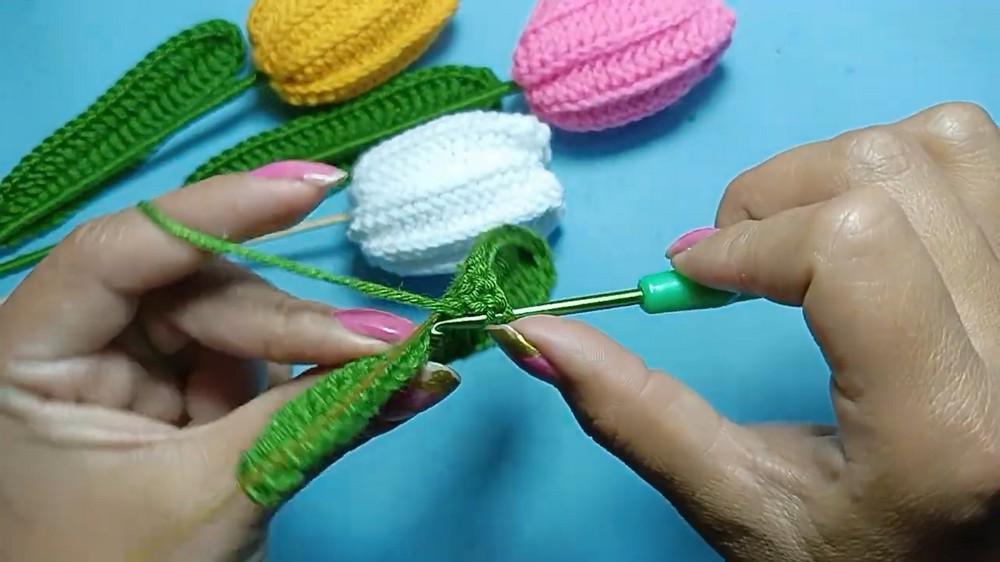
- Foundation:
- Ch 25, holding the craft wire parallel to the chain as you crochet.
- Row 1 (First Side):
- Work 3 hdc over both yarn and wire (enclosing wire inside stitches).
- Work 20 dc down the chain (still covering the wire).
- In the last chain, make 3 dc to turn around the tip; this forms the rounded end.
- Return/Other Side:
- Fold the work so you can crochet into the unused loops of the foundation chain, enclosing remaining wire along the edge.
- Work 20 dc back along the other side.
- Finish with 3 hdc to echo the starting edge.
- Join:
- Join to first stitch with a sl st.
- Fasten off.
- Join to first stitch with a sl st.
Leaf Finishing and Stem Assembly
- Once the leaf is complete, wrap green yarn tightly around the flower's skewer stem, securing the end with hot glue at both the base and tip.
- Arrange the wired leaf against the stem, shaping as desired to give a natural flow.
- Affix the base of the leaf to the stem with hot glue, ensuring strong attachment and hiding any wire ends within the stem wrap.
Assembly & Finished Size
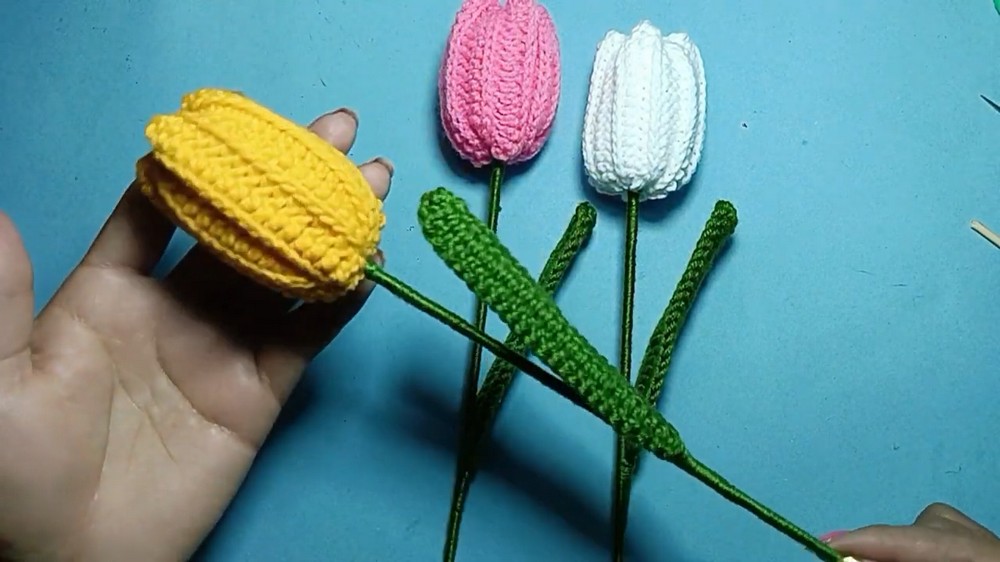
The assembled tulip, with the flower body sculpted and attached to the stem, the leaf shaped and glued in place, and yarn-wrapped stem, measures about 18–22cm tall with a satisfyingly fluffy, slightly closed petal, and a singular shaped, verdant leaf.
Conclusion
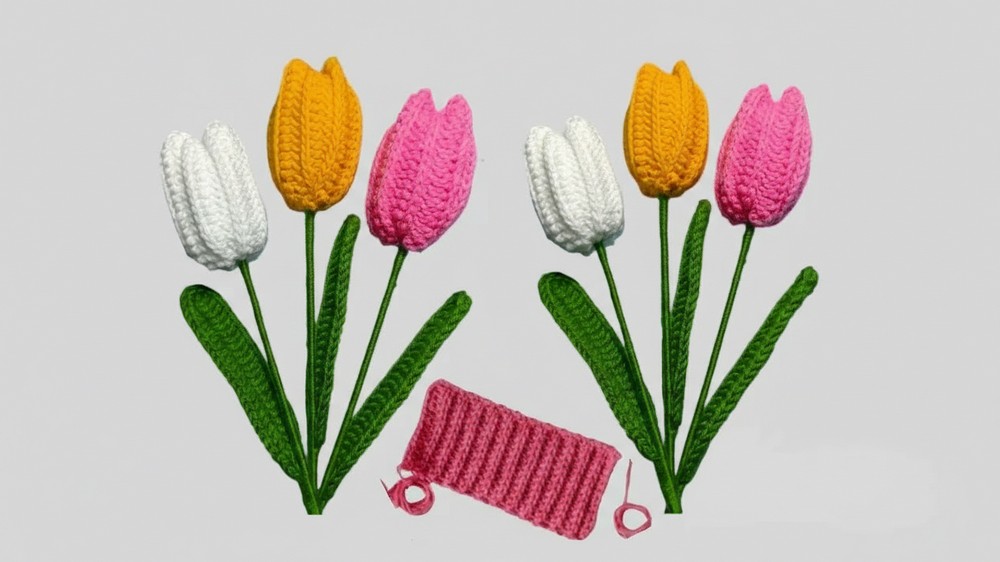
Making a ribbed, crochet tulip with a wire-backed leaf blends classic floral aesthetic with practical craft skills, resulting in an elegant artificial bloom. The carefully structured rows, intuitive ribbed texture, and sturdy, wrapped stem enable the flower to retain its shape and grace in arrangements or on display. The finished piece stands out as a tactile, lasting emblem of springtime or a bespoke accent for any creative space. The outlined steps provide clear guidance, encouraging both consistency and artistry throughout the process. This pattern offers a rewarding challenge for crafters and encourages thoughtful, skillful assembly of delicate crochet florals.