
Free Crochet Calla lilies Pattern Step By Step Instructions
Follow this free crochet calla lilies pattern to produce beautiful flowers with simple techniques that add charm to any space or gift.
Special credit to tejiendo con elizabeth for the original tutorial that provides clear and helpful instructions for making these flowers, giving full credit to the creator for this lovely project. Crochet calla lilies are beautiful, elegant flowers made entirely from yarn and a crochet hook. They are a great way to add a touch of handmade charm to your home or to give as thoughtful gifts
Easy Crochet Calla Lilies Free Pattern For Vase Decorations
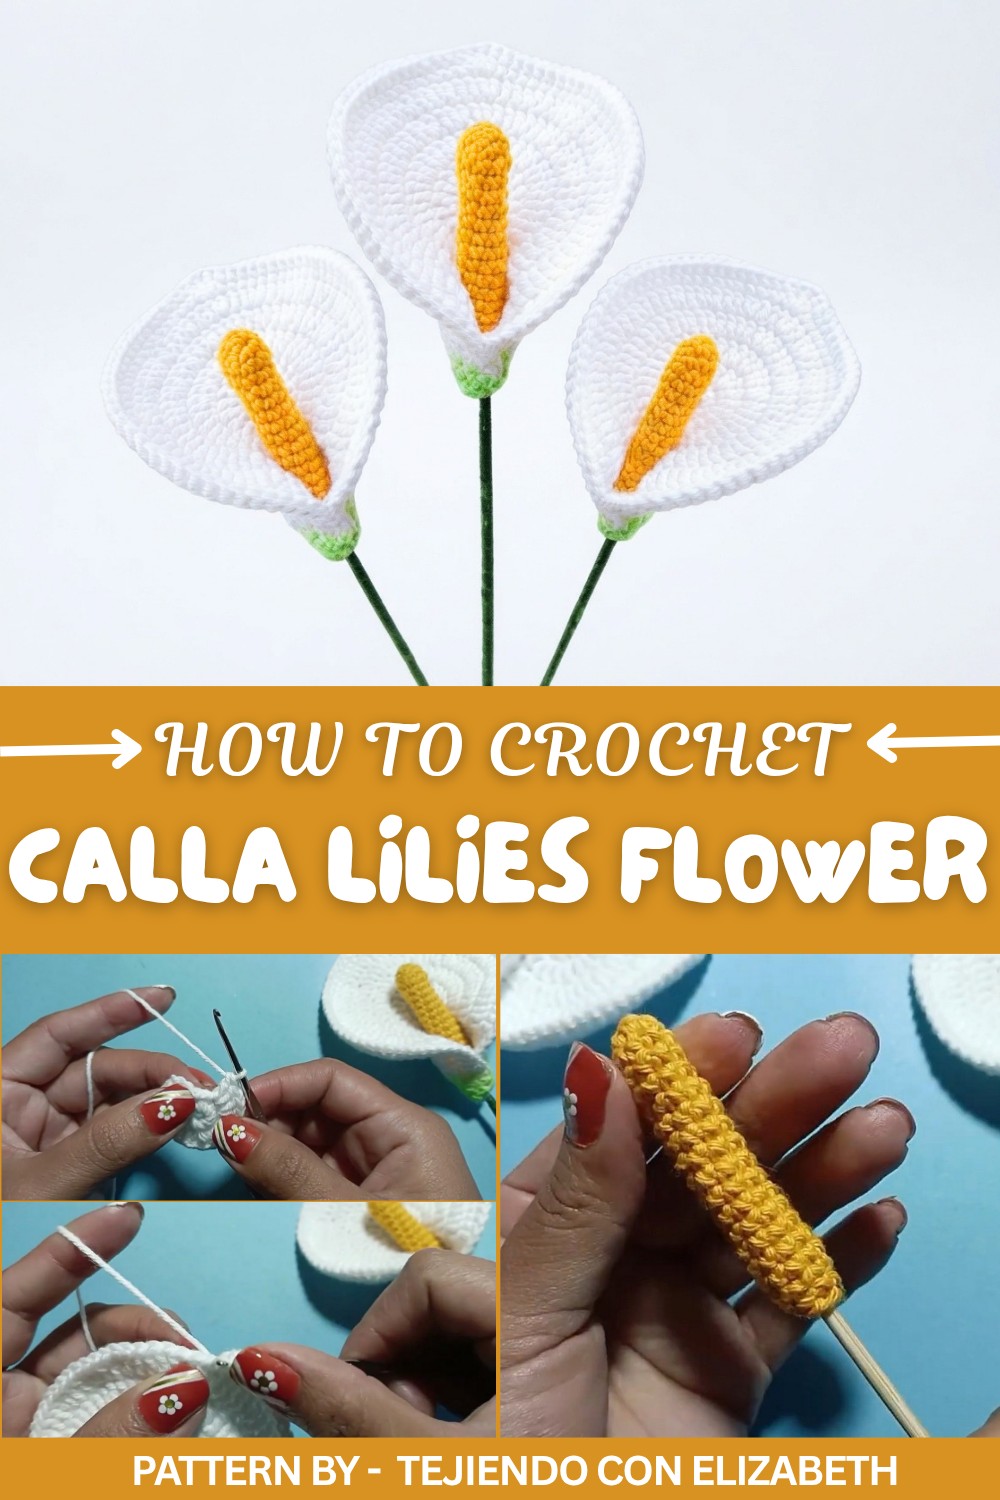
These calla lilies typically finish around 6 to 8 inches tall, depending on the yarn thickness and hook size you choose. The main features include the smooth, curved shape of the petals and the long, slender stem that resembles real calla lilies. The flowers also include simple leaves to complete the look.
To complete this project, you will need yarn in white, yellow, or other favorite flower colors, green yarn for the stem and leaves, a crochet hook (usually between 3.5 mm and 5 mm), and a yarn needle to assemble the parts. The skill level for this project is generally suitable for beginners who know basic crochet stitches such as single crochet, half double crochet, and slip stitch.
The steps involve crocheting the petal and stem pieces separately, then sewing or stitching them together carefully. This helps you practice shaping and assembling different parts, making the project both satisfying and manageable. Crochet calla lilies make charming decorations for vases, gifts, or special occasions, adding a lasting touch without any maintenance needed.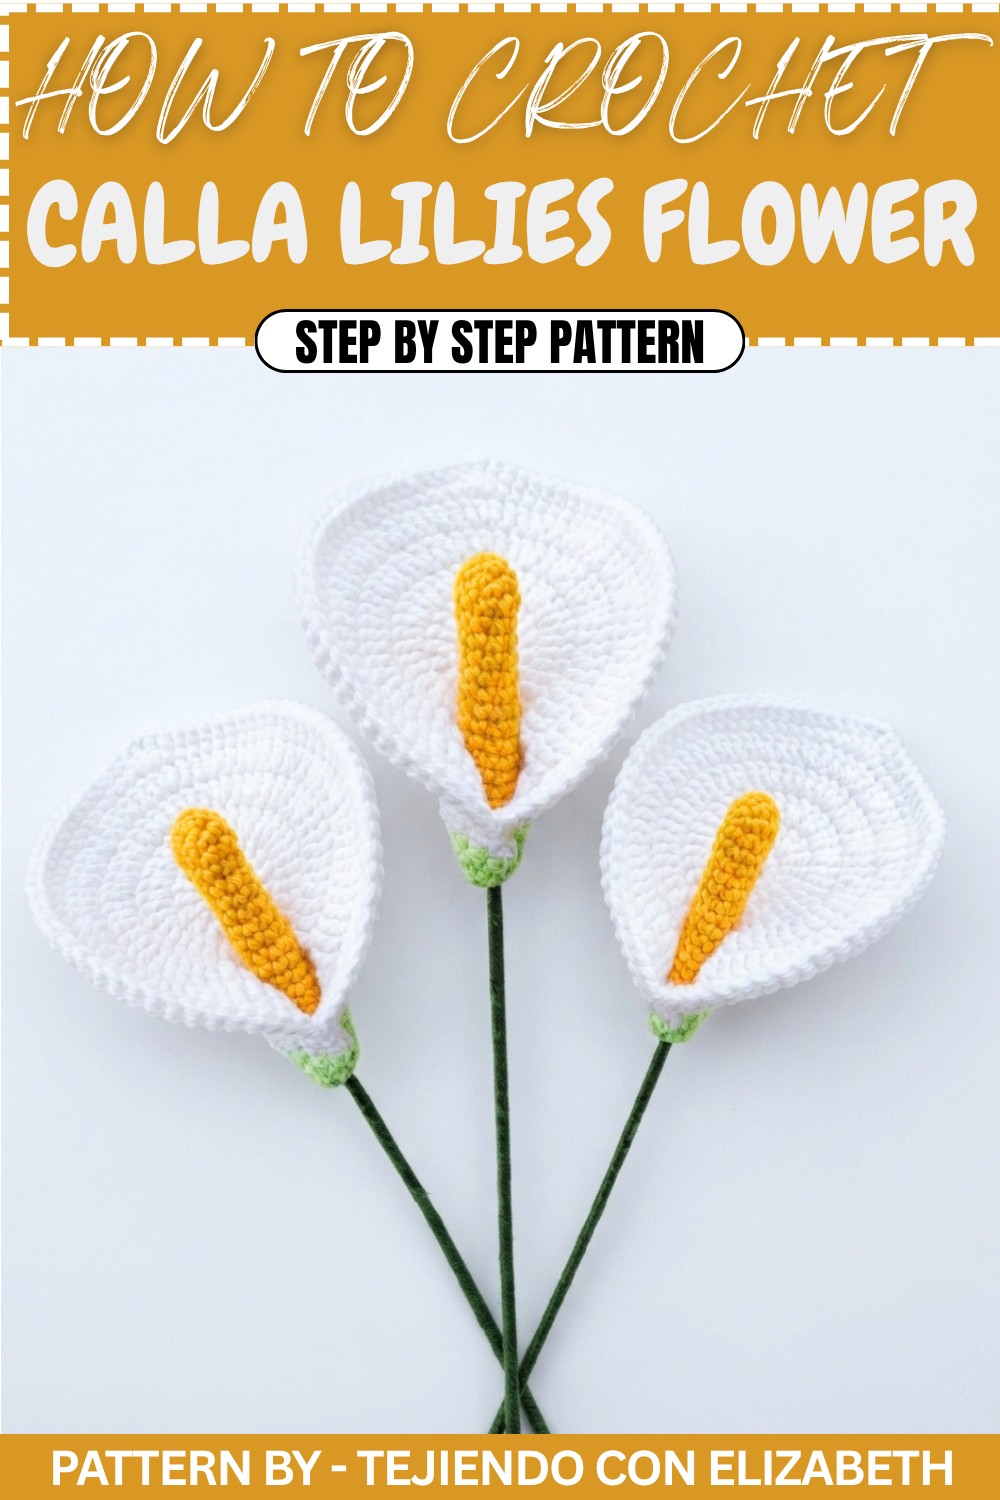
About the Crochet Calla Lily Pattern
This crochet Calla Lily pattern captures the sculptural elegance of the real flower through methodical increases and careful assembly. Made in two main parts, the graceful petal unfurls from a dense, textured stamen, both worked in the round and seamlessly joined with a wired stem. The final element of shading at the petal’s base offers an artistic flourish, ensuring the flower is not only realistic but also structurally sound and visually unique. It’s ideal as a single display, part of a bouquet, or a crocheted gift, offering both accessible stitches and enough shaping to build your crochet repertoire.
Pattern Basic Points
- The flower consists of two main parts: the petal (white) and the stamen (yellow).
- Worked in the round, starting with a chain or magic ring for a seamless finish.
- Detailed petal shaping includes progressive increases and a signature “flare”.
- Stem built with a skewer/stick, offering durability and lifelike structure.
- Hot glue and floral tape combine crochet and crochet techniques for realistic assembly and finish.
- Optional crayon shading adds naturalistic dimension.
Special Notes
- Gauge is not critical; a firm, even tension keeps the stamen firm and the petal’s rounds neat.
- Stamen should be densely stuffed for shape but not overfilled to disrupt roundness.
- When attaching the petal to the stamen, shape as you glue for the signature Calla Lily curl.
- Always secure crochet elements (glue, tape, coloring) in a well-ventilated area.
- Small color changes (white, yellow, green) require careful finishing for invisible joins.
Skill Level
Beginner to Intermediate
This pattern employs basic stitches (single/double crochet, increases/decreases, rounds), hot-gluing and coloring for mixed-media assembly. Confident beginners or intermediates with some experience in working in the round and handling three-dimensional shaping will find it straightforward.
Materials
- Yarn: DK or light worsted weight in white (petal), yellow (stamen)
- Hook: 2.5mm crochet hook
- Fiberfill: small amount for stuffing the stamen
- Skewer/stick: for stem support (approx. 20–25 cm)
- Hot glue gun and glue
- Green floral tape: to wrap the stem
- Green crayon: for color shading at base of petal (optional)
- Scissors
- Yarn needle: for weaving in ends
Measurements & Gauge
- Finished Calla Lily: about 18–22 cm tall (with stem)
- Petal width: approx. 8–10 cm at widest
- Stamen length: approx. 5–7 cm
- Gauge: Not crucial; ensure stitches are firm to hold shape
Stitch Abbreviations
| Abbreviation | Description |
|---|---|
| ch | Chain |
| sc | Single crochet |
| dc | Double crochet |
| inc | Increase (2 in same st) |
| dec | Decrease (sc2tog) |
| sl st | Slip stitch |
| st(s) | Stitch(es) |
| MR | Magic ring |
Special Stitches
Magic Ring (MR):
Make a loop, insert the hook, pull up a loop, chain 1, then work stitches into this ring and close.
Increase (inc):
Work 2 stitches into the same stitch.
Decrease (dec):
Single crochet 2 stitches together.
Pattern Instructions
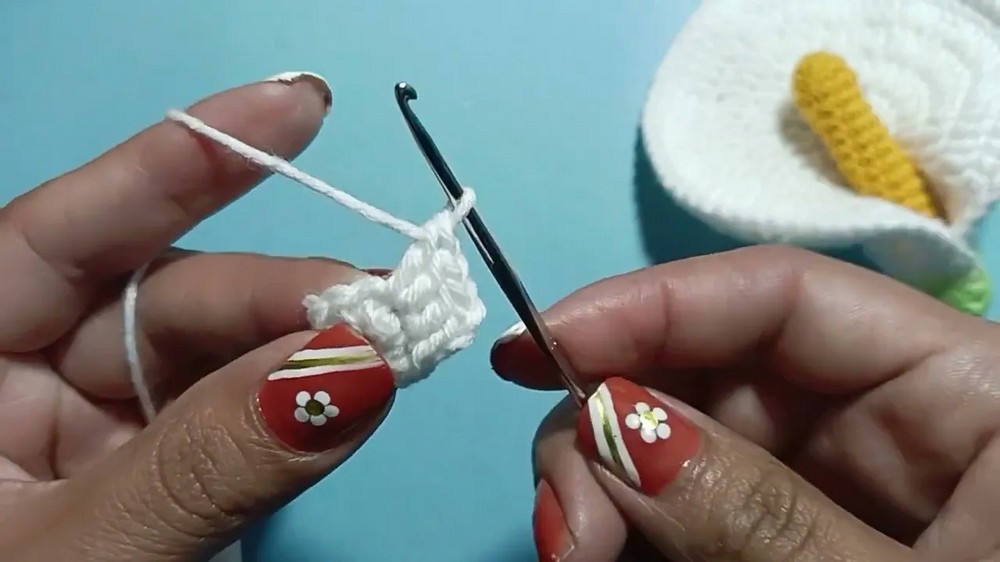
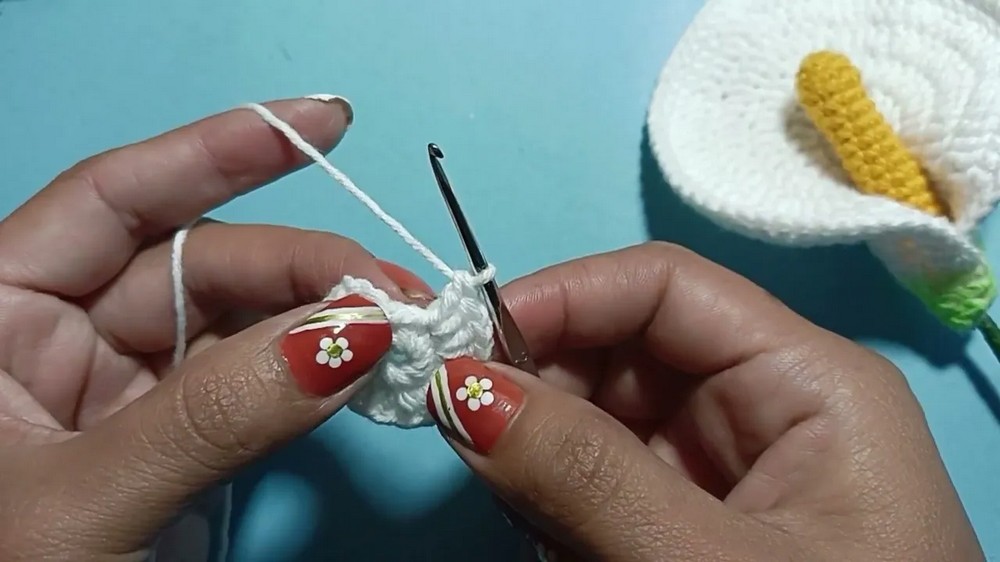
Part 1: The Petal (White)
- Foundation:
- Ch 5, join with sl st to make a ring.
- Round 1:
- Ch 1, work 10 sc in the ring.
- Sl st to first sc to close. (10 sts)
- Ch 1, work 10 sc in the ring.
- Round 2:
- Ch 3 (counts as dc), 1 dc in same st, dc inc in each st around (2 dc in each) — 20 dc in total.
- Sl st to top of beginning ch-3.
- Round 3:
- Ch 3, 1 dc in same st, 1 dc in next st, 2 dc in next st; repeat from * around.
- After completing, should have 30 dc.
- Note: Video clarifies you may increase in each (2 dc in every st) to get 40 dc. Adjust as needed.
- Sl st to join.
- Round 4:
- Ch 3, 1 dc in same st, 1 dc in next st, 2 dc in next st; repeat around.
- Should reach 60 dc total.
- Sl st to join.
- Round 5:
- Ch 3, 1 dc in same st, 2 dc, 2 dc in next st; repeat around for 80 dc.
- Sl st to top of ch-3.
- Ch 3, 1 dc in same st, 2 dc, 2 dc in next st; repeat around for 80 dc.
- Round 6:
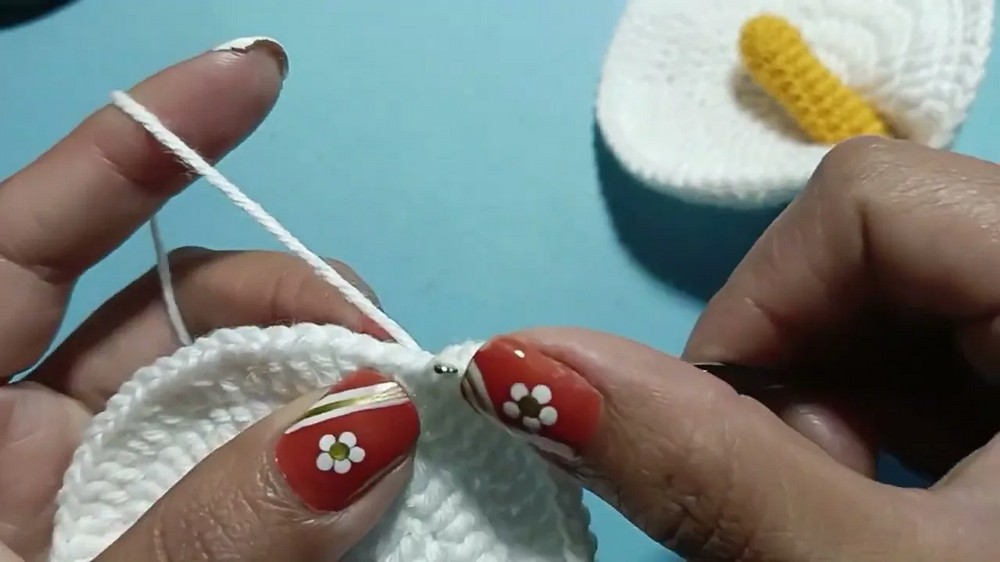
- Ch 1, work sc in next 40 sts.
- In the next st, work 3 dc (for tip flare), then continue sc in each stitch to end of round.
- Round 7:
- Work sc in each st around (should be 83 sc according to total count).
- Sl st to finish, fasten off and weave in end.
Part 2: The Stamen (Yellow)
- Round 1:
- MR, 6 sc in ring.
- Round 2:
- (sc, inc) around 3 times for 9 sc.
- Rounds 3–16 (14 rounds):
- Sc in each st around (9 sts per round).
- Round 17:
- (sc, dec) repeat 3 times — 6 sc.
- Round 18:
- 6 sc, finish off, leave tail.
- Stuff stamen firmly with a small amount of fiberfill.
Assembly
- Insert the skewer or stick into the open end of the stamen. Secure firmly with hot glue at the bottom for stability.
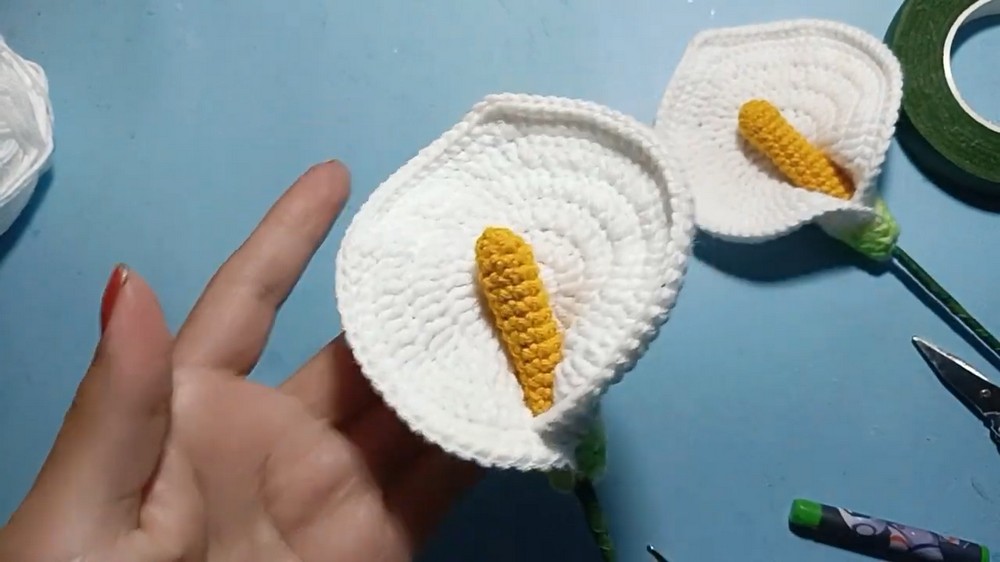
- Turn the petal piece so initial ring is at base. Position the stamen so it emerges from the center. Hot glue around the base of the stamen to attach it into the petal center; hold in position until set.
- Carefully curl the petal around the stamen, using hot glue where necessary to shape and secure the iconic Calla Lily spiral/flute form.
- Once glue has set, start at the base and wrap the stem (skewer) smoothly with green floral tape for a realistic stem.
- Optionally, shade the base of the flower with a green crayon for a soft, natural color gradient.
Finished Size
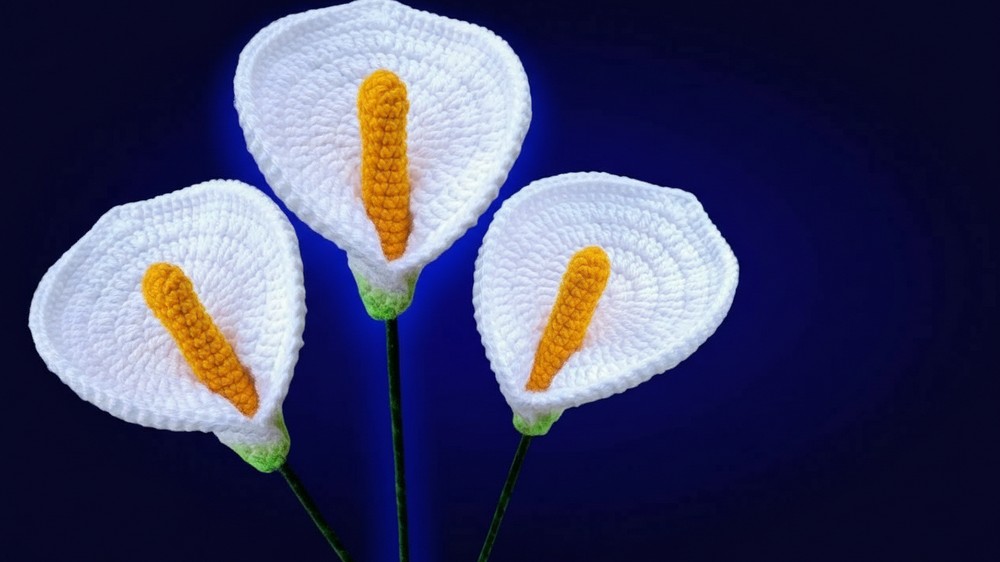
The completed Calla Lily measures about 18–22 cm tall with a robust petal and a neatly sculpted stamen.
Conclusion
The crochet Calla Lily pattern employs a combination of in-the-round crochet, methodical increases, and hands-on assembly to deliver a product rich in botanical realism. The use of hot glue and floral tape bridges traditional and modern crochet methods, ensuring a stable and attractive result. Optional color shading and careful petal shaping add artistry, making this piece a standout in arrangements or as a single statement flower. Each phase, from ring foundation to elegant finishing, helps crocheters expand skills while producing a sophisticated and durable floral accent.