
Cutest Free Crochet Summer Bag Pattern for Fun Days Out
Crochet your ultimate summer accessory with this free bag pattern that is simple, fun, and perfect for creating a stylish and long lasting handmade piece.
This sparkly summer bag is the perfect project if you want something cute, useful, and fun to crochet. The cutest free crochet summer bag pattern gives you a stylish accessory that looks small but actually holds a lot, your wallet, phone, keys, headphones, and more. It has been tried and tested, so you can trust it as an everyday mini bag for walks, shopping, or coffee dates.
The beauty of this bag comes from its ribbon yarn and glittery look. Using Rex ribbon yarn, especially in a sparkly color, makes the bag feel special and eye catching, while still being strong and practical. You can also choose solid colors if you prefer a more simple style, but the shimmer really suits summer outfits.
Free Crochet Summer Bag Pattern That’s Perfect for the Beach
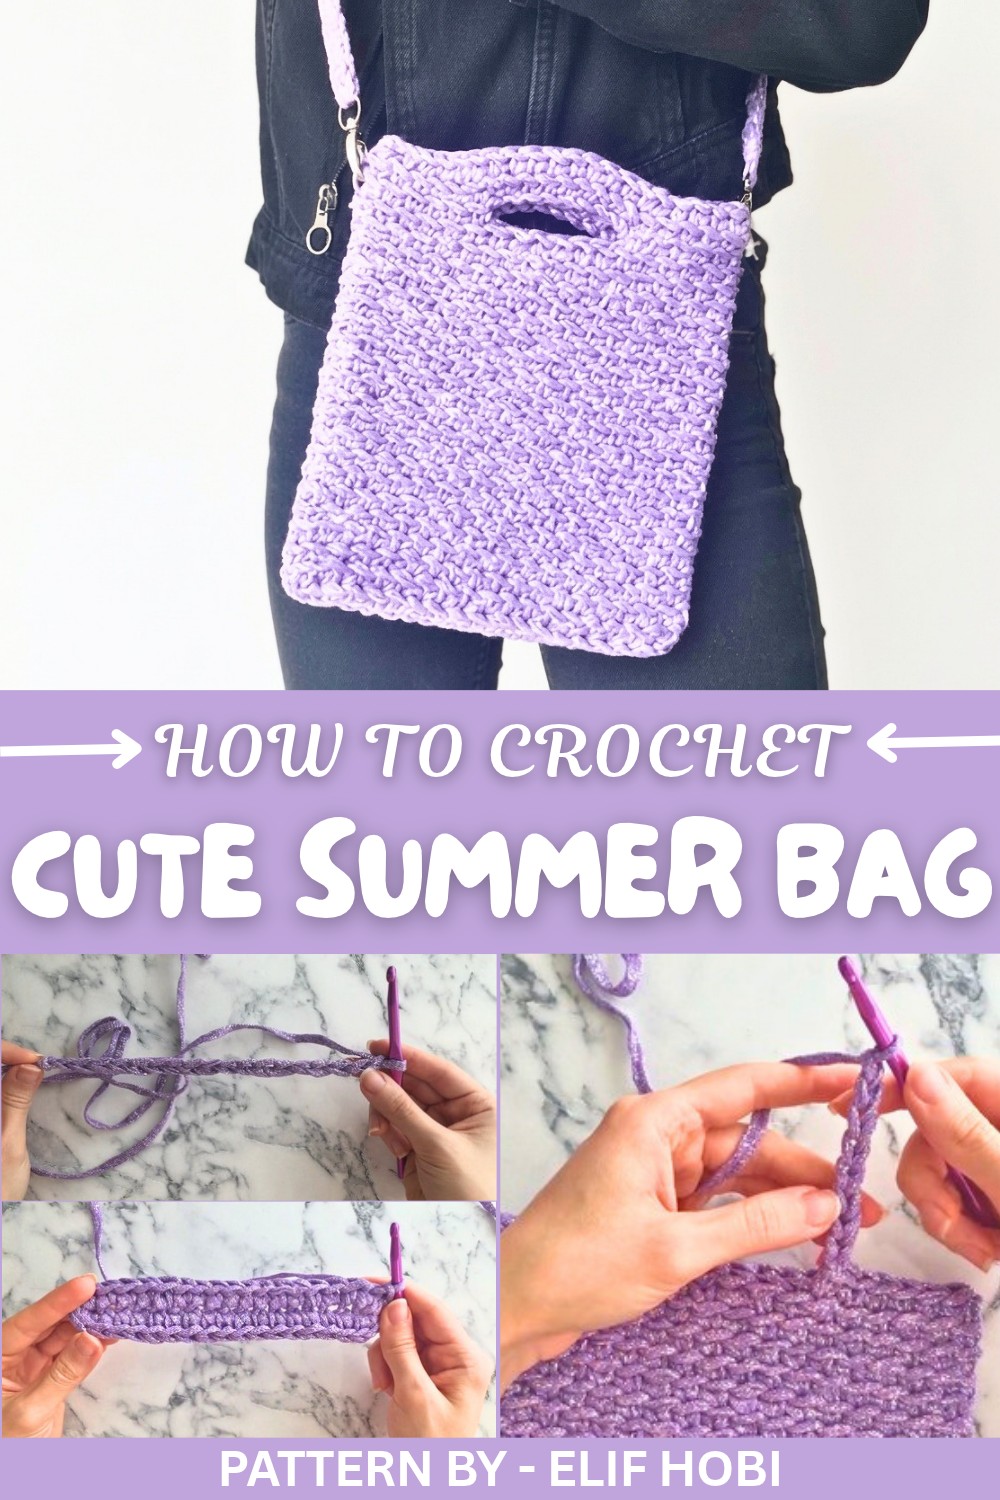
The working style of the pattern is simple and relaxing. You start with a chain and build a firm base using single crochets, then continue in rounds until the bag reaches the size you like. Even if the base looks a bit crooked at first, it straightens as you crochet more rows, which makes it friendly for beginners.
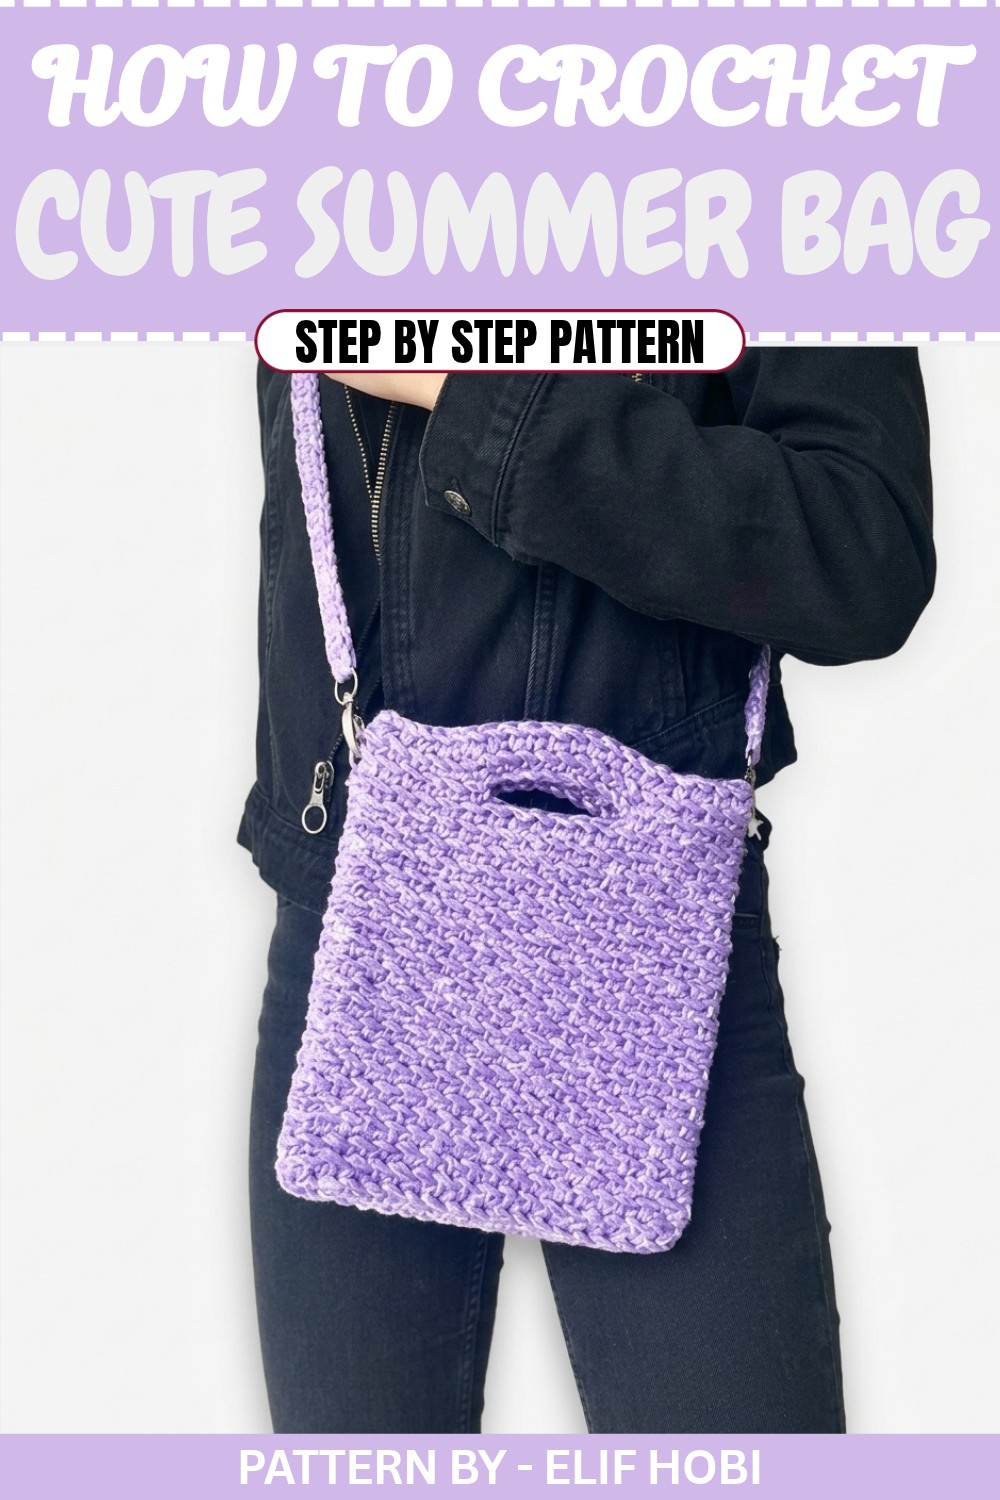
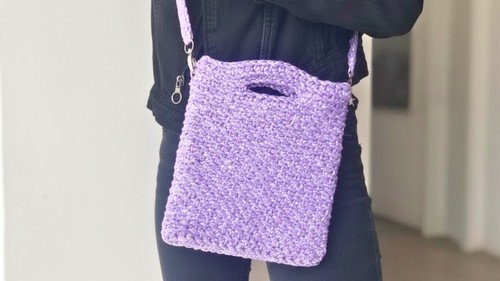
One of the most attractive design features is the shape and the clever handle and strap. The handles are formed with chains and reinforced with single crochets, giving the bag a neat, modern look. A detachable strap is made using clips, so you can wear it on the shoulder or crossbody and adjust the length to fit you.
On her channel Elif Hobi, Elif explains every step clearly and calmly, making you feel like you’re learning from a patient friend. She shows how to mark stitches evenly, how to build the body smoothly, and how to finish the strap at about 70 cm. With her guidance, this chic summer bag becomes an easy and enjoyable project you’ll be proud to use all season.
Sparkling Summer Crochet Bag Pattern
Quick Overview of the Pattern
- Begin with a small rectangular base.
- The bag's body is worked in continuous rounds using single crochet.
- Handles are formed with chains and reinforced with single crochet.
- Optional strap can be attached using clips or crocheted directly onto the bag.
Materials
- Yarn: 1 skein of ribbon yarn (glittery or plain, as desired).
- Hook: 6 mm crochet hook.
- Accessories: 2 clips for the strap (optional).
- Others: Stitch markers, scissors, tapestry needle.
Skill Level
Beginner to Intermediate: Basic crochet knowledge (chains, single crochet, slip stitch) and working in continuous rounds are required.
Measurements / Sizing
- Base: Adjustable according to chain count.
- Height: Approximately 20 rows (as per the example).
- Handles: Adjustable based on chain length.
- Strap: Around 70 cm in length (or as desired).
Gauge
Gauge is not crucial, but tighter stitches provide a sturdier structure. Approximate:
- 10 sc x 10 rows = 4 inches using a 6 mm hook.
Stitch Abbreviations
- ch: Chain
- sc: Single Crochet
- sl st: Slip Stitch
- yo: Yarn Over
Special Stitches
- Back Loop Only Single Crochet: Insert the hook into the back loop of the stitch only (rather than both loops), yo, and pull through.
The Crochet Pattern
Base of the Bag
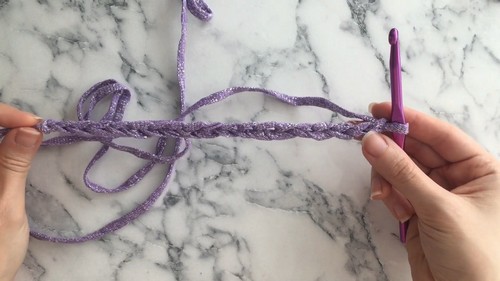
- Foundation chain:
- Ch 18. Adjust the number of chains according to the desired width of your bag.
- Round 1:
- Sc into the 2nd ch from the hook.
- Sc into each ch until 1 ch remains.
- Into the last ch, work 3 sc for the corner and turn the work.
- Sc along the other side of the foundation chain until the last ch.
- Work 3 sc into the final ch to form the second corner.
- Sl st to the first sc to close the round.
Body of the Bag
- Round 2:
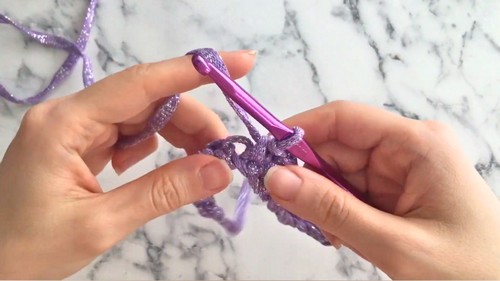
- Ch 1, and sc into the back loops only of each stitch around.
- Insert your hook under the back loop and the ridge behind it to create a textured look.
- Continue working sc in the back loop only in a continuous spiral:
- Do not join rounds with a sl st — simply proceed seamlessly to the next round.
- Repeat this process until the desired height is reached:
-
- In the example, a total of 20 rounds were completed.
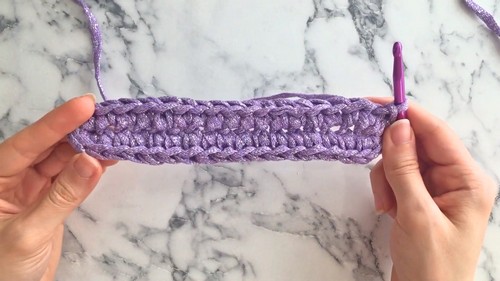
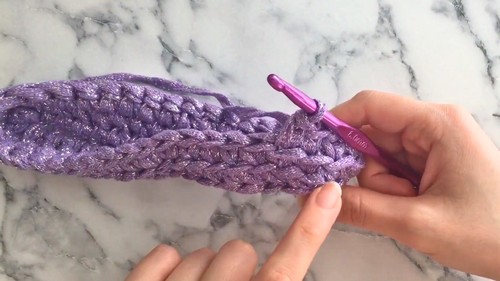
Tip: If the base appears uneven while working, don’t worry. It will even out as the bag grows in height.
Marking the Handles
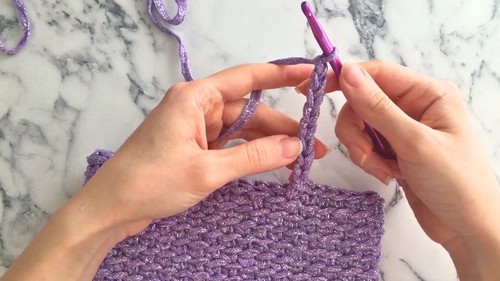
- Prepare for handles:
- Use stitch markers on the sides of the bag to mark the points for handle placement.
- On the front, leave 6 stitches unworked in the center, marking the 7th stitch on each side.
- Repeat the same process for the back of the bag, ensuring symmetry.
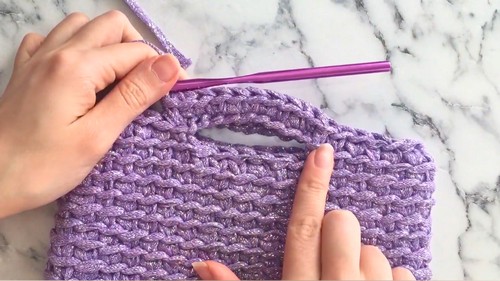
Forming the Handles
- Sc up to the first marked stitch.
- Work 9 chains (or more for longer handles).
- Skip the marked stitches and sc into the next marked stitch. Remove the marker.
- Sc around the bag until you reach the second set of markers on the back side.
- Repeat steps 1–3 to form the back handle.
Reinforcing the Handles
- Once the chain handles are created, crochet sc into each chain of the handle.
- After completing the handle, continue working sc into the other stitches until you return to the starting point.
Optional Strap
If you’d like to add a strap, follow these steps:
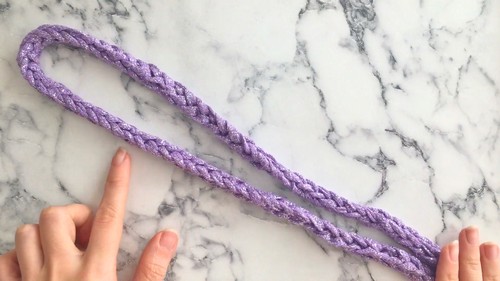
- Attach clips (optional): Slide the hook through the clip opening and pull up a loop to start.
- Using single crochet or chain technique, work the strap to your desired length (e.g., 70 cm).
- Attach the other end of the strap to a second clip or directly to the opposite handle.
Assembly & Finished Size
- Weave in all yarn ends with a tapestry needle.
- If using clips, secure the strap to the bag using the handles.
- Adjust the bag’s shape, handle length, and strap as needed.
- Final approximate size: 20 cm in height, with adjustable straps and a compact yet roomy body.
Conclusion
You’ve successfully completed your sparkling summer bag. This functional and fashionable accessory will keep your essentials secure while adding a stylish touch to your outfit. Feel free to get creative with yarn colors or embellishments to make it your own. Don’t forget to share your creations on social media and inspire others to crochet their personalized bags.